Roasted Garlic White Bean Quesadilla Wedges: A Deliciously Unique Twist
If you’re looking for a delectable and nutritious snack or meal option, look no further than Roasted Garlic White Bean Quesadilla Wedges. This recipe combines the rich, savory flavor of roasted garlic with the creamy texture of white beans, all nestled between crispy tortillas. The result is a dish that not only satisfies your cravings but also packs a punch in terms of nutrition and flavor. Whether you’re hosting a gathering, preparing a quick lunch, or simply treating yourself to something special, quesadilla wedges made with roasted garlic and white beans will surely impress.
The Allure of Roasted Garlic and White Beans in a Quesadilla
Roasted garlic is a transformative ingredient that elevates any dish with its deep, mellow sweetness and complex flavor profile. Unlike raw garlic, which can be sharp and pungent, roasting mellows its bite, creating a buttery texture that spreads easily. When paired with white beans, the combination becomes even more enticing. White beans, often creamy in texture, provide a satisfying base that complements the roasted garlic beautifully.
The versatility of this dish is another major draw. Quesadillas are typically loved for their simplicity and adaptability; you can modify them with various fillings according to your preferences. The combination of roasted garlic and white beans not only offers a unique twist on a classic favorite but also introduces a wealth of health benefits.
Health Benefits of the Ingredients
Garlic is not only revered for its flavor but also for its numerous health benefits. Rich in antioxidants and known for its anti-inflammatory properties, garlic has been celebrated in various cultures for centuries. Studies have shown that garlic may help boost the immune system, lower blood pressure, and reduce cholesterol levels. Its health benefits make it a powerful addition to your diet, especially when included in a meal as delightful as quesadilla wedges.
White beans, such as cannellini or navy beans, are another star ingredient in this recipe. They are an excellent source of plant-based protein and dietary fiber, making them a fantastic choice for anyone looking to enhance their nutrition. Incorporating beans into your meals can help promote digestive health, stabilize blood sugar levels, and keep you feeling full and satisfied longer.
The addition of spices like ground cumin and smoked paprika further enhances the flavor of this dish. Ground cumin adds a warm, earthy essence, while smoked paprika introduces a subtle smokiness that rounds out the overall taste profile. Together, these spices create a depth of flavor that complements the creamy white beans and sweet roasted garlic perfectly.
Lastly, let’s not overlook the importance of quality cheese in quesadillas. Cheese contributes not only to the flavor but also to the texture, providing that sought-after gooeyness that makes quesadillas so irresistible. When choosing cheese for your quesadillas, opt for varieties that melt well, such as Monterey Jack or mozzarella, to achieve the best results.
Step-by-Step Guide to Roasted Garlic White Bean Quesadilla Wedges
Now that we have a solid understanding of the ingredients and their benefits, let’s dive into the preparation of our Roasted Garlic White Bean Quesadilla Wedges. The first step in this delightful journey is to prepare the roasted garlic.
Preparing the Roasted Garlic
Roasting garlic is a straightforward process, but it does require a bit of time to achieve that perfect caramelization. Here’s how to do it:
1. Select Quality Garlic: Start with a bulb of fresh garlic. Look for bulbs that are firm and plump, as this indicates freshness.
2. Preheat Your Oven: Set your oven to 400°F (200°C). A hot oven is essential for roasting garlic effectively.
3. Prep the Garlic Bulb: Slice the top off the garlic bulb to expose the individual cloves. You can also peel away any loose outer layers, but keep the bulb intact.
4. Drizzle with Olive Oil: Place the garlic bulb on a piece of aluminum foil and drizzle it generously with olive oil. This helps in achieving that rich, roasted flavor and prevents the garlic from drying out during the cooking process.
5. Wrap and Roast: Wrap the garlic in the foil and place it in the preheated oven. Roast for about 30-35 minutes, or until the cloves are soft and golden brown. The aroma will fill your kitchen, signaling that your garlic is ready.
6. Cool and Extract: Once roasted, remove the garlic from the oven and let it cool for a few minutes. Once cool enough to handle, squeeze the base of the bulb to extract the soft, caramelized cloves. They should pop out easily, and you can discard the skins.
Crafting the Bean Mixture
With your roasted garlic ready, it’s time to create the delicious bean mixture that will fill your quesadillas.
1. Gather Your Ingredients: In addition to the roasted garlic, you will need canned white beans (like cannellini or navy beans), ground cumin, smoked paprika, salt, and pepper. You can also add a splash of lemon juice for brightness.
2. Blend or Mash the Beans: In a mixing bowl, combine the drained and rinsed white beans with the roasted garlic cloves. You can use a fork to mash the mixture for a chunky texture or a food processor for a smoother consistency.
3. Add Spices: Sprinkle in the ground cumin, smoked paprika, salt, and pepper. Mix well to ensure that the spices are evenly distributed throughout the bean mixture.
4. Taste and Adjust: At this point, taste your mixture and adjust the seasoning as needed. If you like a bit of acidity, add a splash of lemon juice to brighten the flavor.
This flavorful bean mixture will serve as the hearty filling for your quesadilla wedges, bringing together the delicious flavors of garlic and beans.
In the next part of this article, we will explore how to assemble the quesadilla wedges, including tips for achieving the perfect crispy exterior and melty cheese. Stay tuned for the continuation of this mouthwatering recipe!
Detailed Instructions
Mashing and Seasoning the Mixture
To create a creamy filling for your quesadilla, start by draining and rinsing the canned white beans. This step helps to remove excess sodium and ensures your filling remains flavorful without being overly salty. In a mixing bowl, combine the rinsed white beans with roasted garlic. Use a fork or potato masher to begin mashing the beans.
Texture Preferences: The consistency of your mixture can be adjusted based on personal preference. For a smooth texture, continue mashing until there are no lumps. If you prefer a chunkier filling, mash only until combined, leaving some beans intact for added texture.
Next, season the mixture with a drizzle of olive oil, a squeeze of fresh lemon juice, salt, and pepper to taste. The olive oil adds richness, while the lemon juice brightens the flavor. Feel free to include additional spices such as cumin or smoked paprika for a hint of smokiness.
Assembling the Quesadillas
Once your filling is ready, it’s time to assemble the quesadillas. Heat a non-stick skillet over medium heat. Place one tortilla on a clean surface and spread a generous portion of the white bean and roasted garlic mixture evenly across half of the tortilla.
Tips for Even Distribution: Use a spatula or the back of a spoon to ensure that the filling reaches the edges without overflowing. This will help in achieving a balanced flavor in every bite.
Next, fold the tortilla over, creating a half-moon shape. Press down gently to secure the filling inside. This step is crucial; it helps to keep the filling from spilling out during cooking.
Importance of Leaving a Border: When assembling, it’s important to leave a small border around the edges of the tortilla. This allows for easy flipping and prevents the filling from leaking out while cooking.
Cooking Techniques for Optimal Quesadilla Results
Return your skillet to the stovetop and add a small amount of oil, just enough to coat the bottom of the pan. Heat the skillet to medium-high, ensuring it is hot enough to create a crispy exterior without burning the tortillas.
Carefully place the assembled quesadilla into the skillet. Cook for about 3-4 minutes on the first side or until golden brown and crispy.
Ideal Skillet Temperature and Cooking Times: Keep an eye on the temperature; if the quesadilla begins to brown too quickly, reduce the heat slightly. After 3-4 minutes, flip the quesadilla using a large spatula. If you’re concerned about the filling spilling out during the flip, you can slide the quesadilla onto a plate, then invert it back into the skillet. Cook for an additional 3-4 minutes until the second side is golden and crispy.
Tips for Flipping Without Mess: To flip your quesadilla without making a mess, ensure the bottom is well-cooked and crispy. Use a wide spatula to support the entire quesadilla when flipping.
Serving Suggestions and Pairings
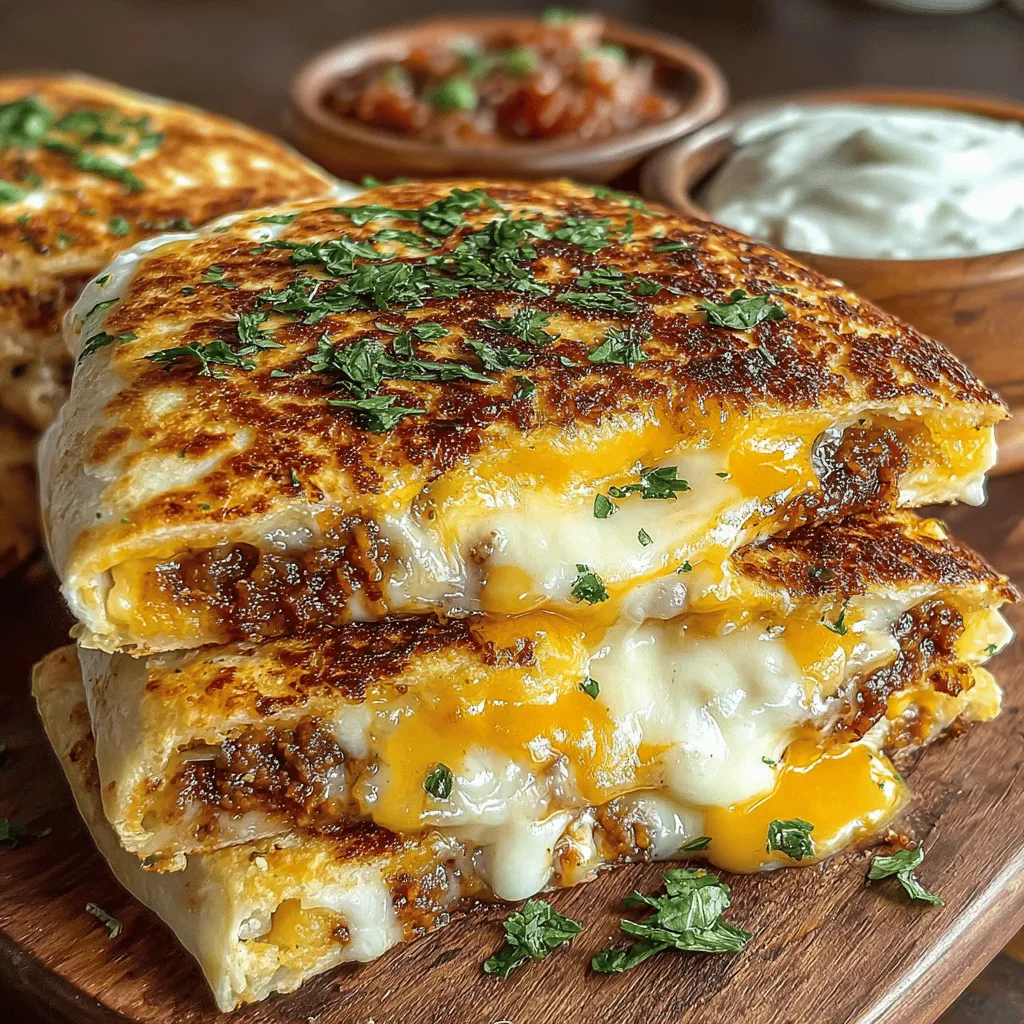
Presentation Ideas for Quesadilla Wedges
Once cooked, transfer your quesadilla to a cutting board. Allow it to rest for a minute before cutting it into wedges; this helps the filling set and makes for cleaner portions. Arrange the wedges on a serving platter for an appealing presentation.
Garnishing with Fresh Cilantro
To elevate the visual appeal and flavor, garnish the quesadilla wedges with freshly chopped cilantro. This adds a burst of color and herbal freshness that complements the creamy filling beautifully.
Options for Serving: Salsa and Guacamole
These quesadilla wedges pair excellently with a variety of dips. Serve with homemade salsa, which adds a fresh, tangy contrast to the creamy filling. Additionally, a side of guacamole brings a rich, buttery flavor that enhances the overall dish.
Discuss Potential Side Dishes That Complement the Meal
For a well-rounded meal, consider serving alongside a light salad, such as a simple mixed greens salad dressed with lemon vinaigrette. Other great options include a corn salad or a side of roasted vegetables, which add color and nutrients to your plate.
Suggestions for Salads, Dips, or Beverages
To complete your meal, you might consider a refreshing beverage like lemonade or iced tea. If you’re looking to enhance your dining experience further, pair your quesadilla with a light, crisp beer or a chilled white wine.
Nutritional Information
Breakdown of Calories and Macronutrients per Serving
Each serving of Roasted Garlic White Bean Quesadilla Wedges provides approximately 300 calories, depending on the size of the tortilla and the amount of filling used. The dish is rich in protein and fiber, thanks to the white beans, while the olive oil provides healthy fats.
Health Benefits of the Main Ingredients
– White Beans: High in protein, fiber, and essential nutrients, white beans are known for their heart-healthy properties and ability to promote satiety.
– Garlic: Roasted garlic not only adds flavor but also boasts numerous health benefits, including potential immune-boosting properties.
– Olive Oil: Known for its heart-healthy fats, olive oil is a staple in Mediterranean diets and is linked to numerous health benefits.
Emphasis on Dietary Preferences
This recipe is vegetarian-friendly and can easily be made gluten-free by substituting regular tortillas for gluten-free options. This flexibility makes it accessible to a broader range of dietary preferences.
Conclusion
In conclusion, these Roasted Garlic White Bean Quesadilla Wedges are a delicious and nutritious meal option perfect for any occasion. With their creamy filling, crispy exterior, and vibrant garnishes, they offer a satisfying blend of flavors and textures.
Encouraging readers to try this recipe not only introduces them to a new favorite dish but also showcases the health benefits of the ingredients used. Enjoy the delightful flavors and nutritional advantages that these quesadilla wedges bring to your table!