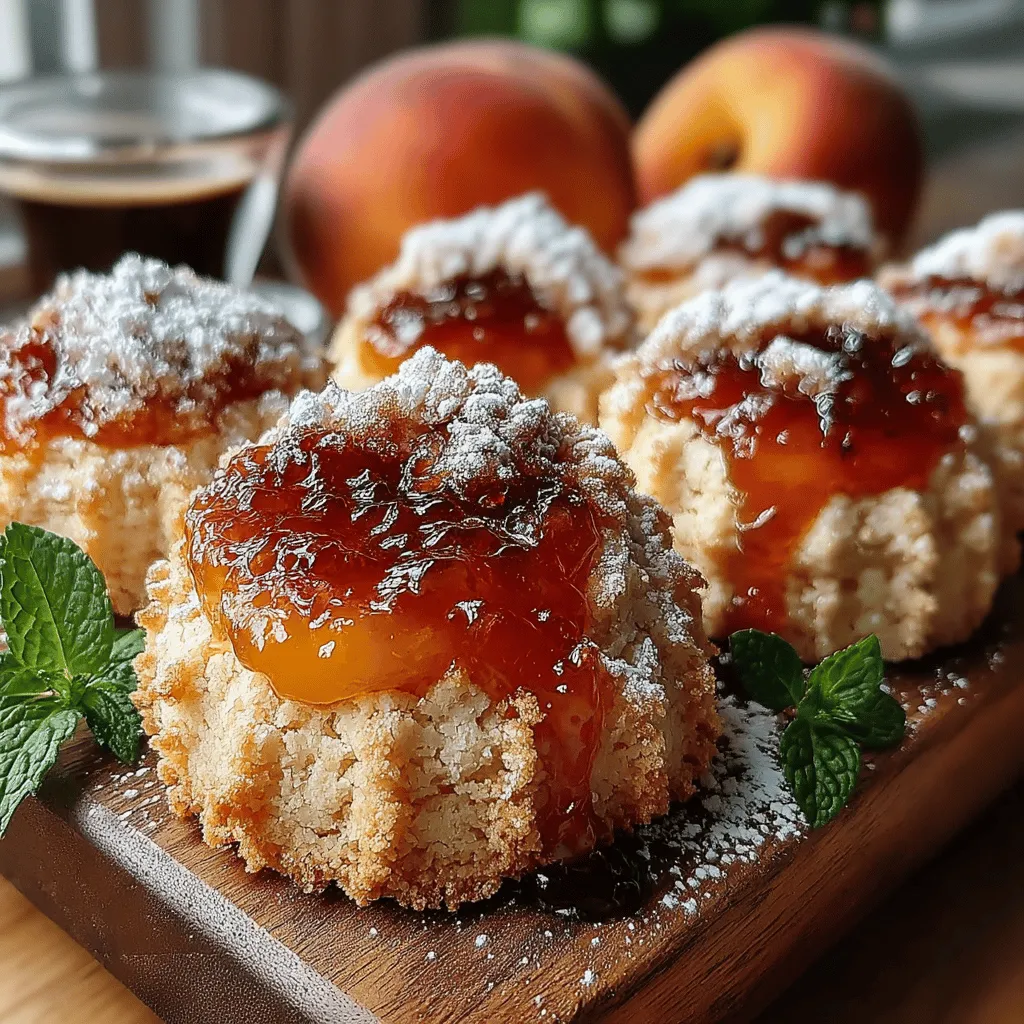
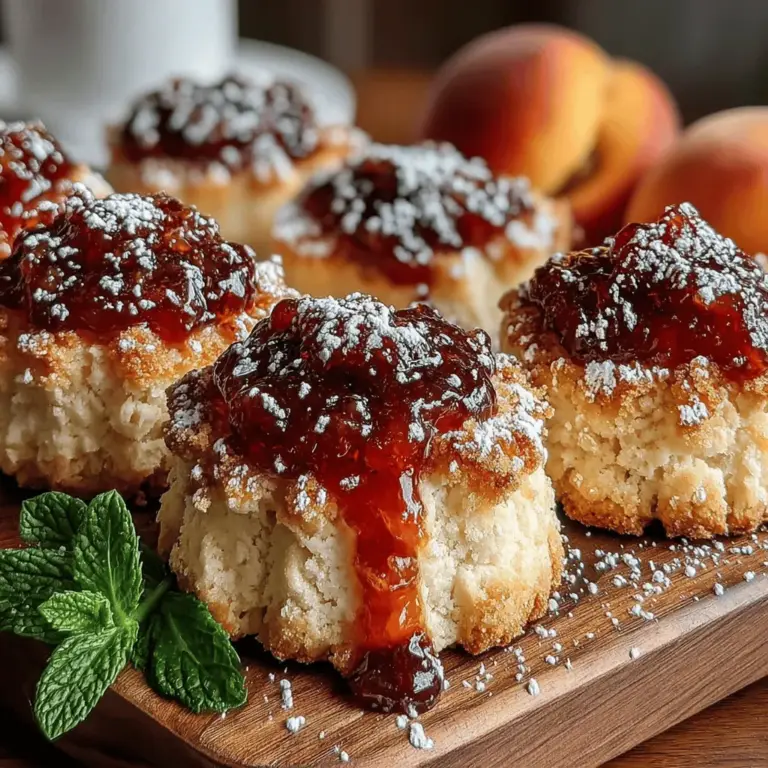
Sweet Summer Bliss Peach Jam Thumbprint Cookies: A Delightful Seasonal Treat
Summer is a time for vibrant flavors, refreshing desserts, and indulgent treats that celebrate the bounty of the season. Among the many delights that come with warmer weather, few desserts capture the essence of summer quite like cookies made with fresh fruit preserves. One standout recipe that has garnered attention for its perfect blend of flavors and textures is the Sweet Summer Bliss Peach Jam Thumbprint Cookies. These cookies are not just a dessert; they are a celebration of summer, combining the sweetness of homemade peach jam with the buttery goodness of a well-crafted cookie.
Imagine sinking your teeth into a soft, melt-in-your-mouth cookie with a luscious center of peach jam, each bite reminiscent of lazy summer afternoons spent outdoors. Whether you’re hosting a gathering or simply looking to treat yourself, these cookies are an irresistible addition to your summer baking repertoire.
The Allure of Thumbprint Cookies
Thumbprint cookies are a beloved staple in baking, known for their simple yet delightful design. Originating from various cultures, these cookies have a rich history that spans generations. The general concept involves creating a cookie base that is indented in the center, where a dollop of jam or preserve is placed. This method not only creates a visually appealing treat but also allows for endless flavor combinations, making thumbprint cookies a versatile option for bakers.
From the classic raspberry or strawberry versions found in European pastry shops to the more unique takes seen in modern kitchens, thumbprint cookies have evolved while maintaining their core charm. Their popularity lies in their ease of preparation, making them perfect for both novice bakers and seasoned pros. The ability to customize the filling—whether it’s jam, chocolate, or even nut butter—ensures that there’s a thumbprint cookie for everyone, regardless of taste preferences.
Ingredients Breakdown
To create the Sweet Summer Bliss Peach Jam Thumbprint Cookies, you’ll need to gather a few key ingredients that work together harmoniously to produce a cookie that is both flavorful and satisfying.
First and foremost, unsalted butter is essential for achieving the perfect texture and rich flavor in your cookies. Using unsalted butter allows you to control the overall saltiness of the dough, ensuring that your cookies are perfectly balanced. Granulated sugar is another critical ingredient, as it contributes to the sweetness and aids in creating a light, tender crumb.
The addition of an egg yolk is crucial, as it enriches the dough, lending it a rich flavor and helping to bind the ingredients together. This results in cookies that are not only delicious but also have a pleasing texture.
Now, let’s talk about the star of the show: the homemade peach jam. The freshness of ripe, seasonal peaches is paramount for creating a jam that bursts with flavor. When selecting peaches, look for those that are slightly soft to the touch and have a sweet aroma, indicating they are at peak ripeness.
In addition to peaches, the jam recipe typically calls for a squeeze of lemon juice to brighten the flavors and enhance the natural sweetness of the fruit. A hint of cinnamon can also be added, introducing warmth and depth that beautifully complements the peaches.
Step-by-Step Instructions for Peach Jam Preparation
Before you can indulge in the Sweet Summer Bliss Peach Jam Thumbprint Cookies, you must first prepare the homemade peach jam. This process is straightforward and rewarding, as nothing compares to the taste of freshly made jam.
1. Selecting and Preparing Fresh Peaches: Begin by washing your ripe peaches thoroughly. You’ll want to remove the skins, which can be done easily by blanching them in boiling water for about 30 seconds, then transferring them to an ice bath. This method helps the skins slip off effortlessly. Once peeled, chop the peaches into small pieces, discarding the pits.
2. Cooking the Jam: In a medium saucepan, combine the chopped peaches with a splash of lemon juice and sugar. The sugar not only sweetens the jam but also helps to draw out the natural juices from the peaches. Cook the mixture over medium heat, stirring frequently, until the peaches break down and release their juices. This will typically take about 10-15 minutes.
3. Achieving the Right Consistency: As the mixture simmers, keep an eye on the cooking time. You want to reduce the mixture until it thickens to your desired consistency. This can take anywhere from 20 to 30 minutes. For the perfect jam, you can test it by placing a small spoonful on a cold plate; if it holds its shape after a minute in the fridge, it’s ready.
4. Adding Flavor Enhancements: Once your jam has reached the right consistency, stir in a pinch of cinnamon for added warmth. This is where the magic happens, as the aroma fills your kitchen and elevates the flavor profile of the jam.
5. Cooling and Storing: Remove the saucepan from heat and let the jam cool completely before transferring it to a clean jar. It can be stored in the refrigerator for up to two weeks, but trust us, it won’t last that long as you’ll be eager to use it in your thumbprint cookies.
With the peach jam prepared, you’re already halfway to creating the Sweet Summer Bliss Peach Jam Thumbprint Cookies. The next steps will involve crafting the buttery cookie base and assembling your delightful treats, but for now, revel in the delicious anticipation of what’s to come.

How to Know When the Jam is Thick Enough for Filling Cookies
When making your peach jam for the thumbprint cookies, it’s crucial to ensure that it reaches the right consistency. The ideal jam should be thick enough to hold its shape without running out of the cookie once baked. To determine if your jam is thick enough, use the following methods:
1. Cold Plate Test: Before you start cooking your jam, place a plate in the freezer. When you think the jam is ready, drop a small spoonful onto the cold plate and let it sit for a minute. Run your finger through the jam; if it holds its shape and doesn’t run back together, it’s ready for filling. If it’s still runny, continue cooking and testing every few minutes.
2. Temperature Check: A more accurate method involves using a candy thermometer. The jam should reach a temperature of 220°F (104°C) to be considered properly thickened. This temperature indicates that the pectin in the fruit has set, giving you the perfect texture for your cookies.
3. Visual Cues: Look for a glossy appearance and a slight reduction in volume. The fruits should be well integrated, and the mixture should coat the back of a spoon. Remember to stir frequently to avoid burning and to ensure even cooking.
Crafting the Perfect Cookie Dough
Understanding the Creaming Method
The creaming method is a fundamental technique in cookie baking that involves beating together butter and sugar until the mixture is light and fluffy. This process is vital for achieving a tender cookie texture. Here’s why it matters:
– Incorporating Air: Creaming the butter and sugar introduces air into the dough, which helps to leaven the cookies as they bake, resulting in a lighter texture.
– Even Distribution of Ingredients: This method ensures that the sugar is evenly distributed throughout the butter, leading to a uniform sweetness and flavor in each cookie.
Tips for Achieving the Right Texture in the Cookie Dough
To ensure your cookie dough turns out perfectly, follow these tips:
– Room Temperature Butter: Use butter that is at room temperature, which means it should be slightly softened but not melted. This allows for easier mixing and better incorporation of air.
– Granulated and Brown Sugar: For a complex flavor and chewy texture, use a mix of granulated sugar and brown sugar. The brown sugar adds moisture and depth of flavor.
– Eggs at Room Temperature: Similarly, using eggs at room temperature can help with emulsification, ensuring a smooth dough that bakes evenly.
– Mix Just Until Combined: When you add the dry ingredients, mix just until they are integrated. Overmixing can lead to tough cookies due to gluten development.
Common Pitfalls to Avoid When Mixing the Dough
– Overmixing: As mentioned, overmixing can lead to dense cookies. Always mix until just combined when adding flour and other dry ingredients.
– Under-creaming: If you don’t cream the butter and sugar long enough, the cookies may turn out flat and dense. Aim for at least 2-3 minutes of mixing on medium speed.
– Skipping the Chilling Step: Depending on your kitchen temperature, chilling the dough for at least 30 minutes before baking can help solidify the butter, which leads to a thicker, less spread-out cookie.
Shaping and Filling the Cookies
Importance of Uniform Cookie Size
Creating cookies of uniform size is essential for even baking. If some cookies are larger than others, they may bake at different rates, resulting in some being overdone while others are underbaked. Using a cookie scoop or a tablespoon can help you measure out consistent amounts of dough.
Techniques for Creating the Perfect Indentation
To create the thumbprint indentation that will hold your peach jam, follow these techniques:
– Use Your Thumb: Traditionally, bakers use their thumb to press into the center of each cookie. However, if you find this too messy or if your thumb is too large, consider using the back of a measuring spoon or a small round tool.
– Gentle Pressure: Apply gentle pressure when creating the indentation. You want it deep enough to hold the jam but not so deep that it breaks through the bottom of the cookie.
Suggestions for Avoiding Overfilling the Cookies
Filling the cookies with jam is an art in itself. Here are some tips to avoid overfilling:
– Start Small: Use a teaspoon to fill the indentation, and start with a small amount of jam. You can always add more if needed, but it’s harder to remove excess jam once it’s in.
– Leave Room for Expansion: Remember that the jam may bubble up during baking, so leave a little room at the edges of the indentation to prevent overflow.
Baking to Perfection
Ideal Baking Conditions
For optimal results, preheat your oven to 350°F (175°C). This temperature is perfect for achieving a golden-brown cookie while maintaining a soft center.
Signs to Look for That Indicate Cookies are Done
– Color: The edges of the cookies should be a light golden brown, while the center may still look a bit soft.
– Set Edges: When you gently press the edges, they should feel firm and not give way. The center will continue to firm up as they cool.
The Cooling Process and Its Impact on Cookie Texture
Allow the cookies to cool on the baking sheet for about 5 minutes before transferring them to a wire rack. This step is crucial because it allows the cookies to set properly. If you move them too soon, they may break apart. Once fully cooled, the cookies will develop a slightly crisp exterior with a soft and chewy interior.
Presentation and Serving Suggestions
Elevate Your Cookies with Powdered Sugar
For an elegant touch, consider dusting your thumbprint cookies with powdered sugar before serving. This not only adds a decorative element but also provides a sweet contrast to the tartness of the peach jam.
Beverage Pairings
To complement your Sweet Summer Bliss Peach Jam Thumbprint Cookies, consider serving them with:
– Iced Tea: A refreshing glass of iced tea, either sweetened or unsweetened, pairs beautifully with the fruity flavors of the cookies.
– Coffee: A warm cup of coffee or espresso enhances the buttery notes of the cookies, making for a delightful afternoon treat.
Creative Presentation Ideas for Gatherings or Gifts
– Cookie Platters: Arrange your cookies on a decorative platter, mixing them with other treats for a beautiful dessert table at gatherings.
– Gift Packaging: For gifting, consider placing the cookies in a clear cellophane bag tied with a ribbon. It’s a simple yet charming way to share your homemade delights.
Conclusion
Making Sweet Summer Bliss Peach Jam Thumbprint Cookies is not just about baking; it’s about creating joy and sharing delicious moments with loved ones. The combination of buttery cookie dough and sweet, tangy peach jam encapsulates the essence of summer, making it a perfect treat for any occasion.
Reflecting on the simplicity and deliciousness of homemade treats, each bite of these cookies reminds us of the satisfaction that comes from baking. So, don your apron, gather your ingredients, and enjoy the process of creating this delightful recipe. Whether you’re enjoying them with a cup of tea, sharing them with friends, or gifting them to family, these cookies are sure to bring smiles and sweet memories. Happy baking!

