Decadent Peanut Butter Brownie Cups: A Delightful Indulgence
 Save
Save
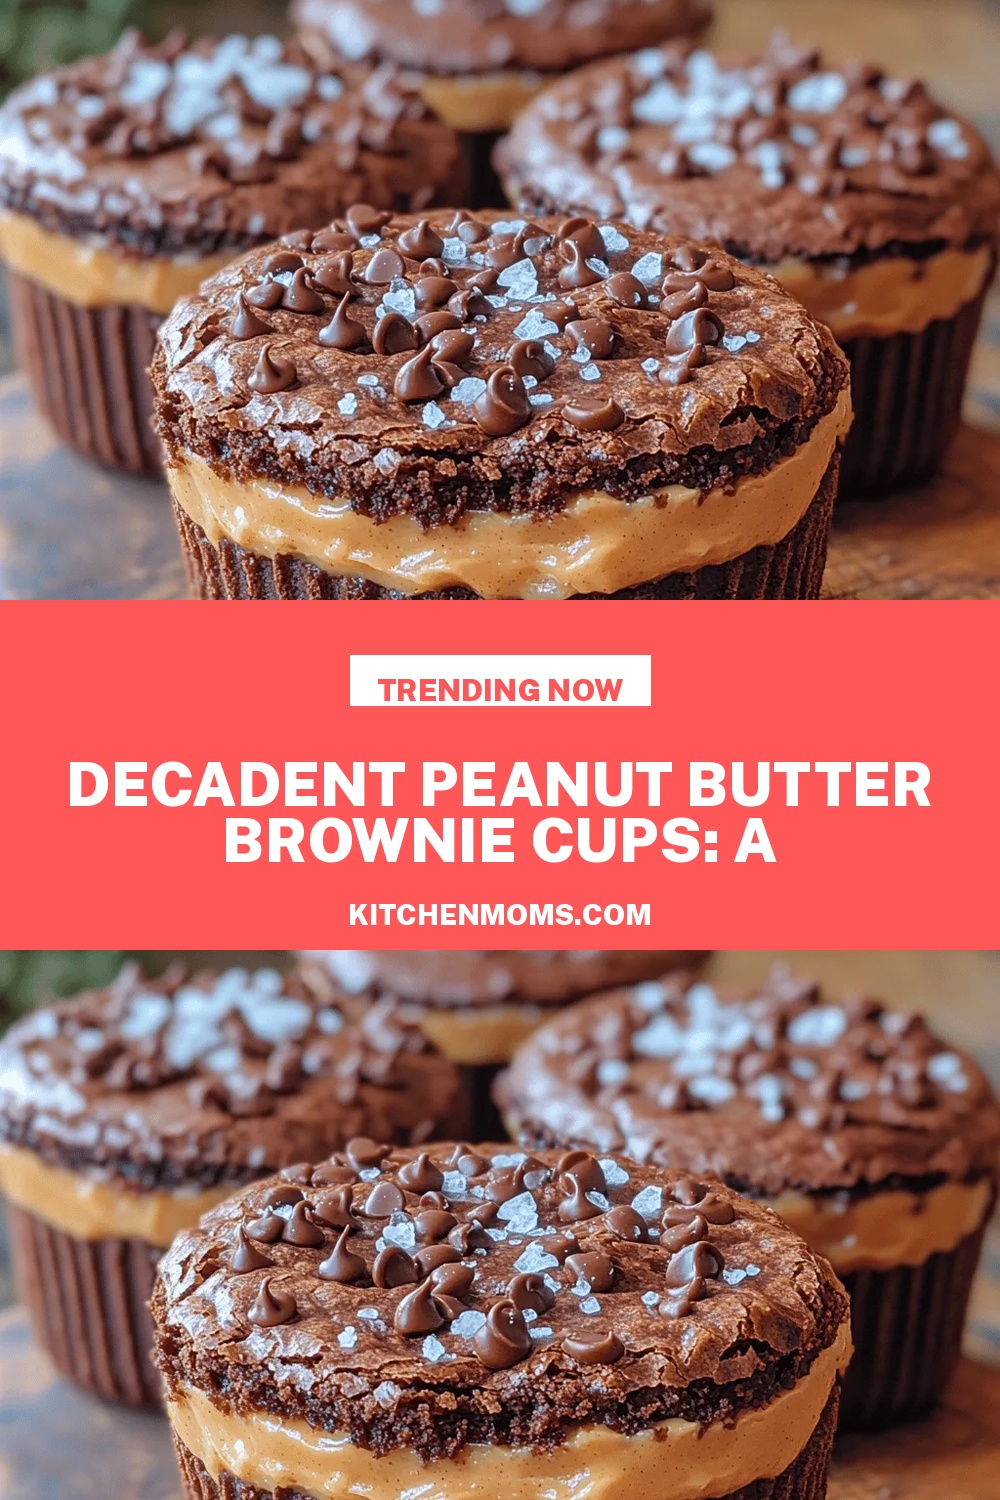
Imagine a warm, fudgy brownie that cradles a silky swirl of creamy peanut butter, all baked into perfectly portable cups. These Decadent Peanut Butter Brownie Cups turn an ordinary brunch into a celebration of indulgence, delivering comfort in every bite.
What makes them truly special is the balance between rich chocolate and salty‑sweet peanut butter, enhanced by a hint of vanilla and a touch of sea salt that elevates the flavor profile beyond the typical brownie.
Busy parents, brunch‑loving friends, and anyone with a sweet tooth will adore these bite‑size treats. Serve them at weekend brunches, holiday breakfasts, or as an after‑school snack that feels like a mini dessert.
The process is straightforward: melt chocolate, mix a simple batter, dollop peanut butter, bake in a muffin tin, and finish with a sprinkle of flaky sea salt. In under half an hour you’ll have a crowd‑pleasing treat.
Why You'll Love This Recipe
Irresistible Flavor Combo: The classic marriage of chocolate and peanut butter delivers a sweet‑salty harmony that feels both nostalgic and sophisticated.
Portion‑Perfect: Baked in muffin tins, each cup is a single‑serve delight, making it easy to serve a crowd without waste.
Quick & Simple: With just a handful of pantry staples and under 30 minutes total time, these cups fit seamlessly into a busy morning schedule.
Customizable Touches: A pinch of sea salt, a drizzle of chocolate ganache, or a sprinkle of chopped peanuts let you tailor each batch to your taste.
Tips & Tricks
Perfecting the Recipe
Room‑Temperature Eggs. Using eggs at room temperature helps the batter emulsify smoothly, giving a more uniform crumb.
Don’t Over‑Mix. Stir dry ingredients only until just incorporated; extra mixing creates a tougher texture.
Even Swirl Distribution. Drop the peanut butter in the exact center of each cup; this ensures each bite gets a balanced swirl.
Flavor Enhancements
Add a splash of espresso powder to the batter for a subtle coffee note that deepens chocolate flavor. Toasted coconut flakes sprinkled on top bring a fragrant crunch. For a hint of spice, incorporate a pinch of cayenne or smoked paprika into the swirl.
Common Mistakes to Avoid
Avoid baking too long; over‑baking turns the fudgy center into a dry cake. Also, don’t forget to line the muffin tin with paper liners or grease it well, otherwise the cups may stick and break when removed.
Pro Tips
Use High‑Quality Chocolate. A good cocoa percentage (70% or higher) gives richer flavor and a deeper color.
Chill the Batter Slightly. If the batter feels too runny, refrigerate for 10 minutes; this yields a thicker pour and more defined swirls.
Finish with Flaky Sea Salt. A light sprinkle just before baking adds a crunchy pop and intensifies the sweet‑salty balance.
Store Warm. Transfer hot cups to a warm oven (200°F) while the rest finish baking; this prevents them from collapsing.
Variations
Ingredient Swaps
Swap regular peanut butter for almond or cashew butter for a different nutty nuance. Use dark chocolate chips instead of mini chips for extra bitterness. For a fruity twist, fold in dried cherries or orange zest into the batter before baking.
Dietary Adjustments
Make them gluten‑free by using a 1‑to‑1 gluten‑free flour blend. Replace butter with coconut oil for a dairy‑free version, and choose a natural sweetener like agave or a sugar‑free syrup to keep them low‑sugar. Vegan? Use flax‑egg replacer and plant‑based butter, and choose a dairy‑free chocolate.
Serving Suggestions
Serve the cups warm with a dollop of vanilla Greek yogurt or a scoop of vanilla ice cream for contrast. Pair with fresh berries and a drizzle of honey for a brunch‑worthy plate. A glass of cold brew coffee or a frothy latte balances the richness beautifully.
Storage Info
Leftover Storage
Allow the cups to cool completely, then transfer them to an airtight container. Store in the refrigerator for up to 4 days. For longer keeping, freeze individual cups wrapped tightly in plastic wrap and then placed in a freezer‑safe bag; they’ll maintain quality for up to 2 months.
Reheating Instructions
Reheat refrigerated cups in a 300°F oven for 8‑10 minutes, or microwave on medium power for 20‑30 seconds, covering with a damp paper towel to prevent drying. If frozen, thaw overnight in the fridge, then follow the same reheating steps. Add a quick drizzle of peanut butter or chocolate before serving to revive the glossy finish.
Frequently Asked Questions
Can I make these cups ahead of time for a weekend brunch?
What if I don’t have a muffin tin? Can I use another pan?
How can I make these cups more kid‑friendly?
This recipe delivers a luxurious blend of chocolate and peanut butter in a convenient, bite‑size form that shines at any breakfast or brunch table. We’ve covered everything from ingredient selection to storage, plus plenty of variations to suit every palate. Feel free to experiment with toppings, swaps, or dietary tweaks—cooking is your canvas. Serve these cups warm, share them with loved ones, and enjoy every indulgent bite.
Decadent Peanut Butter Brownie Cups: A Delightful Indulgence
Delicious Decadent Peanut Butter Brownie Cups: A Delightful Indulgence
Ingredients
Brownie Base
- 1/2 cup (1 stick) unsalted butter, melted
- 1 cup granulated sugar
- 2 large eggs, room temperature
- 1 teaspoon pure vanilla extract
- 1/3 cup unsweetened cocoa powder
- 1/2 cup all‑purpose flour
- 1/4 teaspoon baking powder
- 1/4 teaspoon salt
Peanut Butter Swirl
- 1/3 cup creamy peanut butter
- 2 tablespoons honey or maple syrup
- 1/2 teaspoon sea salt (plus extra for topping)
Toppings & Extras
- 2 tablespoons mini chocolate chips (optional)
- 1 tablespoon chopped roasted peanuts (optional)
Instructions
Creating the Peanut Butter Swirl
- Combine Swirl Ingredients. In a small bowl, whisk together creamy peanut butter, honey (or maple syrup), and sea salt until smooth. The mixture should be pourable but still thick enough to hold its shape when dolloped.
- Portion the Batter. Using a 1/4‑cup measuring scoop, fill each muffin cup about two‑thirds full with brownie batter. This leaves room for the swirl and ensures a uniform height.
- Add the Swirl. Drop a teaspoon of the peanut butter mixture onto the center of each cup. Using a skewer or the tip of a knife, gently swirl the peanut butter through the brownie batter in a figure‑eight motion. The goal is a marbled effect, not a fully blended batter.
- Top (Optional). Sprinkle mini chocolate chips and chopped peanuts over the tops if desired. Finish each cup with a light pinch of flaky sea salt to enhance the sweet‑salty contrast.
- Bake. Place the tin in a preheated oven at 350°F (175°C) and bake for 18‑22 minutes. The edges should look set while the center remains slightly soft; a toothpick inserted near the edge should come out with a few moist crumbs.
Similar Recipes
 Desserts
Chocolate Covered Strawberry Valentines: 5 Ways to Delight
Learn how to make delicious Chocolate Covered Strawberry Valentines: 5 Ways to Delight. Easy recipe with…
 Desserts
Frozen Yogurt Banana Churro Slices: A Deliciously Unique Treat
Delicious Frozen Yogurt Banana Churro Slices: A Deliciously Unique Treat
 Desserts
Vegan Spring Dessert: 5 Guilt-Free Treats to Savor
Learn how to make delicious Vegan Spring Dessert: 5 Guilt-Free Treats to Savor. Easy recipe with…
 Desserts
Delight in 1 Incredible Moist Chocolate Poke Cake with Coconut Pecan Topping
Learn how to make delicious Delight in 1 Incredible Moist Chocolate Poke Cake with Coconut Pecan…
 Desserts
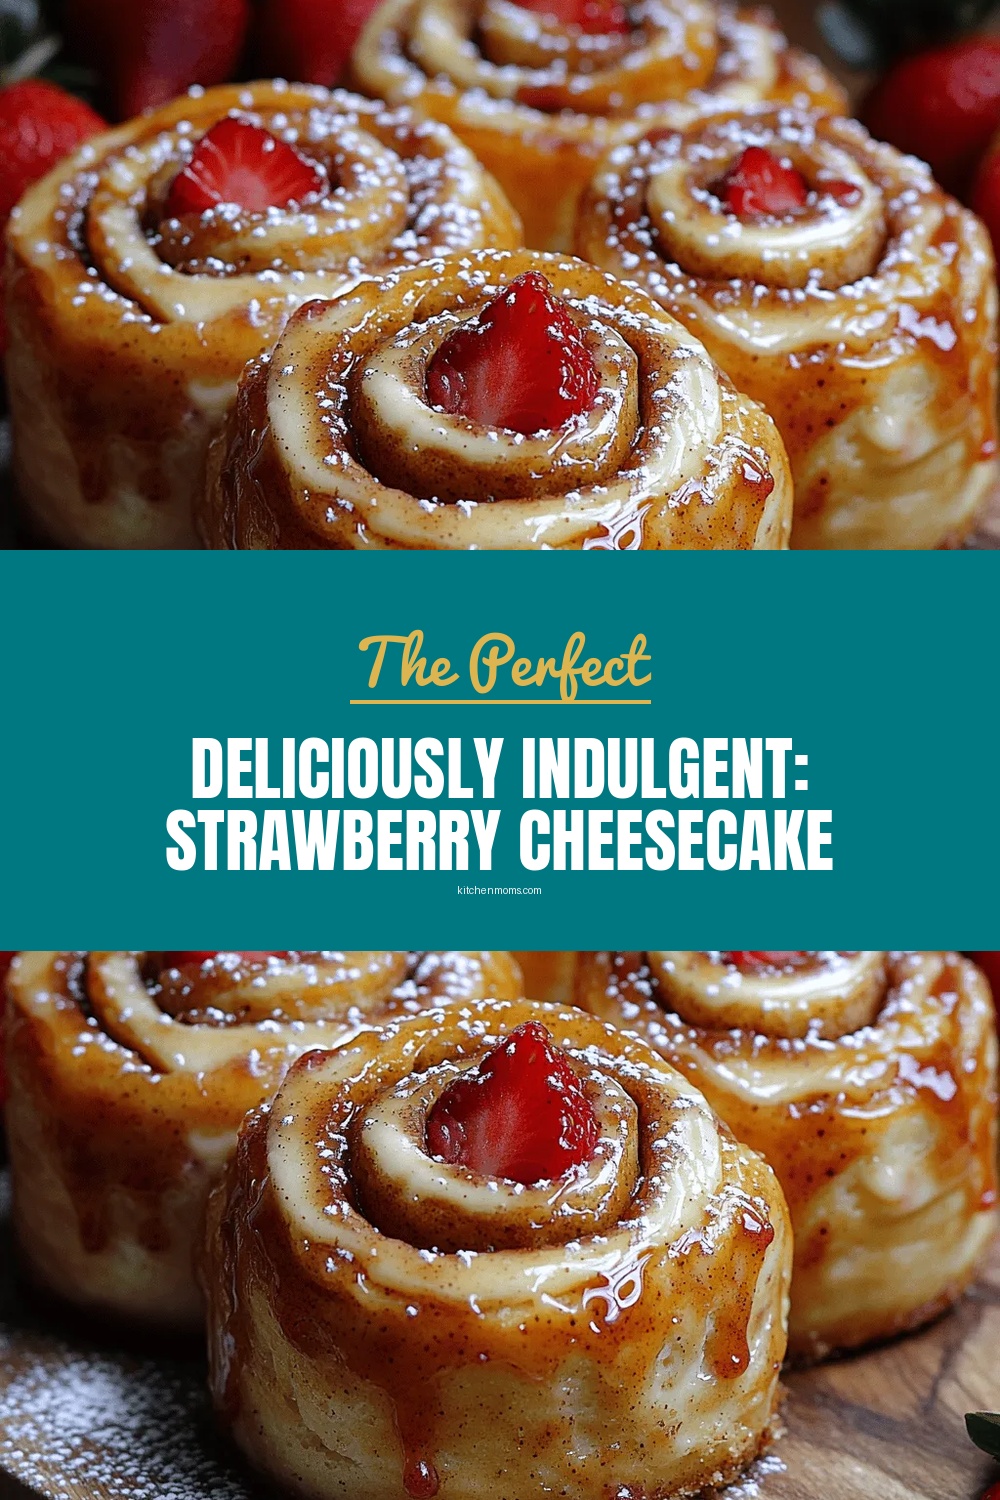
Deliciously Indulgent: Strawberry Cheesecake Cinnabon Rolls Recipe
Delicious Deliciously Indulgent: Strawberry Cheesecake Cinnabon Rolls Recipe
 Desserts
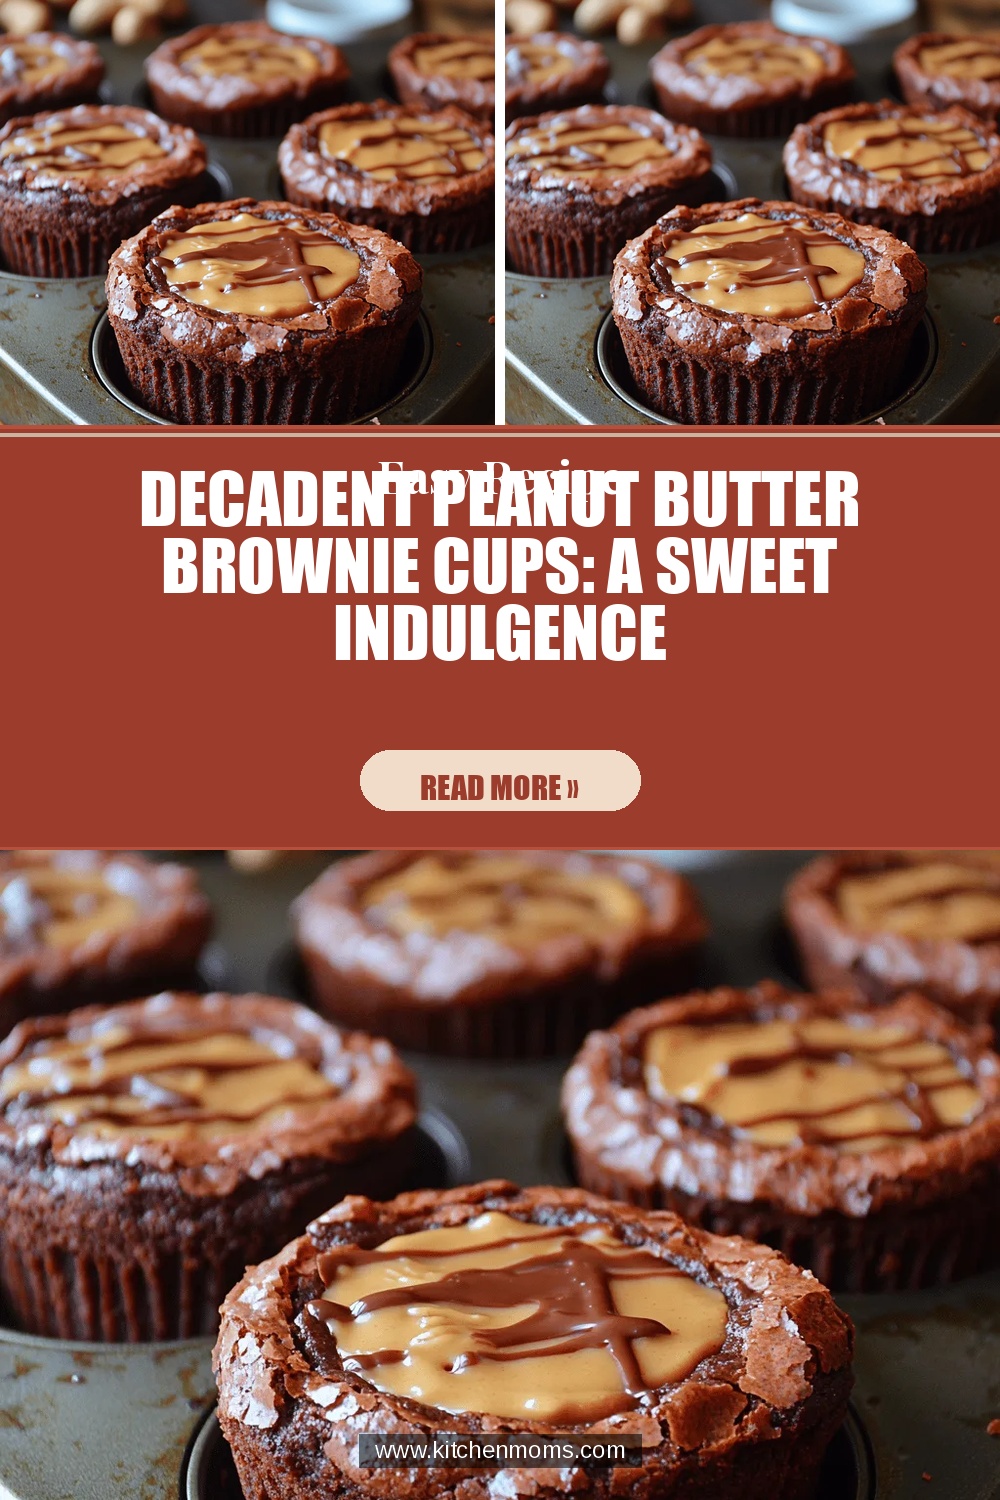
Decadent Peanut Butter Brownie Cups: A Sweet Indulgence
Delicious Decadent Peanut Butter Brownie Cups: A Sweet Indulgence
 Desserts
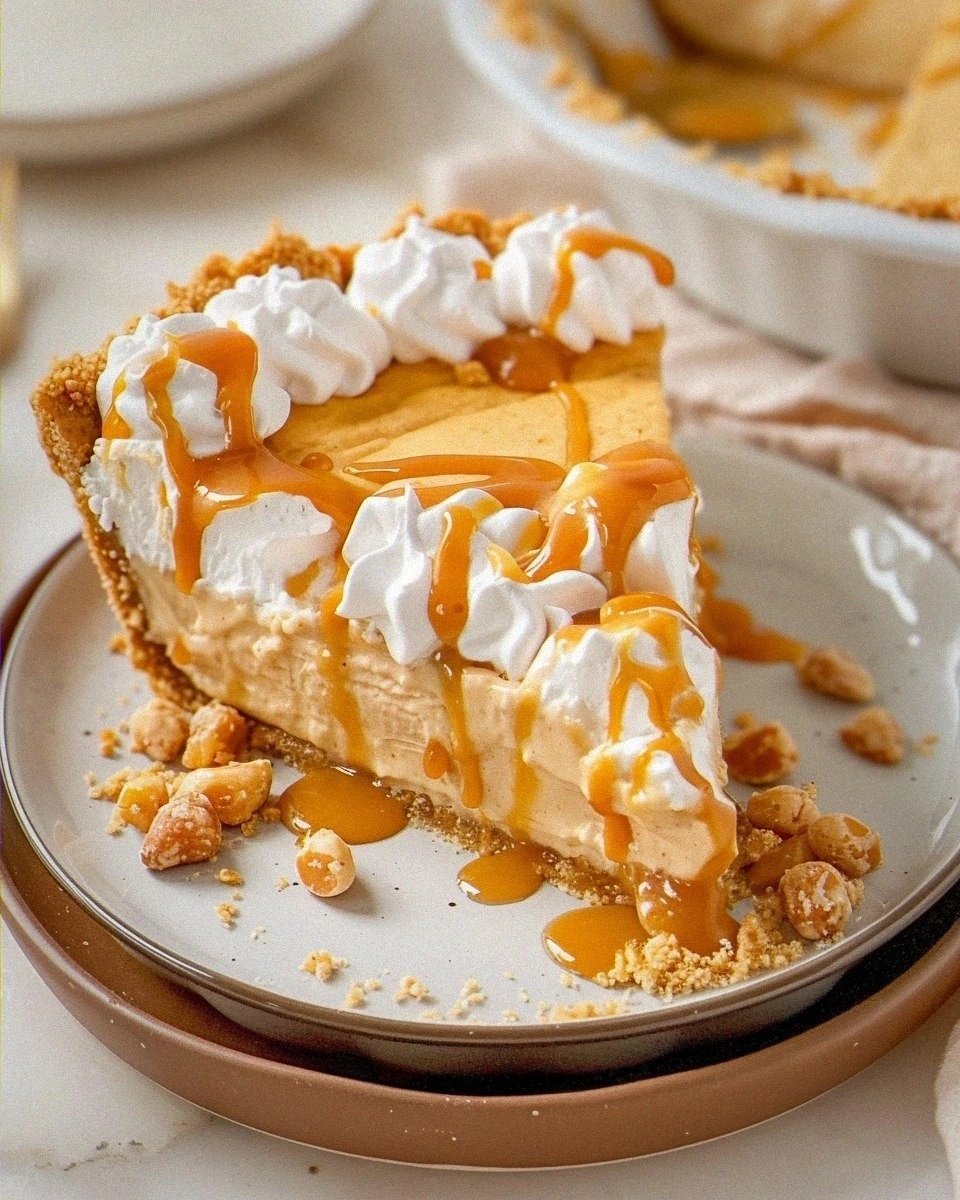
No-Bake Butterscotch Pie – Easy & Delicious Dessert Recipe
Learn how to make delicious No-Bake Butterscotch Pie – Easy & Delicious Dessert Recipe. Easy recipe…
 Desserts
Decadent Triple Chocolate Truffles: The Ultimate Guide to Crafting Chocolate Bliss
Delicious Decadent Triple Chocolate Truffles: The Ultimate Guide to Crafting Chocolate Bliss

Lucy
I cook these recipes at home before they ever land here — simple ingredients, clear steps.