Chickpea Crunch Wraps: The Perfect Recipe for Health and Flavor
 Save
Save
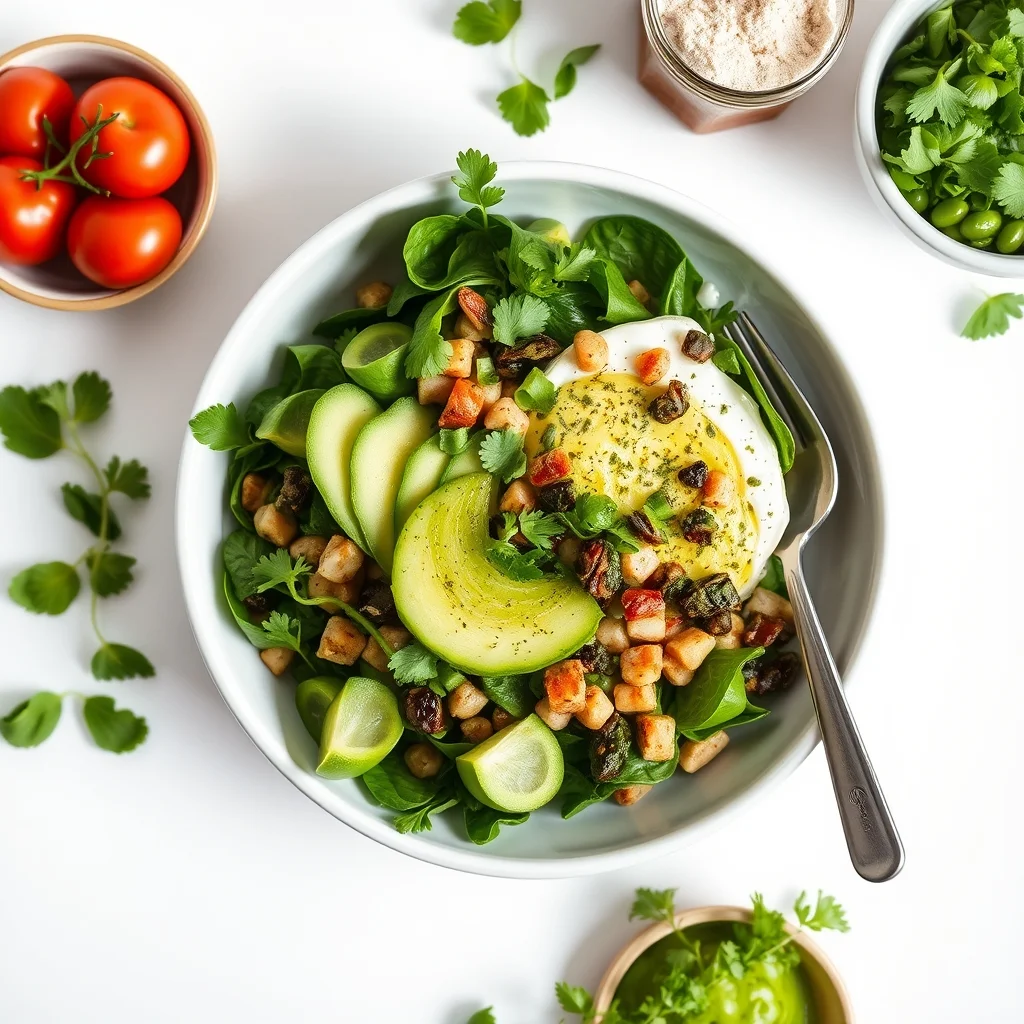
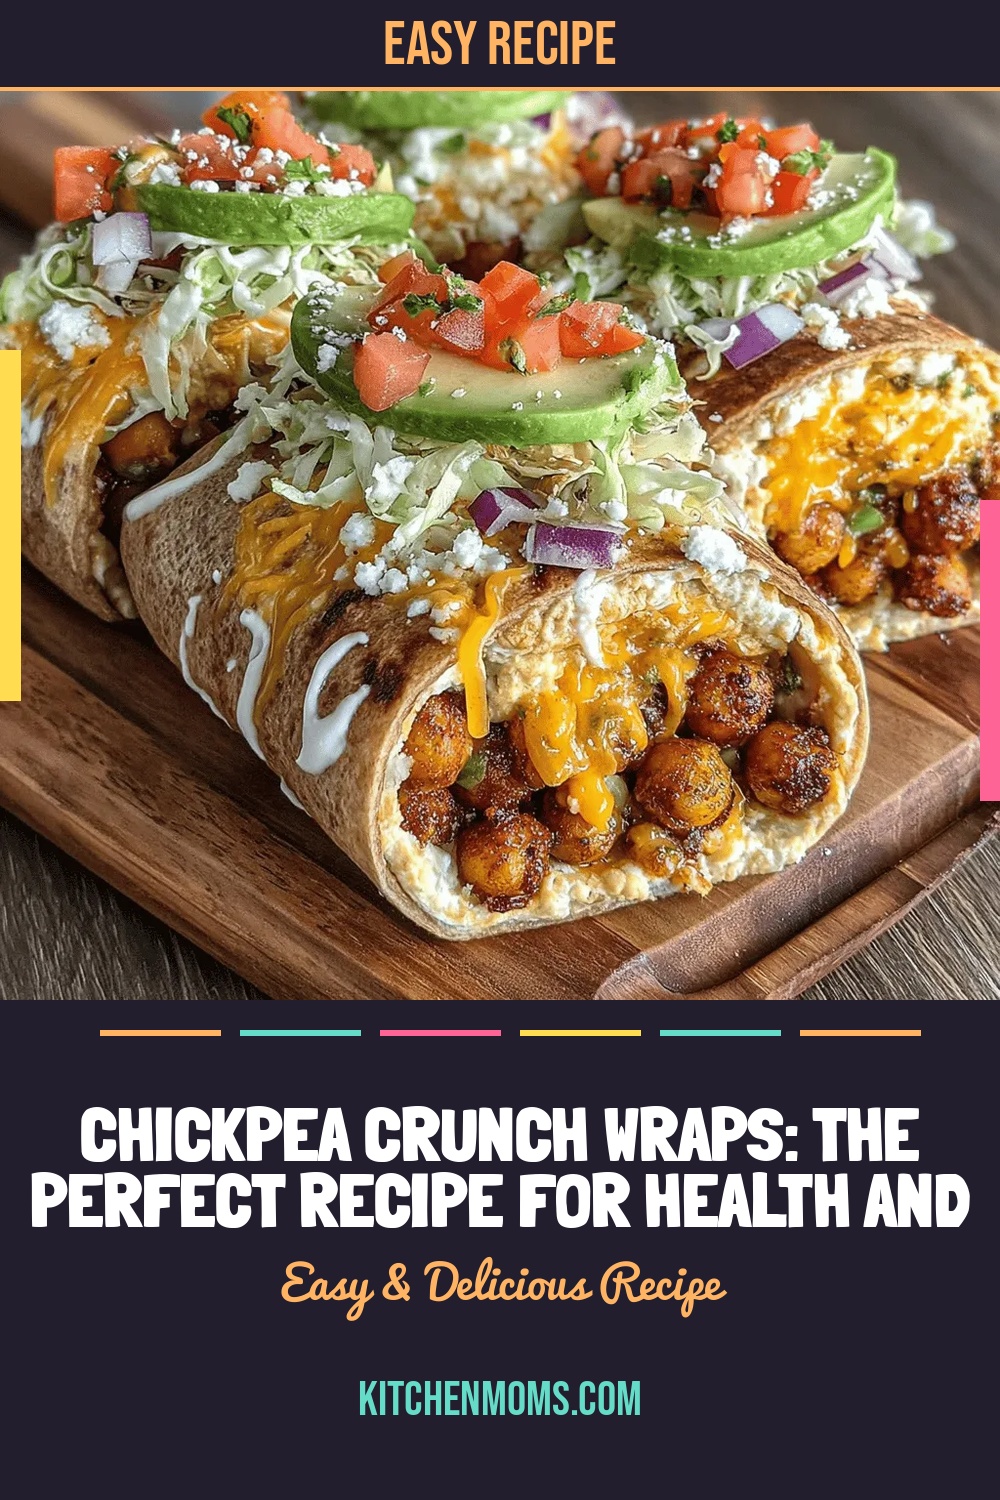
Imagine biting into a warm tortilla that crackles with a golden chickpea crust, then melts into a creamy, tangy sauce—all while delivering a burst of fresh garden vegetables. That’s the magic of Chickpea Crunch Wraps, a breakfast‑and‑brunch star that feels indulgent yet stays wonderfully wholesome.
What makes this wrap truly special is the contrast between the crunchy chickpea coating and the silky avocado‑lime crema. The blend of smoky spices, a hint of sweetness, and a splash of citrus creates layers of flavor that keep you reaching for another bite.
This dish is perfect for busy families, brunch‑loving friends, or anyone craving a protein‑packed start to the day. Serve it on lazy weekend mornings, at a casual brunch buffet, or as a hearty lunch that still feels light.
The process is straightforward: coat cooked chickpeas in seasoned crumbs, pan‑fry until crisp, assemble with fresh veggies, drizzle the yogurt‑tahini sauce, and wrap it all up. In under an hour you’ll have a colorful, satisfying meal that looks as good as it tastes.
Why You'll Love This Recipe
Crunchy Meets Creamy: The chickpea crust gives a satisfying snap, while the yogurt‑tahini drizzle adds a silky, cooling contrast that balances every bite.
Plant‑Based Power: Chickpeas provide protein, fiber, and iron, making these wraps a nutrient‑dense alternative to traditional meat‑filled options.
Quick Assembly: Once the chickpeas are fried, the wraps come together in minutes—ideal for busy mornings or a relaxed brunch.
Customizable Flavors: Swap veggies, adjust spices, or add a dash of hot sauce to suit any palate without compromising the core texture.
Tips & Tricks
Perfecting the Recipe
Dry Chickpeas Thoroughly. Moisture is the enemy of crunch; use a clean kitchen towel or paper towels to pat them completely dry before coating.
Don’t Overcrowd the Pan. Fry in batches if necessary. Overcrowding lowers the oil temperature, resulting in soggy, rather than crispy, coating.
Press the Coating. After tossing chickpeas with the crumb mixture, gently press with your hands so the crumbs adhere firmly before frying.
Use a Light Hand with Sauce. Too much sauce can sog the wrap; drizzle just enough to complement the crunch without soaking the tortilla.
Flavor Enhancements
Add a pinch of smoked sea salt to the coating for an extra depth of flavor, or stir a tablespoon of finely chopped fresh mint into the yogurt‑tahini sauce for a refreshing twist. A dash of hot sauce or a few drops of sriracha can introduce a pleasant heat without overwhelming the other flavors.
Common Mistakes to Avoid
Skipping the resting time after frying lets steam soften the crust, so let the chickpeas sit on a rack for a minute before assembling. Also, avoid using stale or overly sweet cornflakes; they can make the coating taste dull or overly sugary.
Pro Tips
Season the Sauce Early. Let the yogurt‑tahini mixture sit for 10 minutes before using; the flavors meld and become more pronounced.
Use a Cast‑Iron Skillet. It retains heat evenly, giving the chickpeas a uniform golden crust.
Warm the Tortillas Properly. A quick steam in the microwave (10 seconds) prevents cracks and makes rolling effortless.
Finish with Fresh Herbs. A sprinkle of cilantro or parsley adds a burst of color and aromatic freshness right before serving.
Variations
Ingredient Swaps
Replace chickpeas with roasted cauliflower florets for a softer bite, or use black beans for a heartier texture. Swap cornflakes for panko breadcrumbs if you prefer a finer crust. For a dairy‑free sauce, blend silken tofu, lemon juice, and tahini instead of Greek yogurt.
Dietary Adjustments
Choose gluten‑free tortillas for a celiac‑friendly version. To make the dish vegan, use plant‑based yogurt (such as coconut or almond) and replace honey with maple syrup. For a low‑carb option, serve the crunchy chickpeas in lettuce cups instead of tortillas.
Serving Suggestions
Pair the wraps with a side of quinoa salad tossed in lemon vinaigrette, or a light cucumber‑mint raita for extra coolness. A fruit salad of berries and citrus adds a sweet finish that balances the savory crunch.
Storage Info
Leftover Storage
Allow the wraps to cool completely, then wrap each tightly in parchment followed by aluminum foil. Store in an airtight container in the refrigerator for up to 3 days. The crunchy chickpeas can be kept separately in a dry container to preserve texture.
Reheating Instructions
Reheat the chickpeas in a 350°F (175°C) oven for 8‑10 minutes, uncovered, to restore crispness. Warm the assembled wrap in the same oven for 3‑4 minutes, or briefly in a skillet over medium heat. Add a fresh drizzle of sauce after reheating to revive the creamy element.
Frequently Asked Questions
Can I make this recipe in advance?
Can I use frozen chickpeas?
What sides work best with these wraps?
This Chickpea Crunch Wrap recipe delivers a satisfying blend of texture, flavor, and nutrition—all in a format that’s quick enough for busy mornings yet impressive enough for a weekend brunch. By mastering the dry‑coating technique and the bright yogurt‑tahini drizzle, you’ll have a versatile base that invites endless personalization. Feel free to experiment with veggies, spices, or sauces to make it truly your own. Enjoy every crunchy bite and share the joy with family and friends!
Chickpea Crunch Wraps: The Perfect Recipe for Health and Flavor
Delicious Chickpea Crunch Wraps: The Perfect Recipe for Health and Flavor
Ingredients
Main Ingredients
- 1 (15‑oz) can chickpeas, drained and rinsed
- 4 large whole‑wheat tortillas
- 1 cup shredded lettuce
- ½ cup diced tomatoes
- ¼ cup thinly sliced red onion
- ½ avocado, sliced
Crunch Coating
- ½ cup crushed cornflakes (or crushed tortilla chips)
- 1 tablespoon smoked paprika
- 1 teaspoon ground cumin
- ½ teaspoon chili powder
- ½ teaspoon garlic powder
- Salt and freshly ground black pepper, to taste
Sauce / Dressing
- ¾ cup plain Greek yogurt
- 2 tablespoons tahini
- 1 tablespoon honey (or agave for vegan)
- Juice of 1 lime
- ¼ teaspoon salt
Instructions
Making the Crunch Coating
- Combine dry ingredients. In a shallow dish, whisk together crushed cornflakes, smoked paprika, cumin, chili powder, garlic powder, salt, and pepper. The cornflakes provide a light, airy crunch that holds the spices evenly.
- Coat the chickpeas. Add the dried chickpeas to the spice mixture and toss until each pea is thoroughly coated. Press gently so the crumbs adhere; this creates a crust that will stay attached during frying.
- Heat the pan. Warm 2 tablespoons of olive oil in a large skillet over medium‑high heat. When the oil shimmers, it’s hot enough to sear without burning.
- Fry the chickpeas. Spread the coated chickpeas in a single layer. Cook for 3‑4 minutes, stirring occasionally, until the coating turns golden‑brown and crispy. Use a slotted spoon to transfer them to a paper‑towel‑lined plate, preserving the crunch.
Assembling the Wraps
- Lay out the tortillas. Warm each tortilla for 10 seconds in the microwave or a dry skillet; this makes them pliable and prevents tearing.
- Layer the fillings. Spread a generous spoonful of sauce down the center of each tortilla. Top with shredded lettuce, diced tomato, red onion, avocado slices, and a handful of the crunchy chickpeas.
- Roll tightly. Fold the sides in, then roll from the bottom up, keeping the fillings snug. A tight roll ensures the crunch stays inside and the wrap holds together when sliced.
- Final toast (optional). For extra crispness, place the assembled wraps seam‑side down in the same skillet for 1‑2 minutes over medium heat, pressing gently. This step adds a golden exterior without sacrificing the interior crunch.
Similar Recipes
 Appetizers
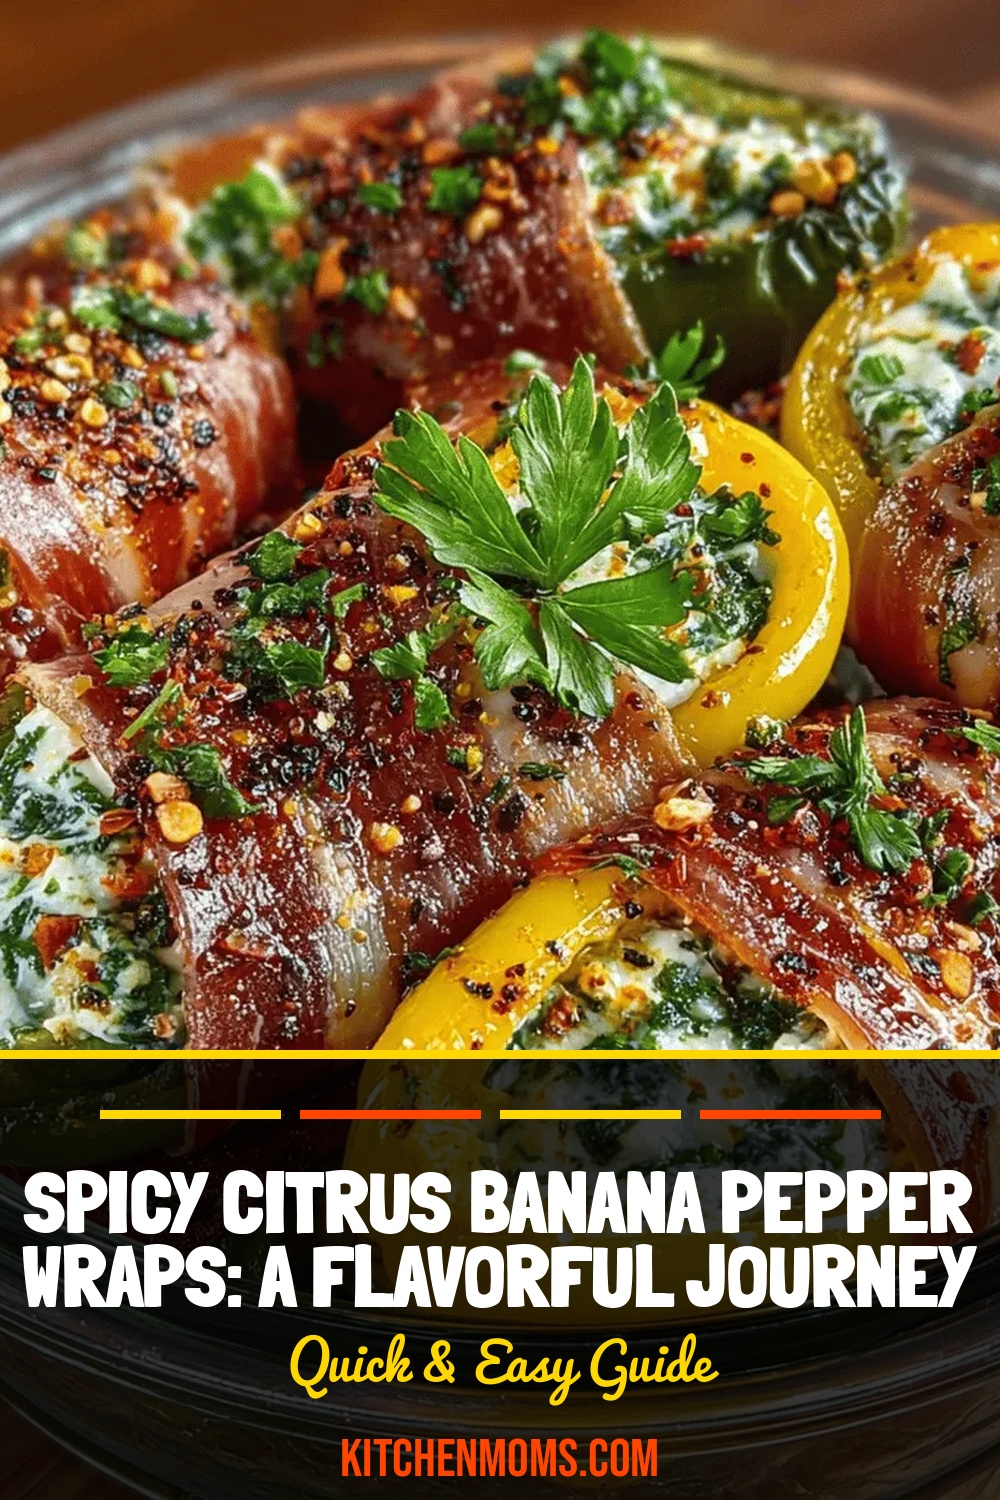
Spicy Citrus Banana Pepper Wraps: A Flavorful Journey
Delicious Spicy Citrus Banana Pepper Wraps: A Flavorful Journey
 Appetizers
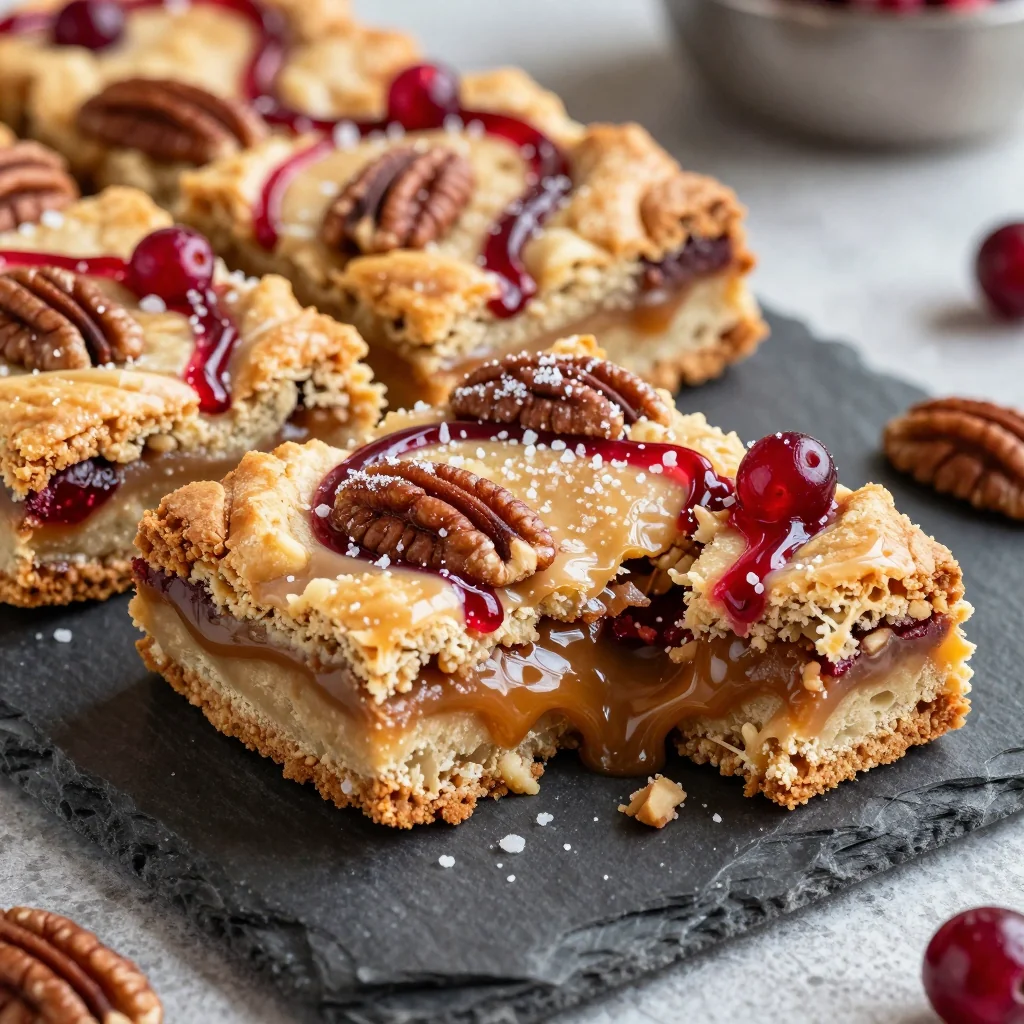
salted caramel pecan blondies with cranberry swirl for holiday baking
Learn how to make delicious salted caramel pecan blondies with cranberry swirl for holiday baking. Easy…
 Appetizers
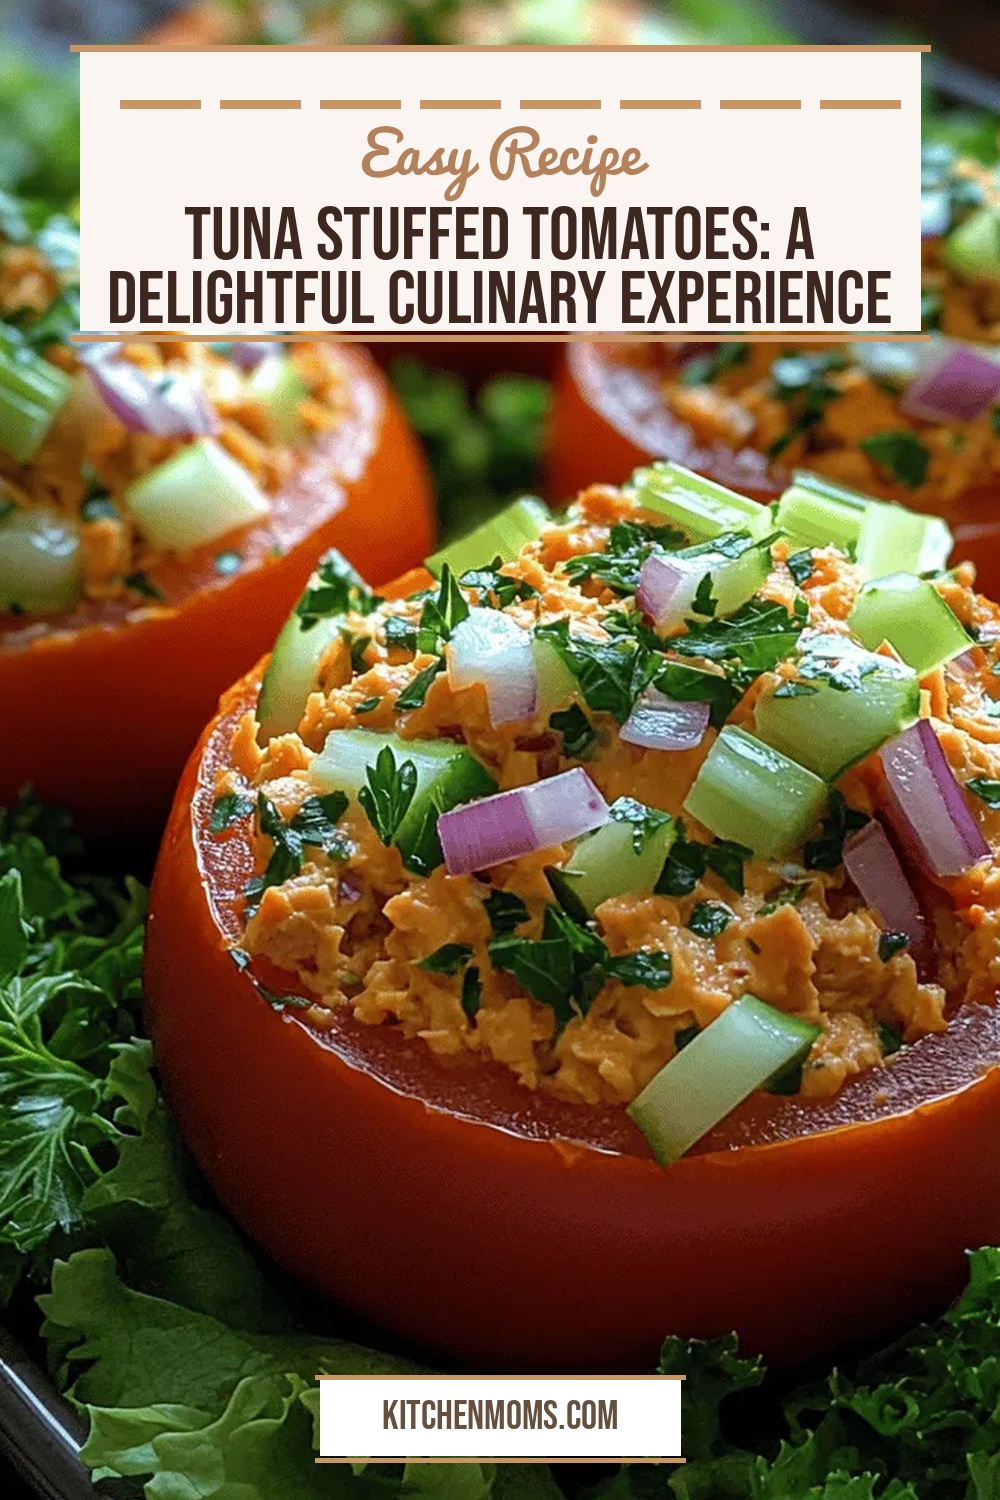
Tuna Stuffed Tomatoes: A Delightful Culinary Experience
Delicious Tuna Stuffed Tomatoes: A Delightful Culinary Experience
 Appetizers
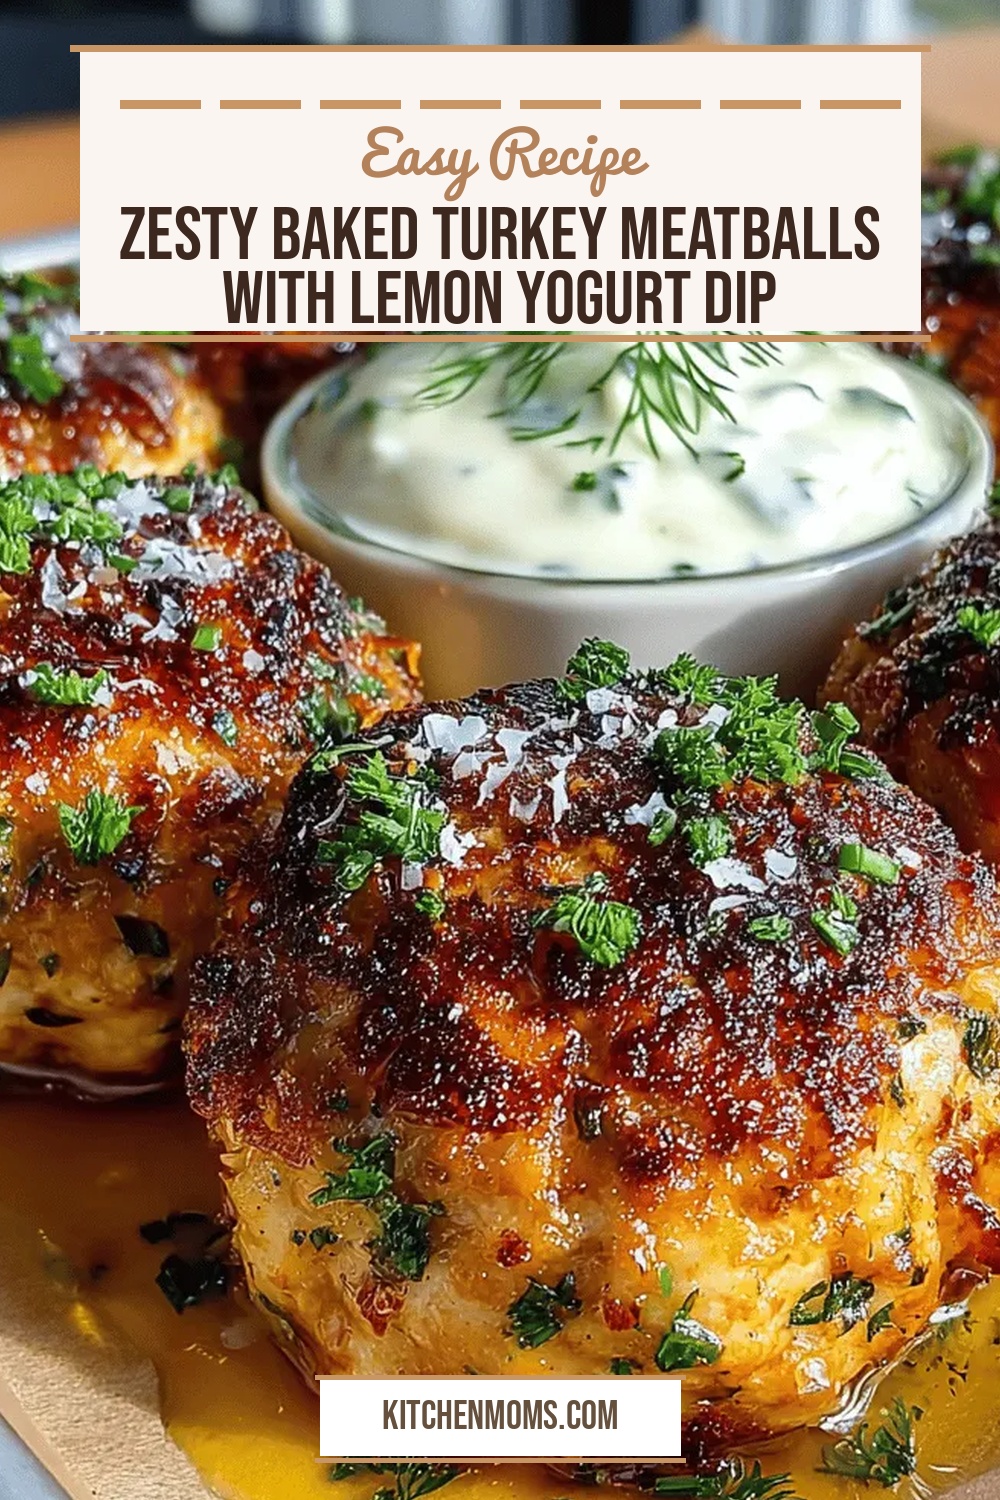
Zesty Baked Turkey Meatballs with Lemon Yogurt Dip
Delicious Zesty Baked Turkey Meatballs with Lemon Yogurt Dip
 Appetizers
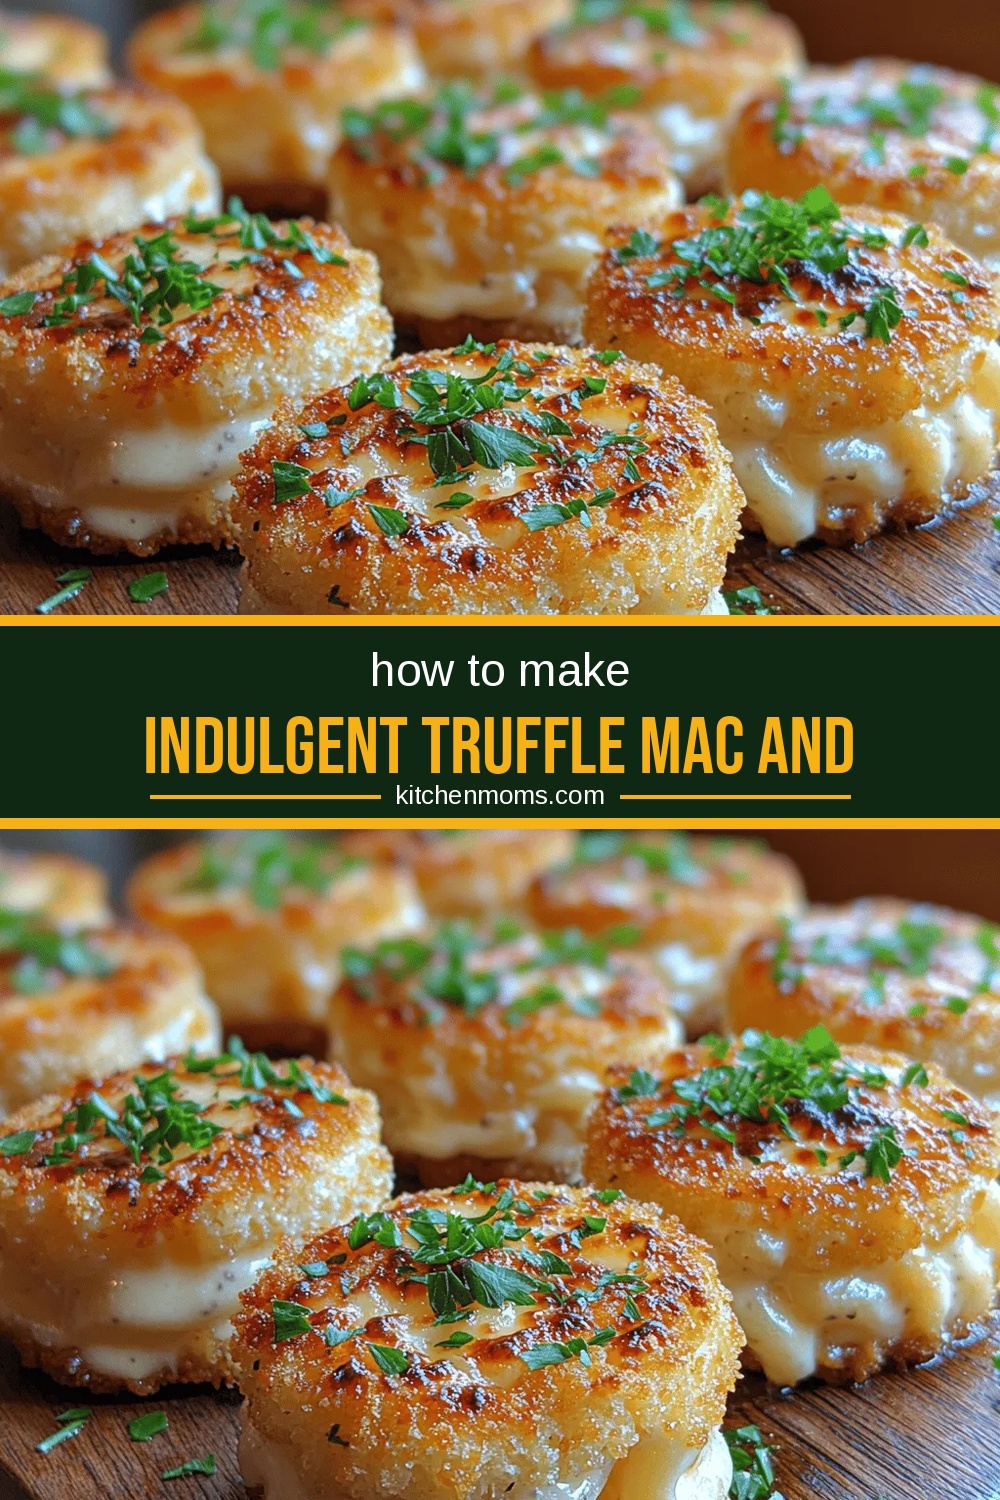
Indulgent Truffle Mac and Cheese Bites: A Gourmet Comfort Food Delight
Delicious Indulgent Truffle Mac and Cheese Bites: A Gourmet Comfort Food Delight
 Appetizers
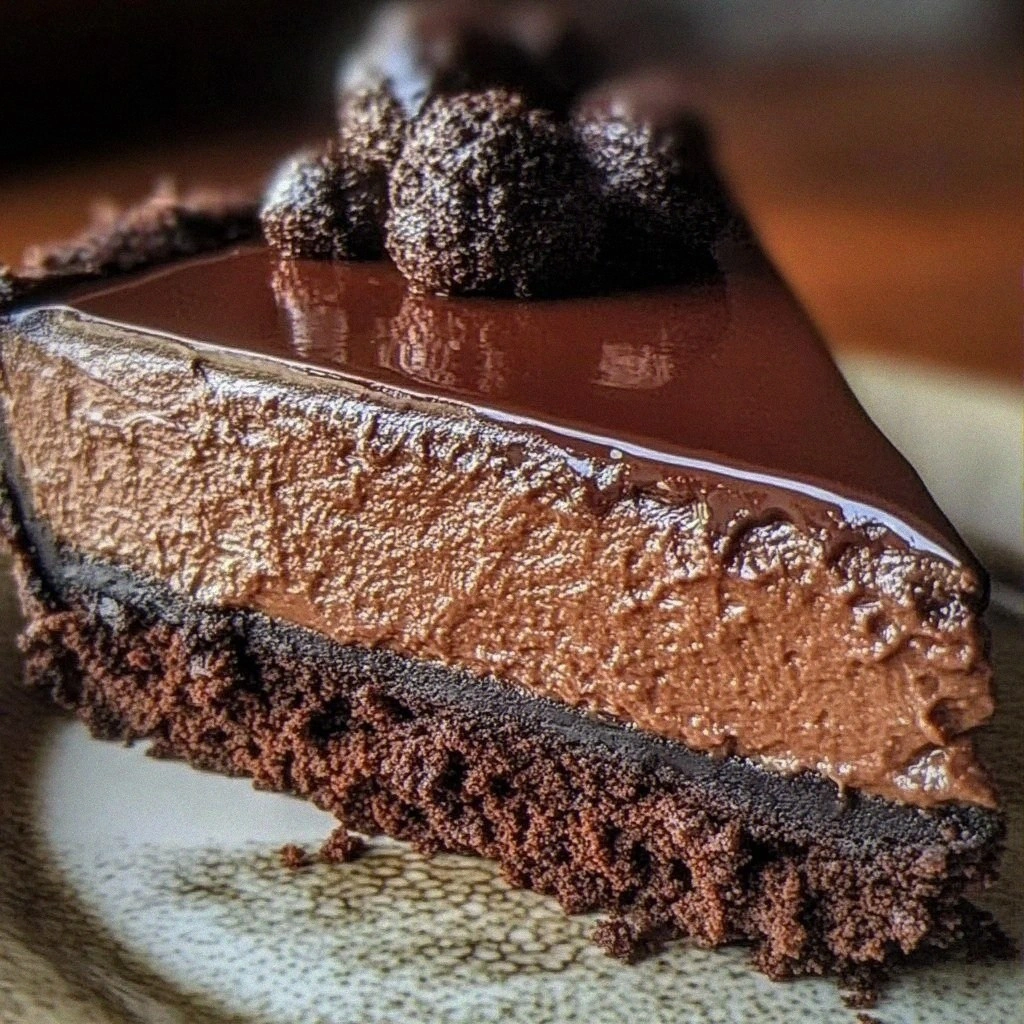
Chocolate Fudge Truffle Cheesecake in 30 Minutes Bliss
Learn how to make delicious Chocolate Fudge Truffle Cheesecake in 30 Minutes Bliss. Easy recipe with…
 Appetizers
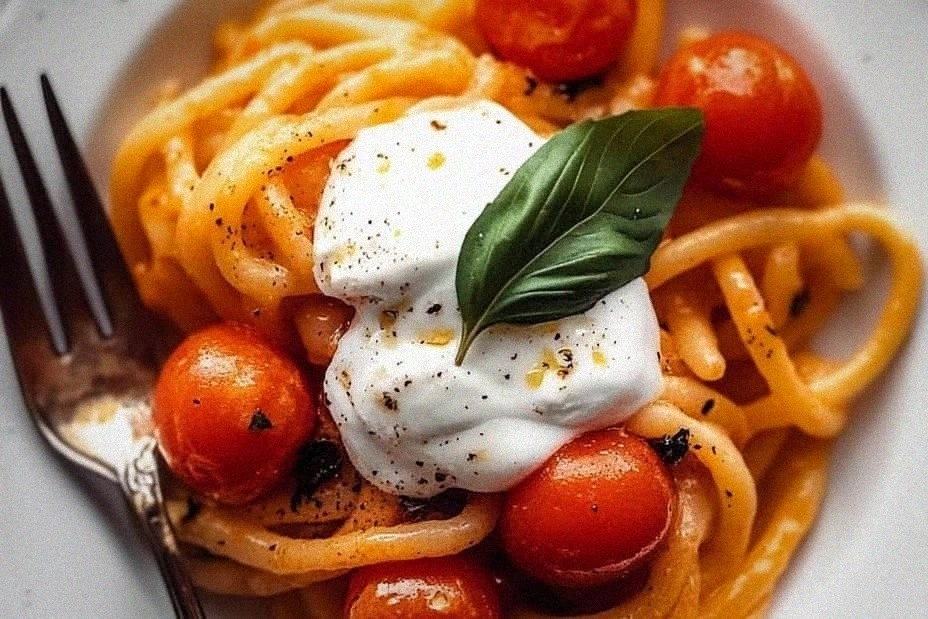
Cherry Tomato Pasta: An Incredible Ultimate Recipe You Must Try!
Learn how to make delicious Cherry Tomato Pasta: An Incredible Ultimate Recipe You Must Try!. Easy…
 Appetizers
Creamy Potato Leek Soup with Croutons for Lunch
Learn how to make delicious Creamy Potato Leek Soup with Croutons for Lunch. Easy recipe with…

Lucy
I cook these recipes at home before they ever land here — simple ingredients, clear steps.