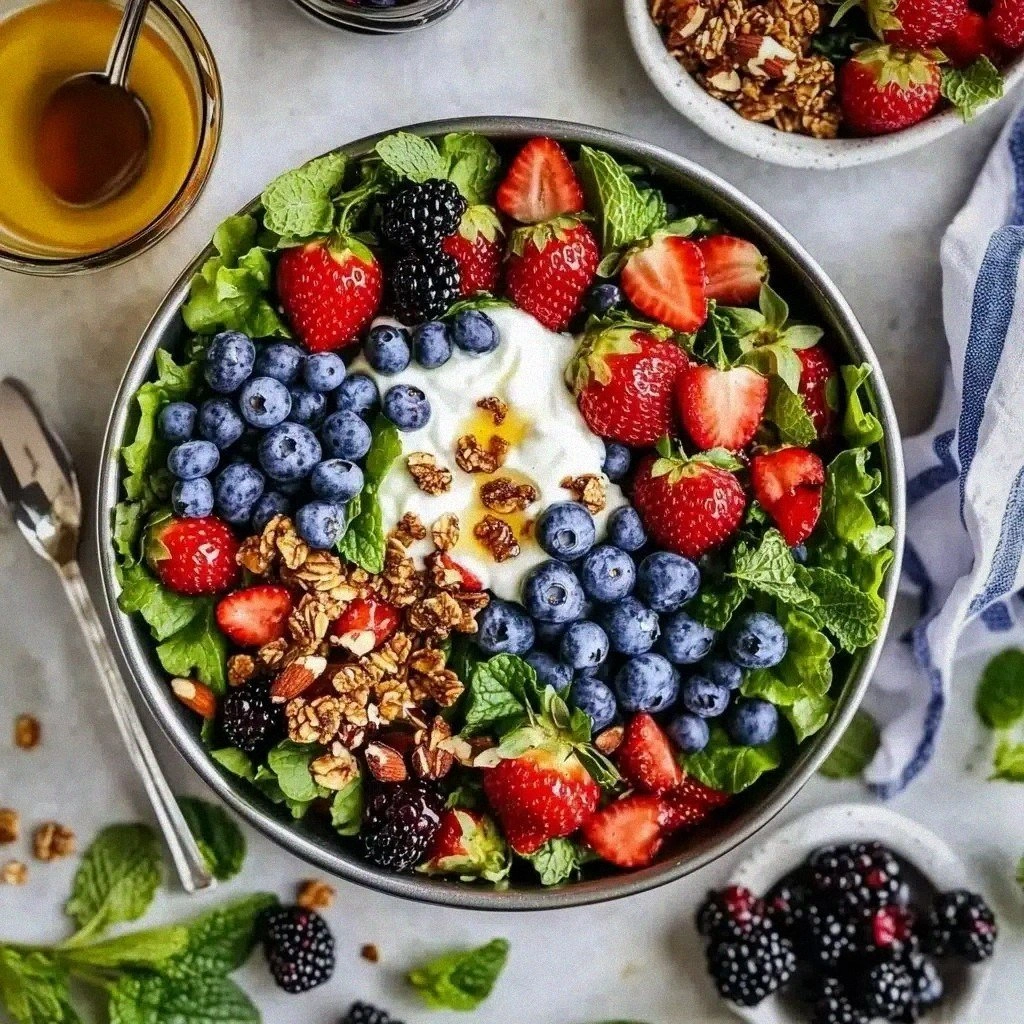
Toasty Delight: Air Fryer Egg and Cheese Bliss
 Save
Save
Imagine the comforting aroma of melted cheese and perfectly crisped bread meeting a fluffy, golden‑brown egg—all cooked in a flash with your air fryer. That’s the magic of Toasty Delight: Air Fryer Egg and Cheese Bliss, a breakfast‑or‑brunch hero that feels indulgent yet stays surprisingly simple.
This recipe stands out because the air fryer gives the toast a crunchy edge without the need for butter, while the egg stays silky inside. A sprinkle of herbs and a dash of hot sauce add just the right punch of flavor.
Busy parents, college students, or anyone craving a quick, satisfying meal will love this dish. It works perfectly for a lazy weekend brunch, a speedy weekday breakfast, or even a late‑night snack when cravings strike.
Start by whisking the eggs, layering cheese on thick bread slices, then let the air fryer do the heavy lifting. In just twelve minutes you’ll have a golden, gooey masterpiece ready to devour.
Why You'll Love This Recipe
Speedy Satisfaction: From start to finish it takes less than fifteen minutes, making it ideal for rushed mornings without sacrificing taste or texture.
Hands‑Free Cooking: The air fryer handles the crisping and baking, freeing you to prep other items or simply enjoy a moment of calm.
Customizable Layers: Swap cheeses, add veggies, or drizzle sauces—each variation stays delicious thanks to the reliable air‑fry technique.
Minimal Cleanup: One basket, a few utensils, and a quick wipe‑down; the recipe keeps your kitchen tidy while delivering big flavor.
Tips & Tricks
Perfecting the Recipe
Dry Bread First: Lightly toast the bread for 1‑2 minutes before adding cheese. This prevents sogginess and gives a sturdier base for the egg.
Even Egg Distribution: Tilt the bowl while whisking to create a uniform mixture, ensuring every bite has the same creamy texture.
Flavor Enhancements
Add a thin slice of smoked ham or turkey between the cheese layers for extra protein. A sprinkle of grated Gruyère adds nutty depth, while a dash of truffle oil after cooking elevates the dish to gourmet status.
Common Mistakes to Avoid
Do not overload the basket; crowded sandwiches steam instead of crisp. Also, avoid using overly wet bread—excess moisture will prevent the cheese from forming that coveted golden crust.
Pro Tips
Use a Light Spray: A quick mist of cooking spray on the top slice helps achieve an extra‑crisp finish without extra oil.
Rest Before Cutting: Let the sandwich sit 30 seconds after removal; this allows the cheese to set slightly, preventing a messy slide.
Temperature Check: If you prefer a fully set egg, add a minute to the second side and check with a thermometer (should read 160°F).
Batch Cook: For larger families, cook in batches and keep finished sandwiches warm in a 200°F oven, covered with foil.
Variations
Ingredient Swaps
Replace cheddar with pepper jack for a spicy twist, or use mozzarella for a milder melt. Swap the sandwich bread for a hearty English muffin or a bagel to change texture. Incorporate sautéed spinach or sliced avocado for added nutrition and creaminess.
Dietary Adjustments
For a gluten‑free version, choose certified gluten‑free bread or use large lettuce leaves as a wrap. Vegan diners can substitute the eggs with a chickpea flour “egg” batter and use dairy‑free cheese alternatives. Keto lovers can use almond‑flour bread and omit the milk.
Serving Suggestions
Pair the toast with a crisp mixed green salad dressed in lemon vinaigrette, or serve alongside roasted sweet potato wedges for a hearty brunch. A side of fresh berries adds a sweet contrast, while a dollop of Greek yogurt offers a cool, tangy finish.
Storage Info
Leftover Storage
Allow any leftovers to cool to room temperature, then place each sandwich in a separate airtight container. Refrigerate for up to three days. For longer keeping, wrap tightly in plastic wrap followed by foil and freeze for up to two months.
Reheating Instructions
Reheat in the air fryer at 350°F for 3‑4 minutes, flipping halfway, to restore crispness. If using a microwave, cover with a damp paper towel and heat in 30‑second bursts, though the crust will be softer.
Frequently Asked Questions
Can I make this recipe ahead of time?
Can I use frozen bread or pre‑sliced cheese?
What side dishes complement this toast?
How do I keep the cheese from leaking out?
Toasty Delight: Air Fryer Egg and Cheese Bliss brings together crisp bread, melty cheese, and a perfectly set egg in under fifteen minutes. By following the step‑by‑step guide, using the tips, and experimenting with the suggested variations, you’ll create a breakfast that feels both luxurious and effortless. Let your imagination run wild—add herbs, spices, or extra proteins to make it truly yours. Enjoy every golden bite!
Toasty Delight: Air Fryer Egg and Cheese Bliss
Delicious Toasty Delight: Air Fryer Egg and Cheese Bliss
Ingredients
Base Components
- 4 slices thick‑cut sandwich bread
- 2 large eggs
- 2 Tbsp whole‑milk milk
Cheese & Flavor
- ½ cup shredded sharp cheddar
- ¼ cup grated Parmesan
- ¼ tsp smoked paprika
Seasonings & Garnish
- Salt and freshly ground black pepper, to taste
- 1 Tbsp chopped fresh chives
- Optional: a few dashes of hot sauce
Instructions
Cooking Process
- Assemble the Sandwich. Gently pour the whisked egg mixture onto each cheese‑topped slice, spreading it so it covers the surface but doesn’t overflow. Top each with a second slice of bread, pressing lightly to hold everything together.
- Air‑Fry the Creation. Place the assembled sandwiches in the preheated basket, ensuring they don’t touch. Cook for 6 minutes, then flip carefully using tongs. Continue cooking another 5‑6 minutes until the bread is golden brown and the interior egg is set but still slightly custardy.
- Check for Doneness. Insert a toothpick into the center; it should come out clean, and the cheese should be fully melted. If the top isn’t crisp enough, add an extra minute or two, watching closely to avoid burning.
- Finish with Garnish. Remove the sandwiches, sprinkle chopped chives over the top, and, if desired, drizzle a few drops of hot sauce for a gentle kick. Let them rest for a minute before slicing.
Similar Recipes
 Breakfast
Bright & Zesty Lemon Poppy Seed Pancakes: A Delightful Breakfast Experience
Delicious Bright & Zesty Lemon Poppy Seed Pancakes: A Delightful Breakfast Experience
 Breakfast
Apple Pie Cinnamon Rolls Recipe: A Delicious Fusion of Flavors
Delicious Apple Pie Cinnamon Rolls Recipe: A Delicious Fusion of Flavors
 Breakfast
Sweet Potato and Feta Egg Muffins Recipe
Delicious Sweet Potato and Feta Egg Muffins Recipe
 Breakfast
Breakfast Biscuit Bundt Cake: A Savory Start to Your Day
Delicious Breakfast Biscuit Bundt Cake: A Savory Start to Your Day
 Breakfast
Mini Blueberry Muffin Loaves Recipe
Delicious Mini Blueberry Muffin Loaves Recipe
 Breakfast
Savory Egg and Spinach Breakfast Wraps
Delicious Savory Egg and Spinach Breakfast Wraps
 Breakfast
The Perfect Start to Your Day with Sizzling Turkey Bacon Breakfast Quesadillas
Delicious The Perfect Start to Your Day with Sizzling Turkey Bacon Breakfast Quesadillas
 Breakfast
Sweet & Savory Fig Jam Muffins
Delicious Sweet & Savory Fig Jam Muffins

Lucy
I cook these recipes at home before they ever land here — simple ingredients, clear steps.