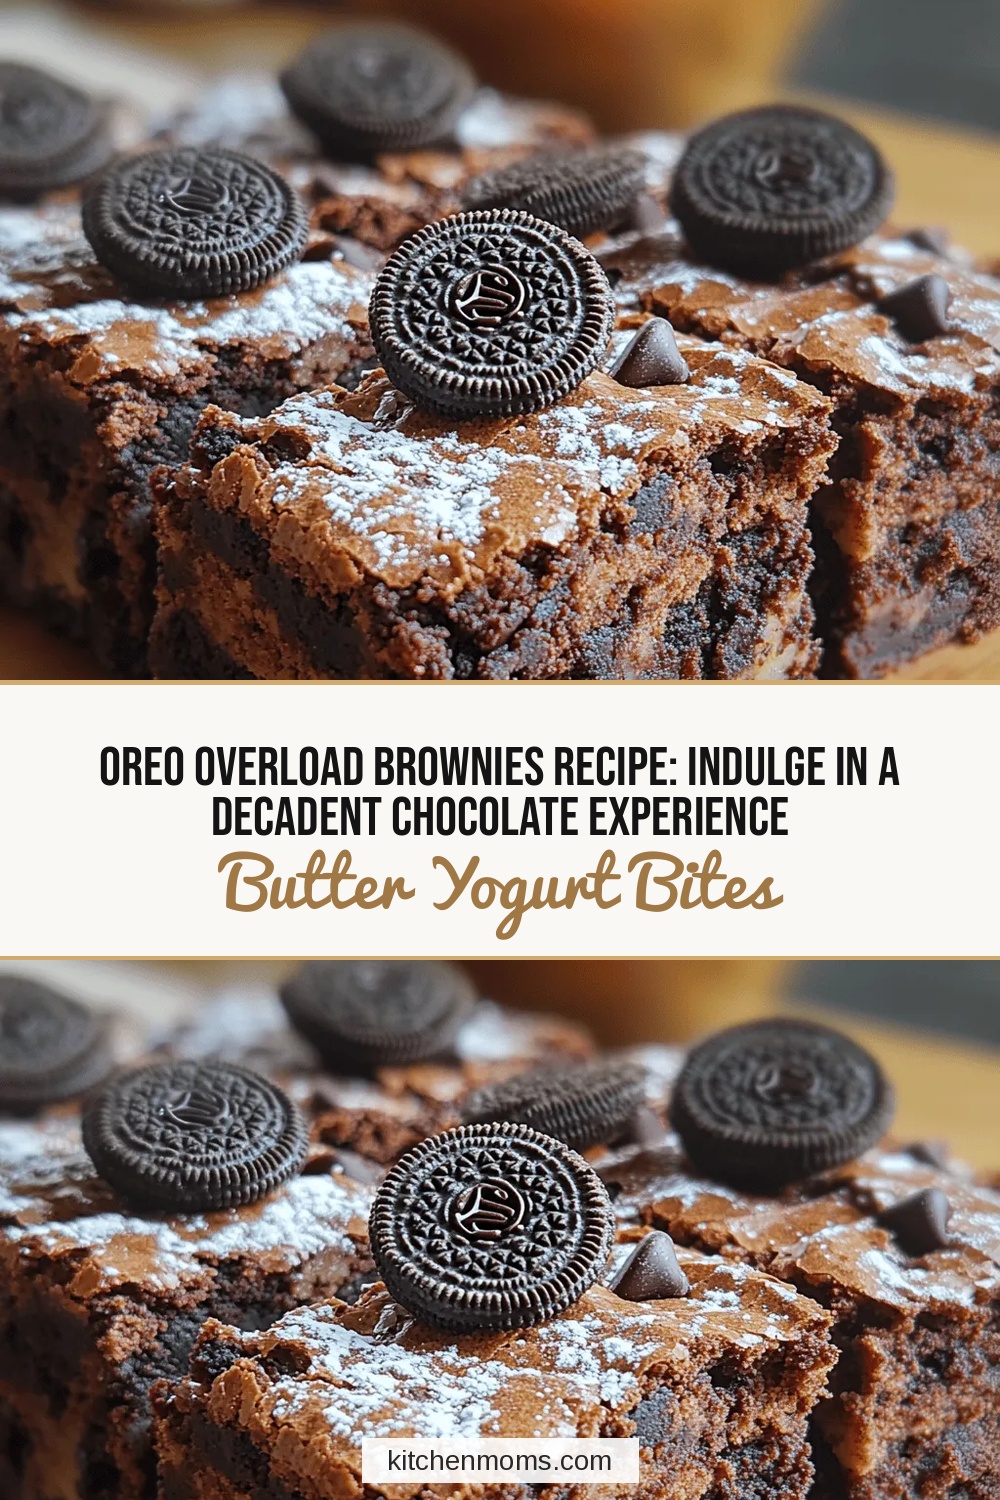
Oreo Overload Brownies Recipe: Indulge in a Decadent Chocolate Experience
 Save
Save
Imagine the classic, creamy crunch of an Oreo cookie folded into a fudgy, chocolate‑rich brownie. That’s the magic of the Oreo Overload Brownies – a dessert that feels both nostalgic and indulgent in every bite.
What makes this recipe stand out is the layered texture: a moist chocolate base, a swirl of Oreo‑infused batter, and a glossy, buttery Oreo glaze on top. The result is a dessert that’s both chewy and melt‑in‑your‑mouth soft.
Chocolate lovers, party hosts, and anyone craving a sweet treat will adore these brownies. They shine at birthday celebrations, casual get‑togethers, or as a comforting after‑dinner indulgence.
The method is straightforward: melt chocolate, combine dry and wet ingredients, fold in crushed Oreos, bake, and finish with a quick glaze. Even beginner bakers can master this decadent delight.
Why You'll Love This Recipe
Ultimate Chocolate‑Oreos Fusion: The combination of rich cocoa and crunchy Oreo pieces creates a flavor profile that’s instantly recognizable yet surprisingly luxurious.
Effortless Prep: With just a handful of steps and common pantry items, you can whip up a show‑stopping dessert without spending hours in the kitchen.
Visually Impressive: The glossy Oreo glaze and speckled top give the brownies a professional look that will wow guests before the first bite.
Flexible Portioning: Cut them into bite‑size squares for parties or larger bars for a family dessert – the recipe scales beautifully.
Tips & Tricks
Perfecting the Recipe
Room‑temperature eggs: Using eggs that are not cold helps them blend smoothly with the chocolate, preventing a lumpy batter.
Don’t over‑mix flour: Stir just until no streaks remain; this keeps the brownies dense and fudgy rather than cakey.
Even Oreo distribution: Toss the crushed Oreos with a tablespoon of flour before folding; this prevents them from sinking to the bottom.
Check doneness early: Start checking at 22 minutes; every oven varies, and you want a moist interior.
Flavor Enhancements
For a deeper flavor, add a pinch of espresso powder to the dry ingredients—it intensifies chocolate without adding bitterness. Swirl in a tablespoon of peanut butter before baking for a subtle nutty undertone. A dash of sea‑salt on the glaze just before it sets creates a perfect sweet‑salty contrast.
Common Mistakes to Avoid
Avoid opening the oven door too often; temperature drops can cause the brownies to set unevenly. Also, don’t over‑bake—the brownies will become cakey and lose their signature gooey center. Finally, let the brownies cool completely before cutting; this prevents them from crumbling.
Pro Tips
Use high‑quality chocolate: A cocoa content of 70% or higher yields richer, more complex flavor.
Line the pan with parchment: This ensures a clean release and perfect edges without sticking.
Glaze while warm: Applying the glaze to slightly warm brownies helps it spread evenly and set with a glossy sheen.
Store in a single layer: If stacking, place parchment between layers to keep the top glaze intact.
Variations
Ingredient Swaps
Swap dark chocolate for milk chocolate if you prefer a sweeter profile, or use white chocolate for a completely different taste. Replace regular Oreos with Double Stuf for extra creaminess, or try flavored Oreos (e.g., mint) for a fun twist. Gluten‑free flour blends work just as well without sacrificing texture.
Dietary Adjustments
For a vegan version, substitute butter with coconut oil, use a plant‑based chocolate, and replace eggs with a flax‑egg mixture (1 tbsp ground flaxseed + 3 tbsp water per egg). Gluten‑free bakers can use a 1‑to‑1 gluten‑free flour blend; just ensure it contains xanthan gum for structure. To lower sugar, reduce the granulated sugar by a third and increase the cocoa slightly.
Serving Suggestions
Serve warm with a scoop of vanilla ice cream for a classic sundae. A drizzle of salted caramel sauce adds an elegant finish. For a brunch twist, top each square with a dollop of whipped cream and fresh berries. Pair with a robust espresso to balance the sweetness.
Storage Info
Leftover Storage
Allow the brownies to cool completely, then cut them and place in an airtight container. Refrigerate for up to 4 days. For longer keeping, wrap individual portions in plastic wrap, then foil, and freeze for up to 3 months. Proper sealing prevents freezer burn and preserves the creamy Oreo texture.
Reheating Instructions
Reheat in a 300°F (150°C) oven for 8‑10 minutes, loosely covered with foil to retain moisture. This revives the fudgy interior without drying the glaze. In a microwave, heat a single square on medium power for 20‑30 seconds, adding a splash of milk if the texture feels too dense.
Frequently Asked Questions
Can I make these brownies ahead of time?
What if I don’t have an oven that reaches 350°F?
Can I substitute the glaze with something else?
These Oreo Overload Brownies deliver a perfect marriage of fudgy chocolate and crunchy cookie delight, all while staying surprisingly simple to make. With clear steps, handy tips, and plenty of ways to customize, you’re equipped to create a dessert that dazzles any crowd. Feel free to experiment with flavors, textures, or presentation—your kitchen, your rules. Serve warm, share generously, and enjoy every melt‑in‑your‑mouth bite!
Oreo Overload Brownies Recipe: Indulge in a Decadent Chocolate Experience
Delicious Oreo Overload Brownies Recipe: Indulge in a Decadent Chocolate Experience
Ingredients
Main Ingredients
- 1 cup (225 g) unsalted butter, melted
- 8 oz (225 g) dark chocolate, chopped
- 1 ½ cups granulated sugar
- 4 large eggs, room temperature
- 1 tsp vanilla extract
- ¾ cup all‑purpose flour
- ¼ cup unsweetened cocoa powder
- ½ tsp baking powder
Oreo Mixture
- 12 Oreo cookies, coarsely crushed
- 6 additional Oreo cookies, halved (for topping)
Glaze (Optional)
- ¼ cup unsalted butter, softened
- 1 ½ cups powdered sugar, sifted
- 2 tbsp milk (or heavy cream)
- ½ tsp vanilla extract
- 4 Oreo cookies, finely crushed (for swirl)
Instructions
Mixing Wet & Dry Components
- Combine sugar and eggs. In a large mixing bowl, whisk together the granulated sugar and room‑temperature eggs until the mixture lightens in color and becomes slightly frothy, about 2 minutes. This incorporates air, giving the brownies a tender crumb.
- Incorporate chocolate. Pour the melted butter‑chocolate mixture into the egg‑sugar blend, adding the vanilla extract. Stir gently with a spatula until fully combined; the batter should be glossy and thick.
- Fold in dry ingredients. Sift together flour, cocoa powder, and baking powder. Gently fold this dry mixture into the wet batter, being careful not to over‑mix. Over‑mixing can develop gluten, leading to a tougher texture.
- Add crushed Oreos. Sprinkle the coarsely crushed 12 Oreos over the batter and fold just enough to distribute them evenly. You’ll still see visible chunks, which will melt slightly during baking, creating pockets of creamy cookie goodness.
Similar Recipes
 Desserts
Nutty Bliss Almond Butter Bars
Delicious Nutty Bliss Almond Butter Bars
 Desserts
Delight in 1 Incredible Moist Chocolate Poke Cake with Coconut Pecan Topping
Learn how to make delicious Delight in 1 Incredible Moist Chocolate Poke Cake with Coconut Pecan…
 Desserts
Choco-Oat Dream Bars Recipe
Delicious Choco-Oat Dream Bars Recipe
 Desserts
Peach Cobbler Ice Cream Sandwiches: A Summer Delight
Delicious Peach Cobbler Ice Cream Sandwiches: A Summer Delight
 Desserts
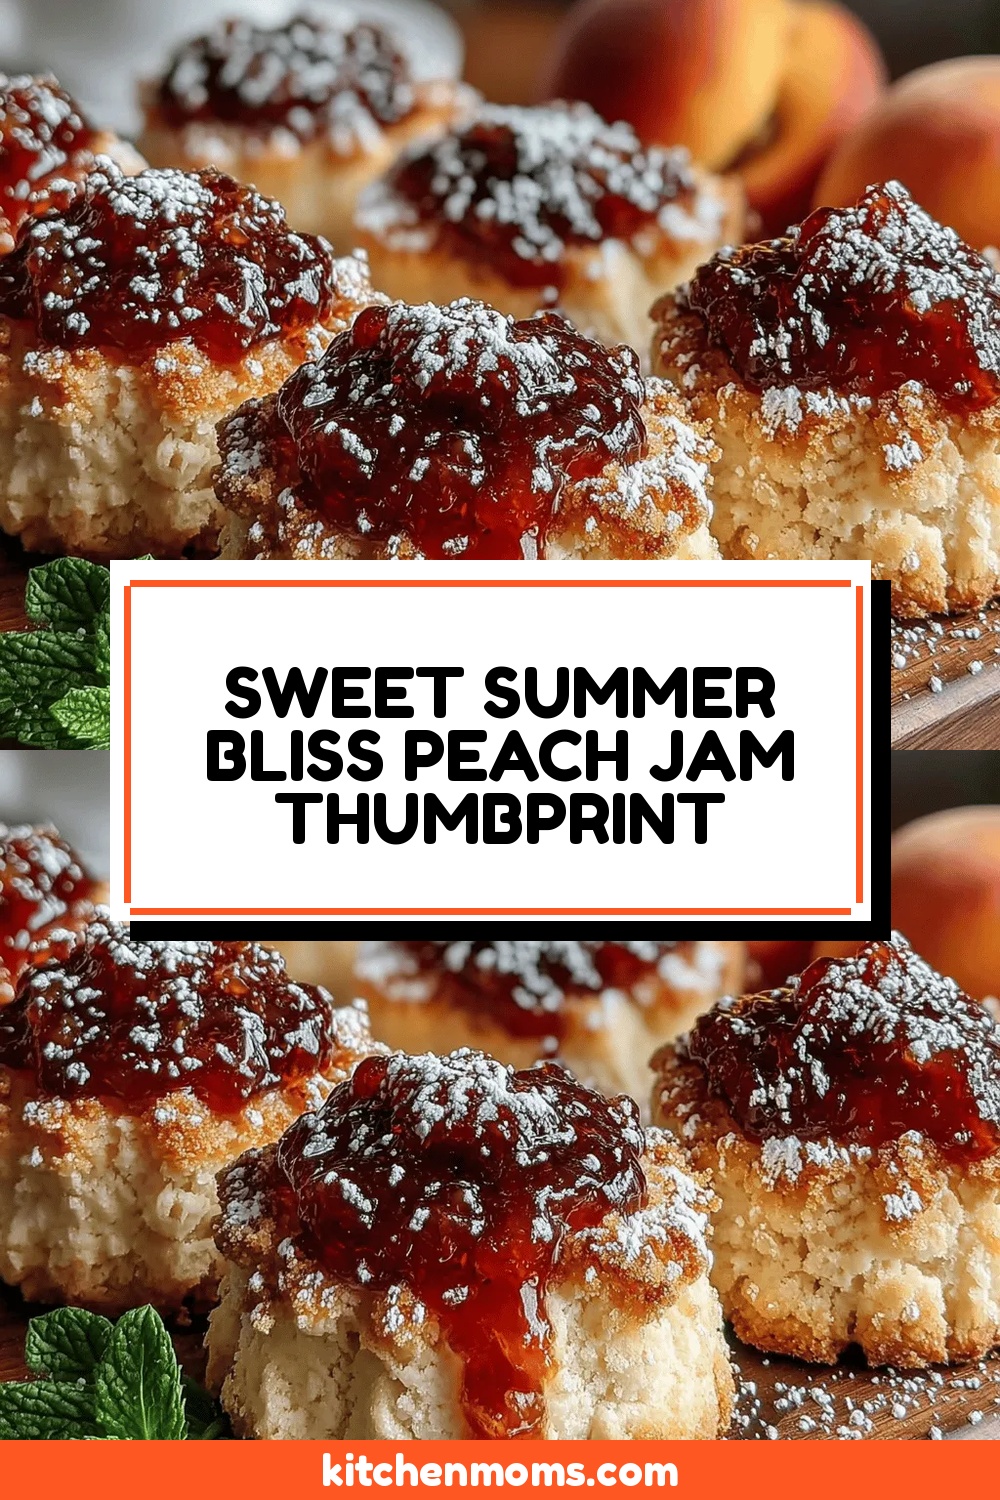
Sweet Summer Bliss Peach Jam Thumbprint Cookies
Delicious Sweet Summer Bliss Peach Jam Thumbprint Cookies
 Desserts
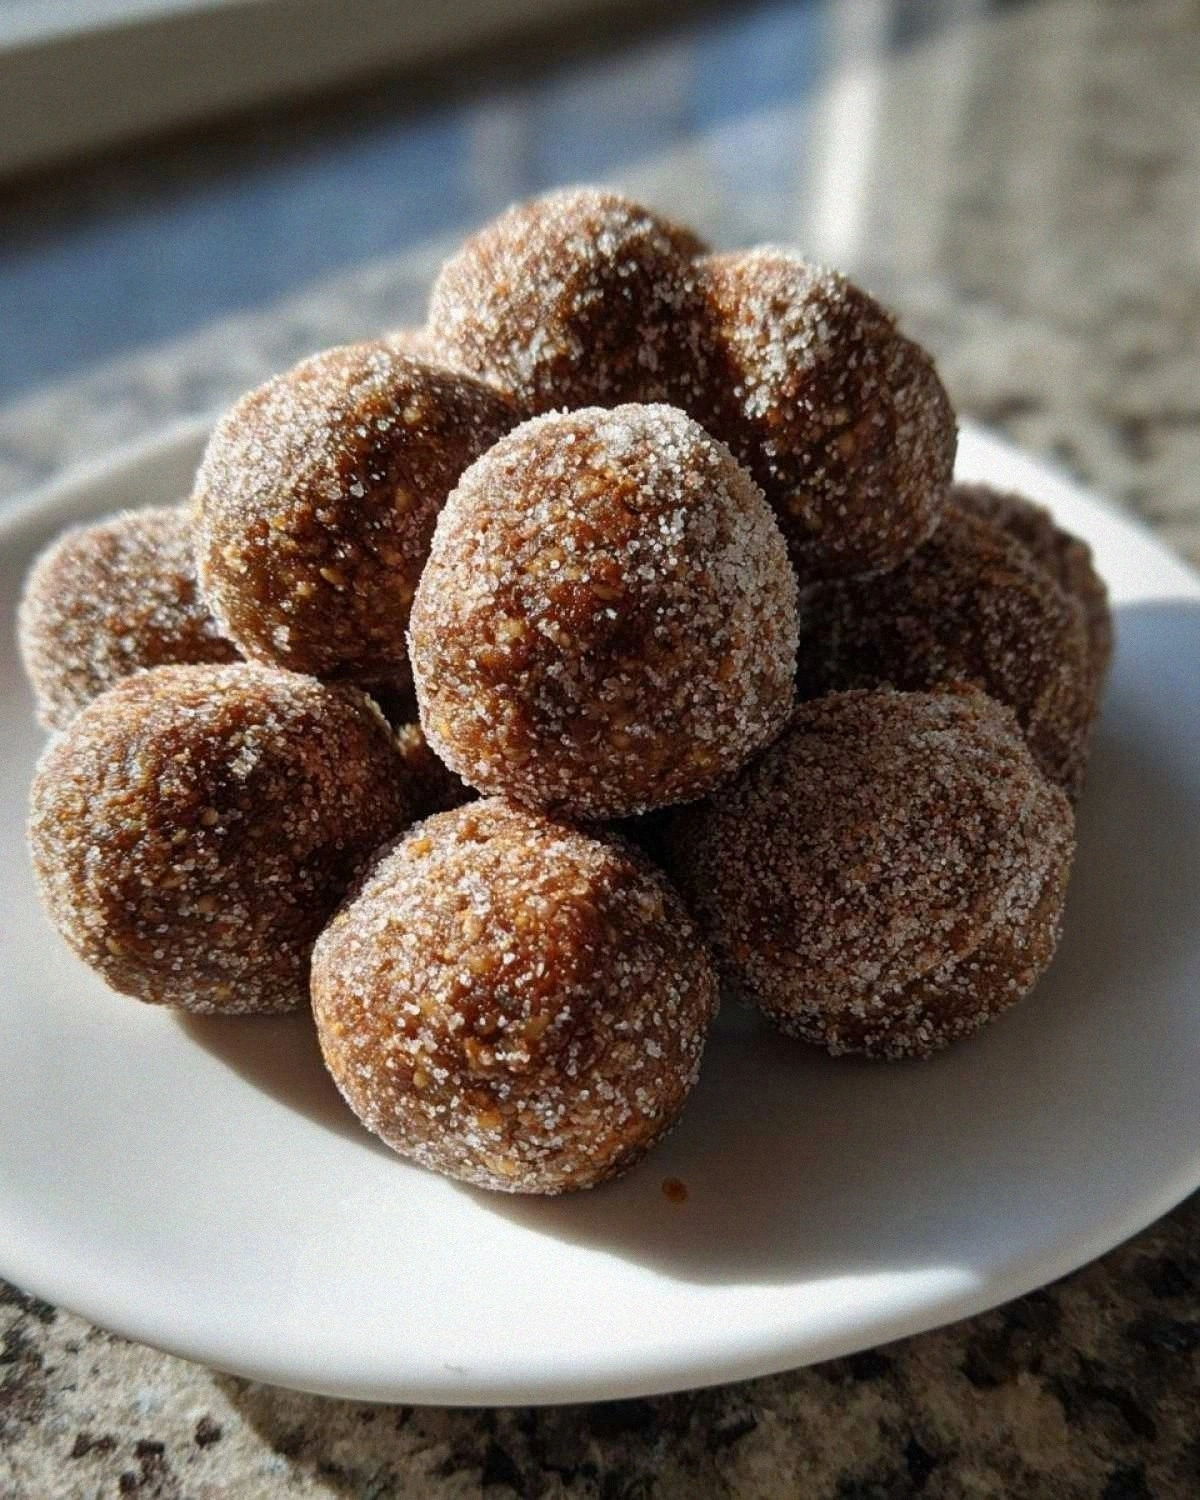
Amazing 10-Minute Gingerbread Energy Balls Secret
Learn how to make delicious Amazing 10-Minute Gingerbread Energy Balls Secret. Easy recipe with step-by-step instructions.
 Desserts
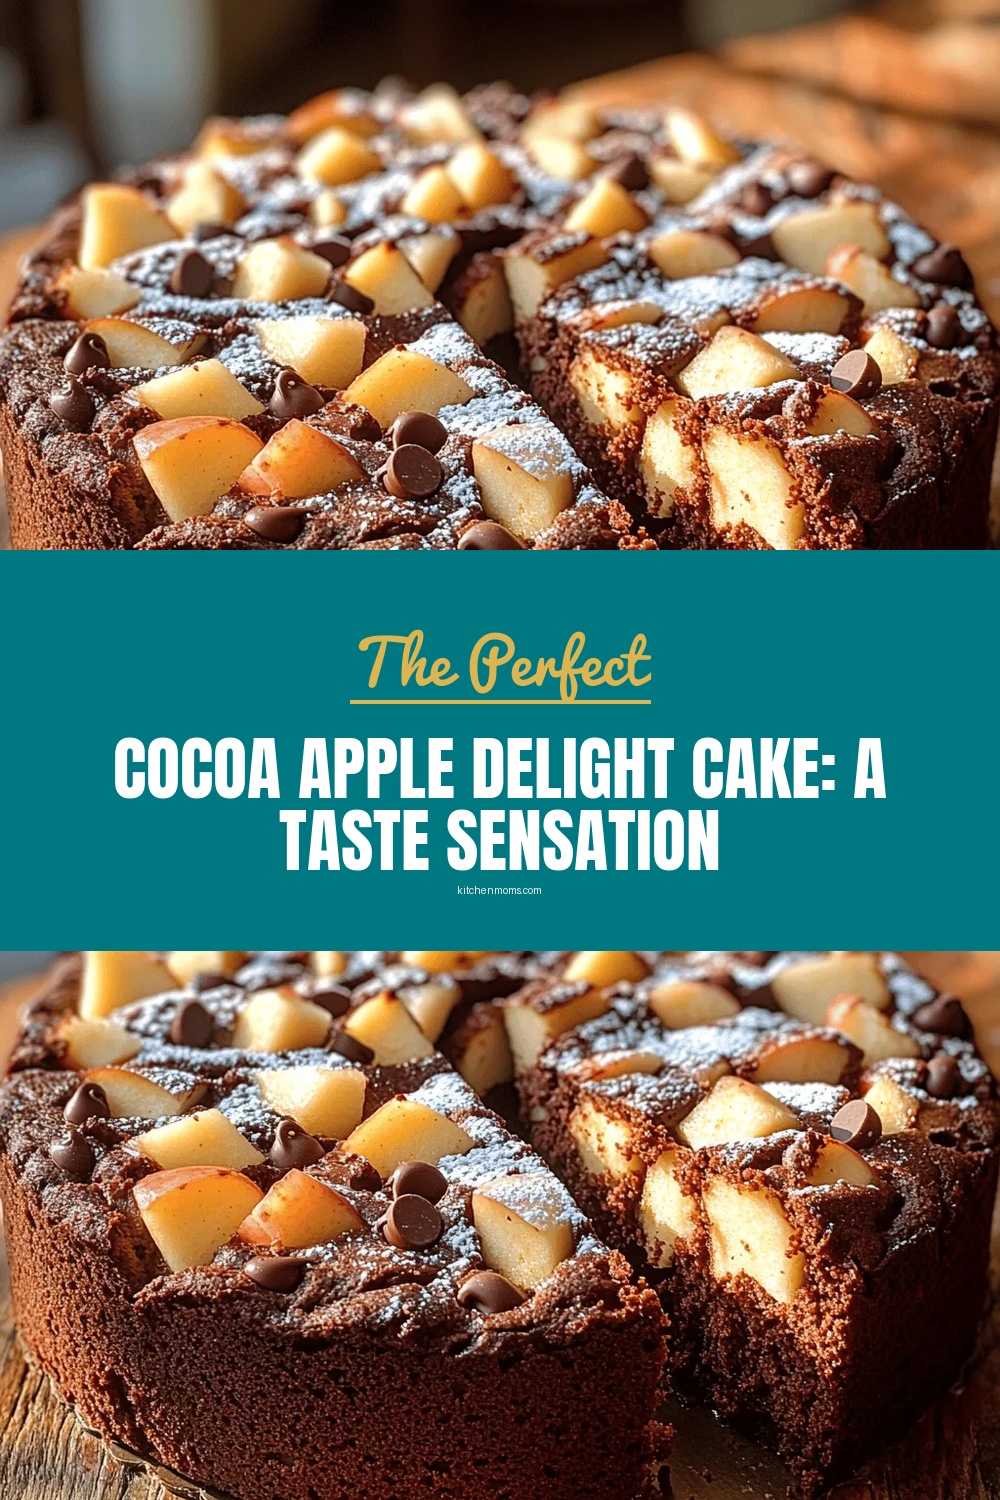
Cocoa Apple Delight Cake: A Taste Sensation
Delicious Cocoa Apple Delight Cake: A Taste Sensation
 Desserts
Spicy & Sweet Chewy Molasses Cookies: A Festive Treat
Delicious Spicy & Sweet Chewy Molasses Cookies: A Festive Treat

Lucy
I cook these recipes at home before they ever land here — simple ingredients, clear steps.