Decadent Chocolate Lava Cake Recipe: Indulge in Gooey Goodness
 Save
Save
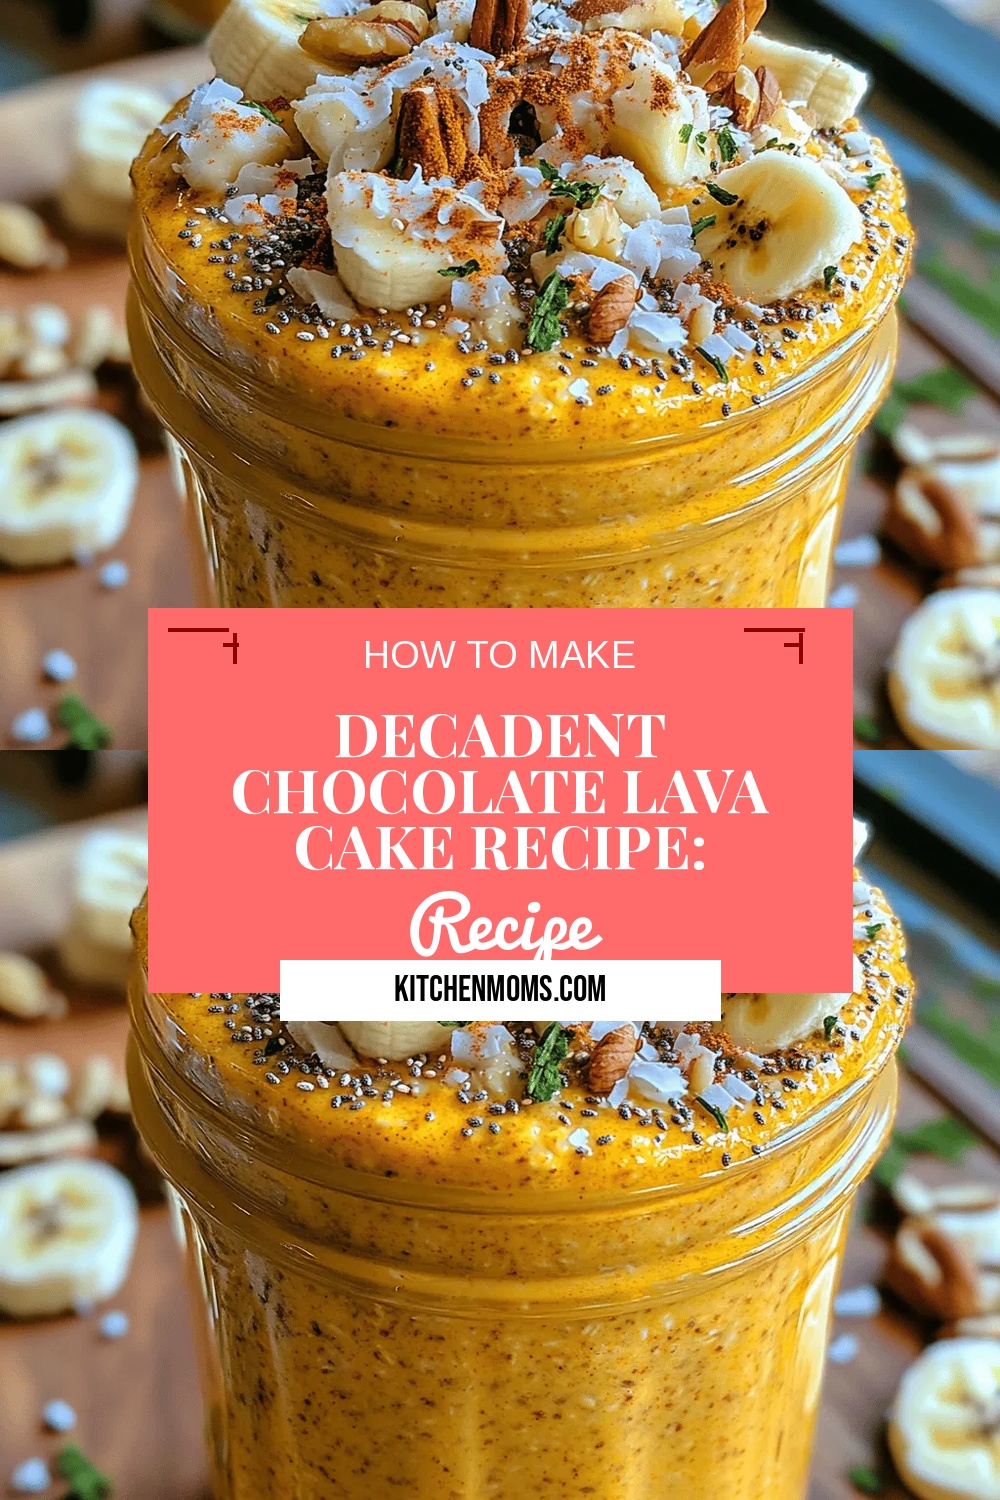
Imagine a warm, buttery cake that looks modest on the plate but erupts with a river of silky, molten chocolate the moment you cut into it. That moment of surprise and indulgence is what makes the Decadent Chocolate Lava Cake a timeless favorite for dessert lovers everywhere.
What sets this version apart is the perfect balance of rich dark chocolate, a touch of espresso to deepen flavor, and a custardy interior that stays gooey without over‑cooking. The batter is simple, yet the technique ensures a crisp edge and a liquid core every single time.
This dessert is ideal for romantic evenings, dinner parties, or a comforting treat after a long day. Anyone with a sweet tooth—children, adults, or even the most discerning foodies—will adore the dramatic presentation and luscious taste.
The process involves melting chocolate and butter, whisking together eggs and sugar, folding in flour, then baking in pre‑heated ramekins for just the right amount of time. A quick cooling period lets the cakes set enough to handle, then you unleash the molten heart with a gentle flip.
Why You'll Love This Recipe
Pure Chocolate Bliss: Dark chocolate, espresso, and a hint of butter combine for an intensely rich flavor that feels luxurious without being overwhelming.
Effortless Elegance: With just a handful of pantry staples and a 20‑minute bake, you can serve a restaurant‑quality dessert that impresses guests instantly.
Perfectly Gooey Center: Precise timing and the ramekin method guarantee a molten core that oozes beautifully, creating that signature “lava” effect.
Customizable Finish: Serve with vanilla ice cream, fresh berries, or a dusting of powdered sugar for endless variations that suit any occasion.
Tips & Tricks
Perfecting the Recipe
Use Room‑Temperature Eggs. Allow eggs to sit out for 15 minutes before whisking; they blend more smoothly with the chocolate, preventing lumps.
Don’t Over‑Mix the Flour. Fold the flour in just until no streaks remain; this keeps the texture light and airy.
Watch the Oven. Every oven varies—set a timer for 12 minutes and check the edges; they should be firm but the center still jiggles.
Flavor Enhancements
Add a splash of orange liqueur or a pinch of chili powder to the batter for a subtle citrus note or gentle heat. Swirl a teaspoon of caramel sauce into the center before baking for a caramel‑lava twist that pairs beautifully with the chocolate.
Common Mistakes to Avoid
Avoid refrigerating the batter before baking; cold batter slows the rise and can produce a dense interior. Also, don’t use low‑fat chocolate—it lacks the cocoa butter needed for a truly fluid center.
Pro Tips
Prep Ramekins Ahead. Grease and flour the ramekins the night before; they’ll be ready to go, saving precious minutes on the day of serving.
Use a Digital Thermometer. When the internal temperature reaches 190°F (88°C), the outer crust is set while the center stays molten.
Serve on Warm Plates. Warm plates prevent the lava from solidifying too quickly, keeping the flow luscious for longer.
Variations
Ingredient Swaps
Substitute the dark chocolate for milk chocolate for a sweeter, milder lava, or use white chocolate with a hint of raspberry puree for a fruity twist. For a nutty flavor, fold in finely chopped toasted hazelnuts or pistachios into the batter before baking.
Dietary Adjustments
Gluten‑free bakers can replace the all‑purpose flour with a 1‑to‑1 gluten‑free blend. For dairy‑free versions, swap butter for coconut oil and use a dairy‑free chocolate that contains at least 60% cocoa solids. A sugar substitute like erythritol works well for a low‑sugar option.
Serving Suggestions
Pair the lava cake with a scoop of salted caramel ice cream, a drizzle of raspberry coulis, or a dusting of toasted coconut flakes. A side of lightly sweetened whipped cream adds a creamy contrast, while fresh mint leaves provide a bright visual accent.
Storage Info
Leftover Storage
Allow any leftover cakes to cool completely, then gently remove them from the ramekins and wrap each in plastic wrap. Store in an airtight container in the refrigerator for up to 3 days. For longer keeping, freeze individually wrapped cakes in a freezer‑safe bag for up to 2 months.
Reheating Instructions
Reheat frozen or refrigerated cakes in a pre‑heated 350°F (175°C) oven for 8‑10 minutes, covered loosely with foil to prevent the top from drying out. Alternatively, microwave on medium power for 30‑45 seconds; the center should be warm and still fluid. Add a splash of milk or extra chocolate sauce if needed.
Frequently Asked Questions
Can I make the batter ahead of time?
How do I know when the center is perfectly molten?
Can I use a different size ramekin?
What’s the best way to serve the lava cake for a party?
This Decadent Chocolate Lava Cake brings together simple ingredients, precise timing, and a dash of culinary drama to create a dessert that feels both luxurious and approachable. By following the step‑by‑step guide, mastering the tips, and experimenting with the suggested variations, you’ll consistently achieve that perfect molten center. Feel free to add your own twists—whether a splash of liqueur or a sprinkle of sea salt—and make each serving uniquely yours. Enjoy the warm, gooey goodness and share the delight with anyone who loves a little chocolate magic.
Decadent Chocolate Lava Cake Recipe: Indulge in Gooey Goodness
Delicious Decadent Chocolate Lava Cake Recipe: Indulge in Gooey Goodness
Ingredients
Cake Batter
- 6 ounces (170 g) high‑quality dark chocolate (70% cacao), chopped
- ½ cup (115 g) unsalted butter, cubed
- 3 large eggs
- ¼ cup (50 g) granulated sugar
- 2 tablespoons all‑purpose flour
Flavor Boosters
- ½ teaspoon espresso powder
- ¼ teaspoon pure vanilla extract
- Pinch of sea salt
Optional Garnish
- Vanilla ice cream, for serving
- Fresh berries (raspberries or strawberries)
- Powdered sugar, for dusting
Instructions
Baking the Cakes
- Preheat the Oven. Set your oven to 425°F (220°C) and let it fully heat for at least 10 minutes. A hot oven creates the rapid steam needed for that signature molten center.
- Fill the Ramekins. Spoon the batter evenly into the prepared ramekins, filling each about three‑quarters full. Smooth the tops with the back of a spoon; this helps the cakes rise uniformly.
- Bake. Place the ramekins on a baking sheet and bake for 12‑14 minutes. The edges should be set and slightly cracked, while the center remains soft to the touch. Watch closely—overbaking eliminates the lava effect.
- Rest Briefly. Remove the ramekins from the oven and let them sit for 1 minute. This short rest lets the interior settle just enough to hold its shape when unmolded.
- Unmold and Serve. Run a thin knife around the edge of each cake, then invert onto a warm dessert plate. The cake should release easily, revealing a glossy, flowing chocolate center. Serve immediately with ice cream or berries.
Similar Recipes
 Desserts
Pumpkin Better Than Sex Cake: The Ultimate Fall Indulgence
Learn how to make delicious Pumpkin Better Than Sex Cake: The Ultimate Fall Indulgence. Easy recipe…
 Desserts
Lemon Rice Krispy Treats – Easy No-Bake Citrus Dessert Recipe
Learn how to make delicious Lemon Rice Krispy Treats – Easy No-Bake Citrus Dessert Recipe. Easy…
 Desserts
Silky Chocolate Avocado Pudding
Delicious Silky Chocolate Avocado Pudding
 Desserts
Cinnamon Brown Butter Cookies: Irresistibly Chewy Delight
Learn how to make delicious Cinnamon Brown Butter Cookies: Irresistibly Chewy Delight. Easy recipe with step-by-step…
 Desserts
Creamy Dreamy Sour Cream and Chive Mashed Potatoes
Delicious Creamy Dreamy Sour Cream and Chive Mashed Potatoes
 Desserts
Oreo Overload Brownies Recipe: Indulge in a Decadent Chocolate Experience
Delicious Oreo Overload Brownies Recipe: Indulge in a Decadent Chocolate Experience
 Desserts
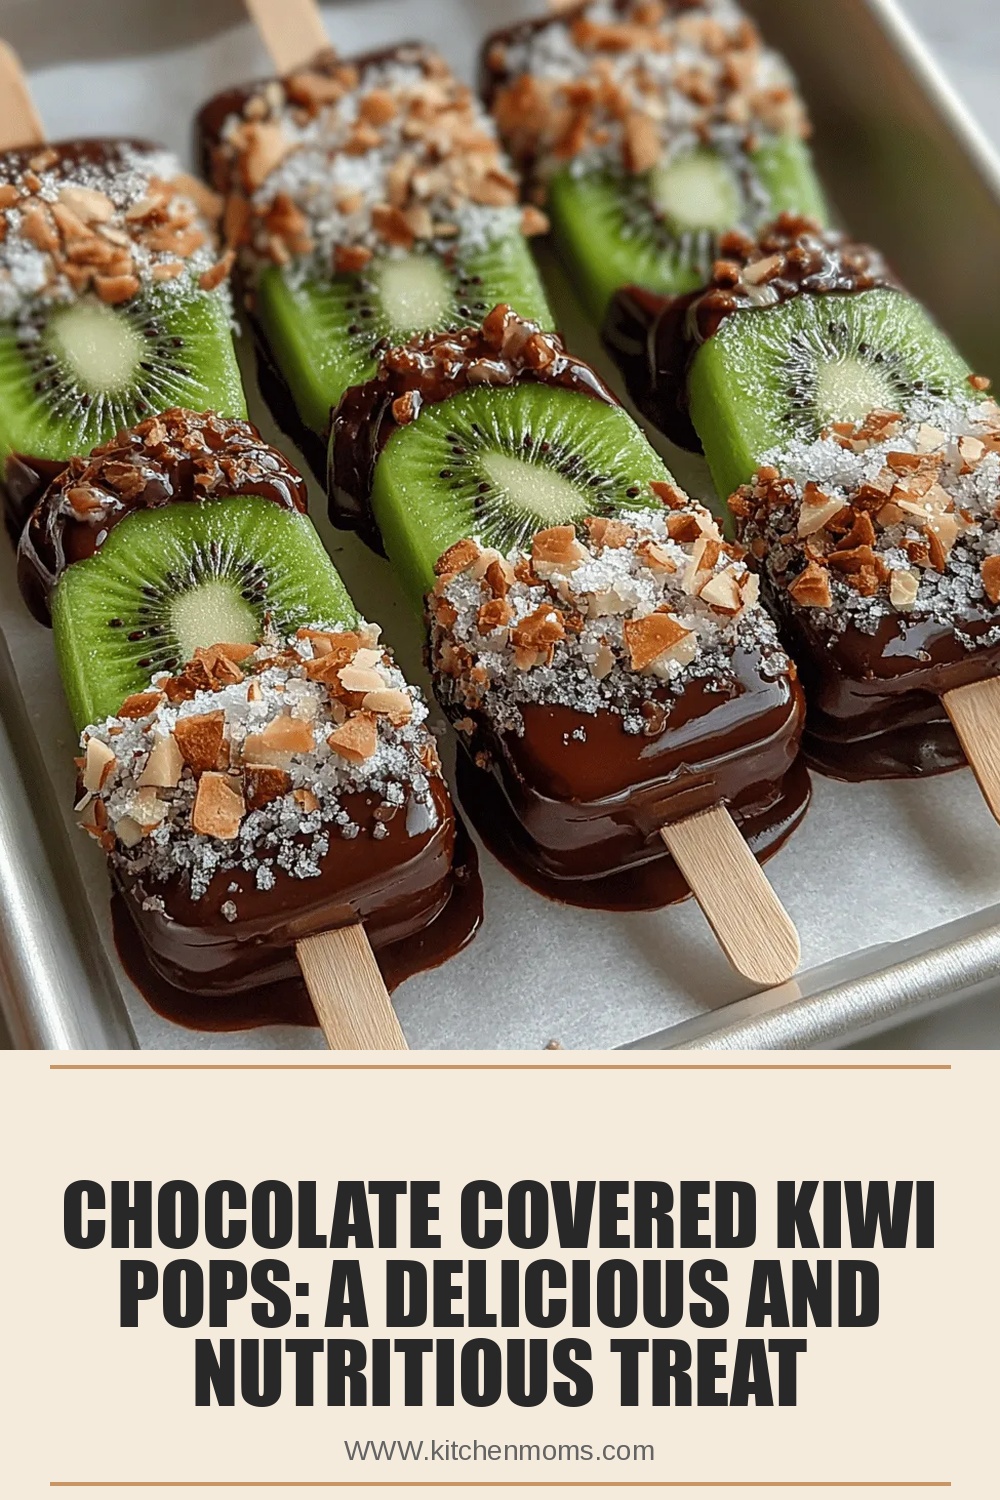
Chocolate Covered Kiwi Pops: A Delicious and Nutritious Treat
Delicious Chocolate Covered Kiwi Pops: A Delicious and Nutritious Treat
 Desserts
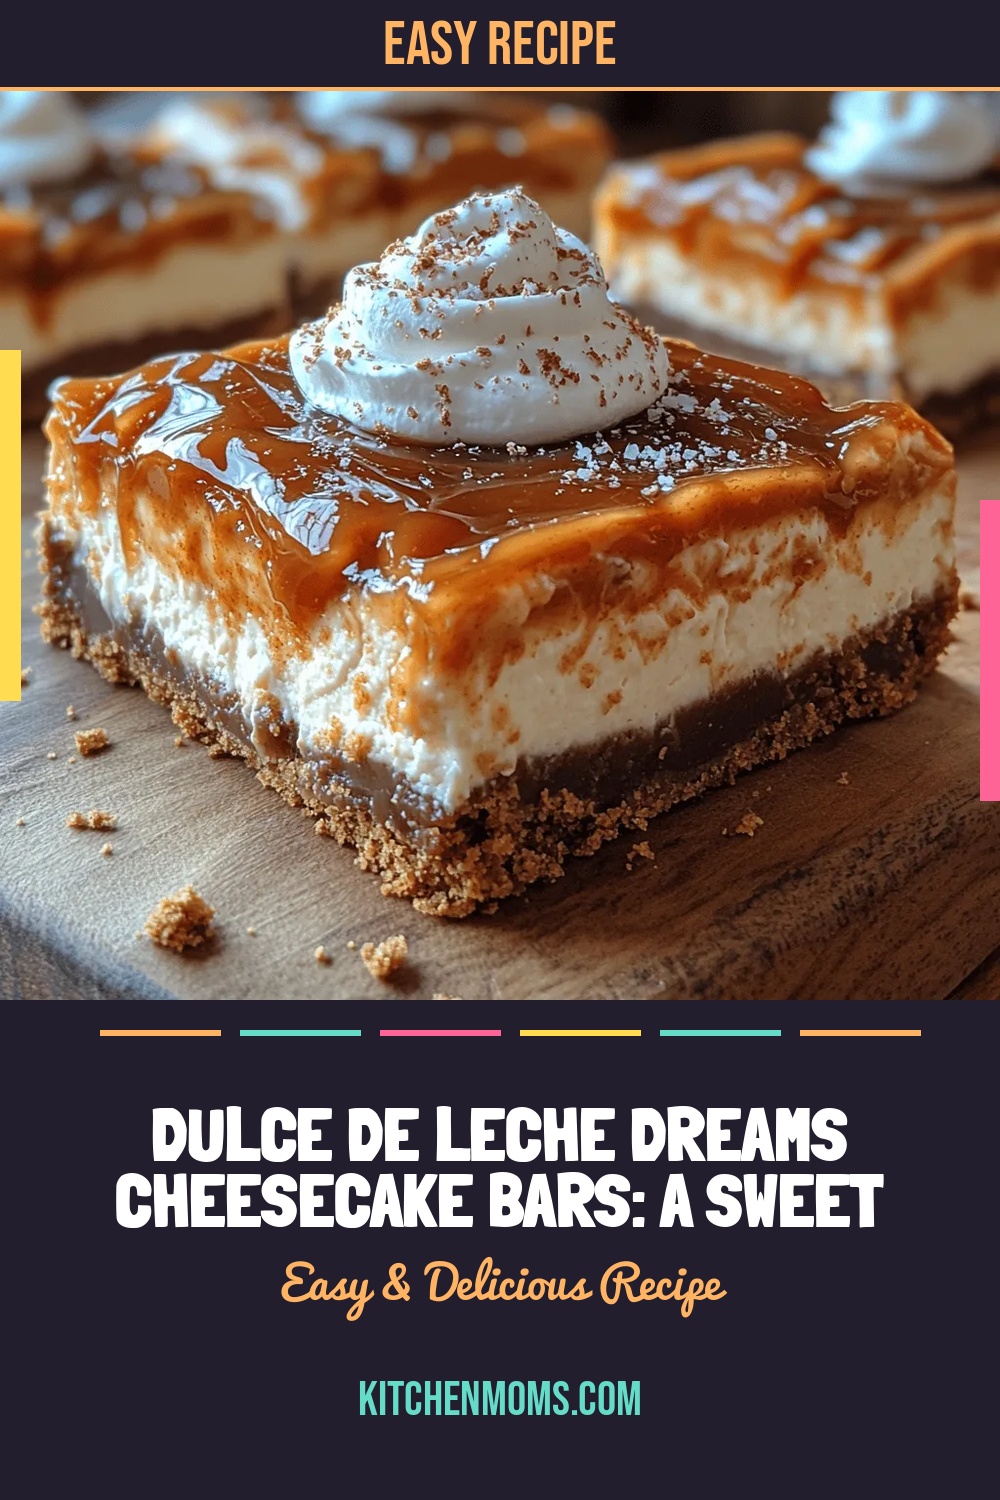
Dulce de Leche Dreams Cheesecake Bars: A Sweet Indulgence
Delicious Dulce de Leche Dreams Cheesecake Bars: A Sweet Indulgence

Lucy
I cook these recipes at home before they ever land here — simple ingredients, clear steps.