Delicious Strawberry Chia Pudding Pops
 Save
Save
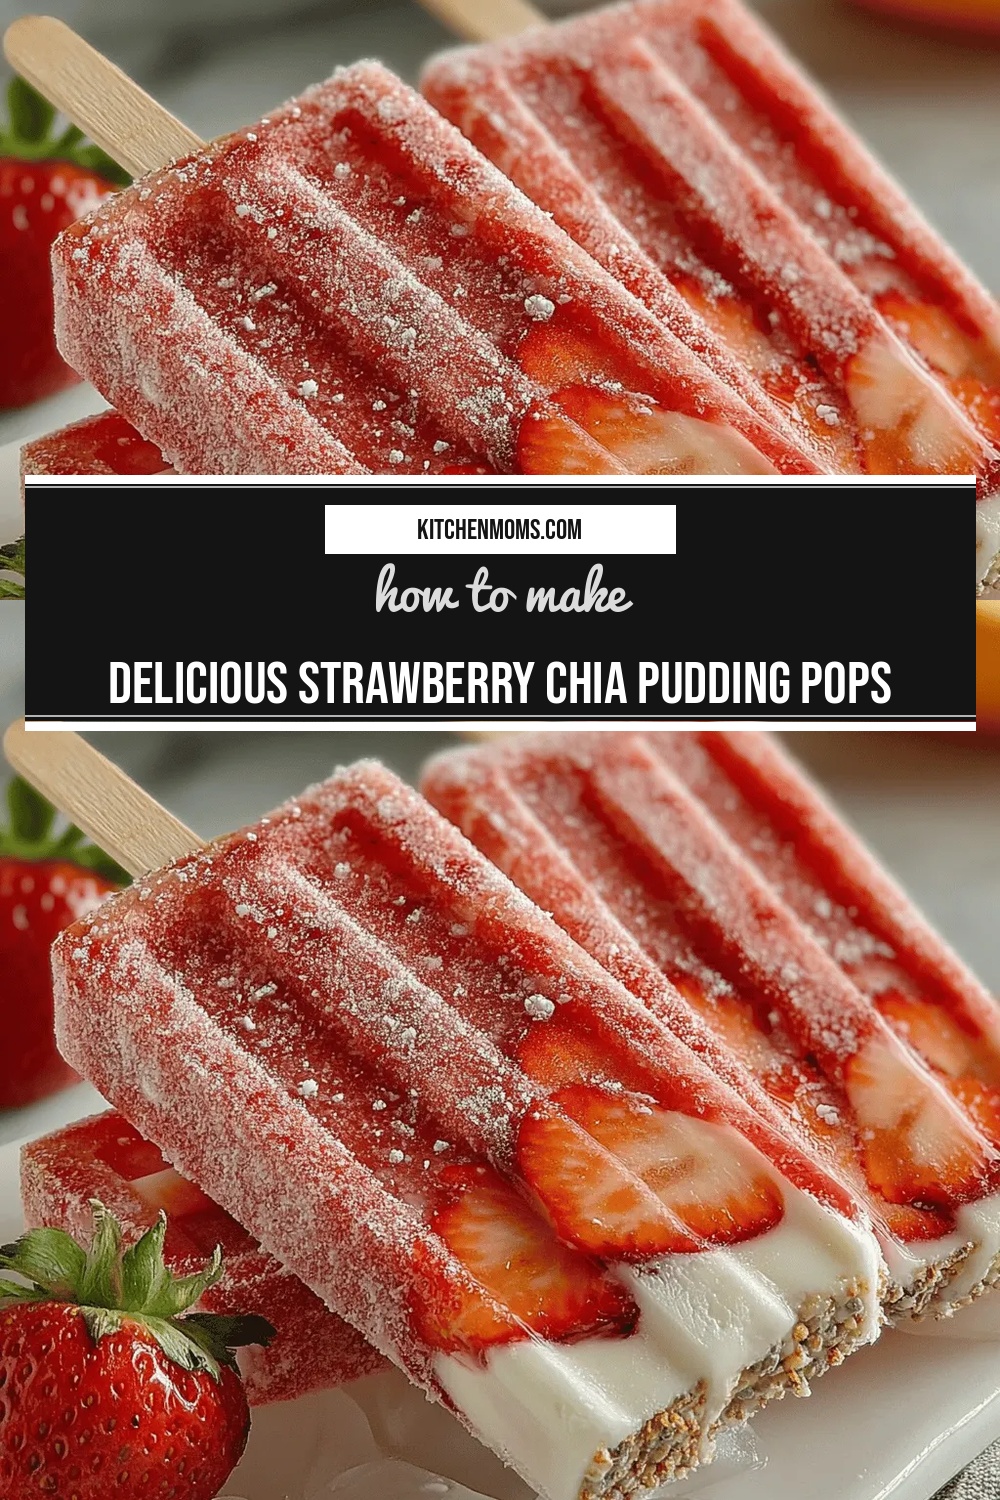
Imagine the first bite of a cool, creamy pop that bursts with sweet‑tart strawberry flavor while delivering a subtle, satisfying crunch from chia seeds. That’s exactly what makes Delicious Strawberry Chia Pudding Pops a standout treat for any season.
What sets this dessert apart is the perfect marriage of nutrient‑dense chia pudding and a vibrant strawberry puree, all frozen into convenient, bite‑size pops that are as beautiful as they are tasty.
Kids, athletes, or anyone craving a guilt‑free sweet will love these pops, whether you serve them at a summer backyard party, a post‑workout snack, or a simple after‑dinner treat.
The process is straightforward: blend chia seeds with a milk base, swirl in a strawberry sauce, pour into molds, and freeze. In under 15 minutes you’ll have a ready‑to‑enjoy dessert that stays fresh for weeks.
Why You'll Love This Recipe
Bright, Natural Sweetness: Fresh strawberries give a genuine fruit flavor without relying on refined sugars, keeping the pop refreshing and light.
Simple, No‑Bake Prep: No oven, no stovetop—just mix, pour, and freeze, making it perfect for busy mornings or last‑minute gatherings.
Protein‑Rich & Fiber‑Packed: Chia seeds supply omega‑3s, protein, and soluble fiber, turning a dessert into a nourishing snack.
Customizable Canvas: Swap fruits, add toppings, or adjust sweetness—each pop can be personalized to match any palate or dietary need.
Tips & Tricks
Perfecting the Recipe
Even Chia Distribution: Whisk the chia mixture vigorously before refrigerating and again after the first 5‑minute rest to avoid clumps and ensure a uniform texture.
Cold Ingredients: Use chilled almond milk; warm milk can cause the chia to set too quickly, making it harder to achieve a smooth base.
Quick Swirl Technique: Drop the strawberry puree in small dots and swirl with a skewer rather than stirring; this preserves the marbled look.
Freeze on a Flat Surface: Place molds on a baking sheet while freezing to keep sticks perfectly vertical and prevent wobbling.
Flavor Enhancements
Add a pinch of sea salt to the strawberry puree for depth, or fold in a splash of orange zest for citrus brightness. For a richer mouthfeel, blend a tablespoon of coconut cream into the chia base before chilling.
Common Mistakes to Avoid
Do not skip the initial 5‑minute rest; without it, chia seeds won’t fully hydrate, resulting in a gritty texture. Also, avoid over‑sweetening the strawberry puree, as the natural tartness is essential for balance.
Pro Tips
Batch Prep: Make a double batch of the chia base and store half in the freezer; you’ll have ready‑to‑use pudding for future pops.
Use Silicone Molds: Flexible silicone molds release pops effortlessly, preserving the decorative swirl and toppings.
Layer Flavors: Create a second swirl using blueberry or mango puree for a multi‑fruit rainbow pop.
Quick Thaw Tip: If you need a pop sooner, run the stick under lukewarm water for 5 seconds; the interior will soften without melting the outer layer.
Variations
Ingredient Swaps
Swap almond milk for oat or coconut milk for a creamier texture. Replace strawberries with raspberries, blackberries, or even blended mango for a tropical twist. For added protein, stir a scoop of vanilla plant‑based protein powder into the chia base before chilling.
Dietary Adjustments
To keep it vegan, ensure the sweetener is maple syrup or agave. For a low‑sugar version, reduce the maple syrup and use a sugar‑free sweetener like erythritol. Gluten‑free is automatic, as all ingredients are naturally free of gluten.
Serving Suggestions
Serve the pops on a platter of fresh berries for a brunch buffet, or pair them with a dollop of coconut yogurt for an extra creamy dip. They also make a delightful addition to a kids’ lunchbox alongside a small fruit cup.
Storage Info
Leftover Storage
Place any unused pops in an airtight freezer bag or a sealed container, ensuring the sticks remain upright. They keep best for up to 2 weeks. For longer storage, wrap each pop individually in parchment before bagging; this prevents freezer burn and makes later removal easier.
Reheating Instructions
These pops are meant to be enjoyed frozen, but if you prefer a softer texture, let them sit at room temperature for 5‑7 minutes before eating. For a quick melt, dip the stick in warm water for 5 seconds; the outer layer will soften while the interior stays pleasantly chilled.
Frequently Asked Questions
Can I make these pops ahead of time?
Can I use frozen strawberries instead of fresh?
What’s the best way to remove the pops from the mold without breaking them?
Can I add protein powder without affecting the texture?
These Strawberry Chia Pudding Pops blend wholesome nutrition with a burst of summer flavor, all while requiring just a few minutes of hands‑on time. By following the detailed steps, storage tips, and creative variations, you’ll have a versatile dessert that can be customized for any palate or dietary need. Feel free to experiment with different fruits, toppings, or protein boosts—your imagination is the only limit. Enjoy the cool, refreshing bite of your very own homemade pops!
Delicious Strawberry Chia Pudding Pops
Delicious Delicious Strawberry Chia Pudding Pops
Ingredients
Chia Pudding Base
- 1/2 cup chia seeds
- 2 cups unsweetened almond milk (or any plant‑based milk)
- 2 tablespoons pure maple syrup (adjust to taste)
- 1 teaspoon vanilla extract
Strawberry Swirl
- 2 cups fresh strawberries, hulled
- 1 tablespoon honey or agave nectar
- 1 teaspoon lemon juice (to brighten)
Optional Toppings & Extras
- 1 tablespoon toasted coconut flakes
- 2 tablespoons finely chopped pistachios
- Fresh mint leaves for garnish
Instructions
Assembling the Pops
- Layer the Base. Fill each pop mold about one‑third full with the chilled chia pudding. This creates a sturdy foundation that won’t crack when frozen.
- Add the Swirl. Drop a teaspoon of strawberry puree onto the center of each pudding layer. Use a toothpick or skewer to gently swirl the puree through the chia, creating a marbled effect.
- Top with Extras. Sprinkle toasted coconut, chopped pistachios, or a tiny mint leaf on top of each pop for added texture and visual appeal.
- Insert Sticks. Place a wooden pop stick into the center of each mold, ensuring it stands upright. Tap the mold gently on the counter to settle the mixture.
Similar Recipes
 Desserts
Irresistible Strawberry Lemon Crumble Muffins Recipe
Learn how to make delicious Irresistible Strawberry Lemon Crumble Muffins Recipe. Easy recipe with step-by-step instructions.
 Desserts
Sweet Churro Protein Donuts: A Guilt-Free Delight
Delicious Sweet Churro Protein Donuts: A Guilt-Free Delight
 Desserts
The Cake That Disappears: A Love Letter to Coconut Clouds
Learn how to make delicious The Cake That Disappears: A Love Letter to Coconut Clouds. Easy…
 Desserts
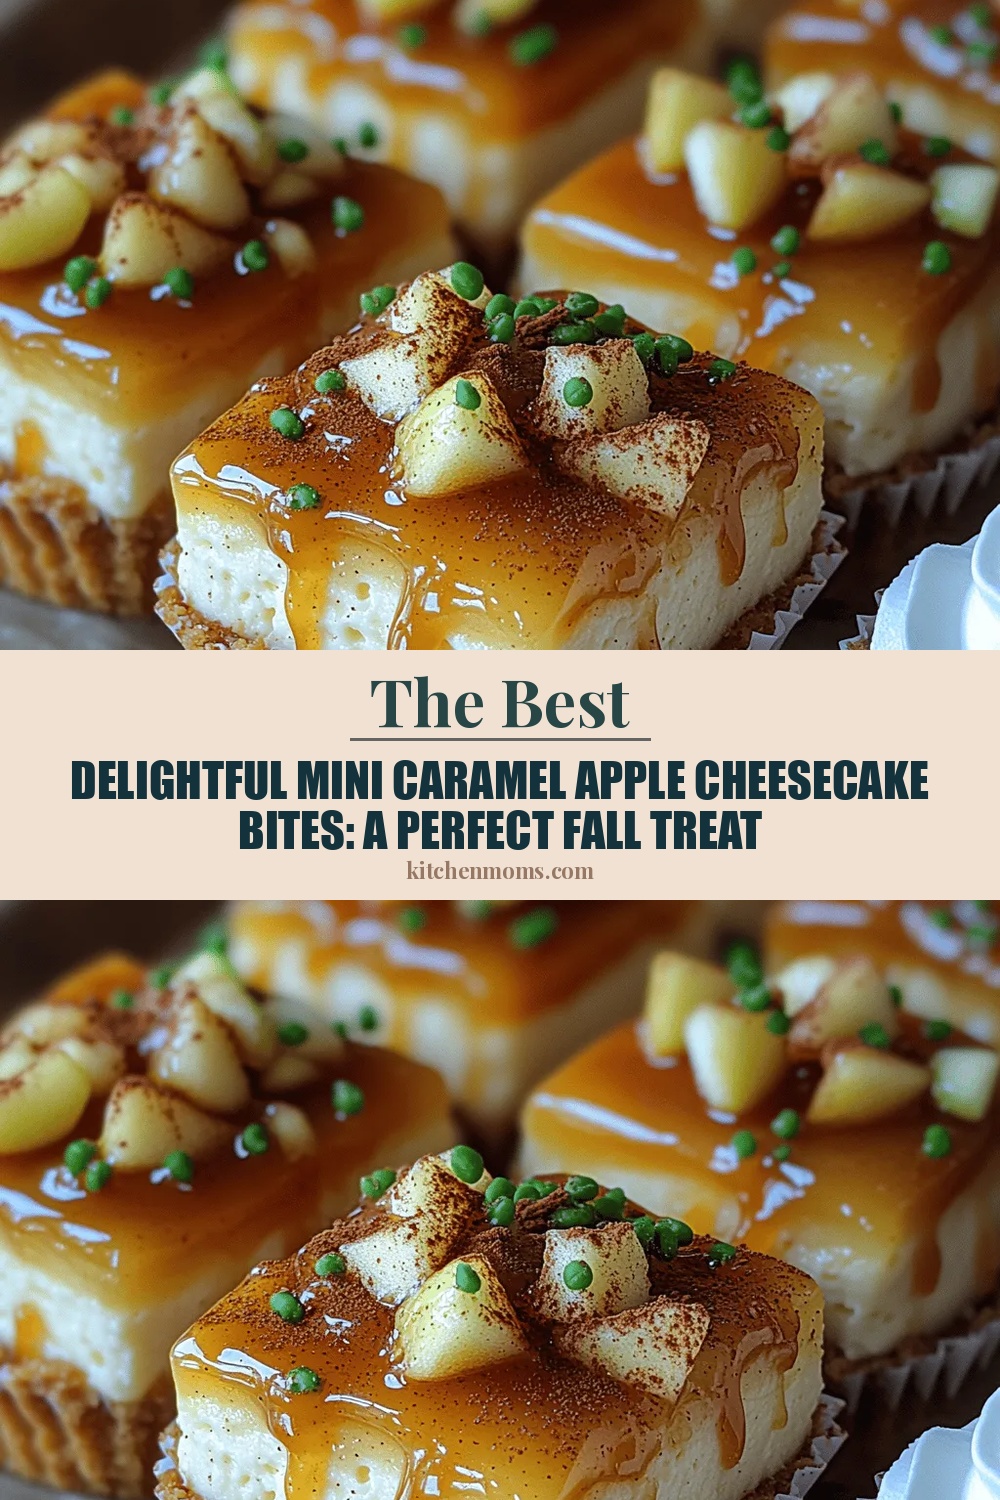
Delightful Mini Caramel Apple Cheesecake Bites: A Perfect Fall Treat
Delicious Delightful Mini Caramel Apple Cheesecake Bites: A Perfect Fall Treat
 Desserts
Frosty Berry Bliss Yogurt Cups: The Ultimate Healthy Treat
Delicious Frosty Berry Bliss Yogurt Cups: The Ultimate Healthy Treat
 Desserts
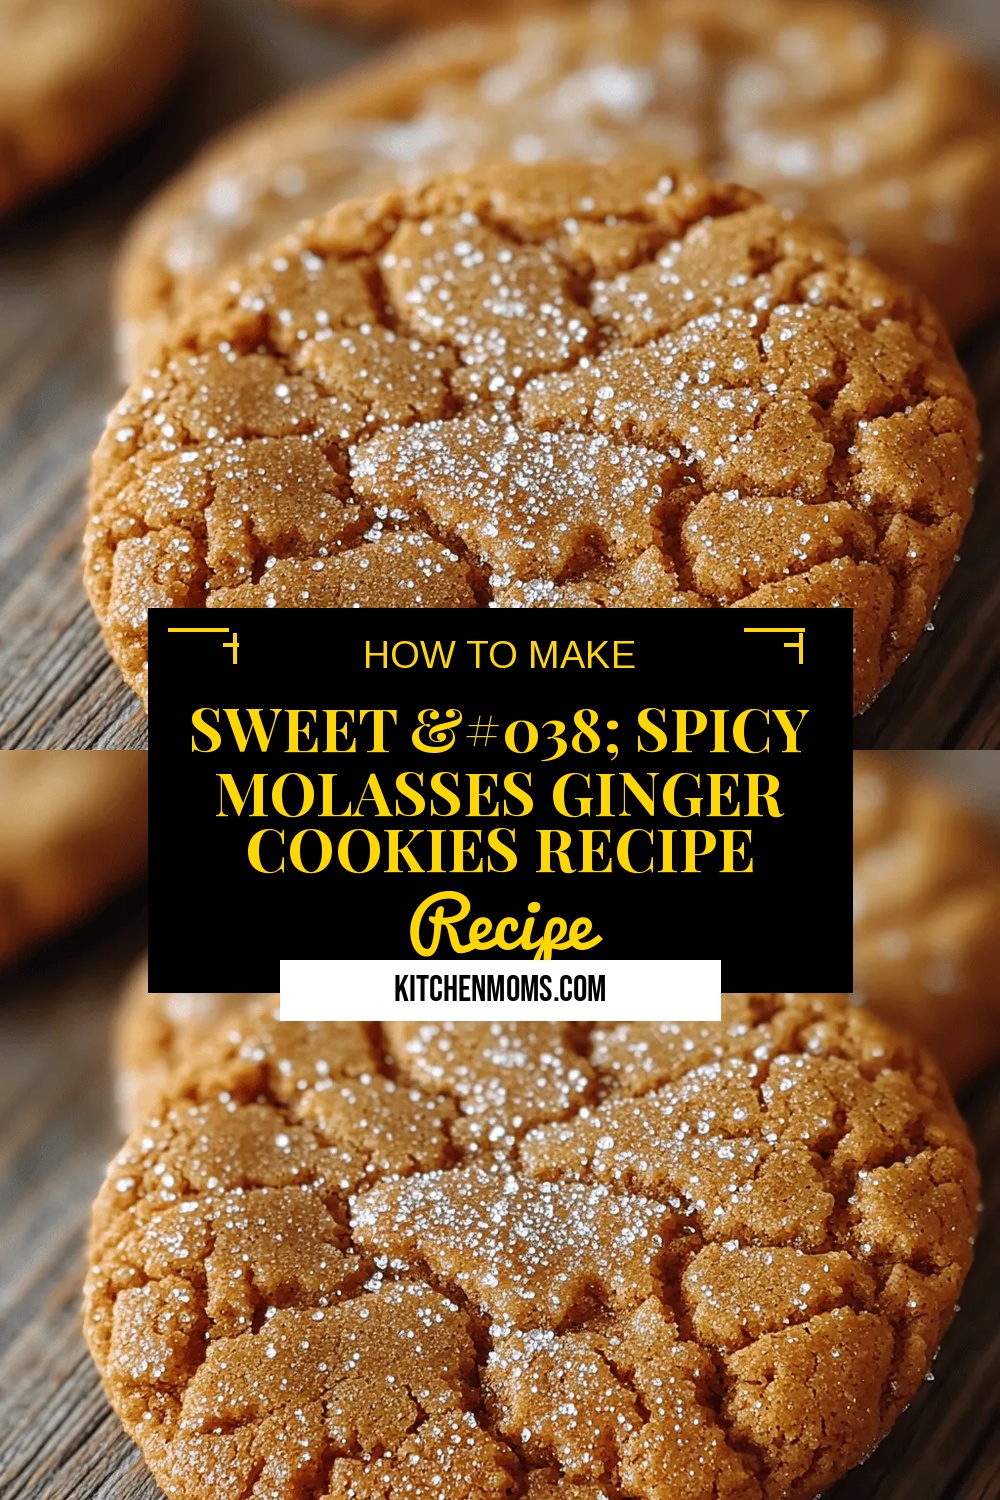
Sweet & Spicy Molasses Ginger Cookies Recipe
Delicious Sweet & Spicy Molasses Ginger Cookies Recipe
 Desserts
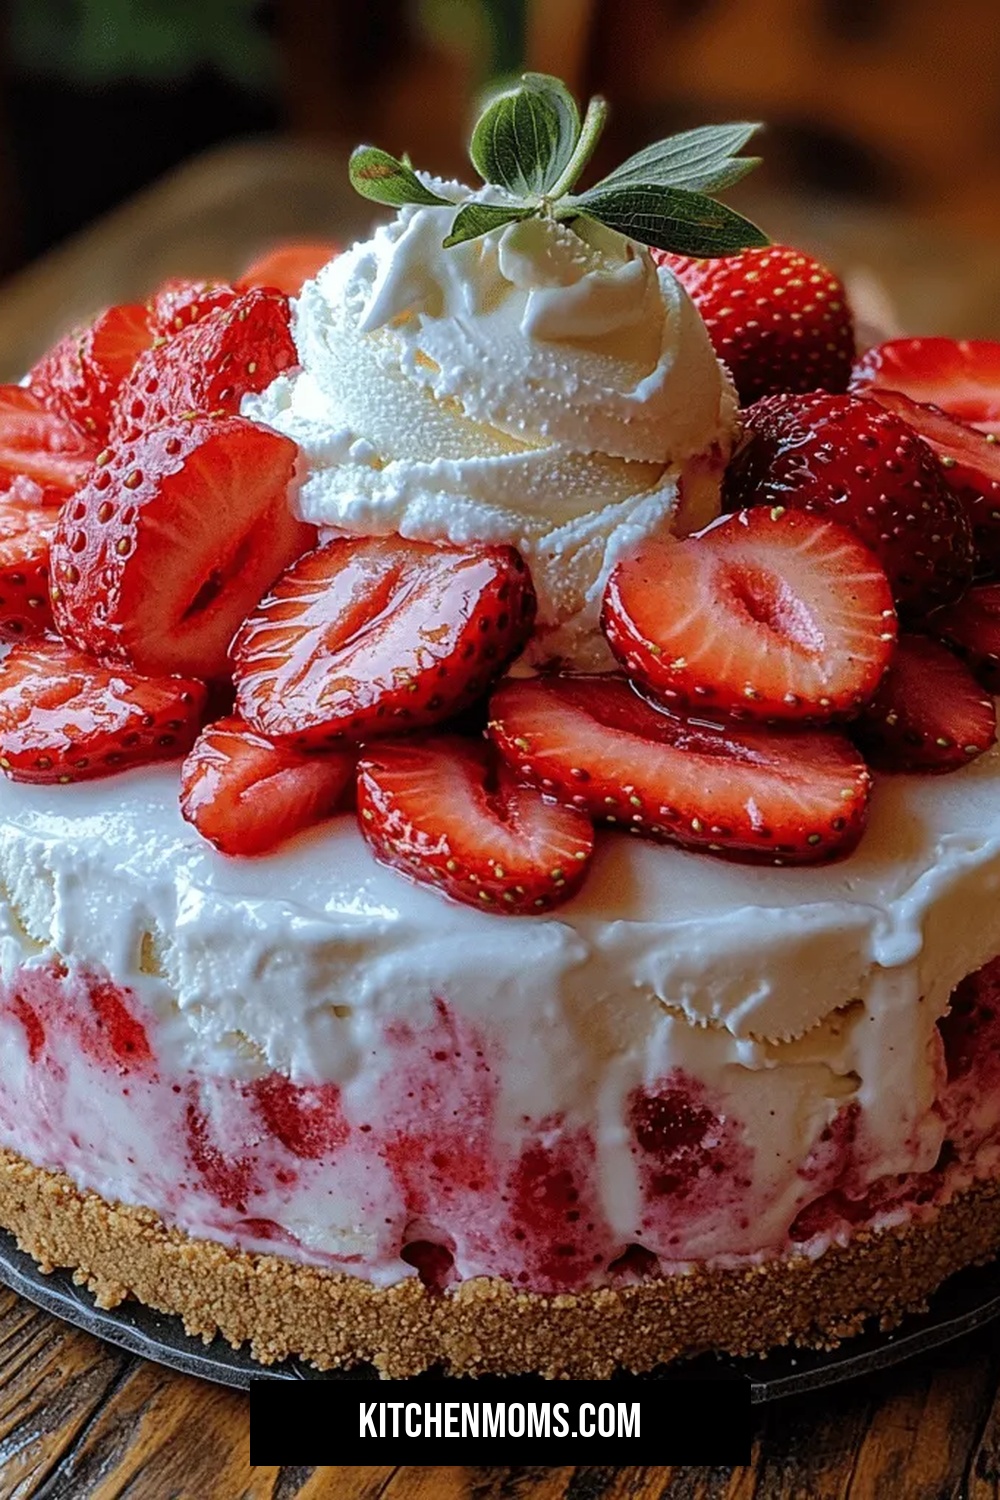
Berry Delight: Easy Strawberry Ice Cream Cake
Delicious Berry Delight: Easy Strawberry Ice Cream Cake
 Desserts
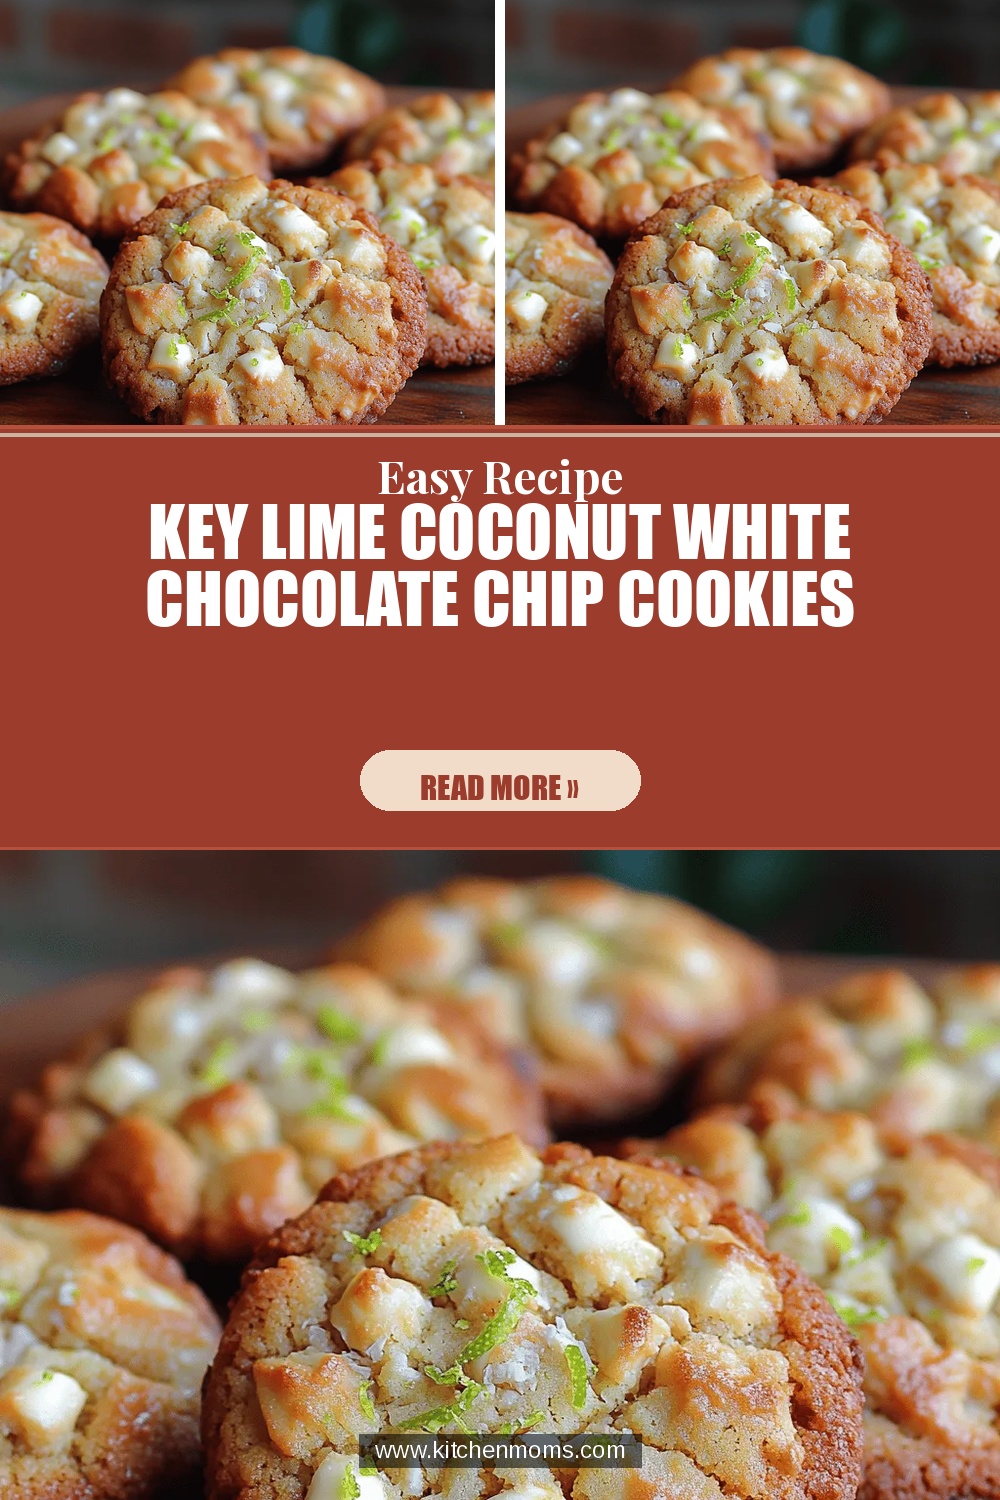
Key Lime Coconut White Chocolate Chip Cookies
Delicious Key Lime Coconut White Chocolate Chip Cookies

Lucy
I cook these recipes at home before they ever land here — simple ingredients, clear steps.