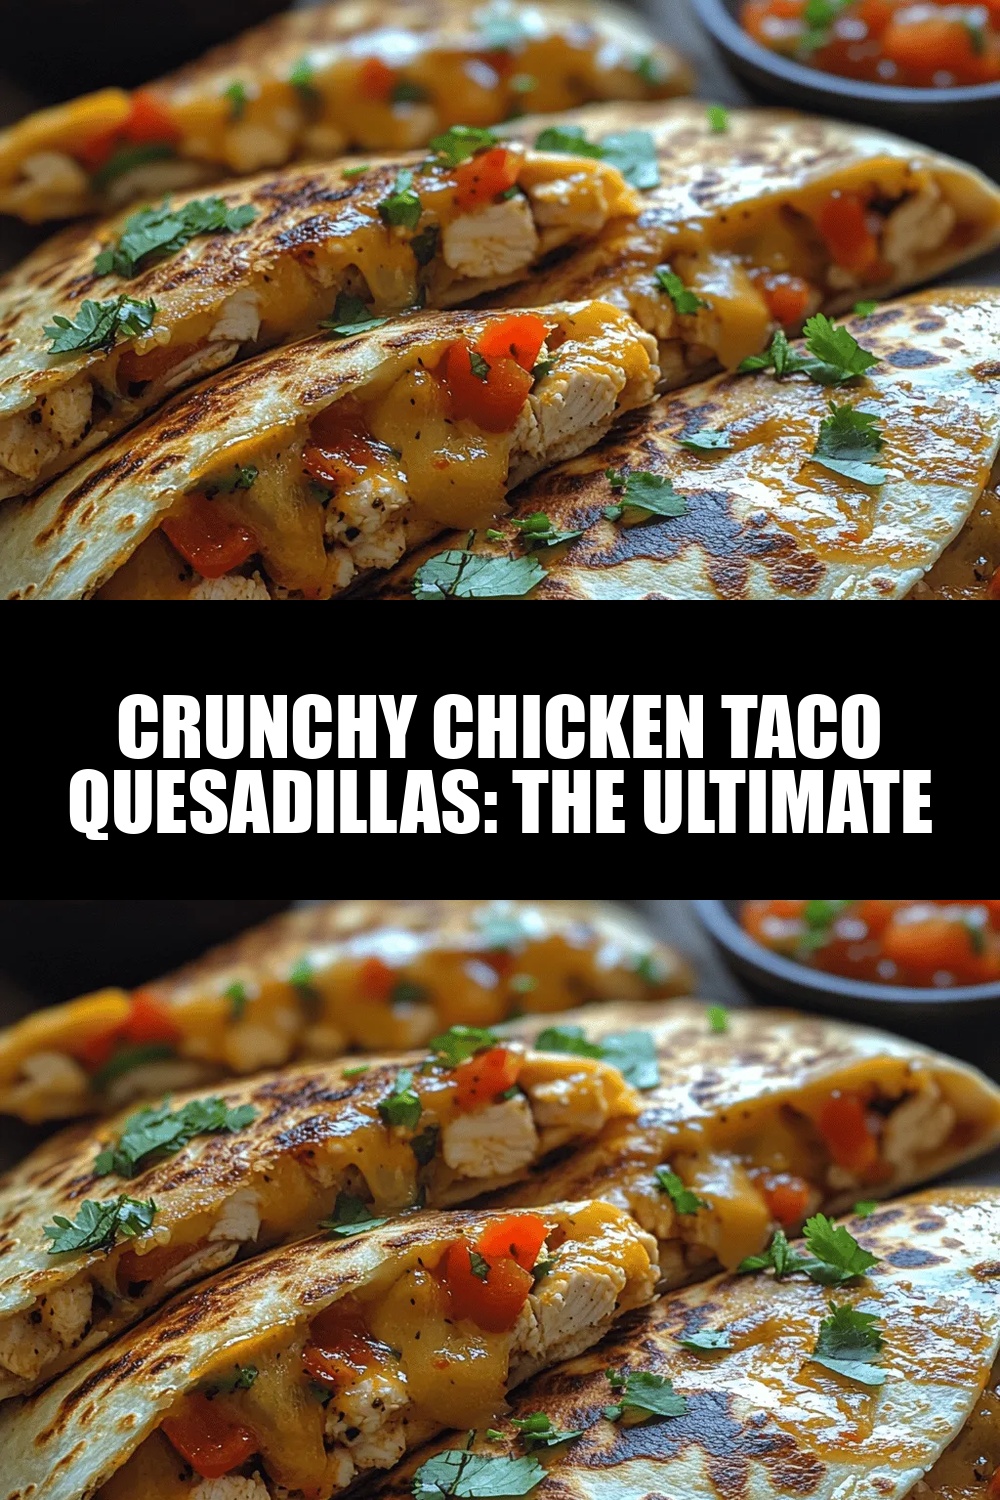
Crunchy Chicken Taco Quesadillas: The Ultimate Guide to Making Them Perfect
 Save
Save
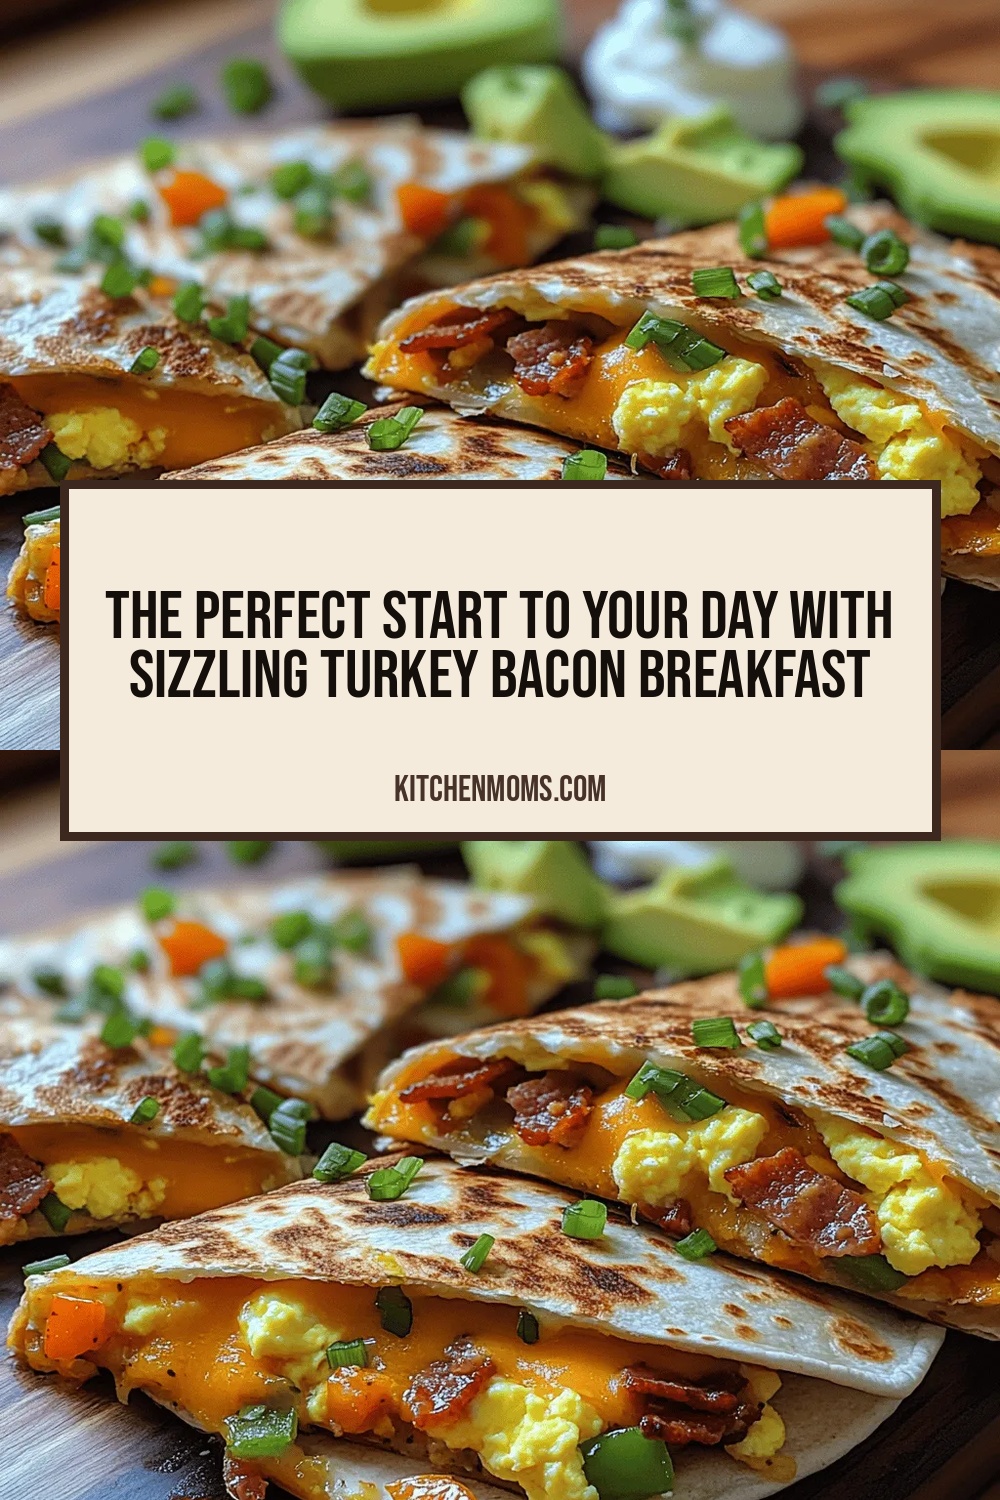
Craving the perfect blend of Mexican street‑food flair and cheesy comfort? Look no further than Crunchy Chicken Taco Quesadillas, a dish that brings the bold flavors of tacos together with the melty goodness of a classic quesadilla. Each bite delivers a satisfying crunch, juicy chicken, and a burst of tangy salsa that will have everyone reaching for seconds.
What sets this recipe apart is the double‑layered crunch: a lightly battered chicken taco filling followed by a golden, toasted tortilla. The secret lies in a quick corn‑flour coating and a spice‑rich taco seasoning that stays crisp even after the cheese melts.
This crowd‑pleaser is ideal for busy weeknights, weekend brunches, or game‑day gatherings. Kids love the cheesy pull, while adults appreciate the complex flavor profile. Serve it as a main course or cut it into bite‑size wedges for a party appetizer.
The process is straightforward: marinate and pan‑sear the chicken, toss it with fresh veggies and a zesty sauce, assemble the quesadilla with cheese, then grill until the edges are perfectly crispy. Follow the guide below for flawless results every time.
Why You'll Love This Recipe
Layered Crunch: A light corn‑flour crust on the chicken plus a toasted tortilla creates two distinct textures that stay crisp through the cheese melt, delivering an addictive mouthfeel.
Bold Taco Flavors: A blend of cumin, smoked paprika, and lime‑infused sauce brings authentic taco brightness, making each bite taste like a street‑taco fiesta.
Quick Weeknight Solution: With a total hands‑on time of just 20 minutes, this dish fits perfectly into a busy schedule without sacrificing flavor or presentation.
Customizable & Fun: Swap proteins, adjust heat levels, or add extra veggies—this recipe is a flexible canvas for personal twists while staying reliably delicious.
Tips & Tricks
Perfecting the Recipe
Dry the chicken thoroughly. Patting the strips dry before coating ensures the corn‑flour adheres and browns instead of steaming.
Use a hot skillet. A properly heated pan creates an instant crust, locking juices inside the chicken.
Don’t overload the quesadilla. Too many fillings can make the tortilla soggy; keep the filling layer thin for optimal crunch.
Let the cheese melt fully. Cover the pan for the last 30 seconds if needed; trapped steam helps the cheese become stretchy without burning the tortilla.
Flavor Enhancements
Add a dash of smoked chipotle adobo sauce to the taco seasoning for a deeper smoky heat, or stir in a tablespoon of chopped pickled jalapeños for a tangy bite. A sprinkle of cotija cheese on top after cooking adds a salty, crumbly finish.
Common Mistakes to Avoid
Skipping the resting time after cooking lets the juices escape, resulting in a dry filling. Also, using low‑heat will cause the tortilla to soften rather than crisp, so maintain medium‑high heat throughout the grilling stage.
Pro Tips
Season the flour. Mix a pinch of salt and a touch of cayenne into the corn‑flour for an extra flavor boost on the crust.
Use a cast‑iron skillet. It retains heat evenly, giving a uniform crispness and beautiful grill marks.
Finish with fresh lime. A quick squeeze right before serving lifts the entire dish with bright acidity.
Keep a lid handy. If the cheese isn’t melting fast enough, cover the pan for 20‑30 seconds to trap steam.
Variations
Ingredient Swaps
Swap chicken for thinly sliced flank steak, shrimp, or firm tofu for a vegetarian twist. Use corn tortillas for a gluten‑free base, or try whole‑wheat tortillas for added fiber. Replace the Mexican blend cheese with pepper jack for extra heat, or use a dairy‑free cheese shreds for a vegan version.
Dietary Adjustments
For a low‑carb meal, substitute the flour tortillas with large lettuce leaves and use almond‑flour instead of corn‑flour for the coating. To make it keto‑friendly, skip the honey in the sauce and use a sugar‑free sweetener. Gluten‑free diners should ensure the corn‑flour is certified gluten‑free and choose a gluten‑free tortilla.
Serving Suggestions
Pair the quesadillas with a simple cilantro‑lime rice, black‑bean salad, or a cool cucumber‑yogurt slaw. A side of guacamole or pico de gallo adds fresh texture, while a cold Mexican cerveza or a sparkling agua fresca balances the richness.
Storage Info
Leftover Storage
Allow any leftover quesadillas to cool to room temperature (no longer than 2 hours), then wrap tightly in parchment followed by aluminum foil. Store in an airtight container in the refrigerator for up to 3 days. For longer keeping, freeze the wrapped portions in a freezer‑safe bag for up to 2 months; label with the date.
Reheating Instructions
Reheat refrigerated leftovers in a pre‑heated 350°F (175°C) oven on a baking sheet for 10‑12 minutes, covered with foil for the first 5 minutes to retain moisture, then uncovered to restore crispness. In a microwave, heat on medium power for 1‑2 minutes, then finish in a hot skillet for 1 minute per side to regain crunch.
Frequently Asked Questions
Can I make this recipe ahead of time?
Can I use frozen chicken for this dish?
What sides work best with crunchy chicken taco quesadillas?
How do I keep the quesadilla from getting soggy?
This guide has walked you through every step needed to create perfectly crunchy, flavor‑packed Chicken Taco Quesadillas—from selecting fresh ingredients to mastering the sear and grill. The recipe is adaptable, easy to store, and ready for countless variations, so you can tailor it to any dietary need or flavor craving. Get creative, enjoy the process, and savor every golden, cheesy bite of your masterpiece!
Crunchy Chicken Taco Quesadillas: The Ultimate Guide to Making Them Perfect
Delicious Crunchy Chicken Taco Quesadillas: The Ultimate Guide to Making Them Perfect
Ingredients
Main Ingredients
- 1 lb boneless, skinless chicken breasts
- ½ cup corn‑flour (masa harina)
- 2 large flour tortillas (10‑inch)
- 1 cup shredded Mexican blend cheese
Taco Seasoning & Marinade
- 1 tablespoon chili powder
- 1 teaspoon ground cumin
- ½ teaspoon smoked paprika
- ½ teaspoon garlic powder
- ¼ teaspoon cayenne pepper (optional)
- Juice of 1 lime
Fresh Fillings
- ½ cup red bell pepper, diced
- ¼ cup red onion, finely chopped
- ¼ cup fresh cilantro, chopped
Sauce & Finishing Touches
- 2 tablespoons sour cream
- 1 tablespoon salsa verde
- 1 teaspoon olive oil (for cooking)
- Salt and freshly ground black pepper, to taste
Instructions
Cooking the Chicken
- Heat the skillet. Warm a large cast‑iron or non‑stick skillet over medium‑high heat for about 2 minutes. Add olive oil and swirl until it shimmers. The oil should be hot but not smoking—approximately 375°F (190°C).
- Sear the strips. Arrange the coated chicken strips in a single layer, leaving space between each piece. Cook for 2‑3 minutes per side, or until a deep golden crust forms. Avoid moving them too early; a solid crust prevents sticking.
- Finish with veggies. Reduce the heat to medium, add red bell pepper and red onion. Sauté for 2 minutes until just softened, then stir in cilantro and season with additional salt and pepper if needed.
Grilling the Quesadilla
- Cook the first side. Return the skillet to medium heat. Place the assembled quesadilla and cook for 3‑4 minutes, pressing lightly with a spatula. You’ll see the cheese melt and the tortilla turn golden brown.
- Flip and finish. Carefully flip the quesadilla and grill the other side for another 3‑4 minutes. The second side should be equally crisp, and the interior should be hot and bubbly.
- Rest & slice. Transfer the finished quesadilla to a cutting board, let it rest for 2 minutes (this keeps the cheese from spilling out), then cut into wedges using a sharp pizza cutter.
Similar Recipes
 Appetizers
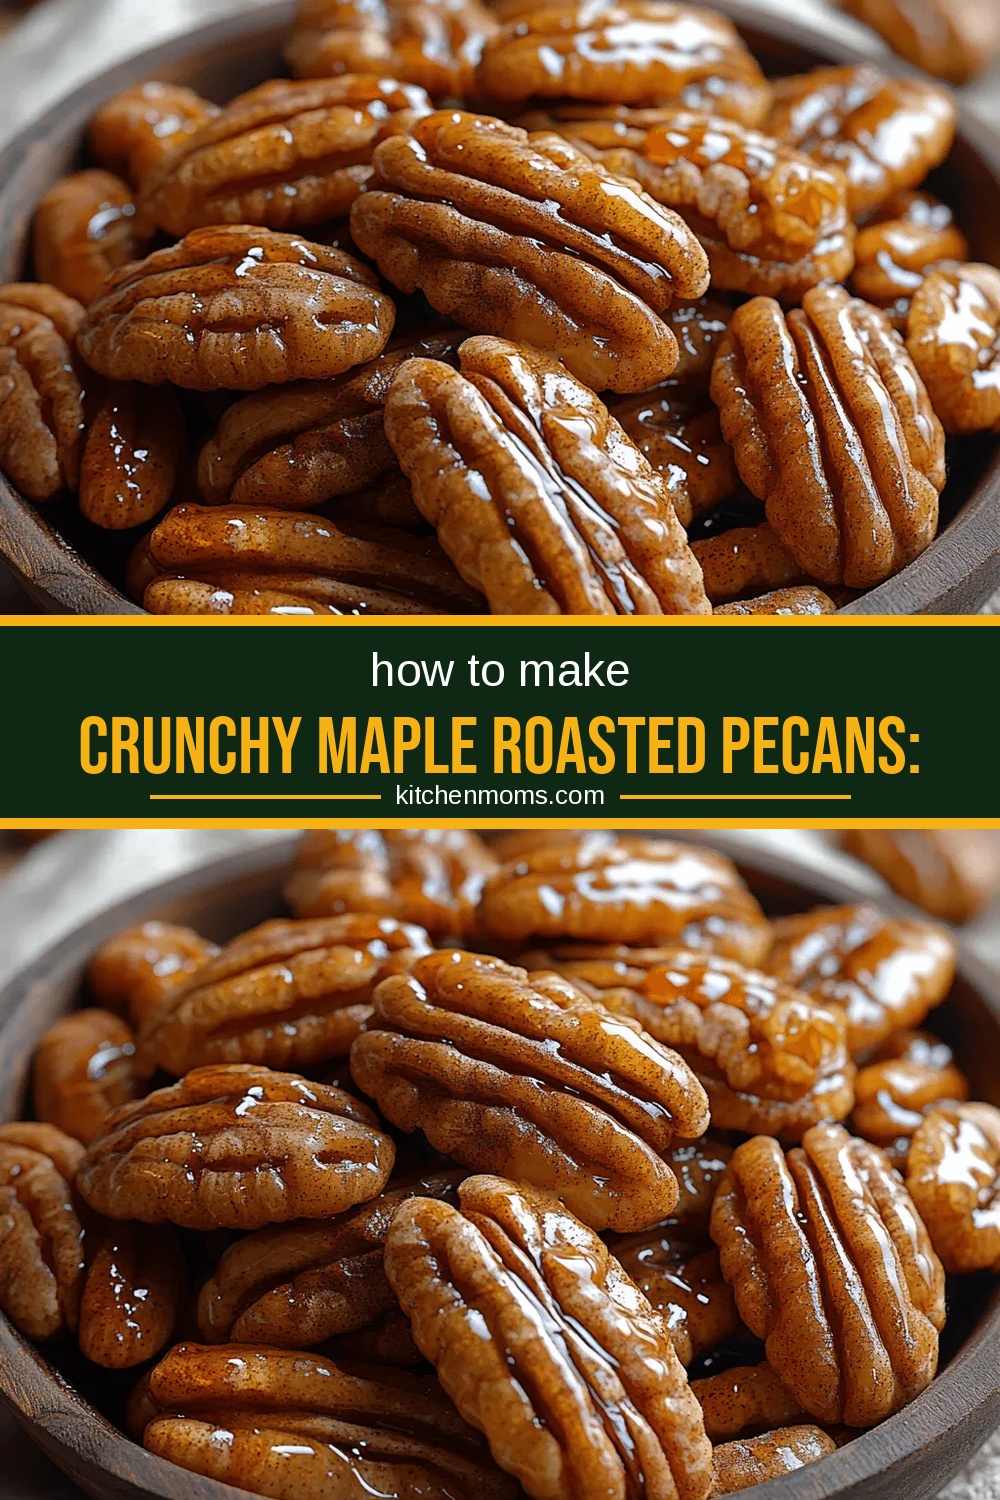
Crunchy Maple Roasted Pecans: The Perfect Snack and Topping
Delicious Crunchy Maple Roasted Pecans: The Perfect Snack and Topping
 Appetizers
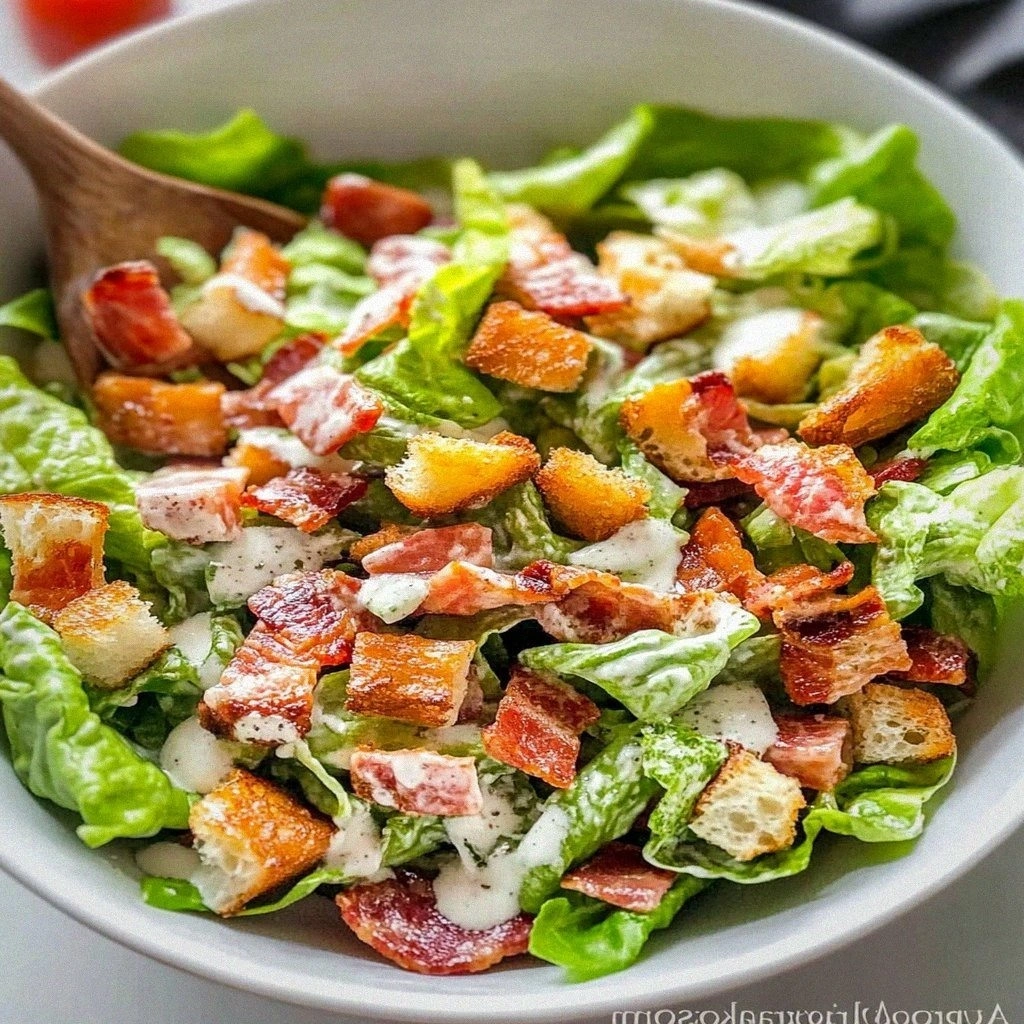
Delightful BLT Salad Recipe for Summer Bliss
Learn how to make delicious Delightful BLT Salad Recipe for Summer Bliss. Easy recipe with step-by-step…
 Appetizers
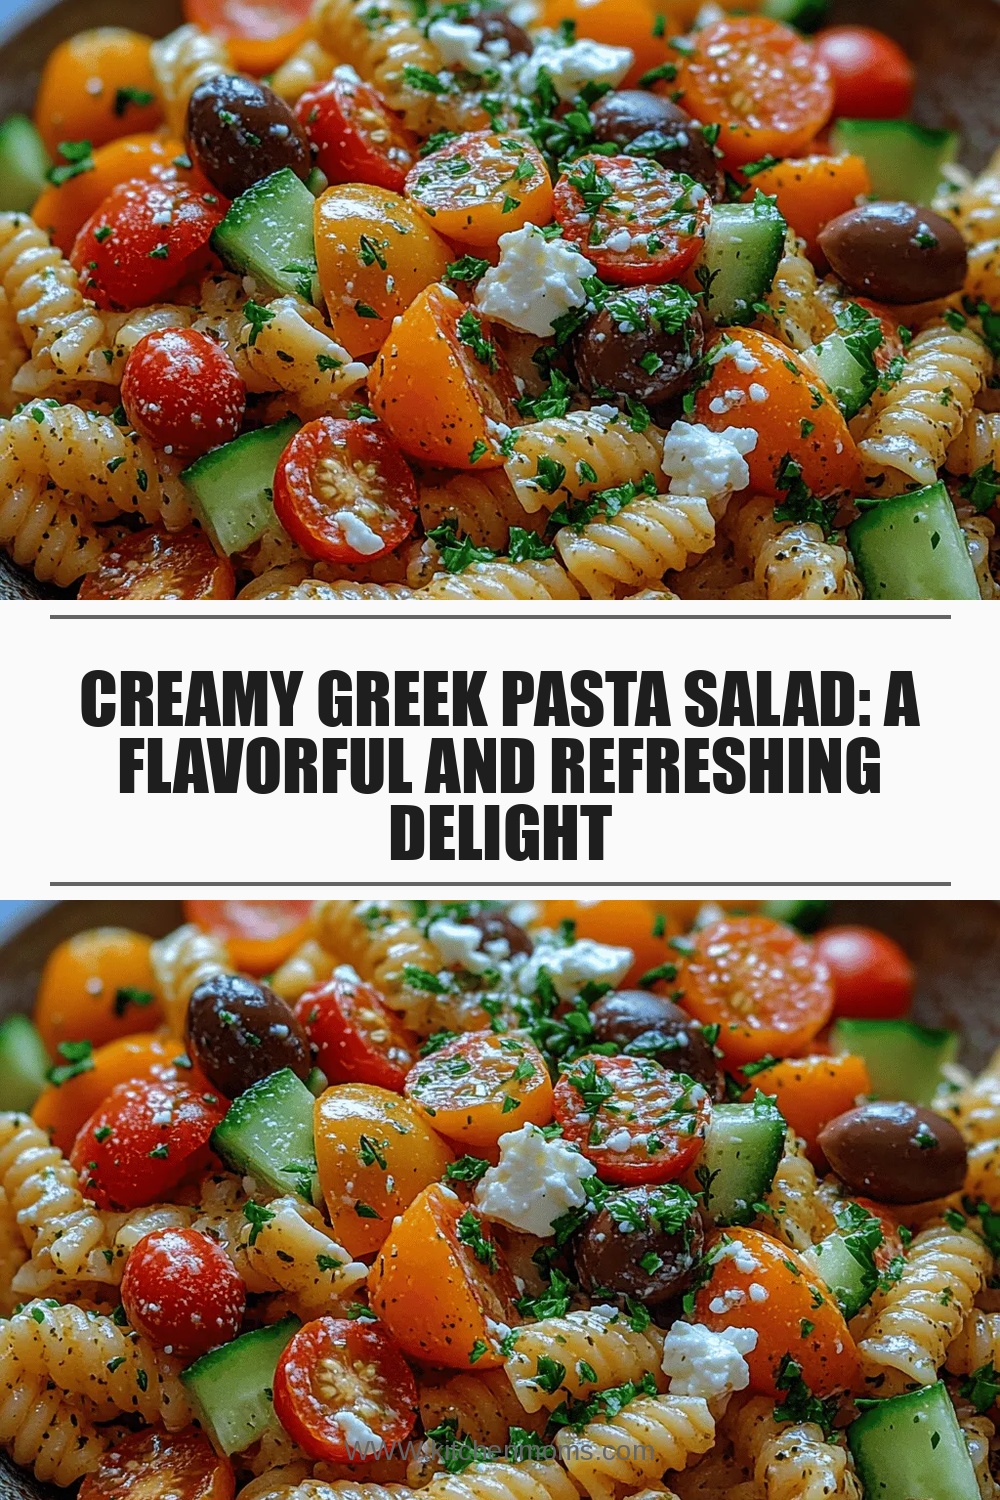
Creamy Greek Pasta Salad: A Flavorful and Refreshing Delight
Delicious Creamy Greek Pasta Salad: A Flavorful and Refreshing Delight
 Appetizers
Harvest Gold Sweet Corn and Pumpkin Fritter Bites
Delicious Harvest Gold Sweet Corn and Pumpkin Fritter Bites
 Appetizers
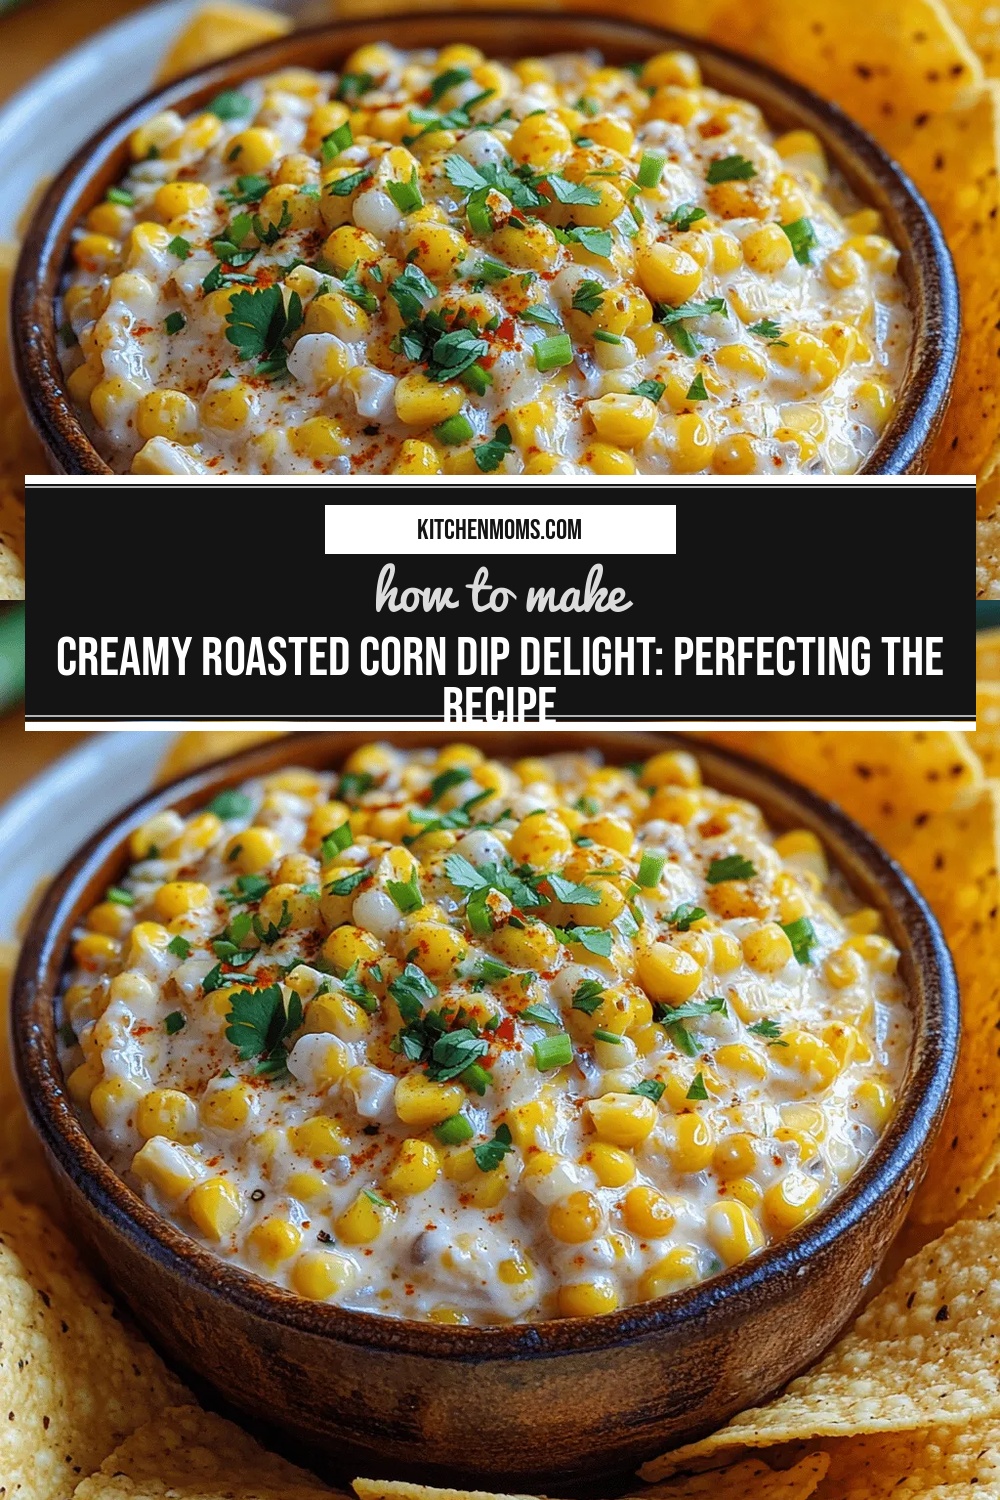
Creamy Roasted Corn Dip Delight: Perfecting the Recipe
Delicious Creamy Roasted Corn Dip Delight: Perfecting the Recipe
 Appetizers
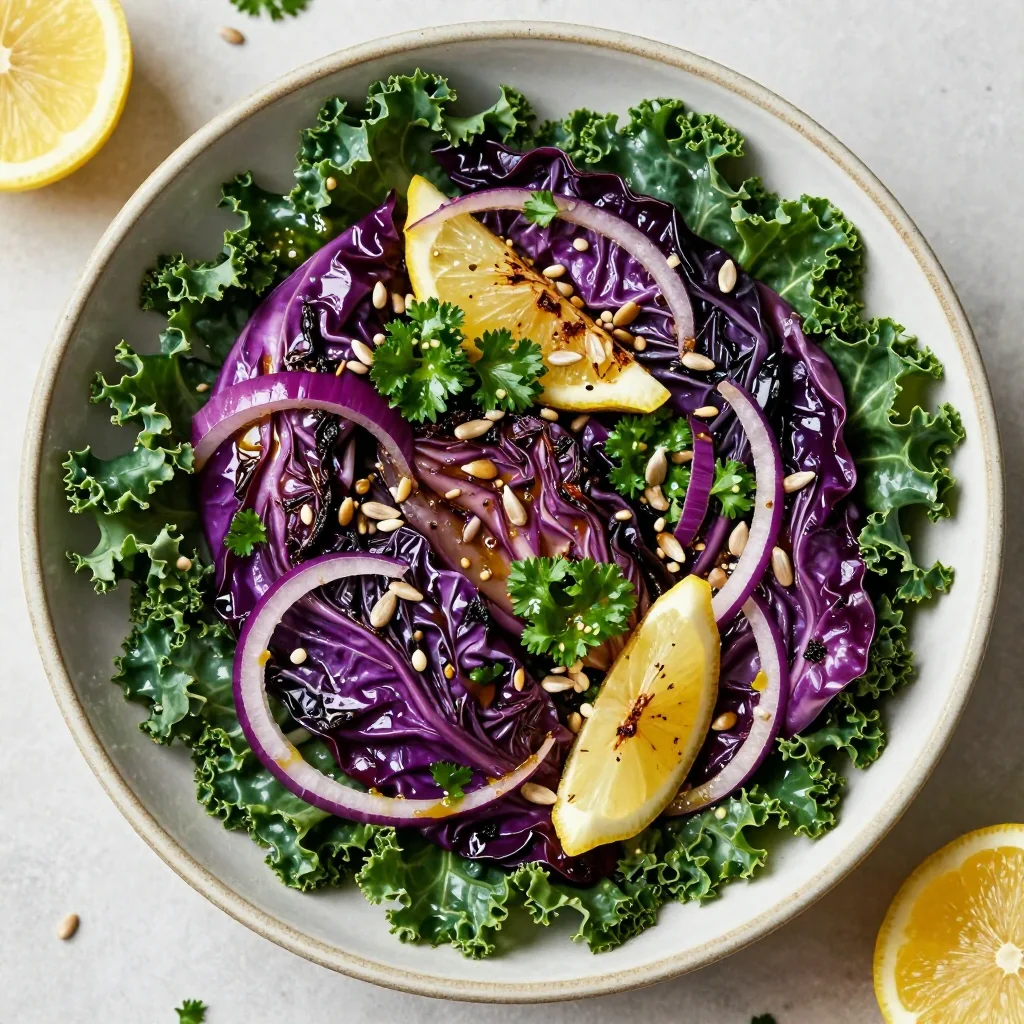
lowcalorie lemon and roasted cabbage salad for new year reset
Lighten up your New Year reset with this zesty low-calorie lemon roasted cabbage salad—crisp, tangy, and…
 Appetizers
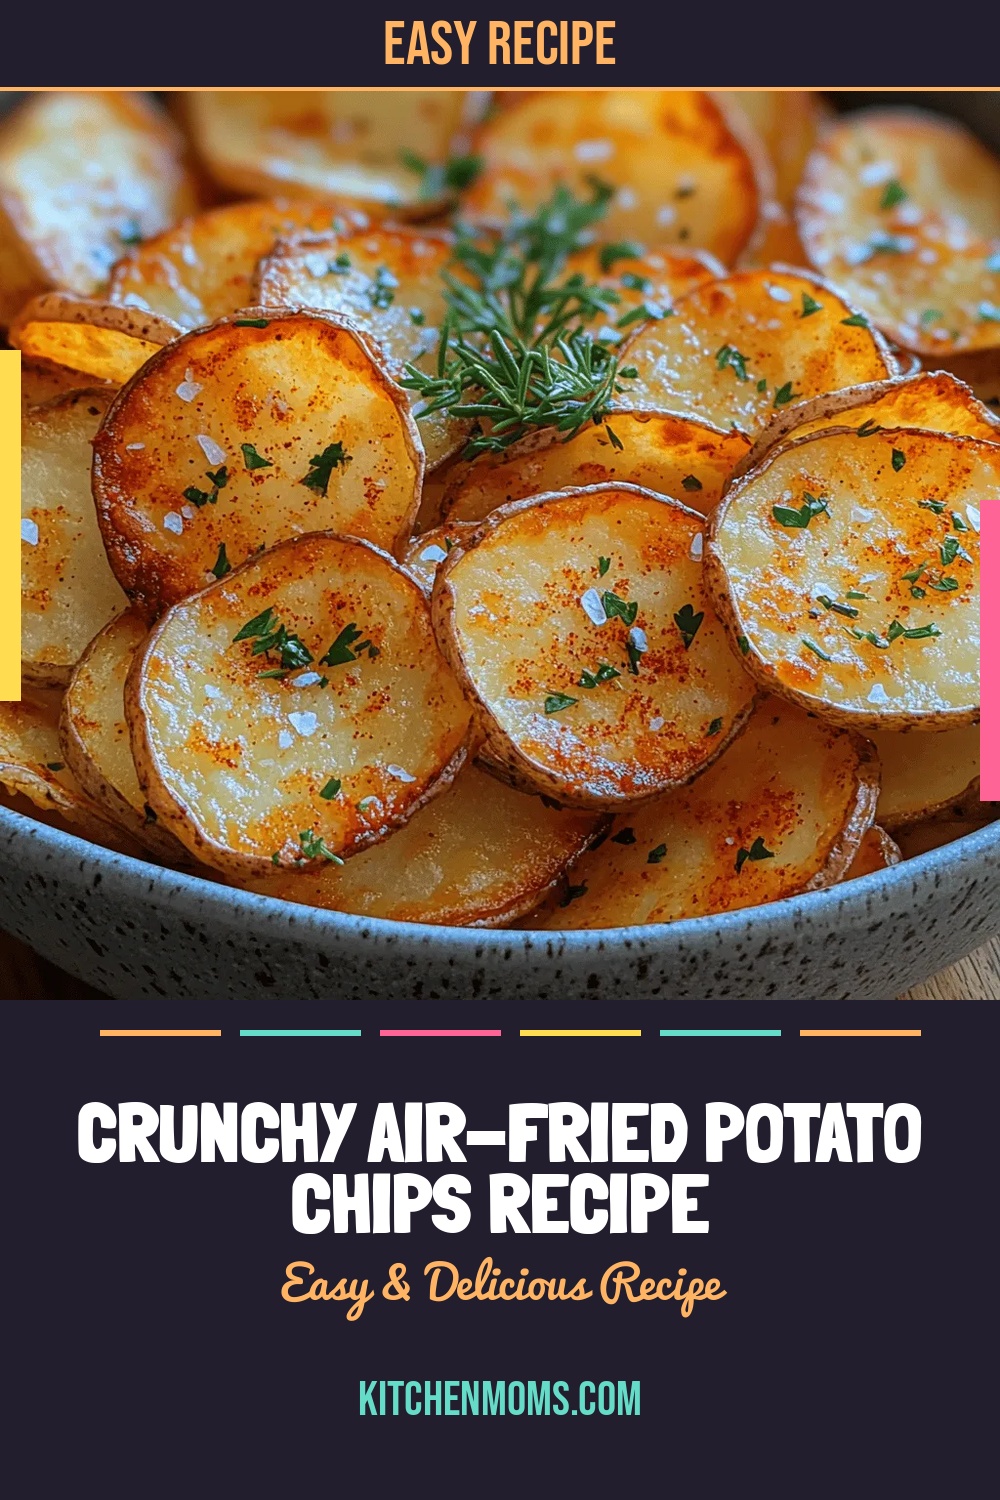
Crunchy Air-Fried Potato Chips Recipe
Delicious Crunchy Air-Fried Potato Chips Recipe
 Appetizers
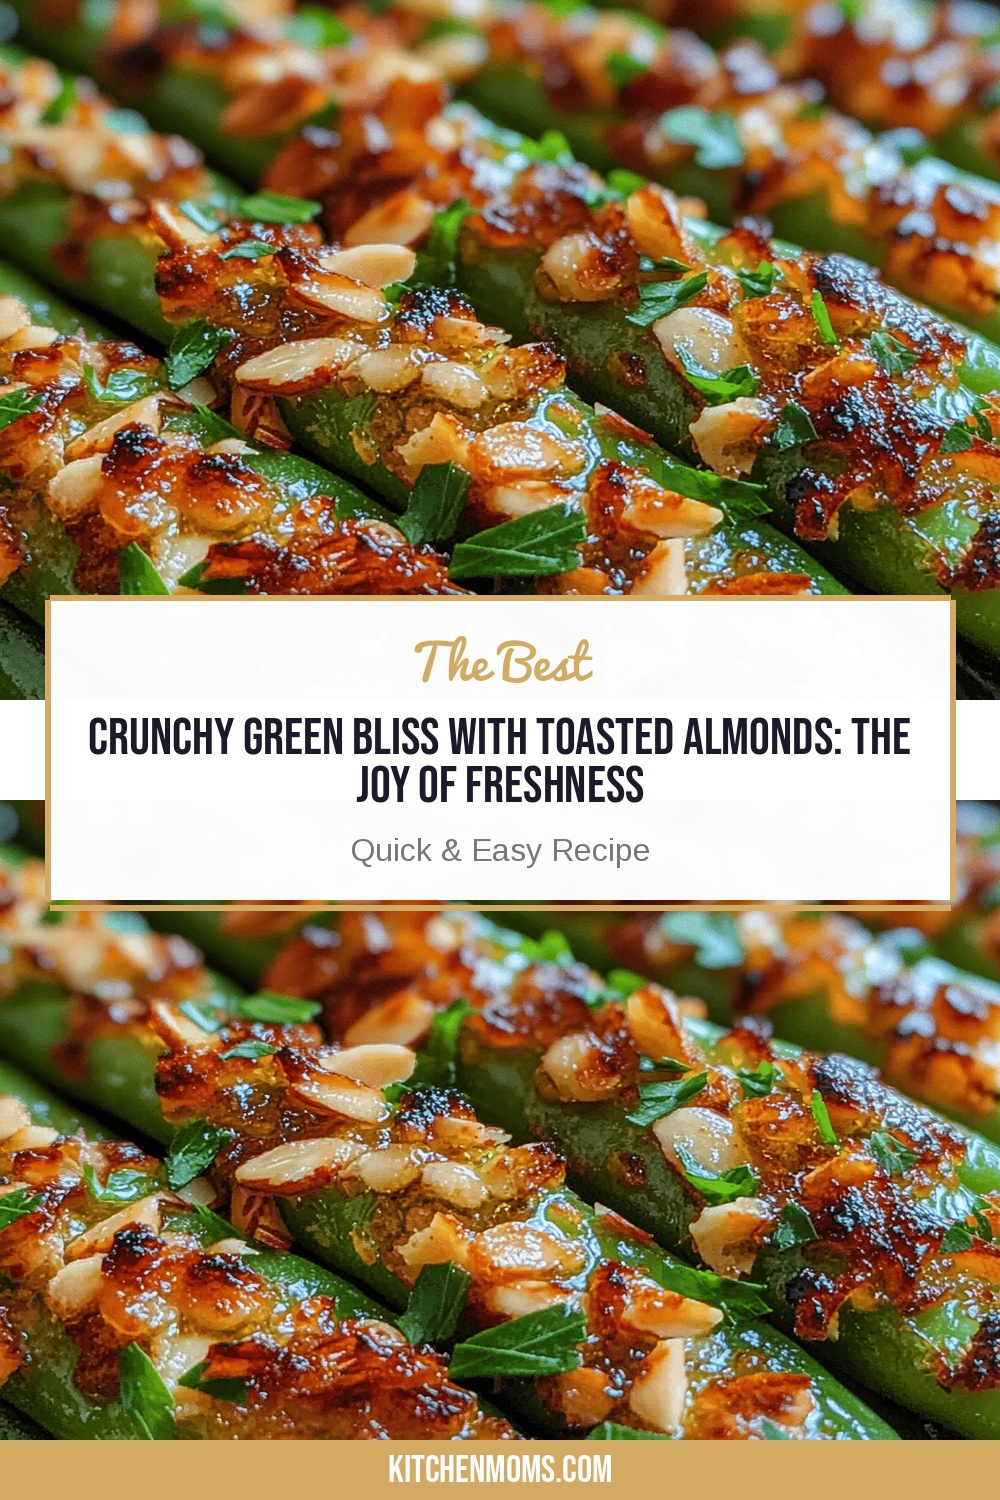
Crunchy Green Bliss with Toasted Almonds: The Joy of Freshness
Delicious Crunchy Green Bliss with Toasted Almonds: The Joy of Freshness

Lucy
I cook these recipes at home before they ever land here — simple ingredients, clear steps.