Crunchy Delight Panko Chicken Fingers: Mastering the Art of Preparation
 Save
Save
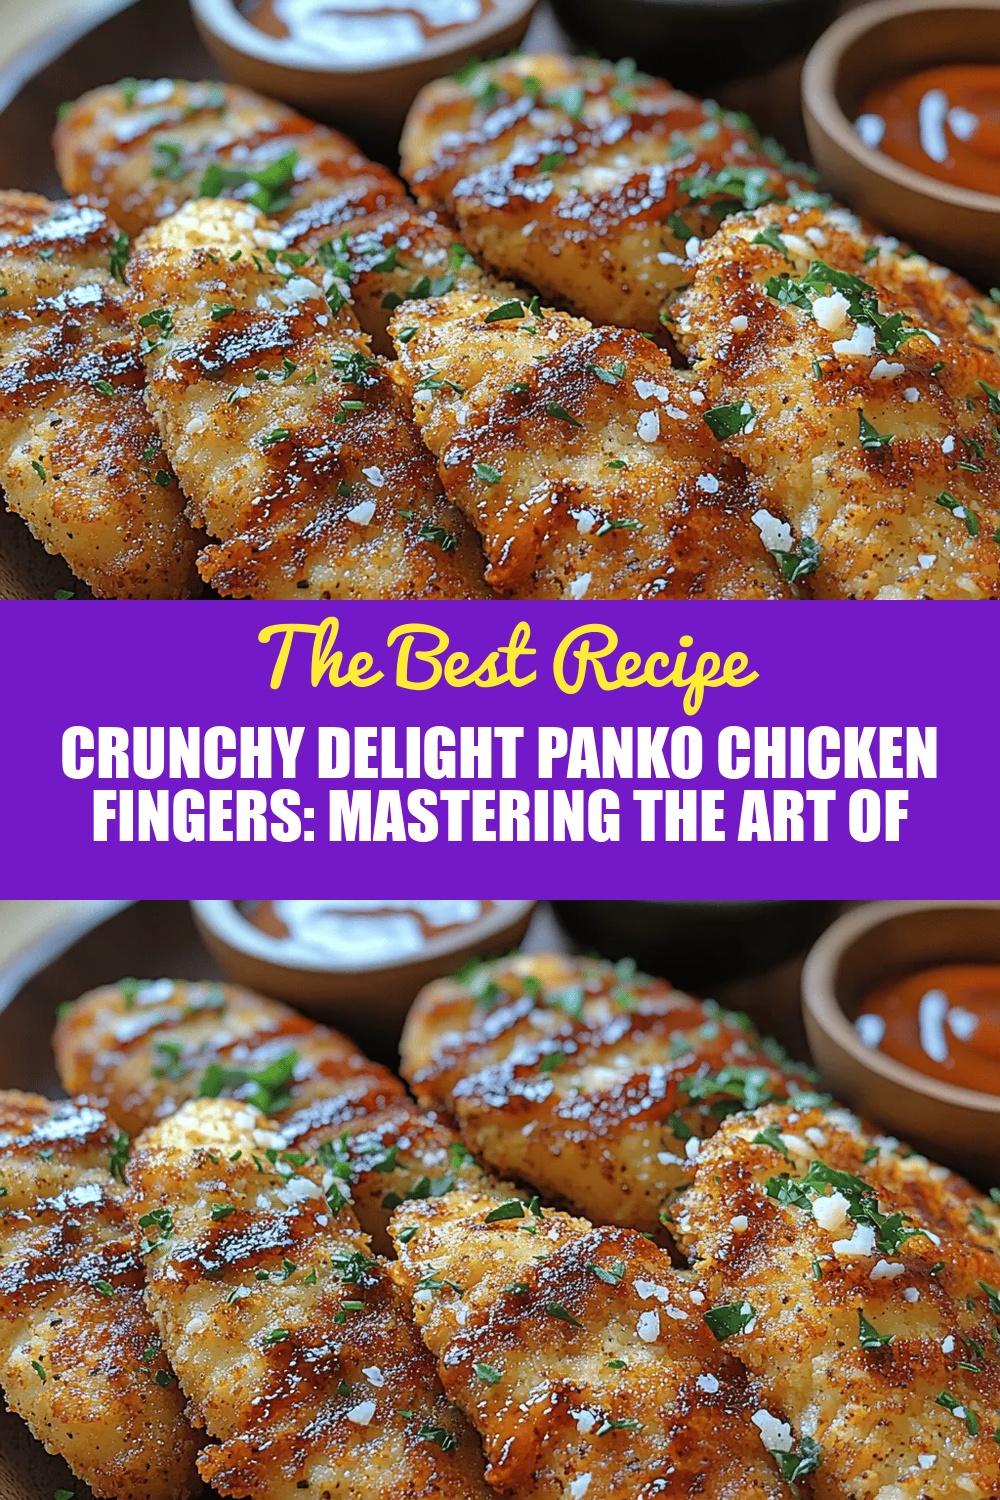
Imagine biting into a golden‑crusted chicken finger that stays juicy inside while delivering a satisfyingly crunchy exterior—no restaurant needed. That’s the promise of Crunchy Delight Panko Chicken Fingers, a recipe that turns a simple family favorite into a show‑stopping star.
What sets this dish apart is the marriage of light, airy panko breadcrumbs with a secret butter‑soy glaze that locks in flavor and creates a glossy, irresistible crust. A quick flash‑fry followed by a short bake guarantees uniform crispness without the greasy feel of deep‑fried classics.
Kids, picky eaters, and even the most seasoned foodies will adore these fingers, making them perfect for weeknight dinners, weekend potlucks, or game‑day snack tables. Pair them with a dipping sauce or a fresh salad for a balanced meal.
The process is straightforward: season the chicken, coat it in a seasoned flour‑egg‑panko trio, fry until lightly golden, then finish in a hot oven while basting with a buttery soy glaze. The result is a finger‑licking masterpiece that’s as easy to make as it is to love.
Why You'll Love This Recipe
Ultimate Crunch: The panko breadcrumbs stay light and airy, delivering a satisfyingly crisp bite that doesn’t turn soggy, even after a brief oven finish.
Juicy Inside: A quick sear locks in the chicken’s natural juices, while the final bake ensures the interior remains tender and moist.
Flavor‑Boosting Glaze: A buttery soy‑honey glaze adds depth, a hint of sweetness, and a beautiful sheen that makes the fingers look restaurant‑ready.
Kid‑Approved Simplicity: The familiar chicken‑finger shape paired with a mild, yet flavorful coating makes this dish a hit with even the pickiest eaters.
Tips & Tricks
Perfecting the Recipe
Dry the chicken well. Patting the strips dry before seasoning prevents steam, which can make the coating soggy.
Use a wire rack. After frying, place the fingers on a rack for a minute; this lets excess oil drip away, preserving crispness.
Season each layer. Lightly salt the flour and panko separately; this builds flavor at every step.
Don’t over‑mix the batter. A gentle whisk keeps the egg‑milk mixture smooth without incorporating too much air, which could cause uneven coating.
Flavor Enhancements
Add a teaspoon of grated fresh ginger to the glaze for a zingy lift, or sprinkle a pinch of cayenne into the panko for subtle heat. Finish each batch with a squeeze of lemon juice just before serving to brighten the buttery glaze.
Common Mistakes to Avoid
Skipping the resting period after seasoning can lead to bland interiors. Also, using oil that’s too hot will burn the panko before the chicken cooks through; keep the oil at a steady, medium‑high temperature and adjust as needed.
Pro Tips
Double‑coat for extra crunch. After the first panko layer, dip again in the egg mixture and roll in panko a second time.
Use a thermometer. Monitoring oil temperature (around 350°F/175°C) guarantees a uniform crust without over‑cooking.
Keep the glaze warm. Warm glaze stays fluid for easy basting; a cold glaze will thicken and coat unevenly.
Serve immediately. The crunch is at its peak within 5 minutes of leaving the oven; plan your plating accordingly.
Variations
Ingredient Swaps
Replace chicken with pork tenderloin strips for a richer flavor, or use firm tofu cubes for a vegetarian twist. Swap regular panko for seasoned Japanese katsu‑panko or crushed cornflakes for an extra‑crunchy texture. For a sweet‑savory glaze, substitute honey with maple syrup or brown sugar.
Dietary Adjustments
Gluten‑free diners can use a blend of rice flour and almond flour for the dredge and purchase certified gluten‑free panko. To keep it dairy‑free, replace butter with coconut oil and ensure the soy sauce is wheat‑free. For a low‑carb version, omit the honey in the glaze and use a sugar‑free sweetener instead.
Serving Suggestions
Serve the fingers atop a bed of jasmine rice tossed with toasted sesame seeds, or pair them with a crisp coleslaw for contrast. For a snack‑style presentation, arrange on a platter with an assortment of dips—spicy sriracha mayo, garlic aioli, or a tangy mustard.
Storage Info
Leftover Storage
Allow the chicken fingers to cool completely, then transfer them to an airtight container. Refrigerate for up to 3 days. For longer keeping, place a single layer on a parchment‑lined tray, freeze for 2 hours, then bag the frozen fingers in zip‑top freezer bags; they’ll hold for 2‑3 months.
Reheating Instructions
Reheat in a preheated 375°F oven on a wire rack for 10‑12 minutes, turning once, to restore crispness. If you’re short on time, a skillet over medium heat with a splash of oil for 3‑4 minutes per side works well, but avoid the microwave—it makes the coating soggy.
Frequently Asked Questions
Can I make this recipe ahead of time?
Can I use frozen chicken breasts?
What side dishes work best with these chicken fingers?
How do I keep the coating from falling off during frying?
This Crunchy Delight Panko Chicken Fingers recipe blends simple techniques with a flavor‑packed glaze, delivering a restaurant‑quality dish that’s quick enough for weeknights. By mastering the seasoning, coating, and finishing steps, you’ll achieve consistently crispy, juicy fingers every time. Feel free to experiment with the suggested swaps or add your own twist—cooking is an adventure, after all. Serve hot, enjoy the crunch, and savor the compliments that follow!
Crunchy Delight Panko Chicken Fingers: Mastering the Art of Preparation
Delicious Crunchy Delight Panko Chicken Fingers: Mastering the Art of Preparation
Ingredients
Chicken & Coating
- 4 boneless, skinless chicken breasts (cut into 1‑inch strips)
- 1 cup all‑purpose flour
- 2 large eggs
- ¼ cup whole milk
- 2 cups Japanese panko breadcrumbs
Butter‑Soy Glaze
- 3 tablespoons unsalted butter, melted
- 2 tablespoons low‑sodium soy sauce
- 1 tablespoon honey
- ½ teaspoon garlic powder
Seasonings & Garnish
- 1 teaspoon kosher salt
- ½ teaspoon freshly ground black pepper
- ½ teaspoon smoked paprika
- 2 tablespoons chopped fresh parsley (for garnish)
Instructions
Finishing in the Oven
- Preheat the oven. Set to 400°F (200°C) and line a baking sheet with parchment. This high heat will crisp the panko further while finishing the chicken through.
- Arrange the fingers. Transfer the fried strips onto the prepared sheet, leaving a little space between each piece for even airflow.
- Make the glaze. In a small saucepan melt butter over low heat, whisk in soy sauce, honey, and garlic powder until glossy. Remove from heat.
- Baste and bake. Brush each finger with a thin layer of the butter‑soy glaze, then bake for 8‑10 minutes, turning once and basting again halfway through. The glaze caramelizes, giving the crust a beautiful sheen and extra flavor.
- Check doneness. Insert an instant‑read thermometer into the thickest part; it should read 165°F (74°C). If not, add another minute or two.
Similar Recipes
 Appetizers
Savory Stuffed Portobello Mushrooms: A Delightful Vegetarian Dish
Delicious Savory Stuffed Portobello Mushrooms: A Delightful Vegetarian Dish
 Appetizers
Warm Mushroom Soup with Thyme for Cozy Evenings
Learn how to make delicious Warm Mushroom Soup with Thyme for Cozy Evenings. Easy recipe with…
 Appetizers
The BEST Creamed Spinach Recipe: Indulge in Comfort Food
Learn how to make delicious The BEST Creamed Spinach Recipe: Indulge in Comfort Food. Easy recipe…
 Appetizers
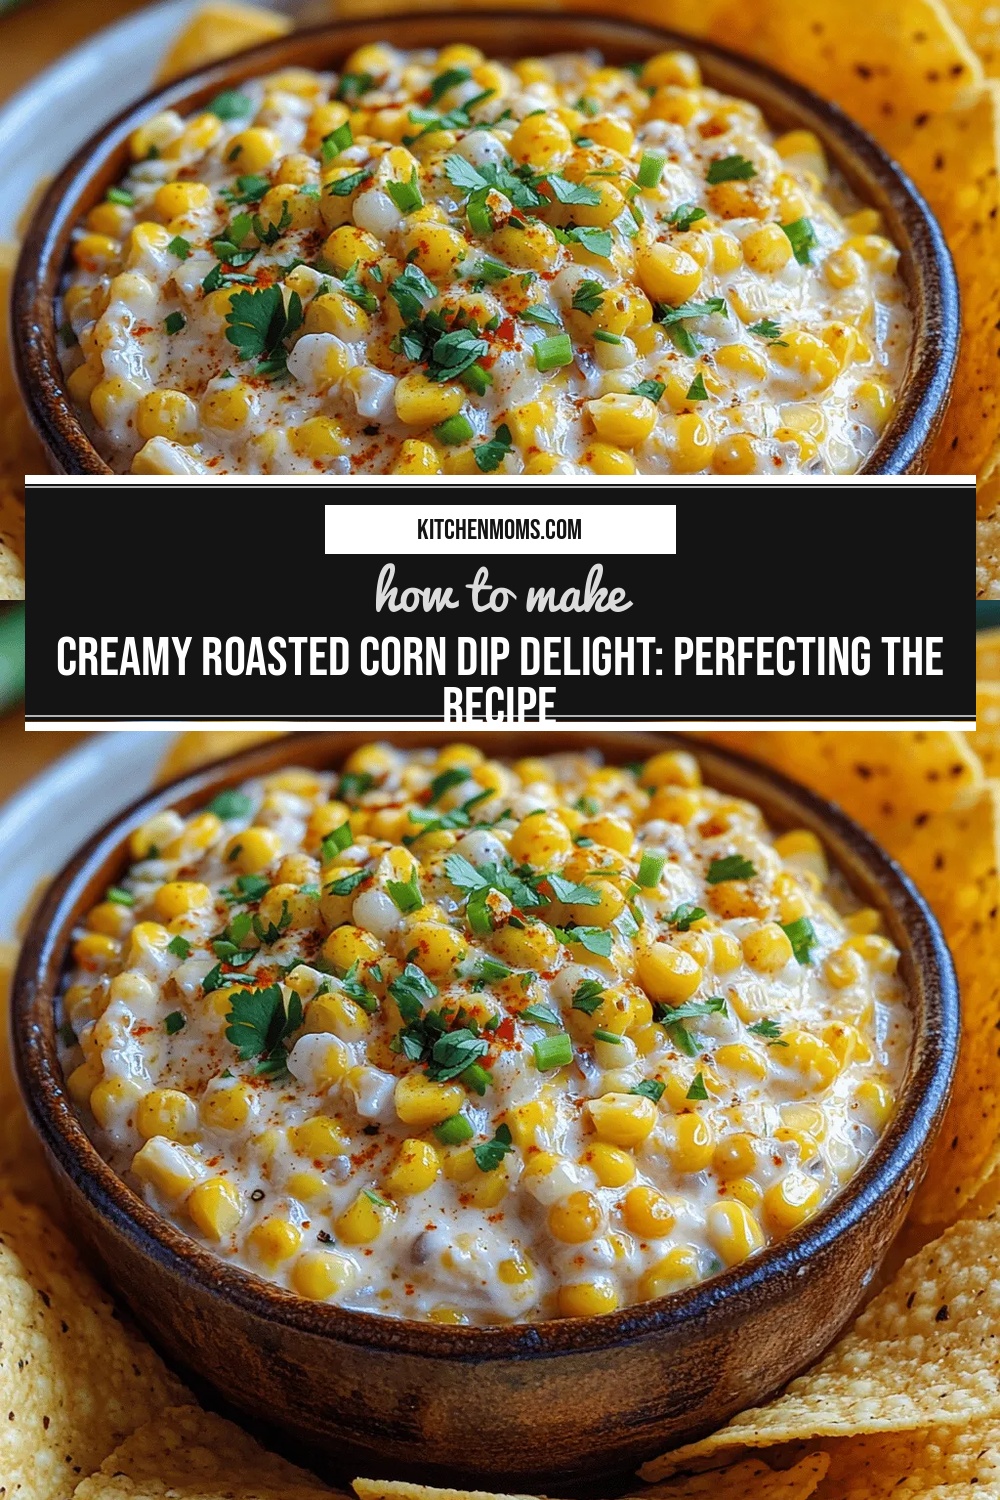
Creamy Roasted Corn Dip Delight: Perfecting the Recipe
Delicious Creamy Roasted Corn Dip Delight: Perfecting the Recipe
 Appetizers
Crispy Parmesan Fried Tortellini: A Delightful Snack
Delicious Crispy Parmesan Fried Tortellini: A Delightful Snack
 Appetizers
Mini BBQ Veggie Tostada Bites Recipe
Delicious Mini BBQ Veggie Tostada Bites Recipe
 Appetizers
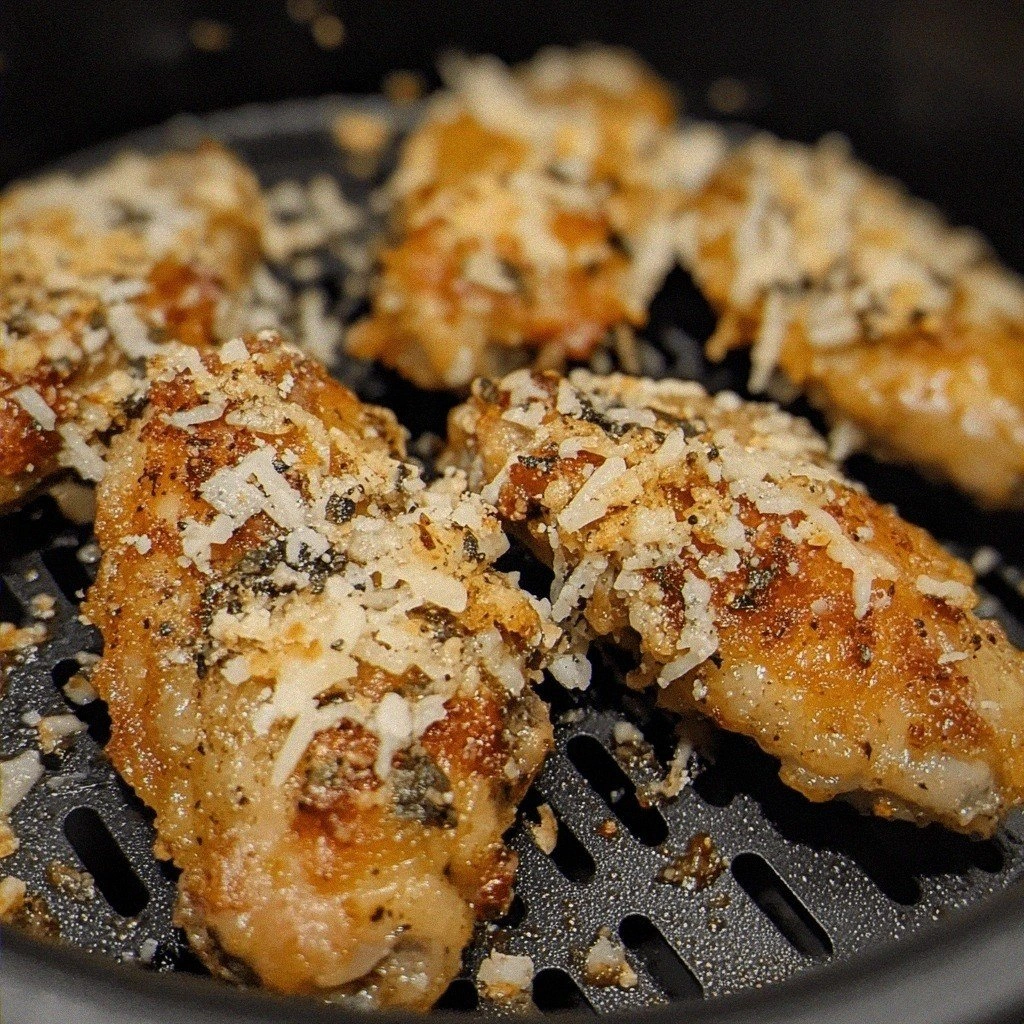
Garlic Parmesan Air Fryer Chicken Wings: A Must-Try Delight!
Learn how to make delicious Garlic Parmesan Air Fryer Chicken Wings: A Must-Try Delight!. Easy recipe…
 Appetizers
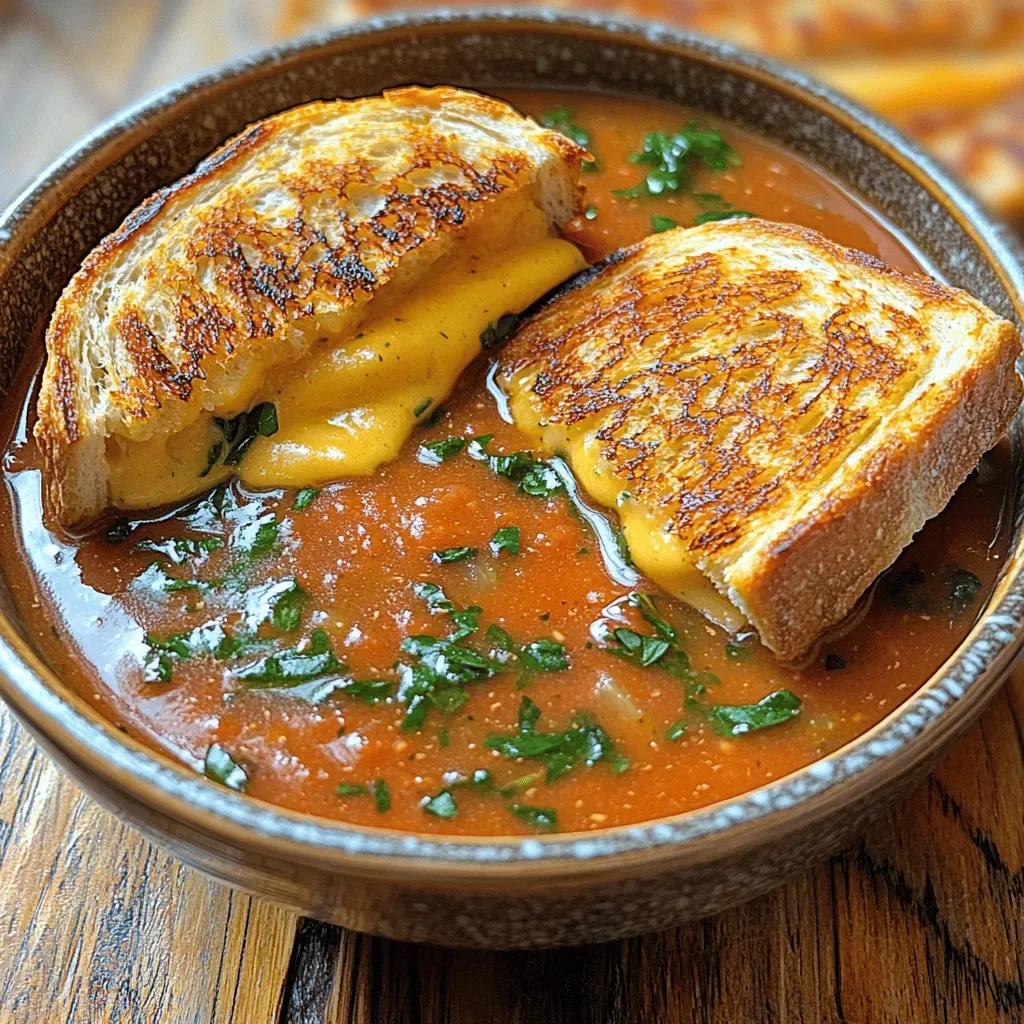
Velvety Tomato Basil Bliss Soup with Crunchy Grilled Cheese Dippers
Delicious Velvety Tomato Basil Bliss Soup with Crunchy Grilled Cheese Dippers

Lucy
I cook these recipes at home before they ever land here — simple ingredients, clear steps.