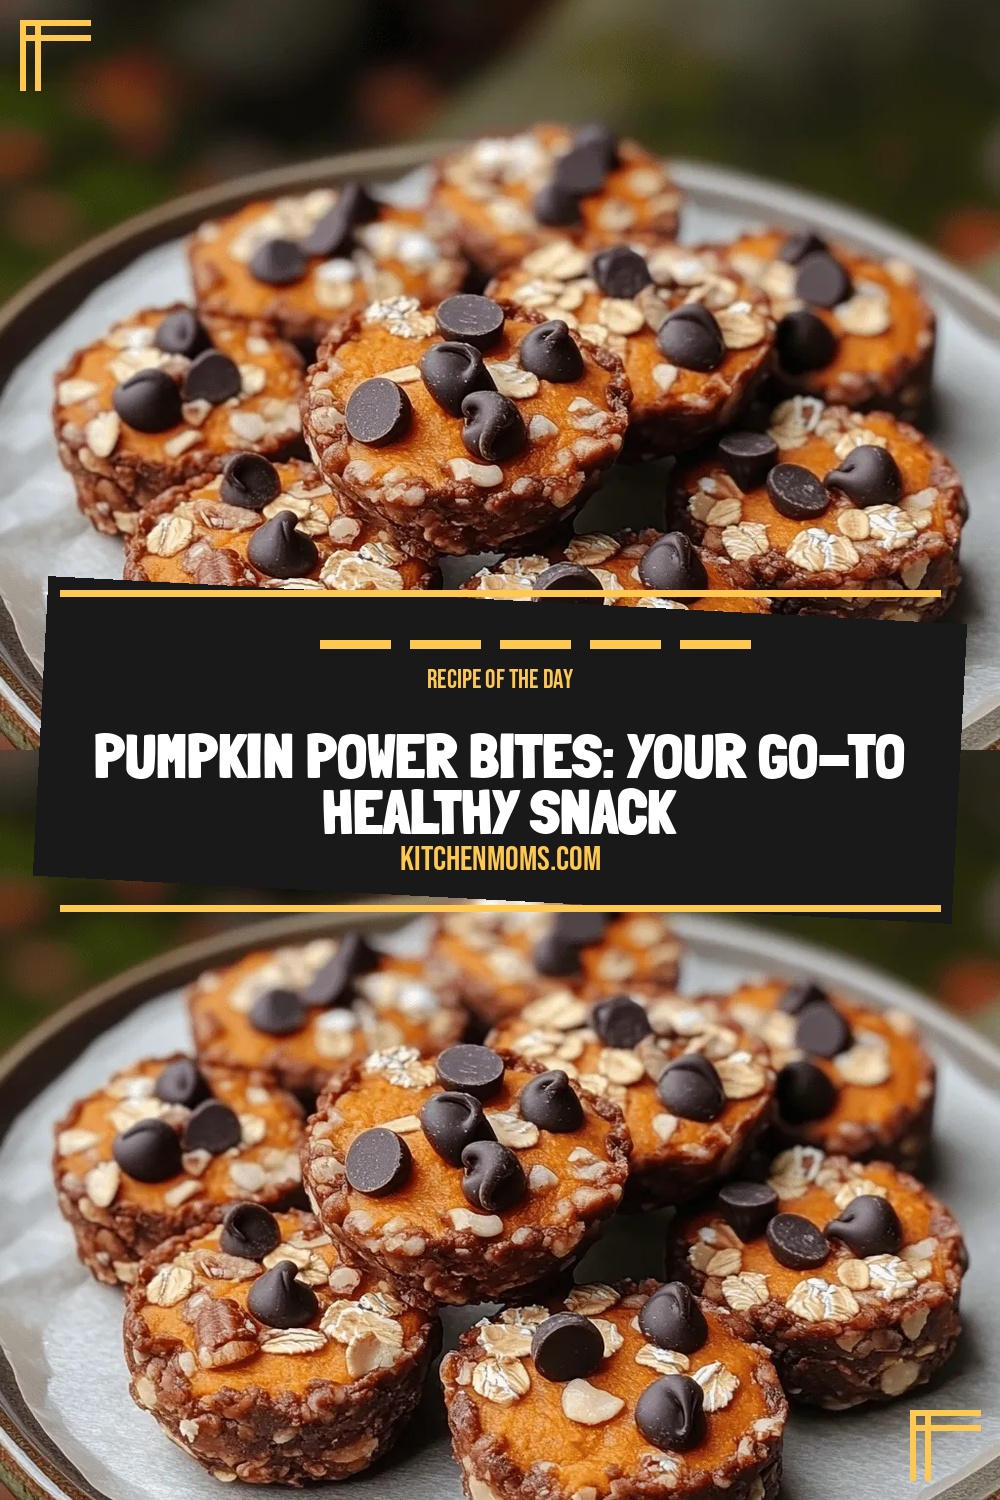
Pumpkin Power Bites: Your Go-To Healthy Snack
 Save
Save
Imagine a snack that feels like a cozy hug on a crisp autumn day—soft, subtly sweet, and packed with nutrition. Pumpkin Power Bites deliver that exact sensation, turning humble pantry staples into a vibrant, bite‑size treat that’s impossible to resist.
What makes these bites truly special is the marriage of creamy pumpkin puree with crunchy oat and nut textures, all lightly sweetened with maple syrup and spiced with warm cinnamon and nutmeg. The result is a balanced flavor profile that satisfies cravings without the guilt.
These bites are perfect for busy parents, fitness enthusiasts, or anyone who needs a quick, wholesome pick‑me‑up between meals or after a workout. Serve them at a brunch spread, pack them in a lunchbox, or pop a few into a coffee‑break bag.
The recipe is straightforward: blend the wet ingredients, stir in the dry mix, roll into bite‑size balls, and bake until golden. In just half an hour you’ll have a batch of snackable goodness ready to enjoy.
Why You'll Love This Recipe
Nutritious Energy Boost: Pumpkin is loaded with beta‑carotene, fiber, and potassium, while oats provide steady carbs, making each bite a sustaining source of fuel for busy days.
Simple Ingredient List: All components are pantry‑friendly—no exotic spices or hard‑to‑find produce, so you can whip them up without a special shopping trip.
Kid‑Approved Flavor: The gentle sweetness of maple syrup and the warm aroma of cinnamon make these bites instantly appealing to children and adults alike.
Customizable Texture: Adjust the crunch factor by swapping walnuts for almonds or adding shredded coconut, letting you tailor each batch to your personal crunch cravings.
Tips & Tricks
Perfecting the Recipe
Measure Oats Precisely. Too many oats can make the bites dry; spoon the oats into a measuring cup and level it off for consistent texture.
Let Chia Gel. Giving the chia‑pumpkin mixture a full 5‑minute rest ensures the seeds absorb liquid, creating a stronger binder and preventing crumbly bites.
Even Sizing. Use a level tablespoon or a small ice‑cream scoop to keep each bite uniform, which guarantees even baking.
Cool on a Rack. Transferring the bites to a wire rack after baking stops residual heat from making the bottoms soggy.
Flavor Enhancements
For an extra burst of autumnal flavor, drizzle a teaspoon of melted dark chocolate over the warm bites before they cool. A pinch of sea salt sprinkled on top right after baking heightens the sweet‑spice balance. Finally, stir in a teaspoon of vanilla extract with the wet ingredients for a deeper aromatic profile.
Common Mistakes to Avoid
Avoid over‑mixing the dough; excessive stirring can break down the oats, resulting in a mushy texture. Also, don’t skip the parchment paper—without it, the bites may stick, making removal difficult and potentially tearing the delicate crust.
Pro Tips
Toast the Nuts. Lightly toasting almonds before adding them intensifies their flavor and adds a subtle smoky note to each bite.
Use Fresh Pumpkin. If you have time, roast fresh pumpkin cubes, blend until smooth, and use that puree for a brighter, less canned taste.
Freeze for Later. After cooling, store the bites in a single layer on a tray in the freezer; once frozen, transfer to a zip‑top bag for long‑term storage.
Adjust Sweetness. If you prefer less sweetness, reduce maple syrup to 2 tablespoons and add a splash of unsweetened applesauce for moisture.
Variations
Ingredient Swaps
Swap almonds for walnuts, pecans, or even pumpkin seeds for a different crunch profile. Replace rolled oats with gluten‑free oat flakes or quinoa flakes for a grain‑free version. If you’re avoiding sweeteners, use a blend of mashed banana and a dash of stevia instead of maple syrup.
Dietary Adjustments
For a vegan bite, ensure the maple syrup is pure and use plant‑based milk (as listed). Gluten‑free eaters can substitute certified gluten‑free oats and verify that any added dried fruit is processed in a gluten‑free facility. To keep it keto, replace oats with almond flour and use erythritol or monk fruit sweetener in place of maple syrup.
Serving Suggestions
Pair the bites with a dollop of Greek yogurt or a plant‑based kefir for a creamy contrast. They also shine as a topping for oatmeal bowls, smoothie bowls, or even as a crunchy element in a salad. For holiday gatherings, arrange them on a platter with a drizzle of caramel sauce and a sprinkle of toasted pumpkin seeds.
Storage Info
Leftover Storage
Once the bites have cooled completely, transfer them to an airtight container. They keep well in the refrigerator for up to 4 days. For longer preservation, layer the bites between parchment sheets in a freezer‑safe bag and freeze for up to 3 months; this prevents them from sticking together.
Reheating Instructions
To enjoy warm bites, preheat the oven to 300°F (150°C), spread the frozen or refrigerated bites on a baking sheet, and heat for 8‑10 minutes until soft throughout. If you’re short on time, microwave a single bite on medium power for 20‑30 seconds, adding a splash of almond milk to restore moisture.
Frequently Asked Questions
Can I make these bites ahead of time?
What if I don’t have chia seeds?
How can I make these bites sweeter without adding more sugar?
This Pumpkin Power Bites recipe blends seasonal flavor, nutrition, and effortless preparation into a snack you’ll reach for again and again. By following the detailed steps, using the tips provided, and experimenting with the suggested variations, you can tailor each batch to your personal taste and dietary needs. Let your creativity shine—add a dash of spice, swap a nut, or drizzle chocolate for a personal touch. Enjoy these bite‑size bursts of autumnal goodness whenever hunger strikes!
Pumpkin Power Bites: Your Go-To Healthy Snack
Delicious Pumpkin Power Bites: Your Go-To Healthy Snack
Ingredients
Main Ingredients
- 1 cup pumpkin puree (canned or fresh)
- 1 ½ cups rolled oats
- ½ cup raw almonds, roughly chopped
Binding Mix
- 2 tablespoons chia seeds
- ¼ cup unsweetened almond milk
Sweetener & Spice
- 3 tablespoons pure maple syrup
- 1 teaspoon ground cinnamon
- ½ teaspoon ground nutmeg
Optional Add‑ins
- ¼ cup dried cranberries, chopped
- 2 tablespoons shredded coconut (unsweetened)
Instructions
Bringing It All Together & Baking
- Mix Wet and Dry. Pour the pumpkin‑chia mixture into the dry bowl. Using a sturdy spoon or your hands, combine until a uniform, slightly sticky dough forms. If the mixture feels too dry, add a splash of almond milk; if too wet, sprinkle a little extra oats.
- Shape the Bites. Scoop about one tablespoon of dough and roll between your palms to form smooth balls. Place each ball onto a parchment‑lined baking sheet, leaving a small gap for even browning. You should end up with roughly 12 bites.
- Preheat the Oven. Set your oven to 350°F (175°C) and let it fully preheat—this ensures the bites begin to set immediately, preserving their shape.
- Bake. Slide the tray into the oven and bake for 12‑15 minutes, or until the tops turn a light golden brown and a firm crust forms. Rotate the pan halfway through for uniform coloring.
- Cool & Serve. Remove the bites and let them cool on the sheet for 5 minutes before transferring to a wire rack. Cooling allows the interior to set fully, giving you a perfect bite‑size snack that holds together.
Similar Recipes
 Desserts
Zesty Paradise Lemon Coconut Bars
Delicious Zesty Paradise Lemon Coconut Bars
 Desserts
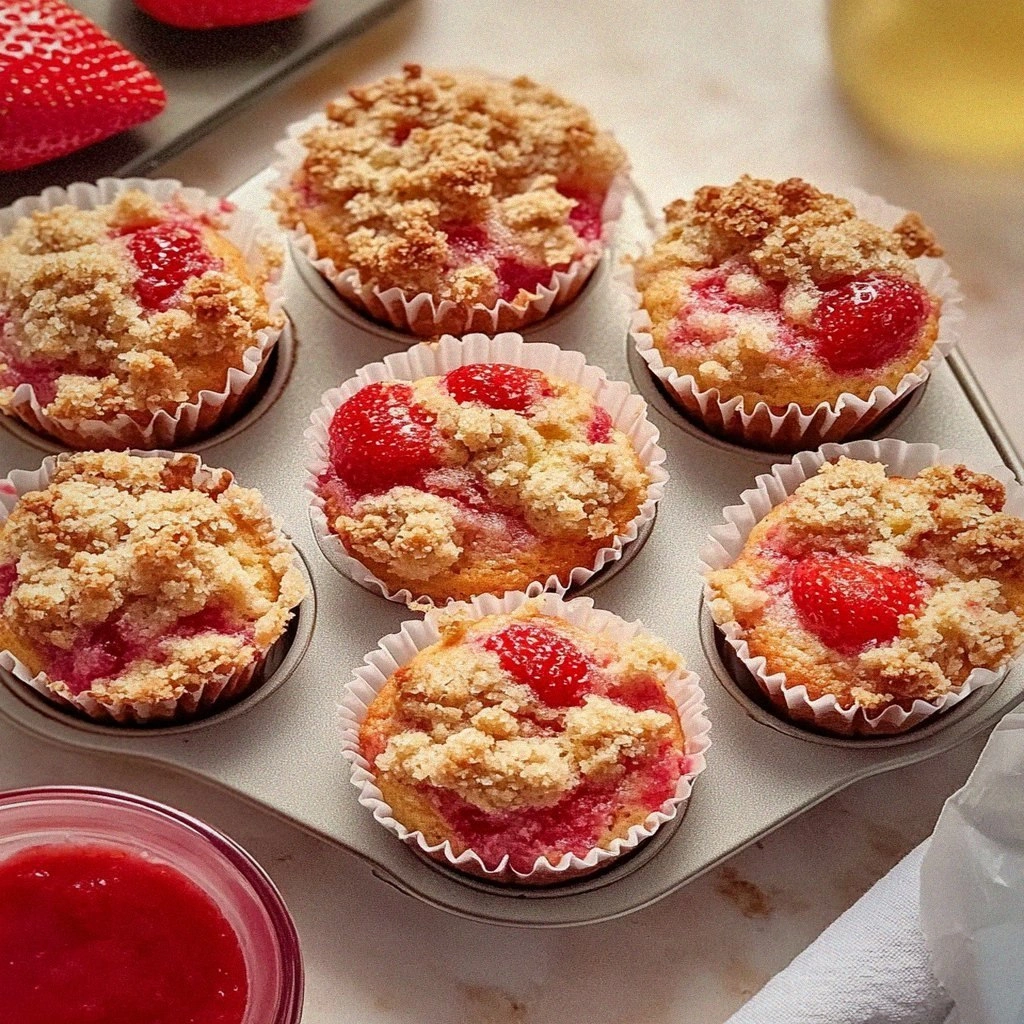
Irresistible Strawberry Lemon Crumble Muffins Recipe
Learn how to make delicious Irresistible Strawberry Lemon Crumble Muffins Recipe. Easy recipe with step-by-step instructions.
 Desserts
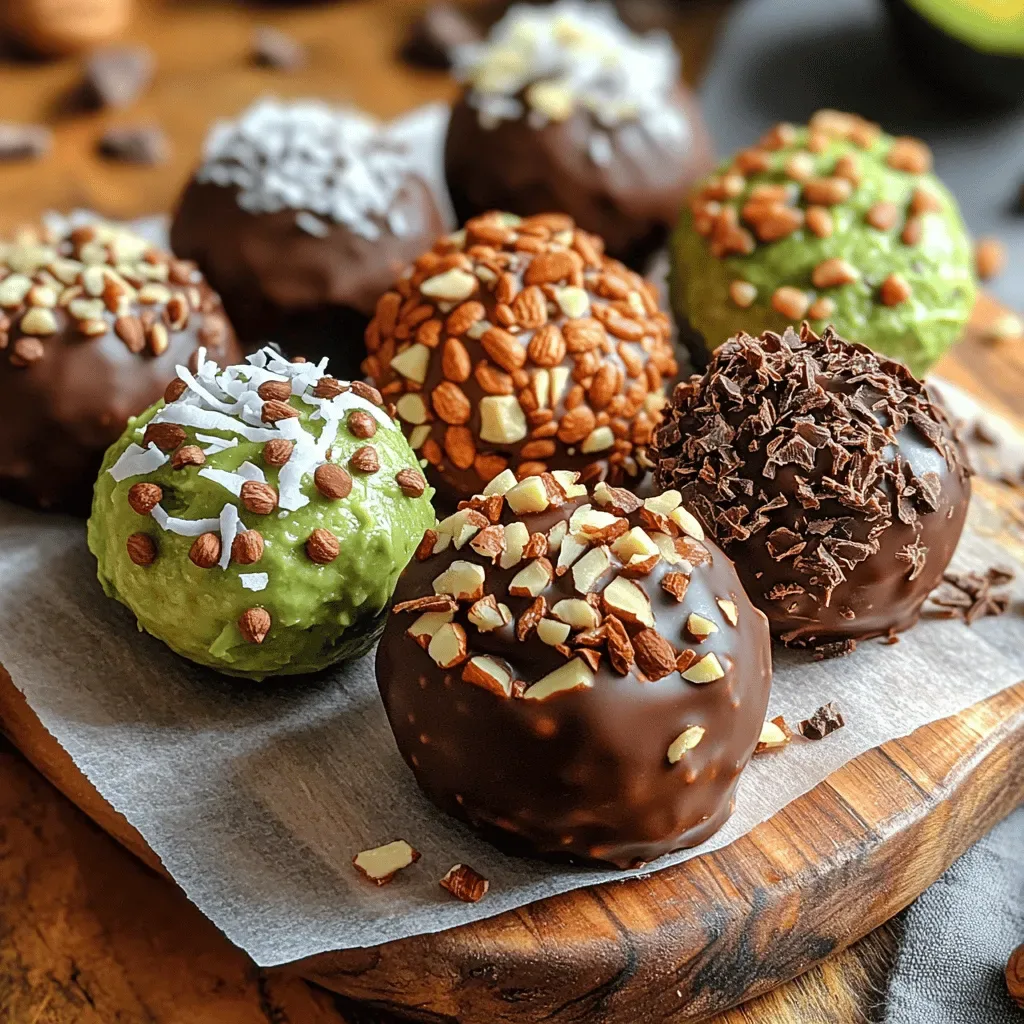
Decadent Guilt-Free Chocolate Avocado Truffles: The Process and More
Delicious Decadent Guilt-Free Chocolate Avocado Truffles: The Process and More
 Desserts
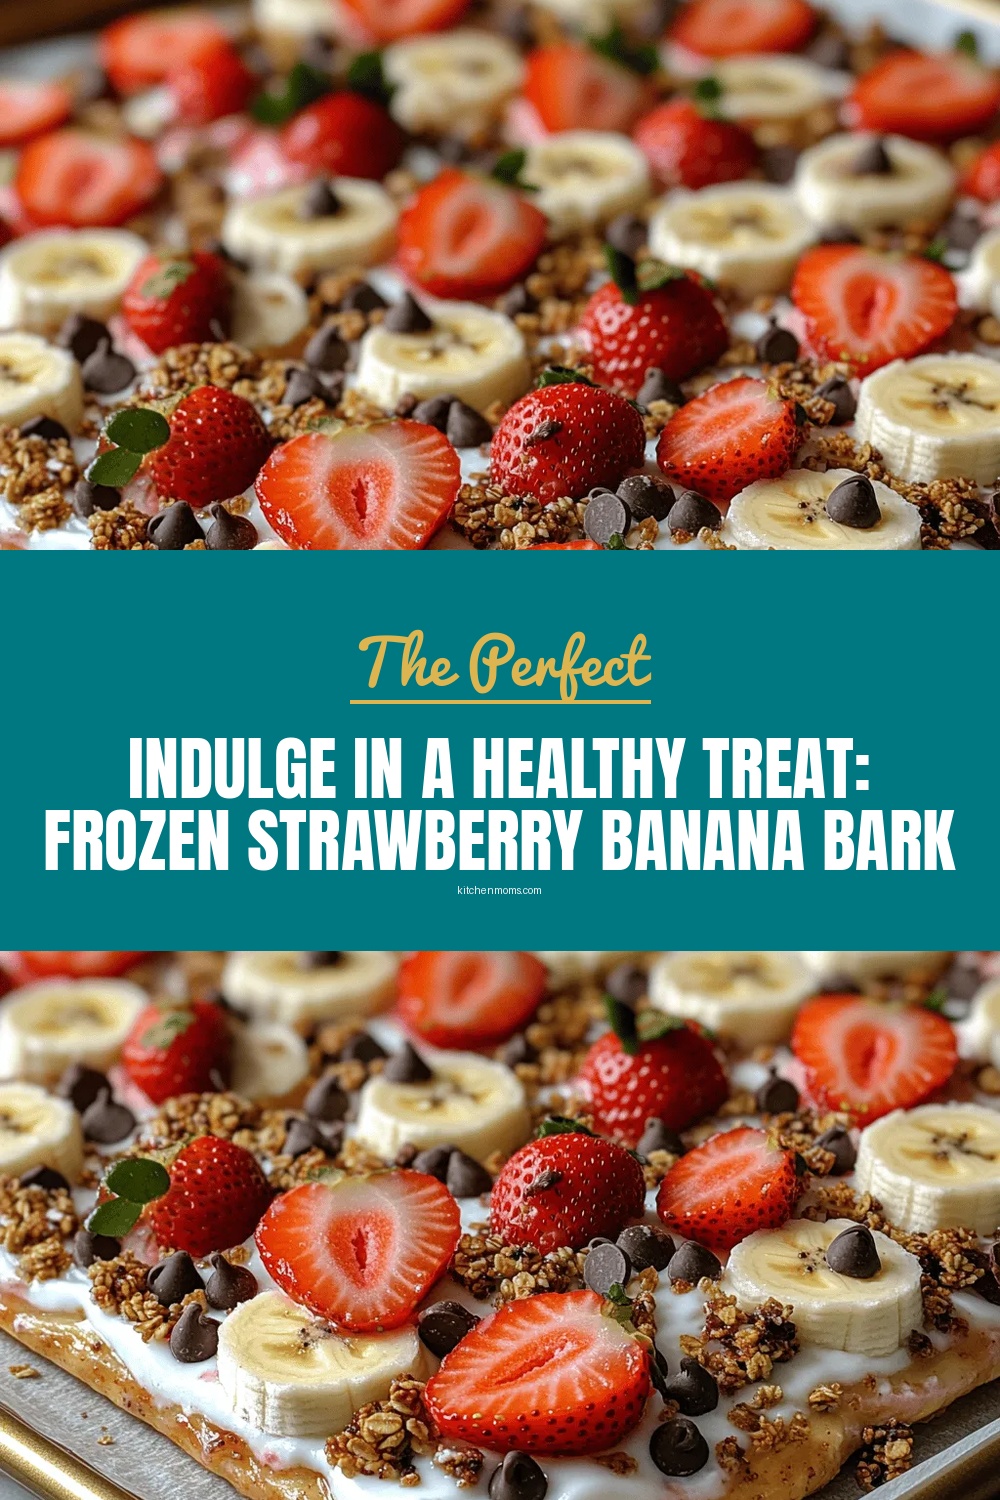
Indulge in a Healthy Treat: Frozen Strawberry Banana Bark Recipe
Delicious Indulge in a Healthy Treat: Frozen Strawberry Banana Bark Recipe
 Desserts
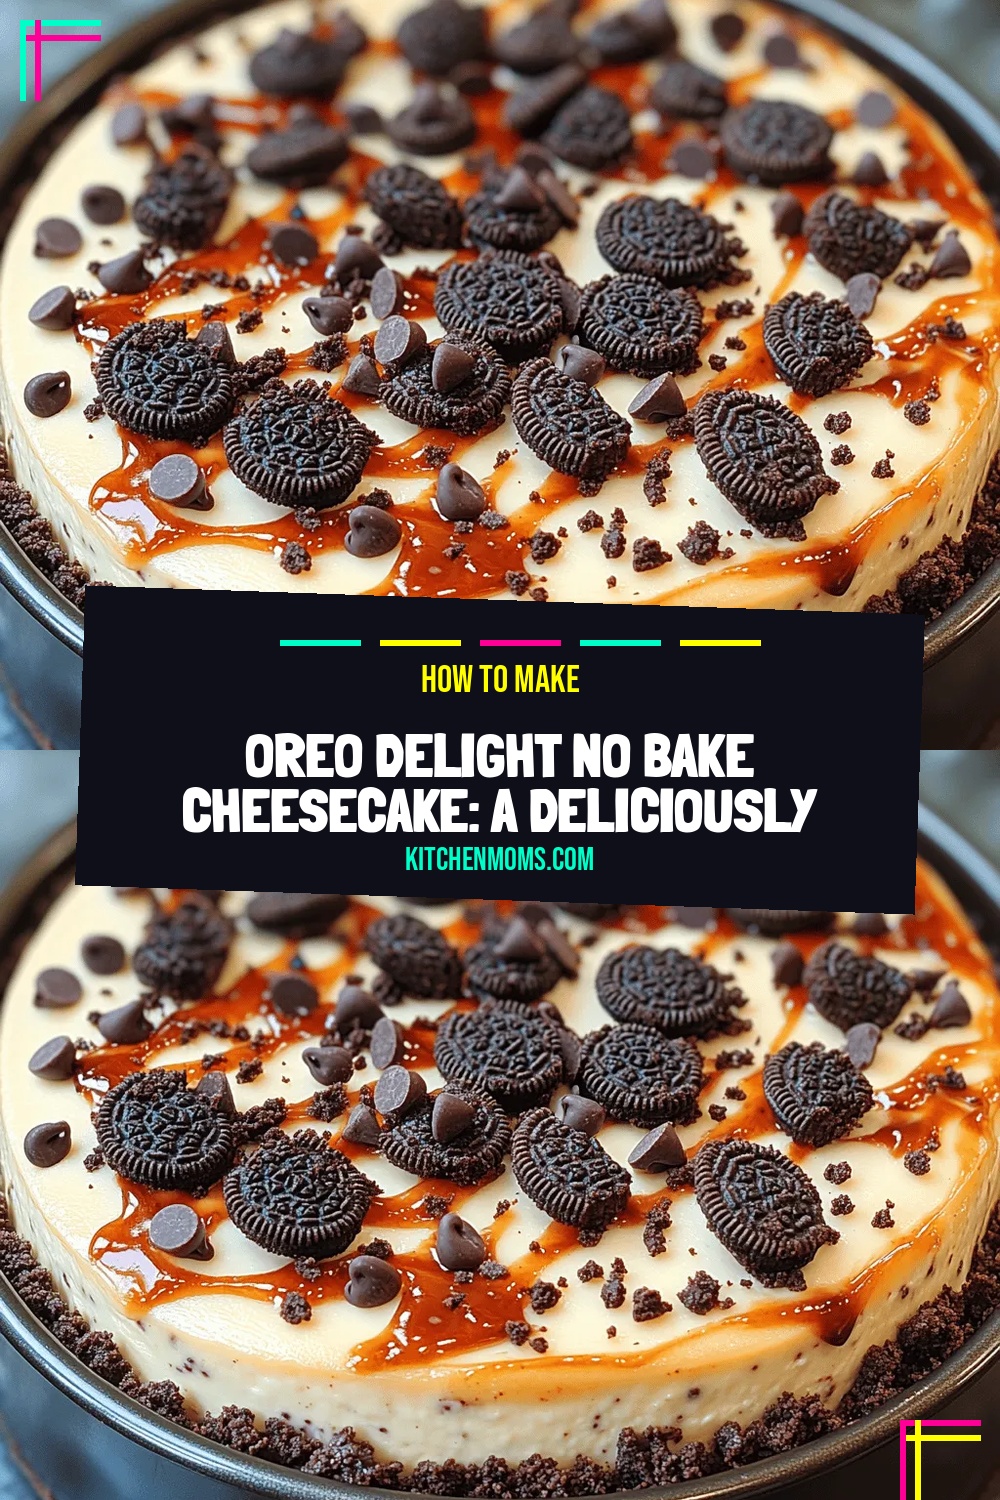
Oreo Delight No Bake Cheesecake: A Deliciously Simple Recipe
Delicious Oreo Delight No Bake Cheesecake: A Deliciously Simple Recipe
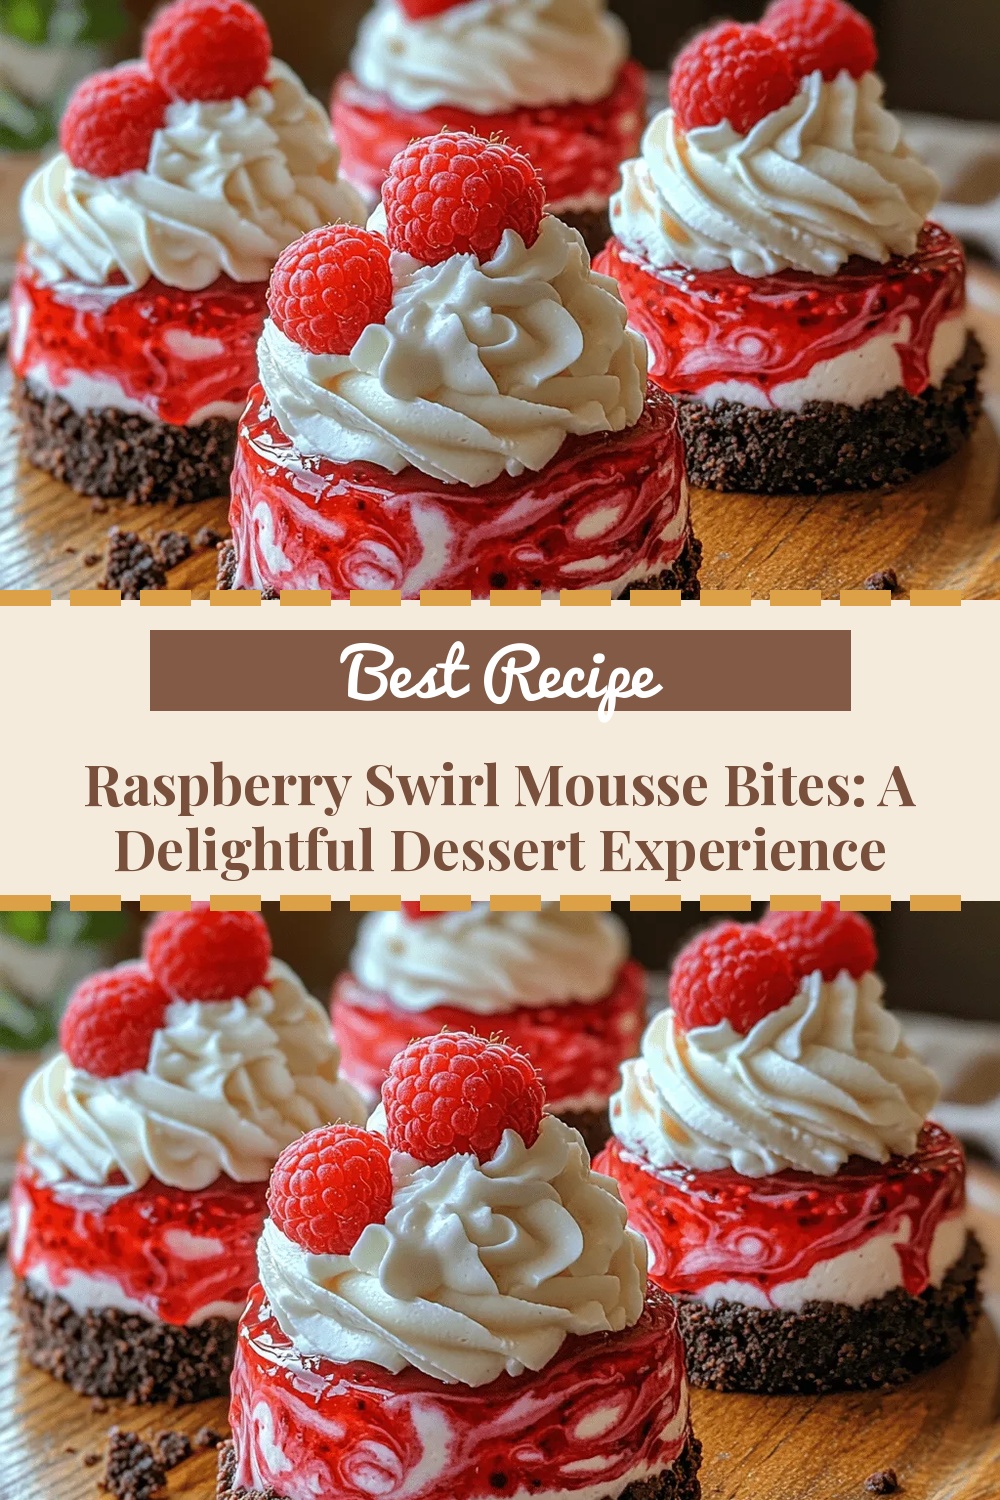 Desserts
Raspberry Swirl Mousse Bites: A Delightful Dessert Experience
Delicious Raspberry Swirl Mousse Bites: A Delightful Dessert Experience
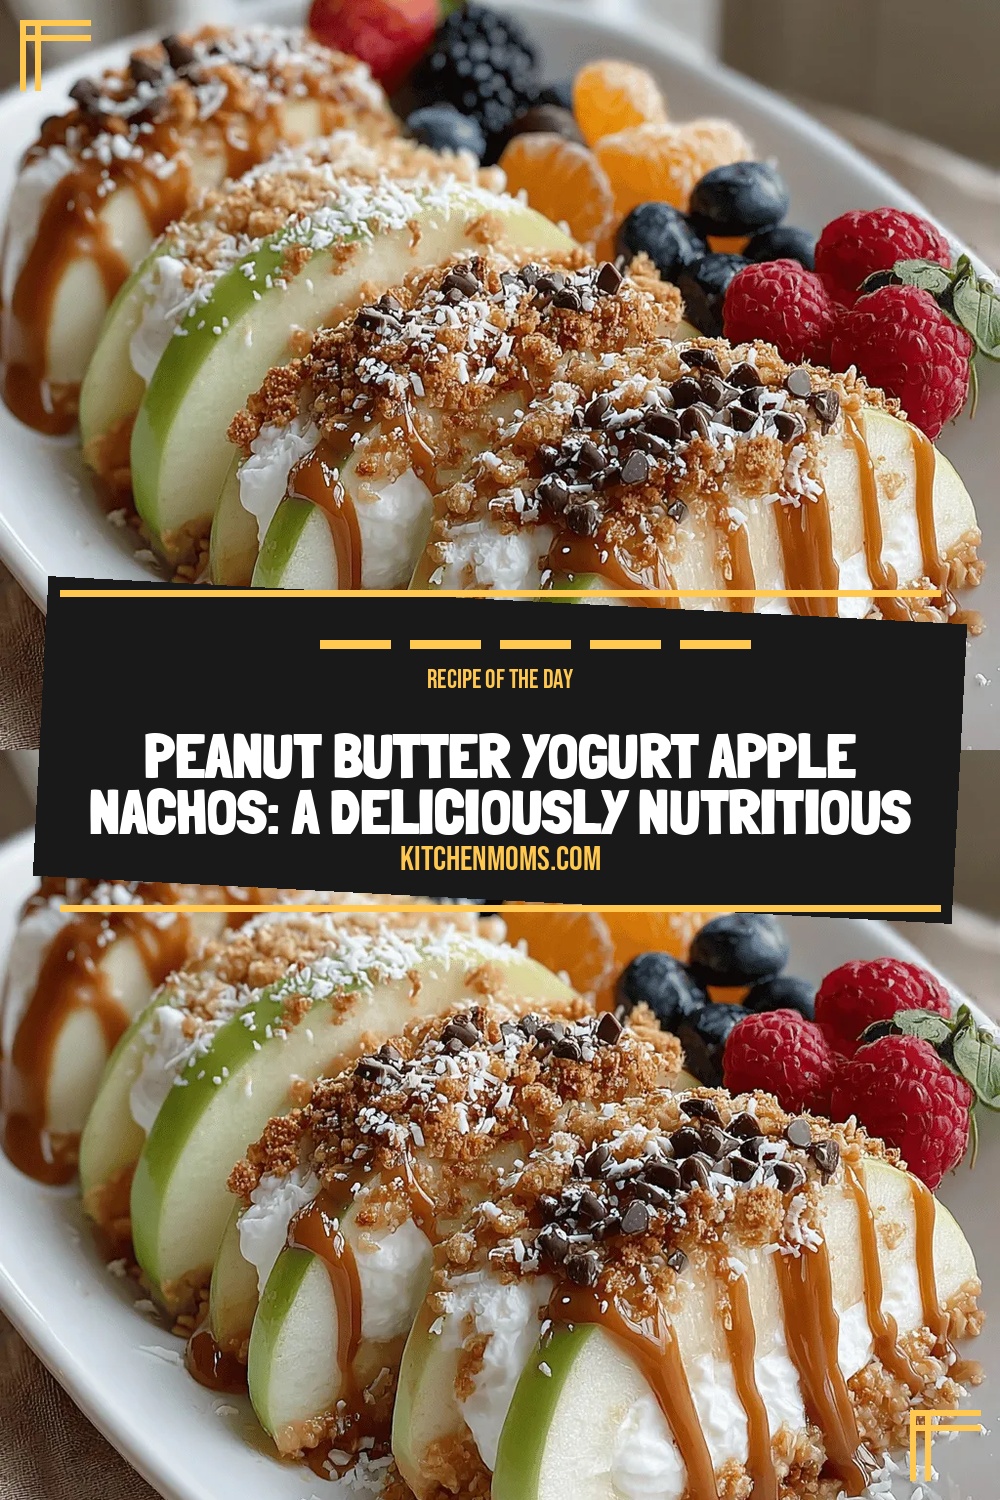 Desserts
Peanut Butter Yogurt Apple Nachos: A Deliciously Nutritious Snack
Delicious Peanut Butter Yogurt Apple Nachos: A Deliciously Nutritious Snack
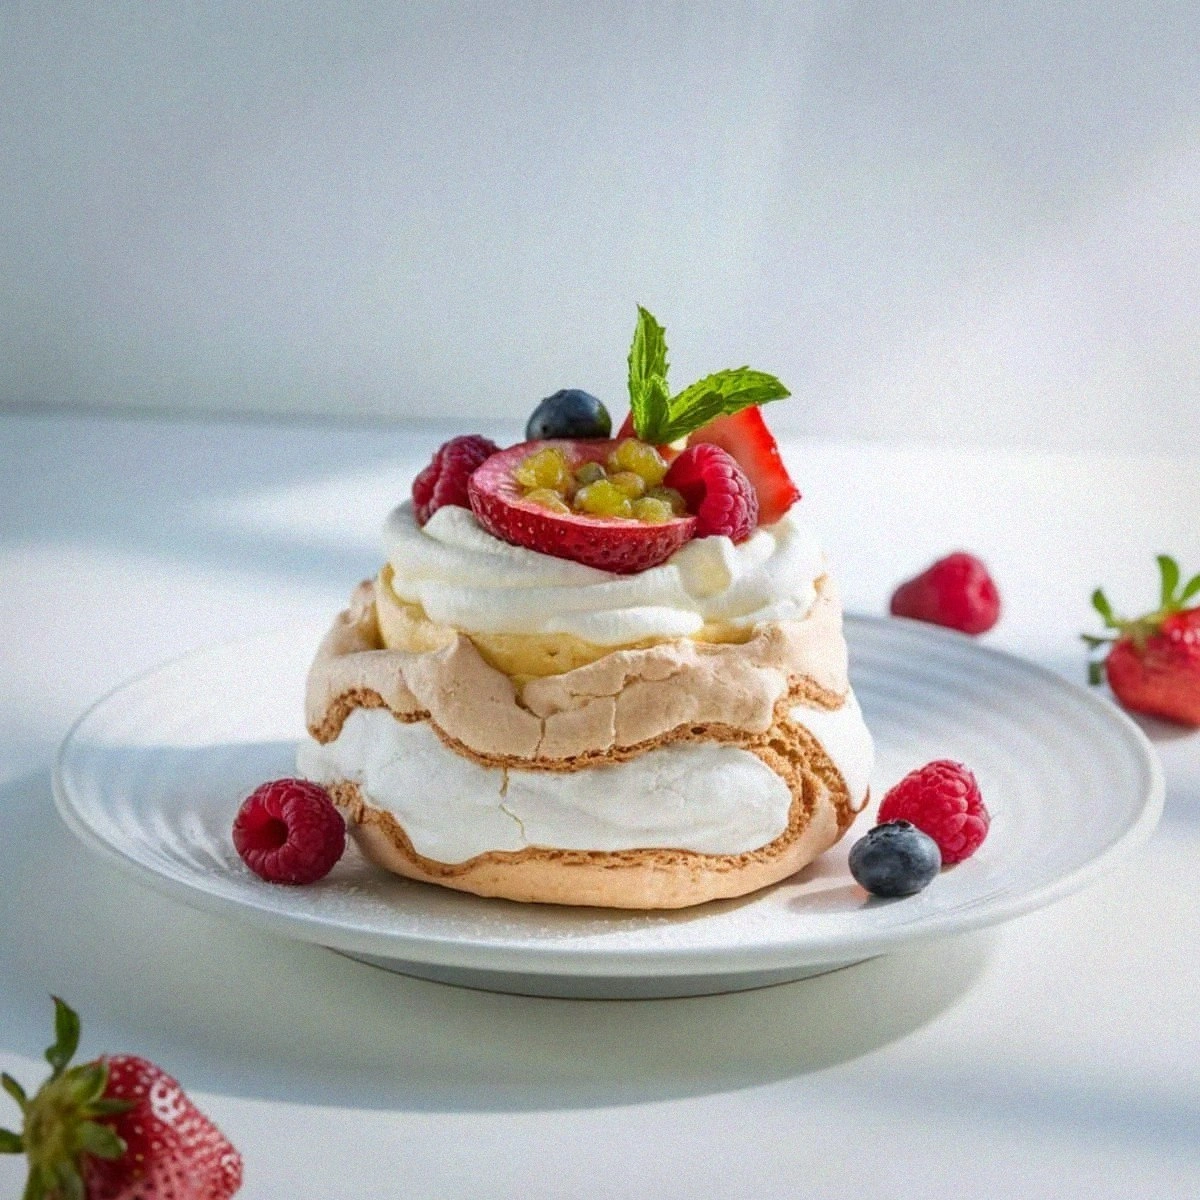 Desserts
Mini Pavlova Recipe
Learn how to make delicious Mini Pavlova Recipe. Easy recipe with step-by-step instructions.

Lucy
I cook these recipes at home before they ever land here — simple ingredients, clear steps.