Mini Pita Pizzas: A Delicious and Customizable Recipe
 Save
Save
Imagine the comfort of a classic pizza wrapped in the soft, pocket‑friendly shape of a pita—perfectly sized for a bite‑sized breakfast treat. Mini Pita Pizzas bring the joy of pizza night to the brunch table, delivering crispy edges and melty toppings in a fraction of the time.
What makes this recipe stand out is the balance of wholesome ingredients: fluffy pita, farm‑fresh veggies, a golden egg, and a drizzle of tangy tomato sauce. Each bite offers a satisfying crunch followed by a creamy, cheesy melt that feels indulgent yet light.
This dish is ideal for busy families, brunch parties, or a lazy weekend snack. Kids love the handheld fun, while adults appreciate the customizable flavor profile that can be dressed up or down.
Preparation is simple—toast the pitas, layer sauce, cheese, veggies, and a sunny‑side‑up egg, then finish under the broiler. In just twelve minutes you’ll have a crowd‑pleasing plate of mini masterpieces ready to devour.
Why You'll Love This Recipe
Customizable Canvas: Swap veggies, cheeses, or proteins to match any palate, making each batch uniquely yours while keeping the core concept simple and reliable.
Speedy Brunch Solution: From prep to plate in under fifteen minutes, these mini pizzas fit perfectly into rushed mornings without sacrificing flavor or presentation.
Handheld Fun: The pita pocket creates a tidy, bite‑size serving that’s easy for kids to hold and for adults to enjoy without a fork or knife.
Nutrient‑Rich Balance: Combining whole‑grain pita, protein‑packed eggs, and fresh vegetables delivers a well‑rounded meal that fuels the body and satisfies cravings.
Tips & Tricks
Perfecting the Recipe
Dry the Pita Thoroughly: Pat the pita with a paper towel after brushing with oil. Excess moisture can make the base soggy once the sauce is added.
Use Fresh Mozzarella: Freshly shredded mozzarella melts more evenly than pre‑shredded varieties, giving a smoother cheese blanket.
Pre‑Slice Tomatoes: Halving cherry tomatoes reduces cooking time and prevents excess liquid from pooling on the pita.
Flavor Enhancements
Add a drizzle of balsamic glaze just before serving for sweet‑tart contrast. A sprinkle of toasted pine nuts introduces a subtle crunch, while a pinch of smoked paprika in the sauce deepens the smoky undertone.
Common Mistakes to Avoid
Don’t overload the pita with sauce; too much liquid will soak the bread and make it floppy. Also, avoid cooking the egg too long—over‑cooked yolks become dry and lose their creamy appeal.
Pro Tips
Broiler Positioning: Place the rack about 4‑5 inches from the heating element for an even, rapid melt without burning the cheese.
Season the Egg: Lightly season the egg while it cooks; a dash of smoked sea salt adds depth that pairs beautifully with the feta.
Serve Immediately: These mini pizzas are at their best when hot; the pita softens quickly as it cools.
Variations
Ingredient Swaps
Replace mozzarella with pepper jack for a spicy kick, or use goat cheese for a tangier profile. Swap cherry tomatoes for roasted red peppers, and add sliced avocado after broiling for extra creaminess. For a protein boost, crumble cooked chorizo or turkey sausage onto the pita before the egg.
Dietary Adjustments
Choose gluten‑free pita breads (most supermarkets carry them) to keep the dish safe for gluten‑intolerant guests. For a vegan version, omit the egg and replace cheeses with dairy‑free alternatives such as vegan mozzarella and feta. Use a plant‑based egg substitute like tofu scramble for the “egg” component.
Serving Suggestions
Pair the mini pizzas with a bright citrus‑y fruit salad or a simple cucumber‑mint water for freshness. A side of seasoned roasted potatoes or a light quinoa pilaf adds heartiness without stealing the spotlight. For brunch buffets, arrange the pizzas on a platter with assorted dips like tzatziki and hummus.
Storage Info
Leftover Storage
Allow any leftovers to cool to room temperature, then place the mini pizzas in an airtight container. Store in the refrigerator for up to three days. For longer preservation, wrap each pita tightly in plastic wrap before freezing; they’ll keep for up to two months without losing texture.
Reheating Instructions
Reheat refrigerated leftovers in a preheated 350°F oven for 8‑10 minutes, covering loosely with foil to prevent the cheese from over‑browning. For frozen portions, thaw overnight in the fridge, then follow the same oven method. A quick microwave burst (30‑seconds) works in a pinch but may soften the pita slightly.
Frequently Asked Questions
Can I prepare the mini pita pizzas ahead of time?
What if I don’t have a broiler?
How can I make these mini pizzas gluten‑free?
This Mini Pita Pizza recipe delivers big flavor in a tiny, handheld package, making it perfect for brunch gatherings or a quick weekday breakfast. By following the step‑by‑step guide, you’ll master the crisp pita base, melty cheese, fresh toppings, and a luscious egg crown every time. Feel free to experiment with the suggested swaps and seasonings—cooking is your playground. Serve warm, enjoy the compliments, and relish every bite of your deliciously customizable creation!
Mini Pita Pizzas: A Delicious and Customizable Recipe
Delicious Mini Pita Pizzas: A Delicious and Customizable Recipe
Ingredients
Main Ingredients
- 4 whole‑wheat pita rounds
- 4 large eggs
- 1 cup shredded mozzarella cheese
- ½ cup crumbled feta cheese
- 1 cup cherry tomatoes, halved
- ½ cup baby spinach leaves
Sauce & Aromatics
- ½ cup marinara or pizza sauce (store‑bought or homemade)
- 1 tablespoon extra‑virgin olive oil
Seasonings & Garnish
- ½ teaspoon dried oregano
- ¼ teaspoon red‑pepper flakes (optional)
- Salt and freshly ground black pepper, to taste
- Fresh basil leaves, torn (for garnish)
Instructions
Baking the Mini Pizzas
- Broil the Base. Slide the prepared pitas onto the hot baking sheet and broil for 3‑4 minutes, watching closely. The cheese should melt and begin to bubble, and the edges of the pita will turn a light golden brown.
- Cook the Egg. While the pitas are under the broiler, heat a non‑stick skillet over medium heat. Add a drizzle of olive oil, crack an egg in, and cook until the whites are set but the yolk remains runny (about 2‑3 minutes). Season with a pinch of salt and pepper.
- Finish Under the Broiler. Remove the pitas from the oven, carefully place a cooked egg on the center of each, and return to the broiler for an additional 30‑45 seconds. This step lightly sets the egg whites without overcooking the yolk.
- Season & Garnish. Sprinkle oregano, red‑pepper flakes (if using), and a dash of freshly ground black pepper over each mini pizza. Finish with torn fresh basil leaves for a fragrant, bright finish.
Similar Recipes
 Appetizers
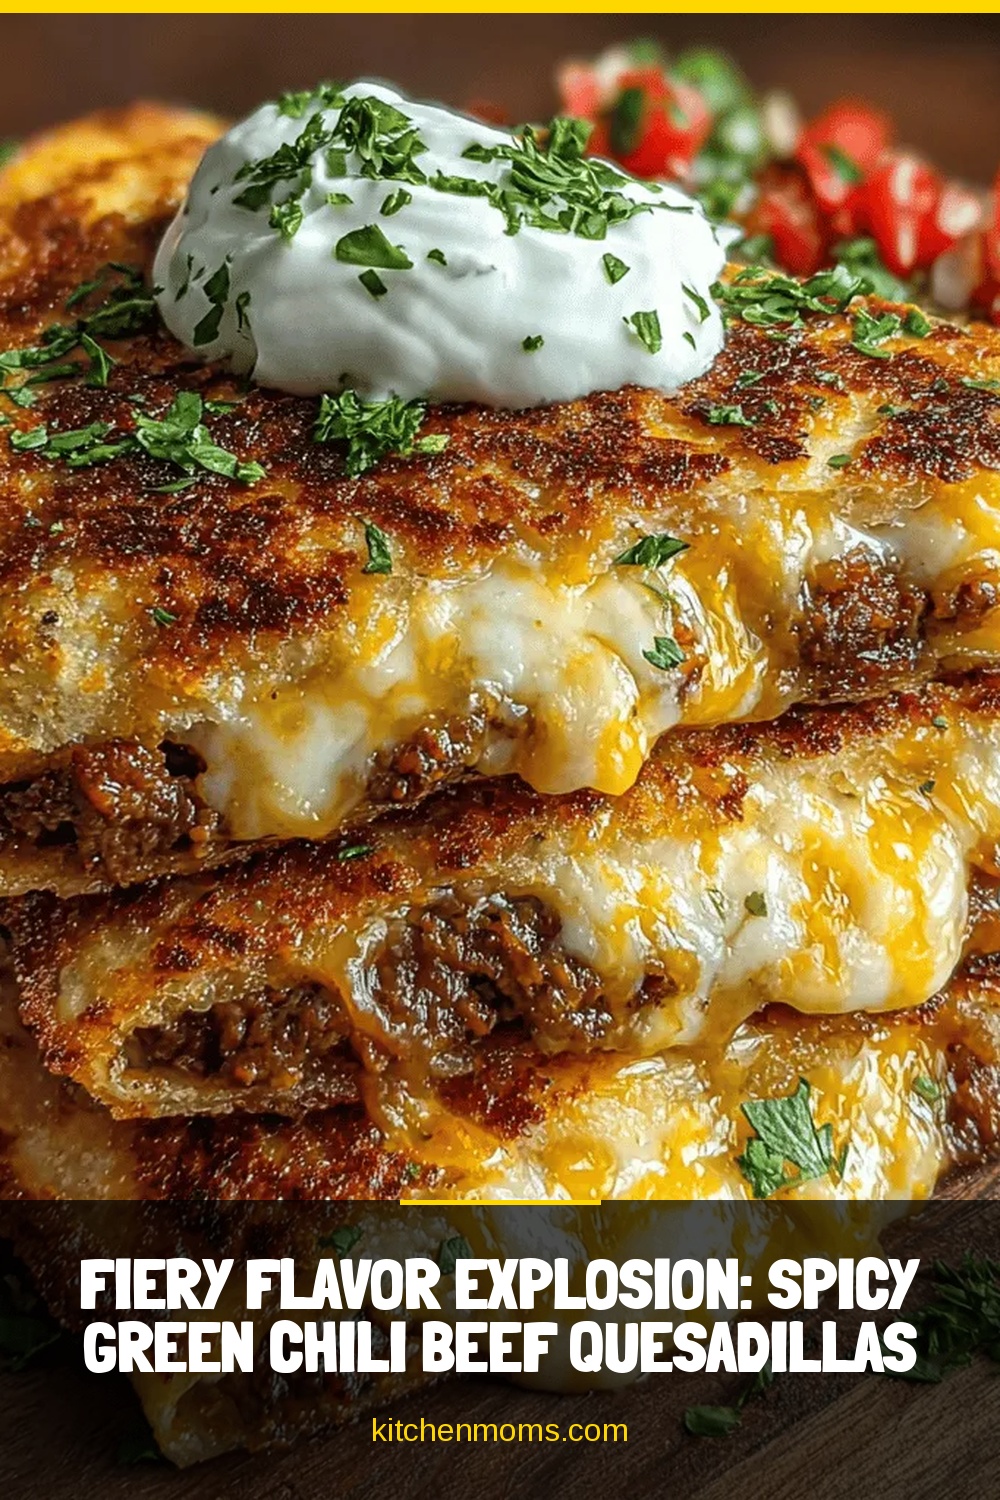
Fiery Flavor Explosion: Spicy Green Chili Beef Quesadillas
Delicious Fiery Flavor Explosion: Spicy Green Chili Beef Quesadillas
 Appetizers
Grillé Caprese Avocado Toast Delight
Delicious Grillé Caprese Avocado Toast Delight
 Appetizers
Crunchy Sugar Snap Pea Salad: A Vibrant Touch of Health on Your Plate
Delicious Crunchy Sugar Snap Pea Salad: A Vibrant Touch of Health on Your Plate
 Appetizers
Delightful Buffalo Chickpea Pasta Salad: A Flavorful Twist on a Classic Dish
Delicious Delightful Buffalo Chickpea Pasta Salad: A Flavorful Twist on a Classic Dish
 Appetizers
Spicy & Tangy Pickled Banana Peppers Salad Bowl
Delicious Spicy & Tangy Pickled Banana Peppers Salad Bowl
 Appetizers
Ultimate Gurkensalat Recipe: 5-Minute Crisp Summer Delight
Learn how to make delicious Ultimate Gurkensalat Recipe: 5-Minute Crisp Summer Delight. Easy recipe with step-by-step…
 Appetizers
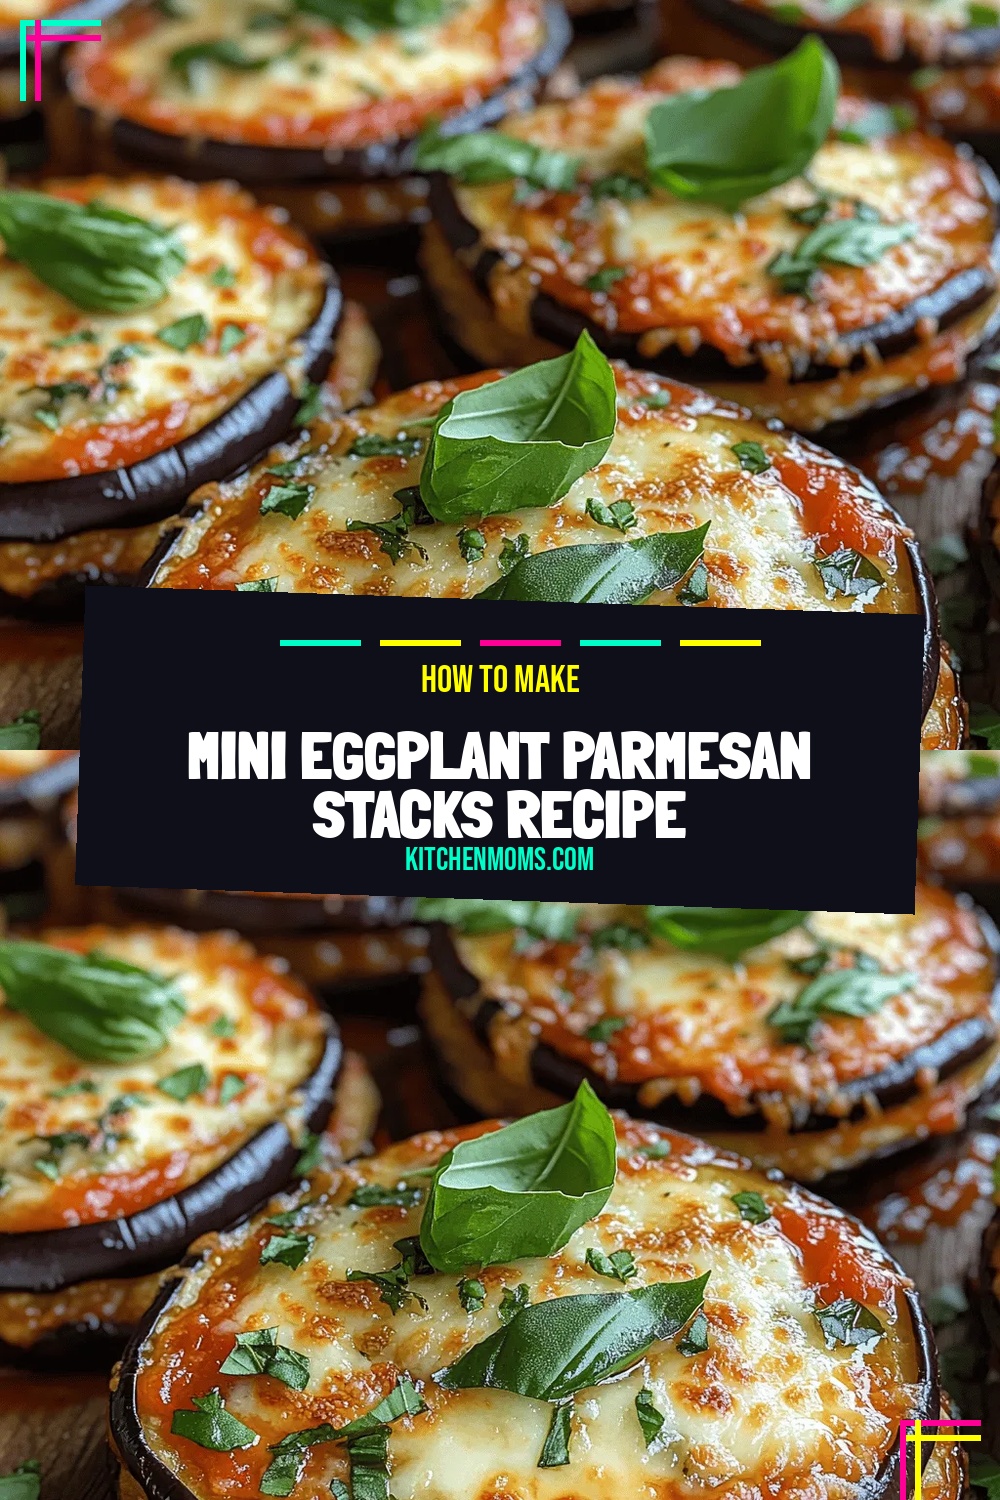
Mini Eggplant Parmesan Stacks Recipe
Delicious Mini Eggplant Parmesan Stacks Recipe
 Appetizers
Tomato Bliss Basil Boost: A Culinary Delight
Delicious Tomato Bliss Basil Boost: A Culinary Delight

Lucy
I cook these recipes at home before they ever land here — simple ingredients, clear steps.