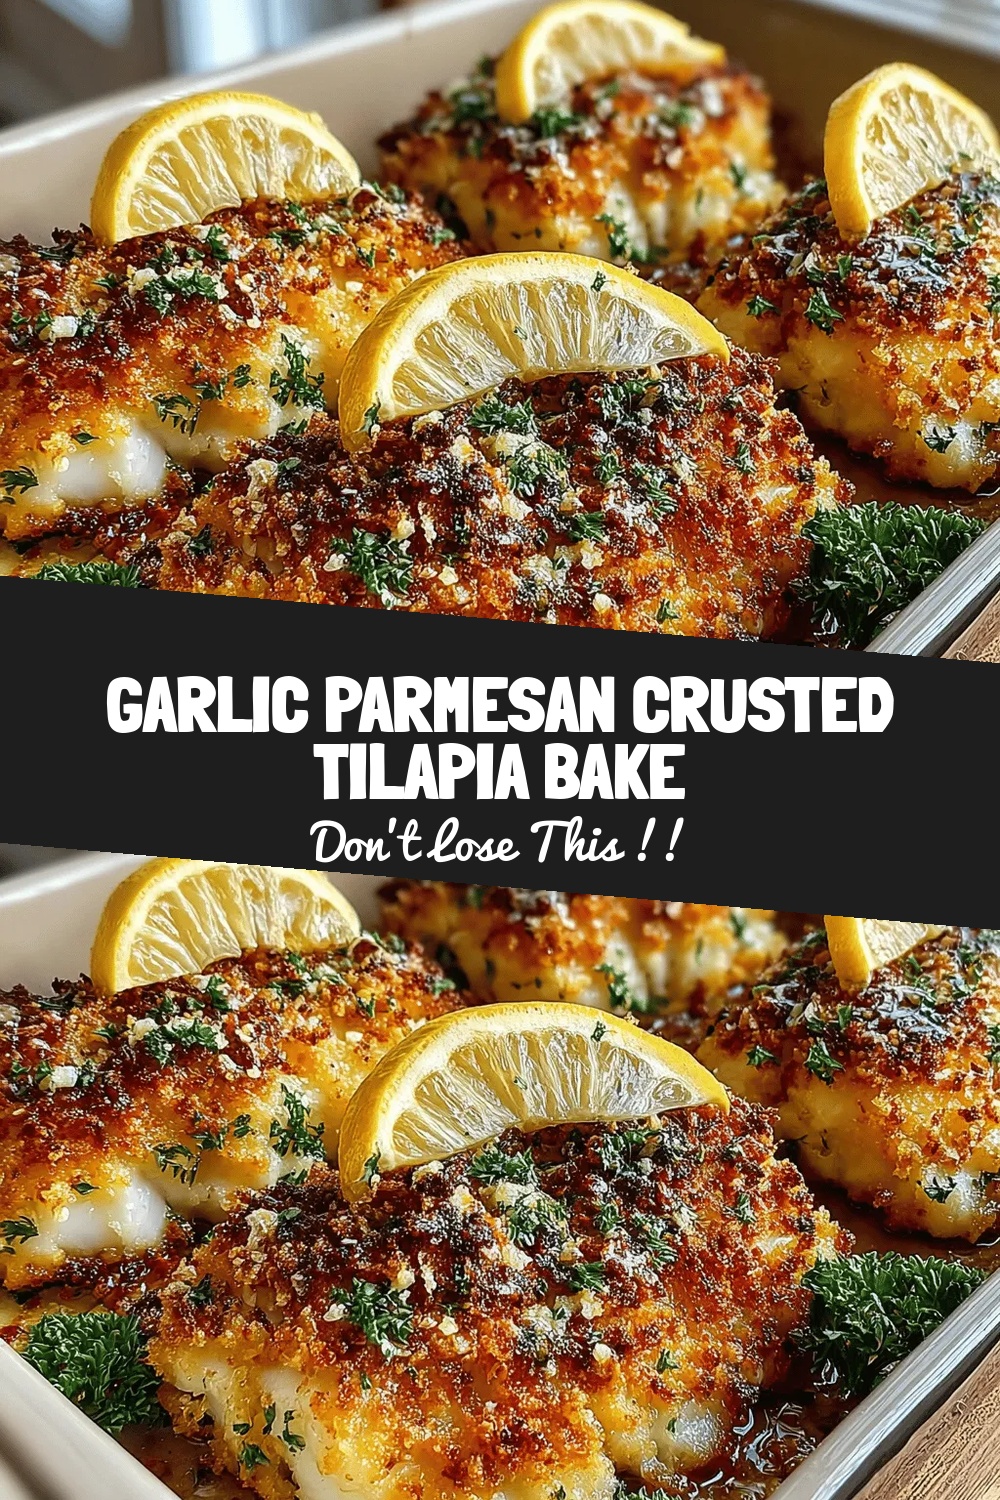
Garlic Parmesan Crusted Tilapia Bake
 Save
Save
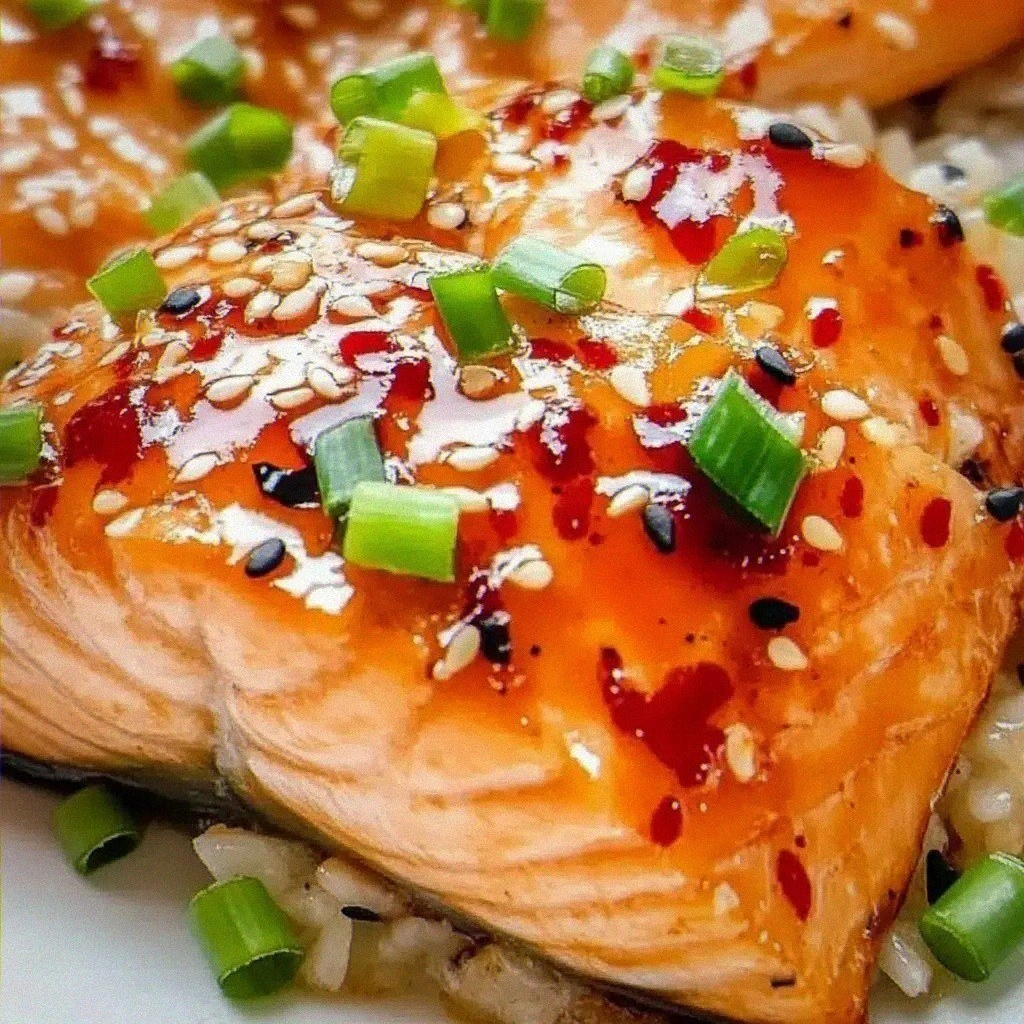
Imagine a dinner that feels like a seaside bistro, yet can be whipped up on a weeknight with minimal fuss. Our Garlic Parmesan Crusted Tilapia Bake delivers that exact experience—crispy, buttery, and brimming with aromatic garlic and sharp Parmesan.
What sets this dish apart is the perfectly balanced crust: a golden blend of breadcrumbs, freshly grated Parmesan, and minced garlic that locks in moisture while adding a satisfyingly crunchy texture. A light drizzle of lemon juice brightens the flavor, making each bite feel both indulgent and refreshing.
This recipe is ideal for families, busy professionals, or anyone craving a wholesome seafood dinner without the hassle of deep‑frying. Serve it for a quick weeknight meal, a relaxed weekend family dinner, or even a modest gathering of friends.
The cooking process is straightforward: season the tilapia, coat it in a garlic‑Parmesan mixture, bake until the fish flakes easily, and finish with a splash of lemon and fresh herbs. In under 45 minutes you’ll have a restaurant‑quality plate that looks as impressive as it tastes.
Why You'll Love This Recipe
Quick & Easy: From prep to plate it takes less than 45 minutes, perfect for busy evenings when you still want a flavorful, home‑cooked meal.
Family‑Friendly Flavors: The buttery garlic‑Parmesan crust appeals to both kids and adults, making it a crowd‑pleaser at any table.
Healthy Protein Boost: Tilapia is a low‑fat, high‑protein fish that pairs beautifully with the modest amount of dairy and oil, keeping the dish light yet satisfying.
Elegant Presentation: The golden crust and a final sprinkle of fresh herbs give the plate a polished look without any extra effort.
Tips & Tricks
Perfecting the Recipe
Dry the Fillets Thoroughly. Patting the fish completely dry ensures the breadcrumb coating adheres and browns rather than steams.
Press the Crust Firmly. A gentle press when coating locks the crumbs onto the fish, preventing them from falling off during baking.
Use Fresh Parmesan. Freshly grated cheese melts and browns better than pre‑grated, giving a richer flavor and crispier crust.
Watch the Broil. If you finish under the broiler, keep the oven door slightly ajar and stay nearby; the crust can go from perfect to burnt in seconds.
Flavor Enhancements
Add a teaspoon of smoked paprika to the breadcrumb mix for a subtle smoky depth, or sprinkle a pinch of red‑pepper flakes for gentle heat. A drizzle of melted herb‑infused butter right before serving adds an extra layer of richness.
Common Mistakes to Avoid
Do not overcrowd the baking sheet; packed fillets steam instead of crisp. Also, avoid using frozen tilapia without thawing—excess ice creates soggy crust and uneven cooking.
Pro Tips
Use a Wire Rack. Placing the fillets on a wire rack set over the baking sheet allows air to circulate underneath, yielding an evenly crisp bottom.
Season the Crust. Add a pinch of sea salt directly to the breadcrumb mixture; it enhances the flavor of the Parmesan and balances the lemon brightness.
Check Internal Temperature. Tilapia is done at 145°F (63°C). Using a quick‑read thermometer prevents overcooking and keeps the flesh tender.
Rest Before Serving. Let the fish rest for 3‑4 minutes after baking; this redistributes juices and keeps the crust from becoming soggy.
Variations
Ingredient Swaps
Swap tilapia for another white fish such as cod, haddock, or halibut for a slightly firmer texture. For a crunchy twist, replace panko with crushed cornflakes or almond meal. If you prefer a dairy‑free version, use nutritional yeast instead of Parmesan for a cheesy note.
Dietary Adjustments
For a gluten‑free dish, ensure the breadcrumbs are labeled gluten‑free or substitute with gluten‑free cracker crumbs. To keep it low‑carb, reduce the breadcrumb amount and increase almond flour. A vegan version can be made using plant‑based fish alternatives and vegan Parmesan.
Serving Suggestions
Pair the bake with a citrus‑infused quinoa, a side of garlic‑sautéed green beans, or a simple arugula salad dressed with lemon vinaigrette. For a heartier plate, serve over buttery mashed cauliflower or alongside a warm crusty baguette to soak up the lemon‑garlic sauce.
Storage Info
Leftover Storage
Allow the baked tilapia to cool to room temperature, then transfer it to an airtight container. Store in the refrigerator for up to 3 days. For longer keep‑ability, portion the fish into freezer‑safe bags, remove excess air, and freeze for up to 2 months.
Reheating Instructions
Reheat leftovers in a preheated 350°F (175°C) oven for 10‑12 minutes, covered loosely with foil to retain moisture. For a quicker option, microwave on medium power for 1‑2 minutes, adding a splash of broth or lemon juice to revive the crust’s crispness.
Frequently Asked Questions
Can I make this recipe ahead of time?
What if I only have frozen tilapia?
How do I know when the fish is perfectly cooked?
Can I add a side sauce?
This Garlic Parmesan Crusted Tilapia Bake brings together bright citrus, aromatic garlic, and a satisfyingly crunchy crust—all in under an hour. By following the detailed steps, using fresh ingredients, and applying the pro tips, you’ll consistently achieve a restaurant‑quality result. Feel free to experiment with swaps, add your favorite herbs, or pair it with a side that speaks to your taste. Enjoy the crisp, buttery goodness and share it with friends or family for a memorable dinner experience.
Garlic Parmesan Crusted Tilapia Bake
Delicious Garlic Parmesan Crusted Tilapia Bake
Ingredients
Main Ingredients
- 4 tilapia fillets (about 6 oz each)
- 2 tablespoons olive oil
- 1 lemon, zest and juice
Crust Mix
- ½ cup panko breadcrumbs
- ¼ cup freshly grated Parmesan cheese
- 2 cloves garlic, minced
- 1 tablespoon melted butter
- ½ teaspoon dried oregano
Seasonings & Garnish
- Salt and freshly ground black pepper, to taste
- 2 tablespoons chopped fresh parsley
Instructions
Baking the Tilapia
- Preheat the Oven. Set your oven to 400°F (200°C) and let it fully preheat. A hot oven creates an immediate burst of steam that helps the crust set quickly, preventing sogginess.
- Coat the Fillets. Press each tilapia fillet into the breadcrumb mixture, ensuring an even coating on both sides. A firm press helps the crumbs cling during the bake.
- Arrange on a Baking Sheet. Place the coated fillets on a parchment‑lined sheet, leaving a little space between each piece. This spacing allows hot air to circulate, giving every fillet a uniform golden crust.
- Bake. Slide the sheet into the oven and bake for 12‑15 minutes, or until the fish flakes easily with a fork and the crust is a deep golden brown. If you like extra crispness, switch to broil for the final 2 minutes, watching closely to avoid burning.
Similar Recipes
 Dinner
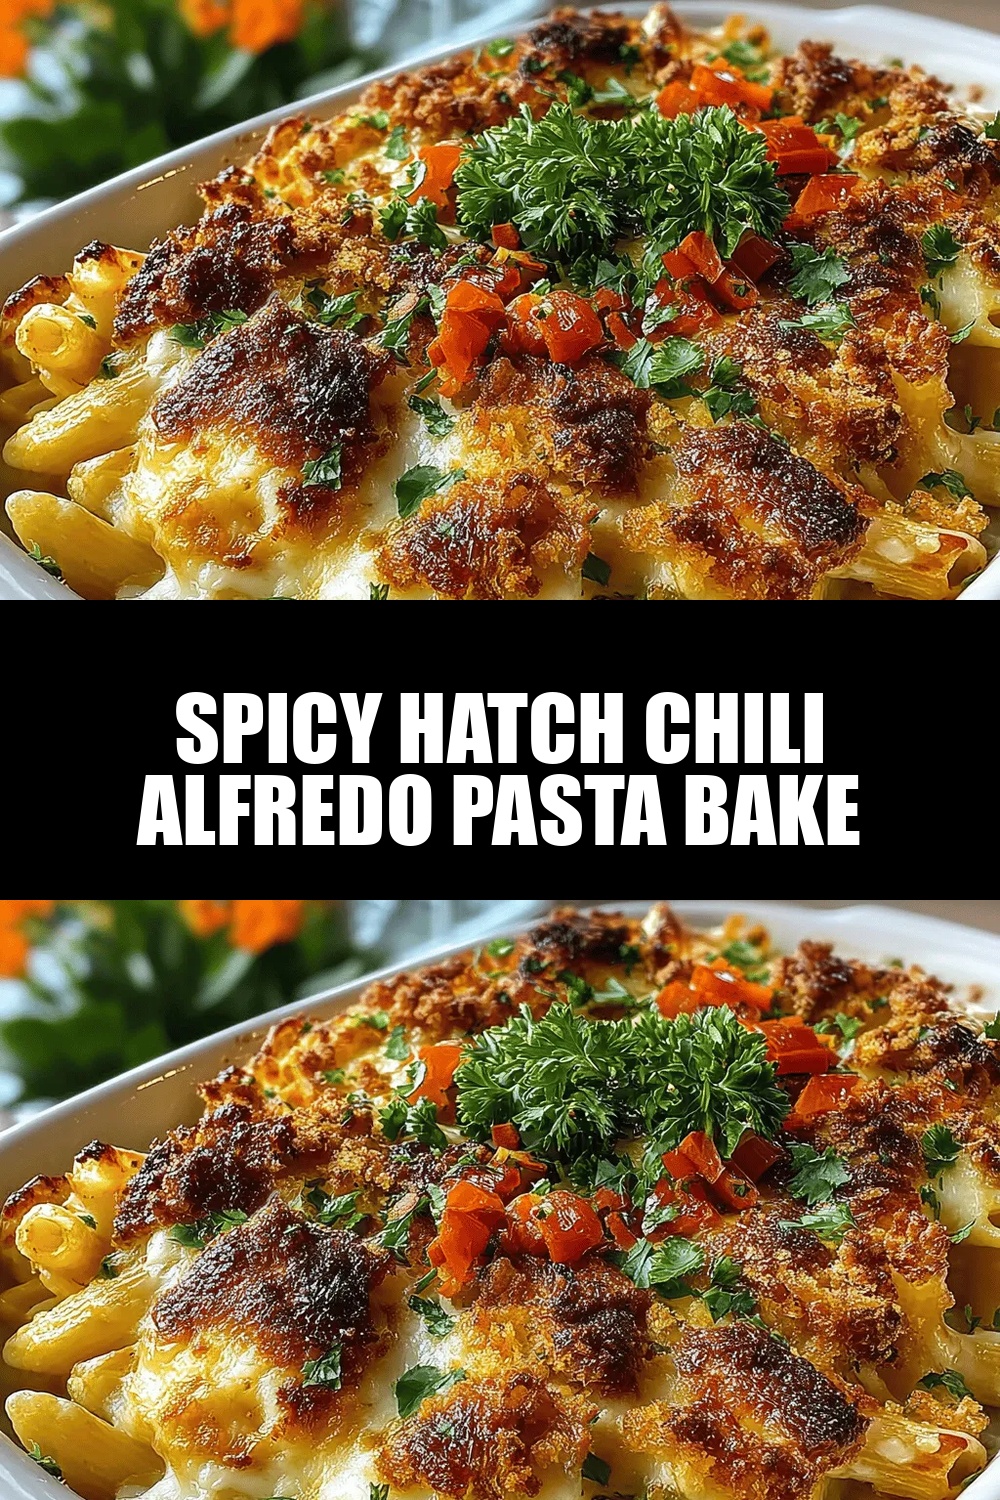
Spicy Hatch Chili Alfredo Pasta Bake
Delicious Spicy Hatch Chili Alfredo Pasta Bake
 Dinner
Creamy Corn and Chicken Skillet Pie: Step-by-Step Instructions and Serving Suggestions
Delicious Creamy Corn and Chicken Skillet Pie: Step-by-Step Instructions and Serving Suggestions
 Dinner
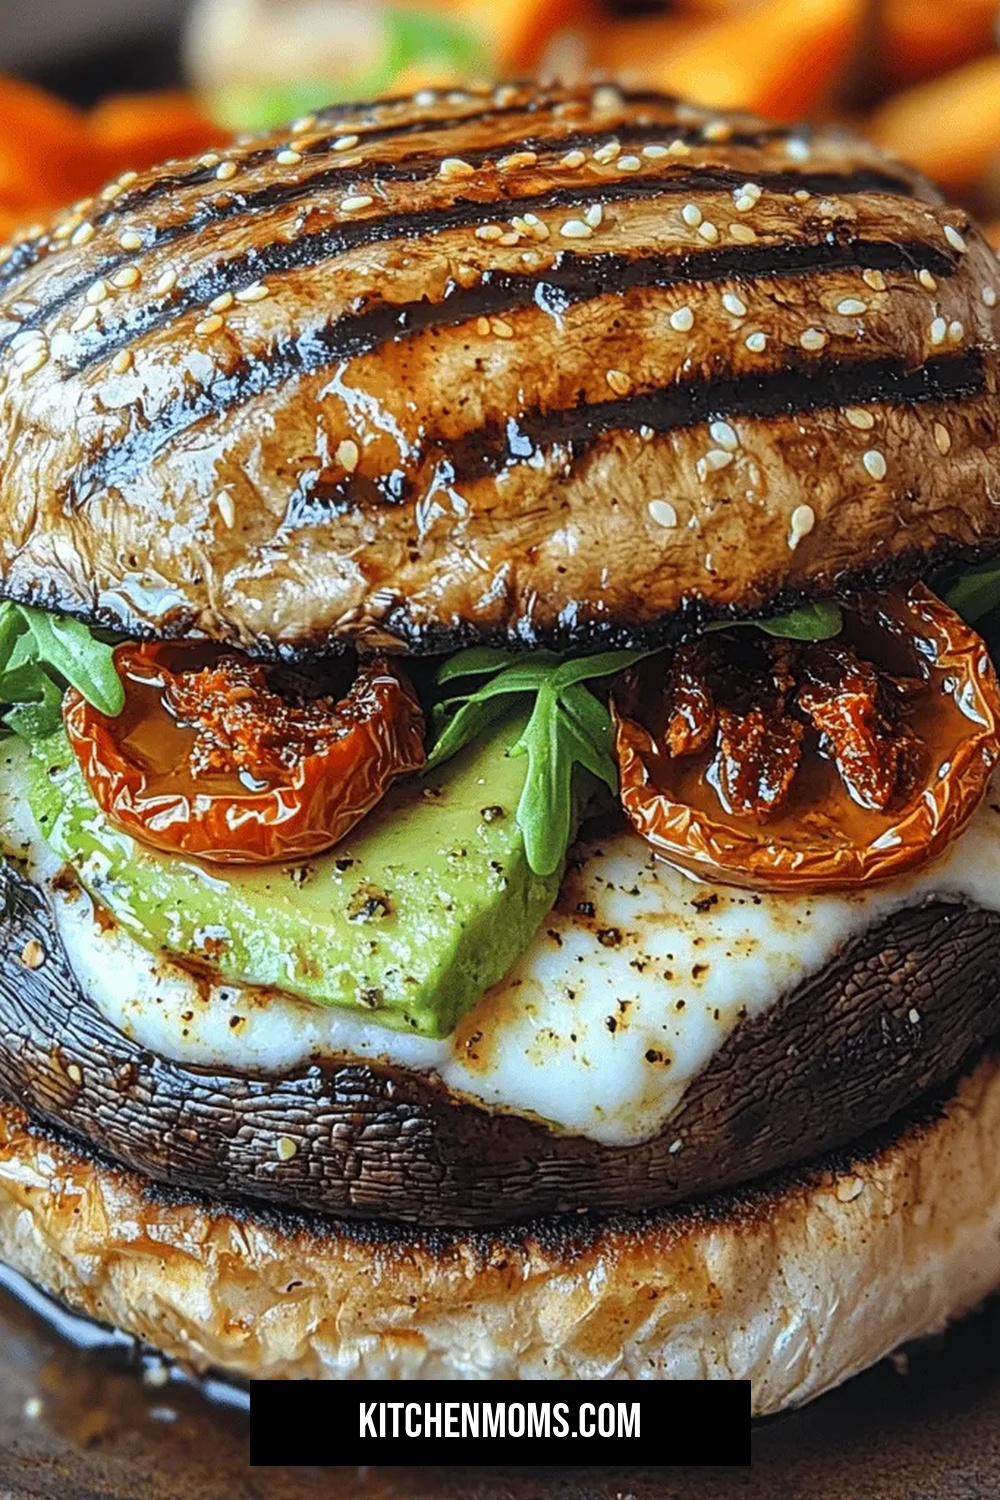
Grilled Portobello Burgers: A Delicious and Satisfying Alternative
Delicious Grilled Portobello Burgers: A Delicious and Satisfying Alternative
 Dinner
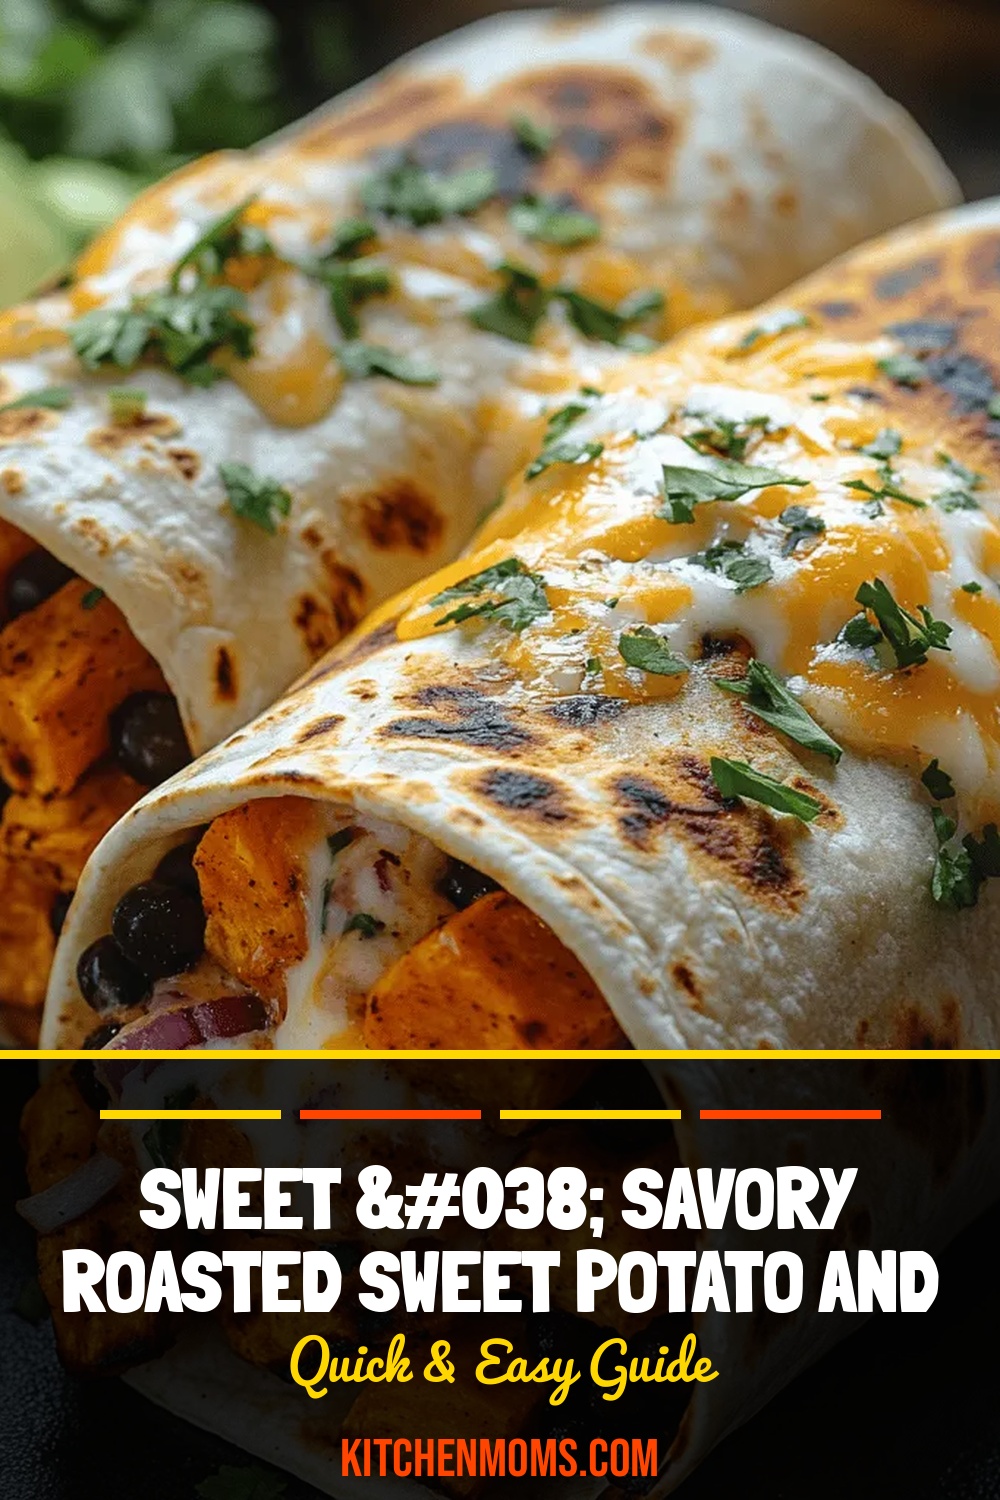
Sweet & Savory Roasted Sweet Potato and Black Bean Burritos
Delicious Sweet & Savory Roasted Sweet Potato and Black Bean Burritos
 Dinner
Irresistible Potato Galette Recipe for Cozy Evenings
Learn how to make delicious Irresistible Potato Galette Recipe for Cozy Evenings. Easy recipe with step-by-step…
 Dinner
Crispy Chicken Tacos – Easy Weeknight Meal
Golden, crunchy chicken tucked into warm tortillas with fresh toppings makes every bite unforgettable.
 Dinner
Crack Chicken and Noodles Recipe – Easy Creamy Comfort Dinner
Learn how to make delicious Crack Chicken and Noodles Recipe – Easy Creamy Comfort Dinner. Easy…
 Dinner
Turkey Tacos with Watermelon Slaw: A Flavorful Culinary Adventure
Delicious Turkey Tacos with Watermelon Slaw: A Flavorful Culinary Adventure

Lucy
I cook these recipes at home before they ever land here — simple ingredients, clear steps.