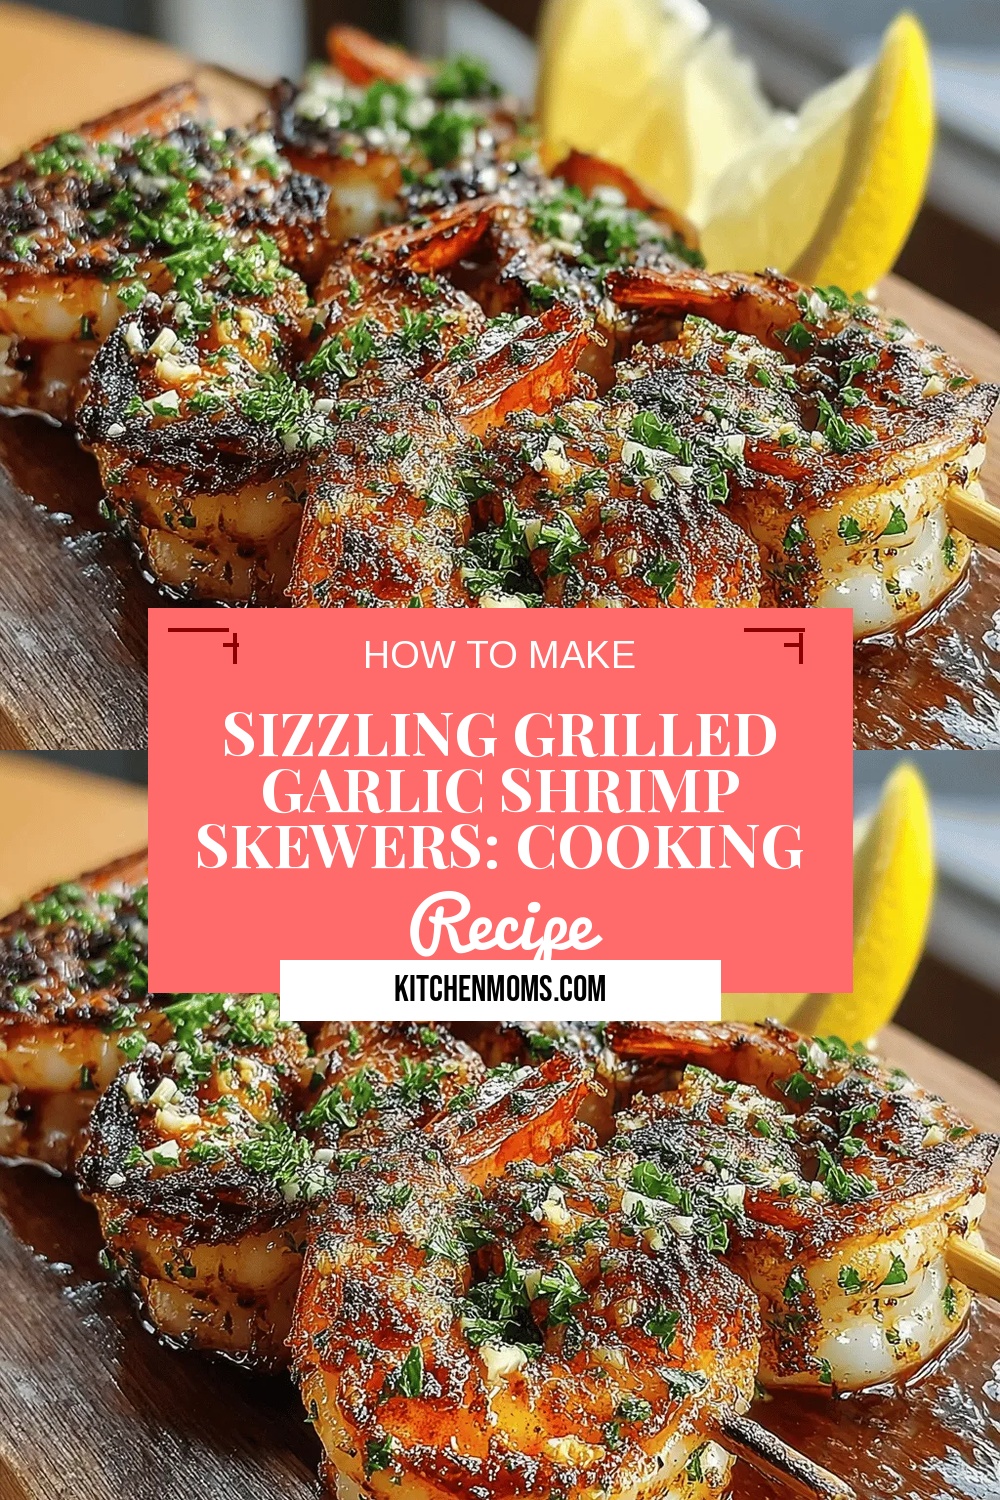
Sizzling Grilled Garlic Shrimp Skewers: Cooking Instructions and Serving Suggestions
 Save
Save
Imagine the sizzle of a hot grill, the aroma of garlic mingling with the sea‑kissed sweetness of shrimp, and the burst of color from charred peppers on a summer evening. This is the magic of Sizzling Grilled Garlic Shrimp Skewers, a dish that brings the excitement of outdoor cooking straight to your kitchen.
What makes this recipe truly special is the balance between a quick, high‑heat sear and a bright, garlicky glaze that clings to each shrimp, delivering a smoky‑sweet bite every time.
Seafood lovers, grill enthusiasts, and busy families alike will adore this dish—perfect for a quick weeknight dinner, a weekend barbecue, or a festive gathering where flavor takes center stage.
The process is simple: marinate the shrimp, thread them onto skewers, grill to perfection, and finish with a buttery garlic sauce that glistens and tempts. In under forty minutes you’ll have a restaurant‑quality plate ready to serve.
Why You'll Love This Recipe
Fast, Fun, and Flavorful: In less than forty minutes you’ll have a dish that feels special, thanks to the rapid grill‑sear and vibrant garlic‑butter glaze that packs a punch.
Minimal Cleanup: Using wooden or metal skewers keeps the cooking surface tidy, and the sauce reduces to a glossy glaze that doesn’t splatter, leaving you with only a few utensils.
Health‑Conscious Delight: Shrimp is low in calories yet high in protein, and the recipe relies on olive oil, fresh herbs, and a touch of honey for a balanced, nutrient‑rich meal.
Customizable Canvas: Swap veggies, adjust spice levels, or experiment with different herbs—each variation stays delicious, making this a versatile staple for any palate.
Tips & Tricks
Perfecting the Recipe
Dry Shrimp Thoroughly. Moisture creates steam, which prevents the shrimp from achieving a true grill sear. Pat them dry before marinating.
Don’t Over‑Marinate. Because shrimp are delicate, 10‑15 minutes is enough. Longer marination can make the texture mushy.
Pre‑heat the Grill. A hot grill guarantees those coveted char lines and prevents the shrimp from sticking.
Flavor Enhancements
Add a splash of white wine to the marinade for acidity, or stir in a teaspoon of grated ginger for an Asian twist. Finish each skewer with a drizzle of melted herb butter for extra richness and shine.
Common Mistakes to Avoid
Cooking shrimp too long turns them rubbery; watch for the pink color and firm texture as the primary doneness cues. Also, avoid moving the skewers too often—let them sit to develop a caramelized crust before turning.
Pro Tips
Use a Instant‑Read Thermometer. Shrimp are done at 120°F (49°C); a quick check guarantees perfect texture without overcooking.
Brush Frequently. Applying the glaze every 30 seconds builds layers of flavor and a glossy finish.
Rest Briefly. A 60‑second rest after grilling lets juices redistribute, keeping each bite juicy.
Serve on Warm Plates. Warm plates keep the skewers sizzling longer, enhancing the eating experience.
Variations
Ingredient Swaps
Replace shrimp with scallops for a sweeter bite, or use cubed firm tofu for a vegetarian option. Swap bell peppers for cherry tomatoes or zucchini for seasonal variety. If you prefer a deeper sweetness, substitute honey with maple syrup or agave nectar.
Dietary Adjustments
For a gluten‑free version, ensure any pre‑made sauces or seasonings are certified gluten‑free. To keep it dairy‑free, omit the butter garnish and use olive oil throughout. Keto diners can replace honey with a low‑carb sweetener like erythritol and serve over cauliflower rice.
Serving Suggestions
Pair the skewers with coconut‑lime rice, a crisp cucumber‑mint salad, or grilled corn on the cob. For a heartier plate, serve alongside buttery garlic bread or a creamy quinoa pilaf that soaks up the extra glaze.
Storage Info
Leftover Storage
Allow the skewers to cool to room temperature, then transfer them to an airtight container. Store in the refrigerator for up to 3 days. For longer keeping, portion into freezer‑safe bags, remove excess air, and freeze for up to 3 months. The glaze holds up well, preserving flavor.
Reheating Instructions
Reheat in a preheated 350°F oven, covered with foil, for 10‑12 minutes until warmed through. This method revives the caramelized exterior without drying the shrimp. Alternatively, a quick skillet re‑sear with a splash of broth for 2 minutes restores moisture and glaze sheen.
Frequently Asked Questions
Can I make this recipe ahead of time?
Can I use frozen shrimp for this dish?
What side dishes pair best with these skewers?
How do I prevent the shrimp from sticking to the grill?
This Sizzling Grilled Garlic Shrimp Skewer recipe delivers bold flavor, quick preparation, and a show‑stopping presentation that fits any dinner occasion. By following the step‑by‑step guide, using fresh ingredients, and applying the pro tips, you’ll achieve perfectly caramelized shrimp every time. Feel free to experiment with the suggested swaps and side pairings—cooking is your canvas. Enjoy the burst of garlic, lemon, and heat with every bite, and share the delight with friends and family!
Sizzling Grilled Garlic Shrimp Skewers: Cooking Instructions and Serving Suggestions
Delicious Sizzling Grilled Garlic Shrimp Skewers: Cooking Instructions and Serving Suggestions
Ingredients
Main Ingredients
- 1 lb large shrimp, peeled & deveined
- 1 red bell pepper, cut into 1‑inch pieces
- 1 yellow bell pepper, cut into 1‑inch pieces
- 1 small red onion, quartered
Marinade & Sauce
- 3 tablespoons extra‑virgin olive oil
- 4 cloves garlic, minced
- 2 tablespoons fresh lemon juice
- 1 tablespoon honey
- ½ teaspoon smoked paprika
Seasonings & Garnish
- ½ teaspoon kosher salt
- ¼ teaspoon freshly ground black pepper
- ¼ teaspoon red‑pepper flakes (optional)
- 2 tablespoons chopped fresh parsley
Instructions
Assembling the Skewers
- Soak Wooden Skewers. If using bamboo, soak them in water for at least 20 minutes to prevent burning on the grill. Metal skewers need no preparation.
- Thread the Ingredients. Alternate shrimp with pieces of bell pepper and onion on each skewer, leaving a small gap between items. This spacing ensures even heat circulation and uniform cooking.
- Pre‑heat the Grill. Set your grill or grill pan to medium‑high (about 400‑425°F). A hot surface creates those signature grill marks and locks in juices.
- Grill the Skewers. Place the skewers on the grill, close the lid, and cook for 2‑3 minutes per side. You’ll see the shrimp turn pink and the vegetables develop a light char. Rotate as needed to avoid flare‑ups.
- Finish with the Glaze. In the last minute, brush any remaining marinade over the skewers. This adds a glossy, caramelized finish. Remove from heat and let rest for a minute before serving.
Similar Recipes
 Appetizers
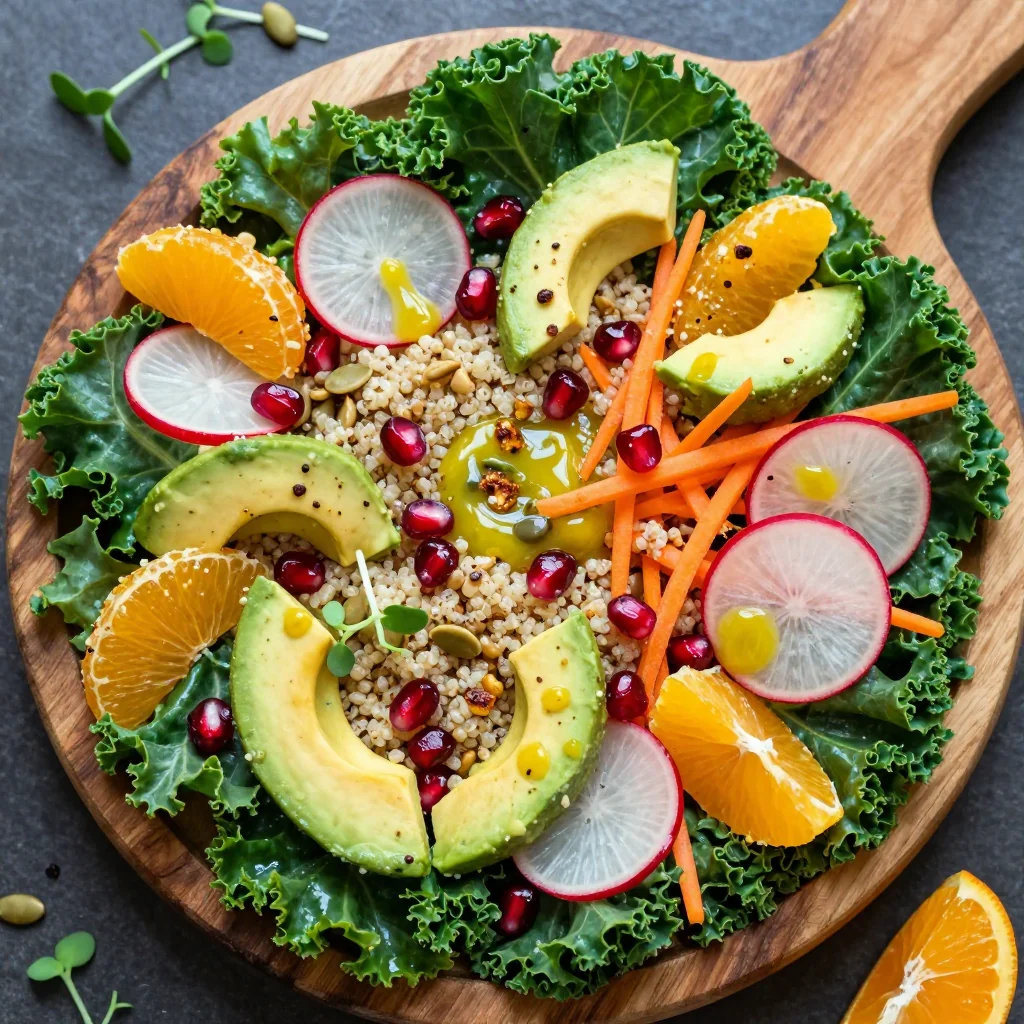
zesty kale and quinoa salad with citrus vinaigrette for festive lunches
Learn how to make delicious zesty kale and quinoa salad with citrus vinaigrette for festive lunches.…
 Appetizers
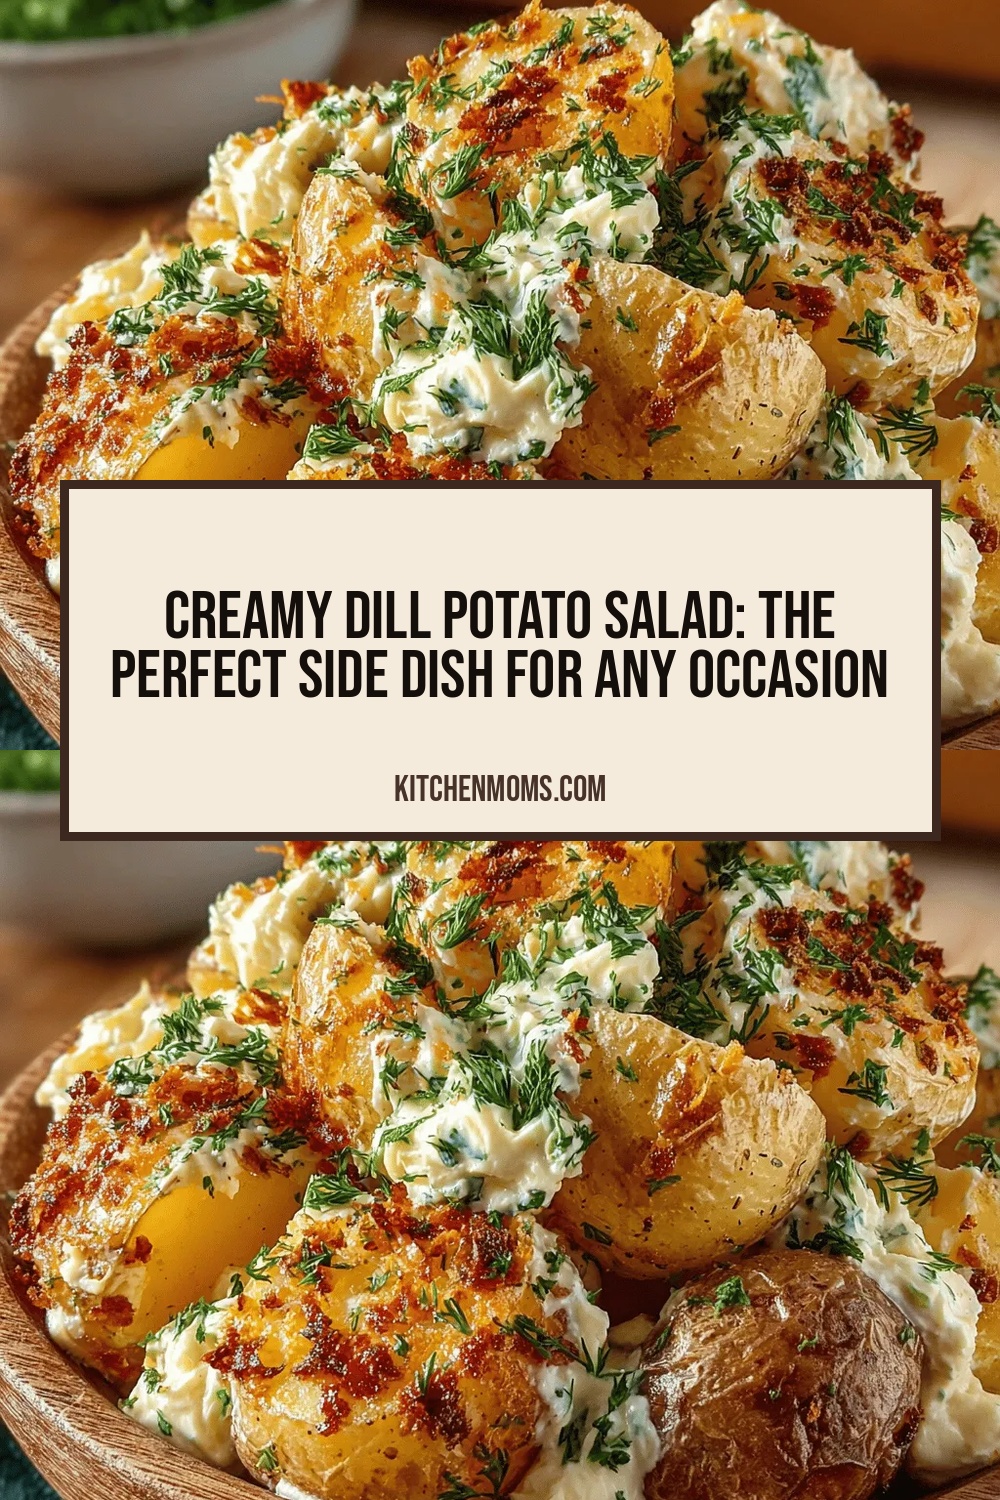
Creamy Dill Potato Salad: The Perfect Side Dish for Any Occasion
Delicious Creamy Dill Potato Salad: The Perfect Side Dish for Any Occasion
 Appetizers
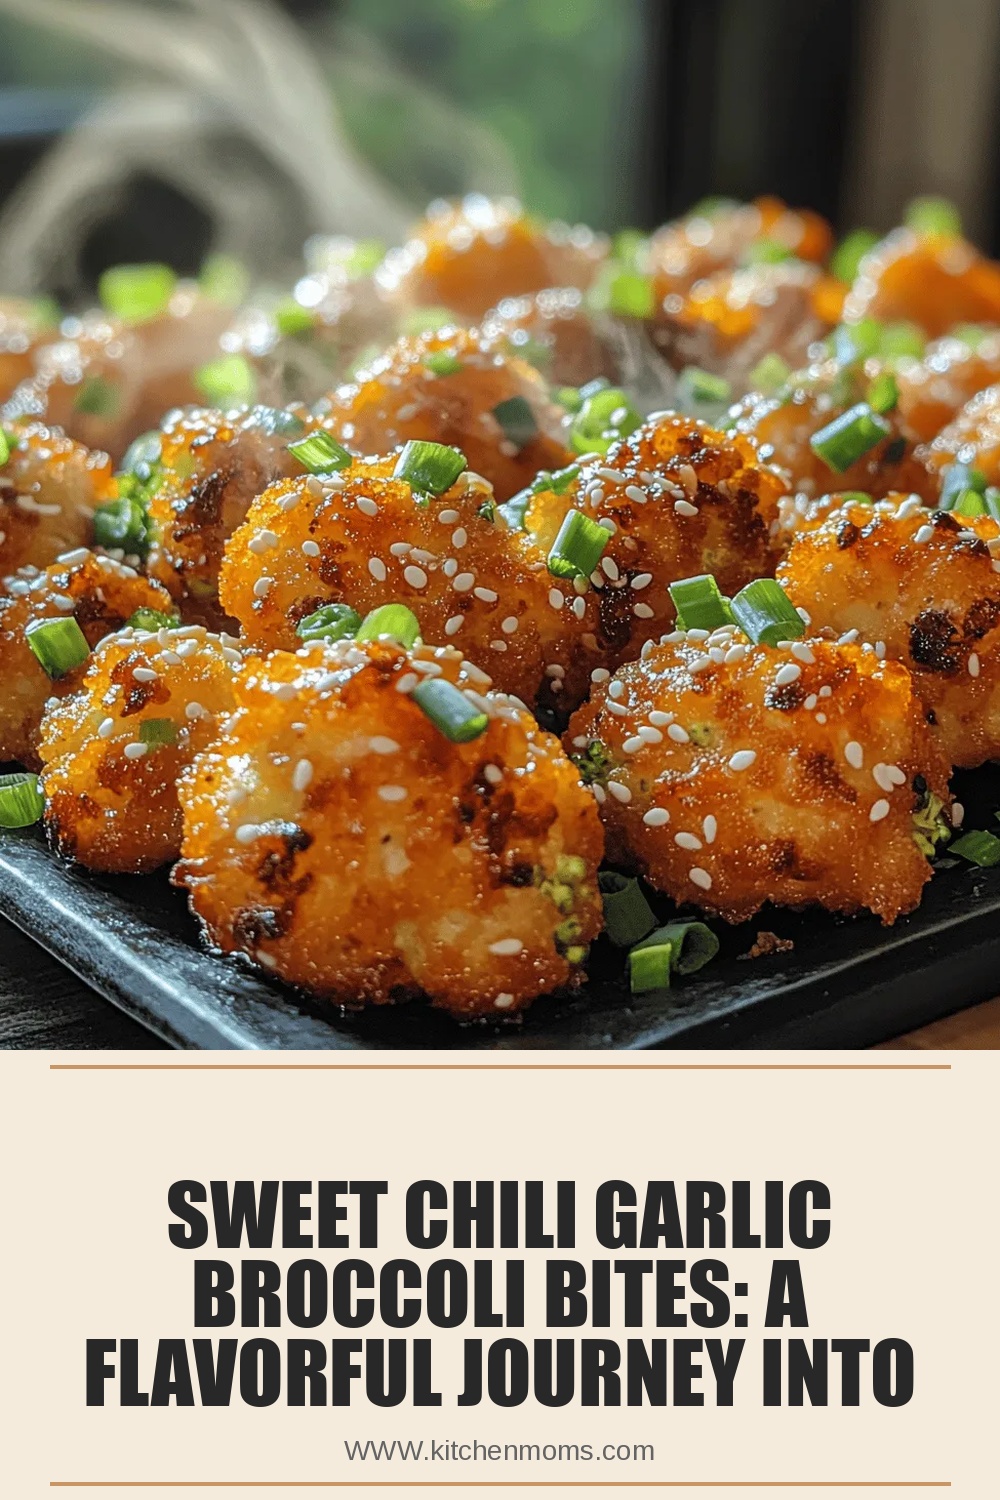
Sweet Chili Garlic Broccoli Bites: A Flavorful Journey into Culinary Delight
Delicious Sweet Chili Garlic Broccoli Bites: A Flavorful Journey into Culinary Delight
 Appetizers
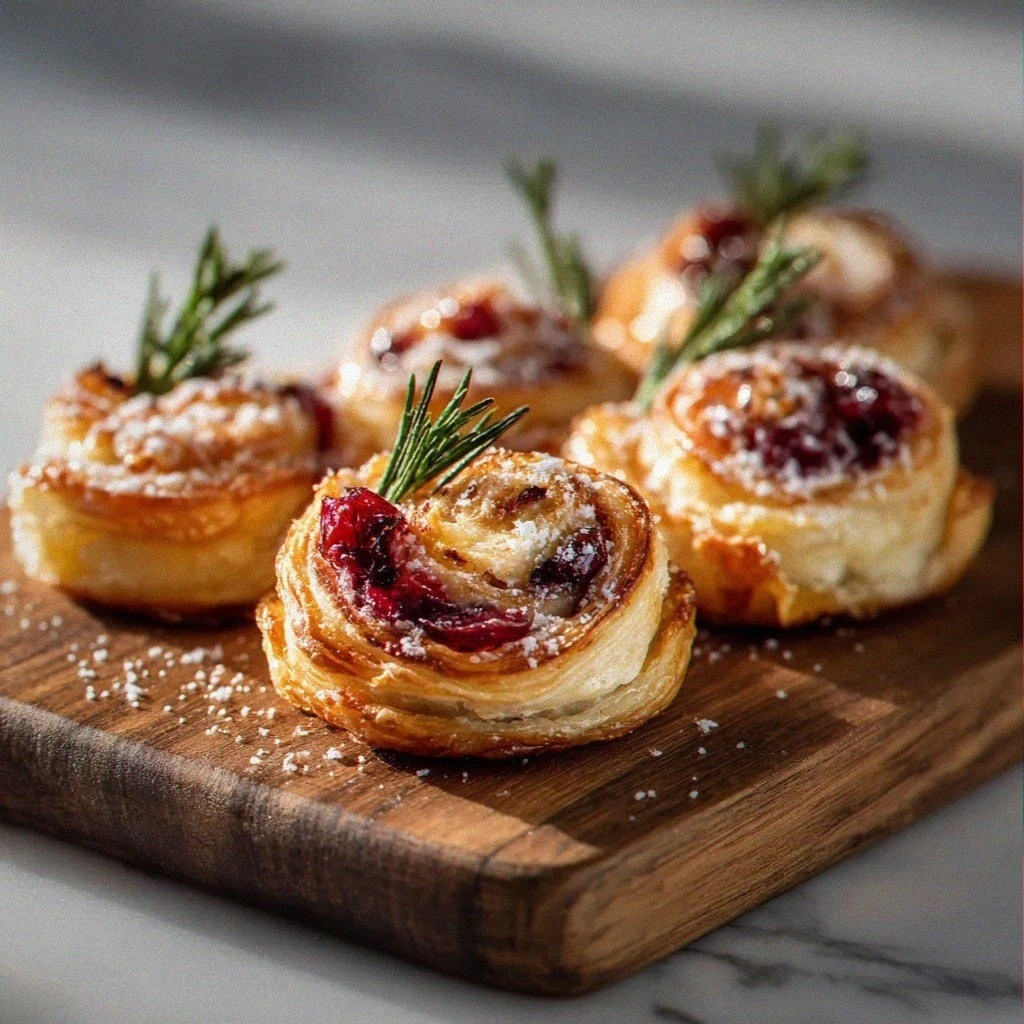
Easy Cranberry Brie Pastry Swirls – The Ultimate Sweet-Savory Appetizer
Learn how to make delicious Easy Cranberry Brie Pastry Swirls – The Ultimate Sweet-Savory Appetizer. Easy…
 Appetizers
Cheesy Bacon Ranch Delight Pull Apart Bread Recipe
Delicious Cheesy Bacon Ranch Delight Pull Apart Bread Recipe
 Appetizers
Mastering Ginger Soy Glazed Meatballs: A Flavorful Recipe for Every Occasion
Delicious Mastering Ginger Soy Glazed Meatballs: A Flavorful Recipe for Every Occasion
 Appetizers
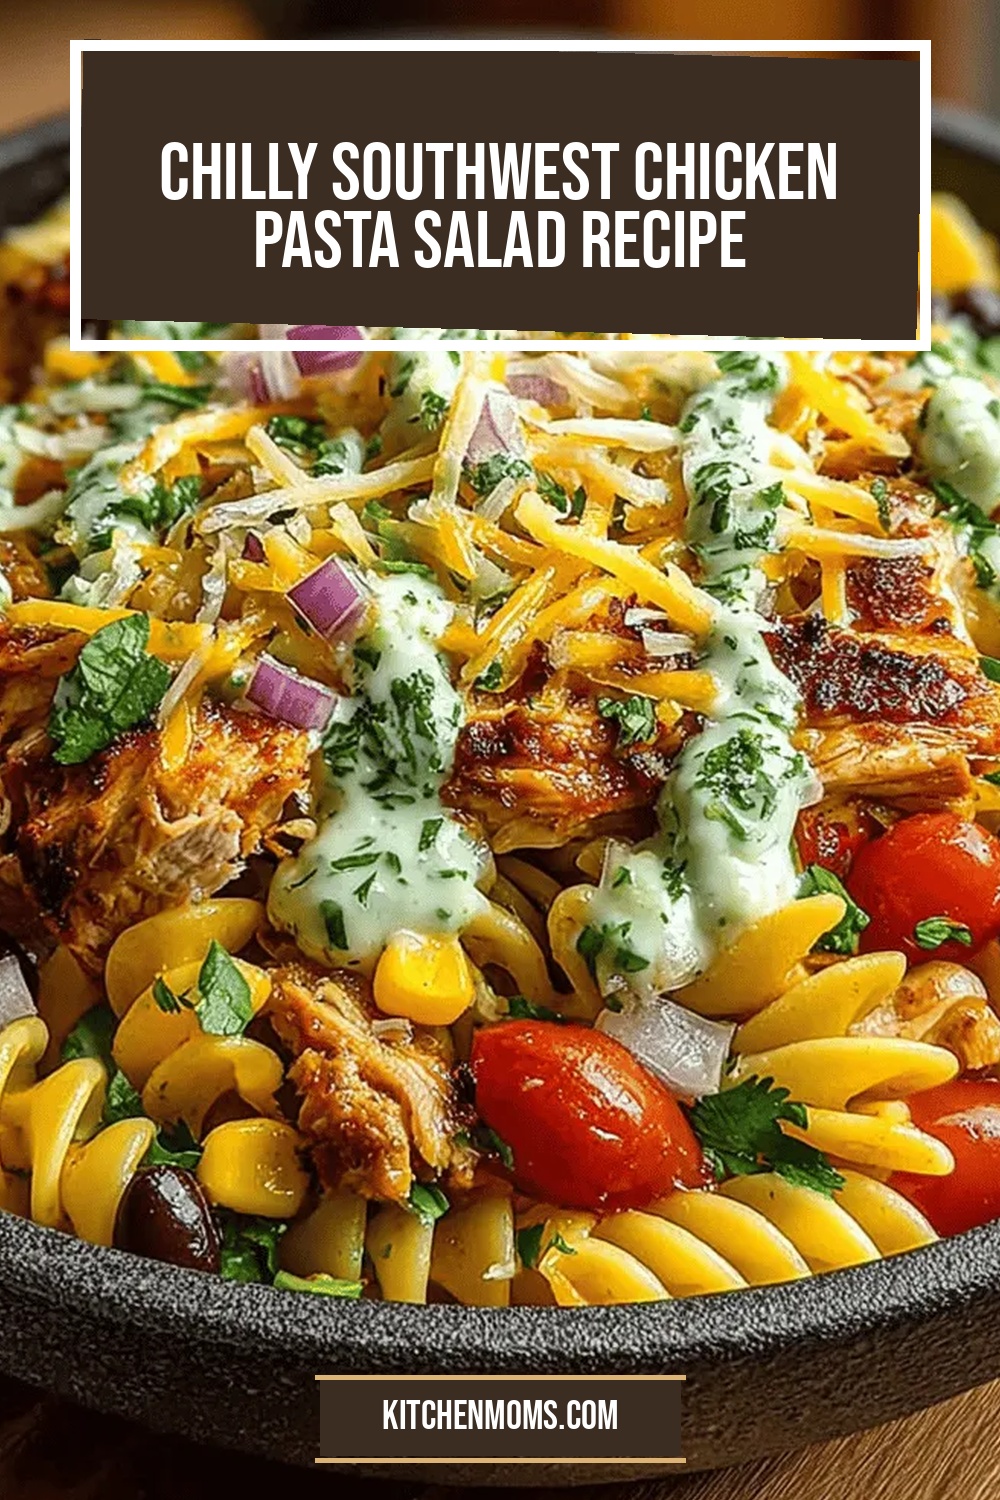
Chilly Southwest Chicken Pasta Salad Recipe
Delicious Chilly Southwest Chicken Pasta Salad Recipe
 Appetizers
Creamy Greek Yogurt Ranch Dip: A Healthy and Delicious Snack Option
Delicious Creamy Greek Yogurt Ranch Dip: A Healthy and Delicious Snack Option

Lucy
I cook these recipes at home before they ever land here — simple ingredients, clear steps.