Crispy Bliss: Apple Cinnamon Crumble Snack Bars
 Save
Save
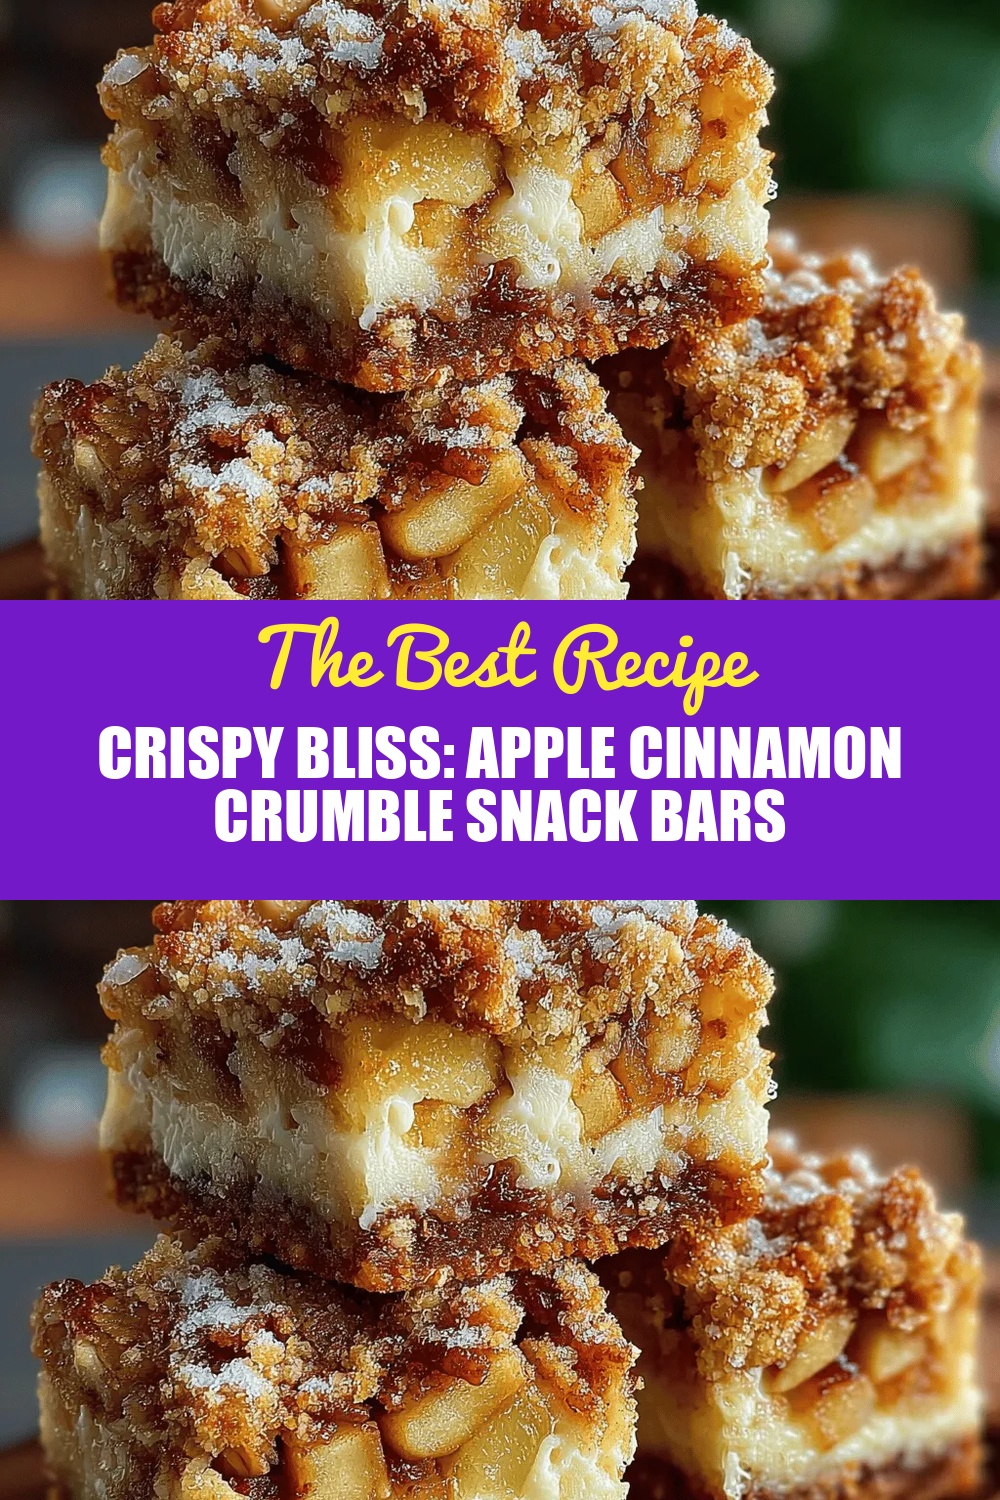
Imagine biting into a golden‑brown bar that crackles with buttery crumble, bursts with tender apples, and carries a warm whisper of cinnamon—welcome to Crispy Bliss: Apple Cinnamon Crumble Snack Bars. This breakfast‑brunch hybrid delivers the comfort of a classic crumble with the handheld convenience of a snack bar.
What sets this recipe apart is the layered texture: a crisp oat‑flour crust, a juicy apple‑cinnamon core, and a buttery crumb topping that stays delightfully crunchy even after cooling. A light drizzle of maple‑honey glaze ties everything together with just the right amount of sweetness.
Busy families, brunch‑loving friends, and anyone craving a wholesome, portable treat will adore these bars. Serve them warm on a lazy weekend morning, pack them for a school snack, or pair with a cup of coffee for an elegant brunch spread.
The process is straightforward: prepare a quick dough, fold in spiced apples, sprinkle the crumble, and bake until the edges turn a deep amber. In under an hour you’ll have a batch of bars that look as good as they taste.
Why You'll Love This Recipe
Texture Symphony: A buttery, crunchy topping meets a soft, spiced apple center, creating a satisfying contrast that keeps every bite interesting and delicious.
Quick & Easy: With just a handful of pantry staples and a single sheet pan, you can go from prep to bake in under 30 minutes—perfect for busy mornings.
Customizable Sweetness: Adjust the honey or maple syrup to suit your taste, or swap in brown sugar for a deeper caramel note without sacrificing balance.
Make‑Ahead Friendly: These bars keep beautifully at room temperature or in the fridge, making them ideal for meal‑prepping, picnics, or school snack boxes.
Tips & Tricks
Perfecting the Recipe
Cold Butter is Key: Keep the butter chilled until you rub it into the crumble. Warm butter melts too quickly and yields a soggy topping instead of a flaky crust.
Don’t Over‑mix the Base: Stir the dry ingredients just until combined. Over‑mixing develops gluten, making the base tough rather than tender.
Uniform Apple Pieces: Dice the apples into similar‑sized cubes. Even pieces cook uniformly, preventing watery spots in the final bar.
Use a Light Hand When Pressing: Apply firm but gentle pressure to the base; too much compaction creates a dense, cake‑like texture.
Flavor Enhancements
Add a tablespoon of toasted pumpkin seeds to the crumble for an extra crunch. A splash of vanilla extract in the apple mixture deepens the sweet aroma. For a holiday twist, stir in a pinch of ground cloves or allspice alongside the cinnamon and nutmeg.
Common Mistakes to Avoid
Skipping the cooling step before cutting leads to crumbly bars that fall apart. Also, avoid baking at a temperature higher than 350°F; the crumble will brown too quickly while the apple interior stays undercooked, resulting in a soggy center.
Pro Tips
Line with Parchment: This guarantees an easy lift‑out and prevents the bars from sticking to the pan, preserving the crisp edges.
Use a Lightly Greased Knife: Warm the knife under hot water, dry, and slice. This prevents the crumble from crumbling into the cuts.
Store in a Single Layer: When refrigerating, keep the bars in a single layer inside an airtight container to maintain the top’s crunch.
Re‑bake for Extra Crunch: If the crumble softens after a day, pop the bars under a broiler for 1‑2 minutes; watch closely to avoid burning.
Variations
Ingredient Swaps
Replace the apples with pears for a softer flavor, or use a mix of berries for a tart contrast. Swap whole‑wheat flour for almond flour to create a gluten‑free base, and exchange walnuts for toasted coconut flakes for a tropical twist.
Dietary Adjustments
For a vegan version, use coconut oil in place of butter and maple syrup instead of honey. Ensure the oats are certified gluten‑free and substitute the flour with oat or rice flour. To lower sugar, cut the brown sugar in half and add a pinch of stevia.
Serving Suggestions
Pair the bars with a dollop of Greek yogurt and a drizzle of honey for a protein‑boosted breakfast. Serve alongside a hot cup of chai or spiced coffee for a cozy brunch. For a savory spin, top each bar with a smear of cream cheese and a sprinkle of chives.
Storage Info
Leftover Storage
Allow the bars to reach room temperature, then transfer them to an airtight container. Store in the refrigerator for up to four days; the crumble will stay pleasantly crisp. For longer keeping, wrap individual bars in parchment and freeze in a zip‑top bag for up to three months.
Reheating Instructions
Reheat frozen or refrigerated bars in a 300°F (150°C) oven for 8‑10 minutes, or until warmed through and the crumble re‑crispes. A quick microwave burst (20‑30 seconds) works for a single bar, but the texture will be softer than oven‑reheated.
Frequently Asked Questions
Can I make these bars ahead of time?
What if I don’t have rolled oats?
How do I keep the crumble from getting soggy?
Can I add protein powder without ruining the texture?
This recipe delivers a perfect balance of crisp, sweet, and spice—all wrapped in a handheld bar that’s as beautiful as it is tasty. With clear steps, handy storage tips, and plenty of room for personal twists, you’ll be able to enjoy these snack‑bars any time of day. Feel free to experiment with nuts, fruits, or sweeteners to make the bars truly yours. Grab a plate, serve warm, and savor the crispy bliss of apple cinnamon goodness!
Crispy Bliss: Apple Cinnamon Crumble Snack Bars
Delicious Crispy Bliss: Apple Cinnamon Crumble Snack Bars
Ingredients
Dry Base
- 1 ½ cups rolled oats
- ¾ cup whole‑wheat flour
- ¼ teaspoon baking soda
- ¼ teaspoon sea salt
Apple Filling
- 2 large apples, peeled and diced (about 2 cups)
- 1 ½ teaspoons ground cinnamon
- ¼ teaspoon ground nutmeg
- 2 tablespoons honey or maple syrup
Crumble Topping
- ⅓ cup unsalted butter, cold and cubed
- ⅓ cup brown sugar, packed
- ¼ cup chopped walnuts or pecans (optional)
Instructions
Assembling & Baking
- Press the Base. Transfer the dry base to the prepared pan and press firmly with the back of a spoon or your hands to create an even layer about ¼‑inch thick. This foundation will hold the juicy apple layer without becoming soggy.
- Spread the Apples. Evenly spoon the warm apple mixture over the pressed base, smoothing it with a spatula. The apples should cover the base completely but not overflow the pan’s edges.
- Scatter the Crumble. Sprinkle the crumble topping over the apples, ensuring full coverage. The crumble should be thick enough to create a visible crust that will turn golden during baking.
- Bake to Perfection. Place the pan in the middle rack and bake for 25‑30 minutes, or until the crumble is deep amber and the apple layer is bubbling at the edges. A visual cue of caramelized edges signals readiness.
- Cool & Cut. Remove from the oven and let the bars cool in the pan for 10 minutes, then lift using the parchment and transfer to a wire rack. Once fully cooled, cut into twelve even squares. Cooling solidifies the crumb, making clean cuts easier.
Similar Recipes
 Desserts
Frozen Chocolate Banana Cookie Pops Recipe
Delicious Frozen Chocolate Banana Cookie Pops Recipe
 Desserts
Amazing 10-Minute Gingerbread Energy Balls Secret
Learn how to make delicious Amazing 10-Minute Gingerbread Energy Balls Secret. Easy recipe with step-by-step instructions.
 Desserts
Frozen Chocolate Dipped Watermelon Recipe
Delicious Frozen Chocolate Dipped Watermelon Recipe
 Desserts
Tropical Bliss Mango Peach Fruit Leather: A Sweet and Healthy Snack
Delicious Tropical Bliss Mango Peach Fruit Leather: A Sweet and Healthy Snack
 Desserts
Silky Coconut Mango Chia Parfait: A Wholesome Delight
Delicious Silky Coconut Mango Chia Parfait: A Wholesome Delight
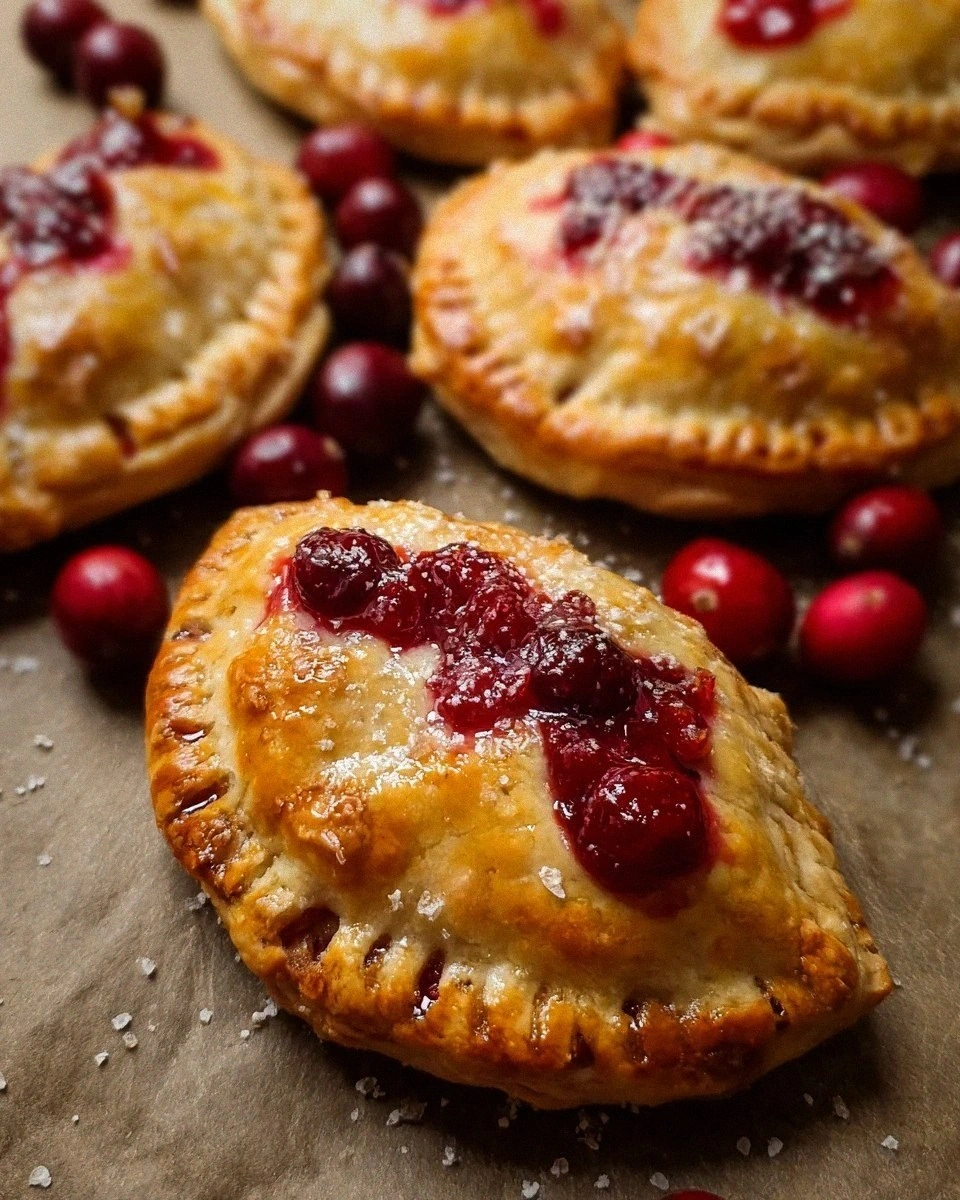 Desserts
Cranberry Hand Pies
Learn how to make delicious Cranberry Hand Pies. Easy recipe with step-by-step instructions.
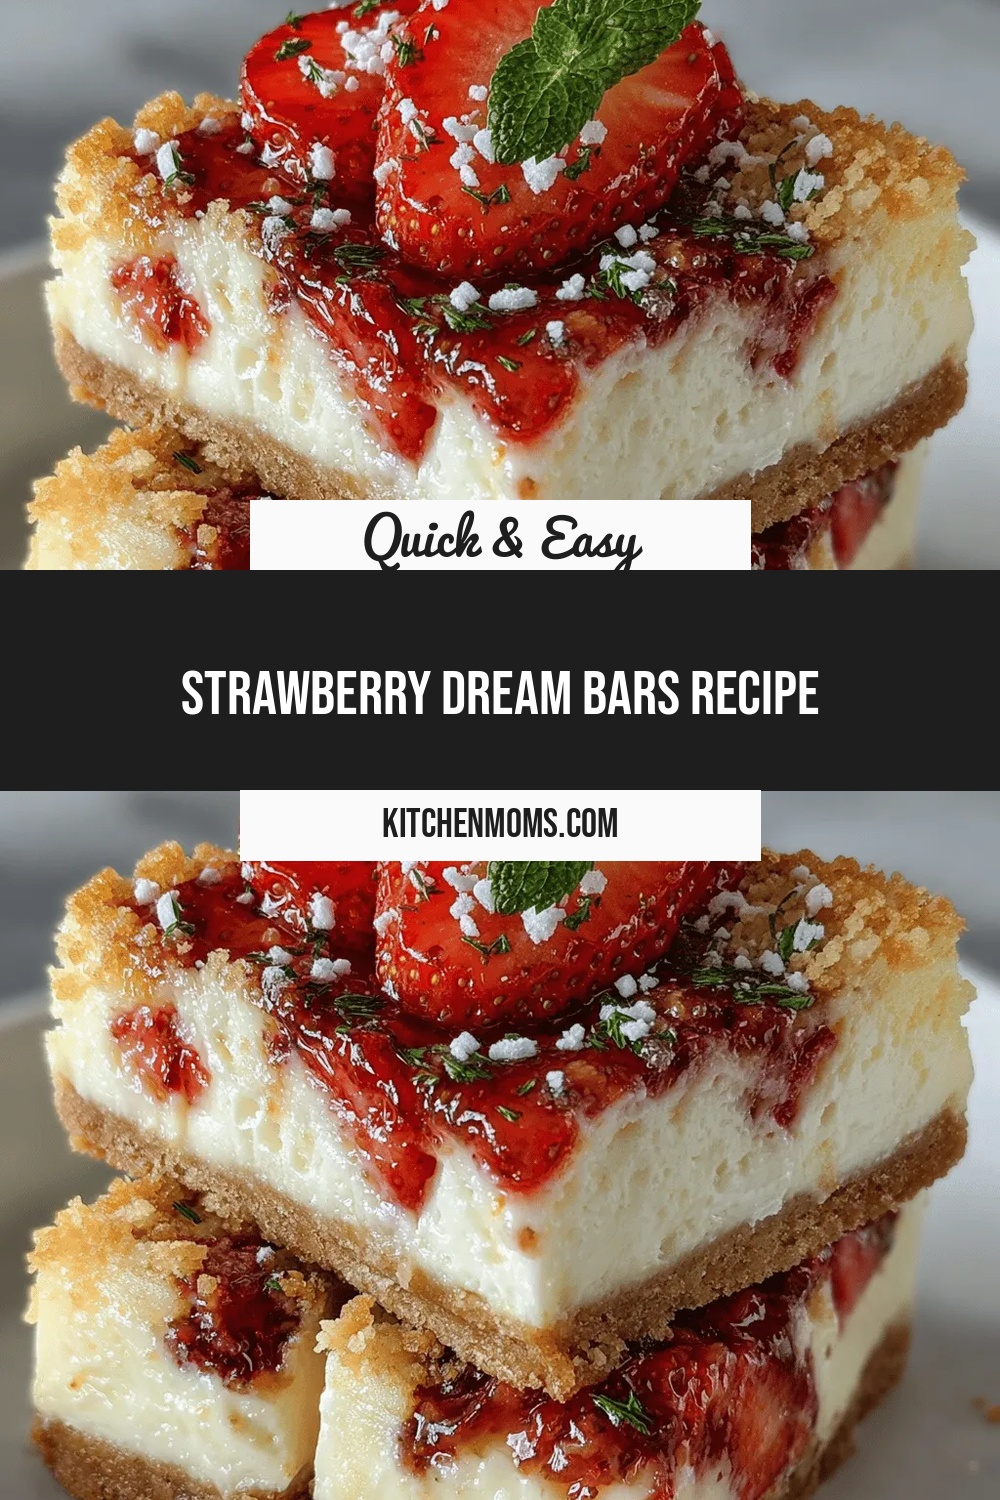 Desserts
Strawberry Dream Bars Recipe
Delicious Strawberry Dream Bars Recipe
 Desserts
Triple Lemon Meringue Cheesecake
Learn how to make delicious Triple Lemon Meringue Cheesecake. Easy recipe with step-by-step instructions.

Lucy
I cook these recipes at home before they ever land here — simple ingredients, clear steps.