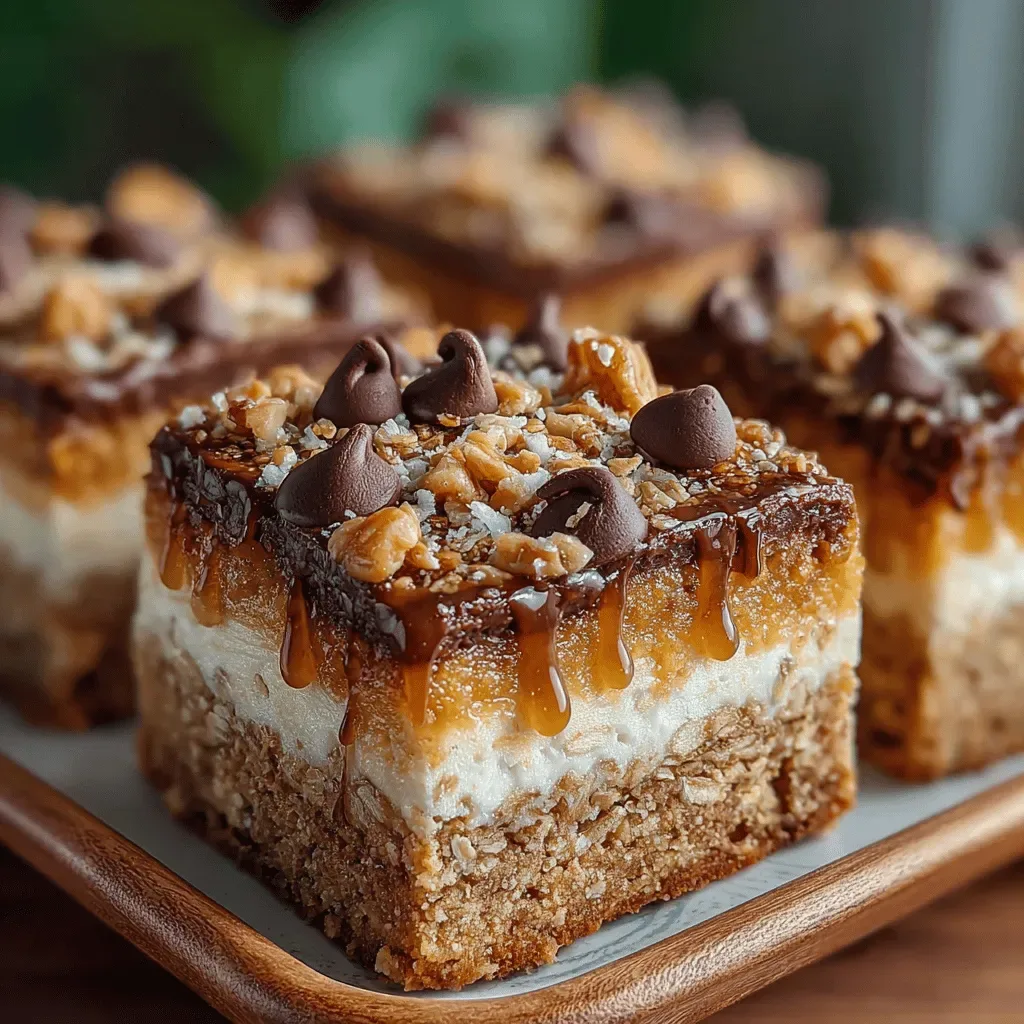
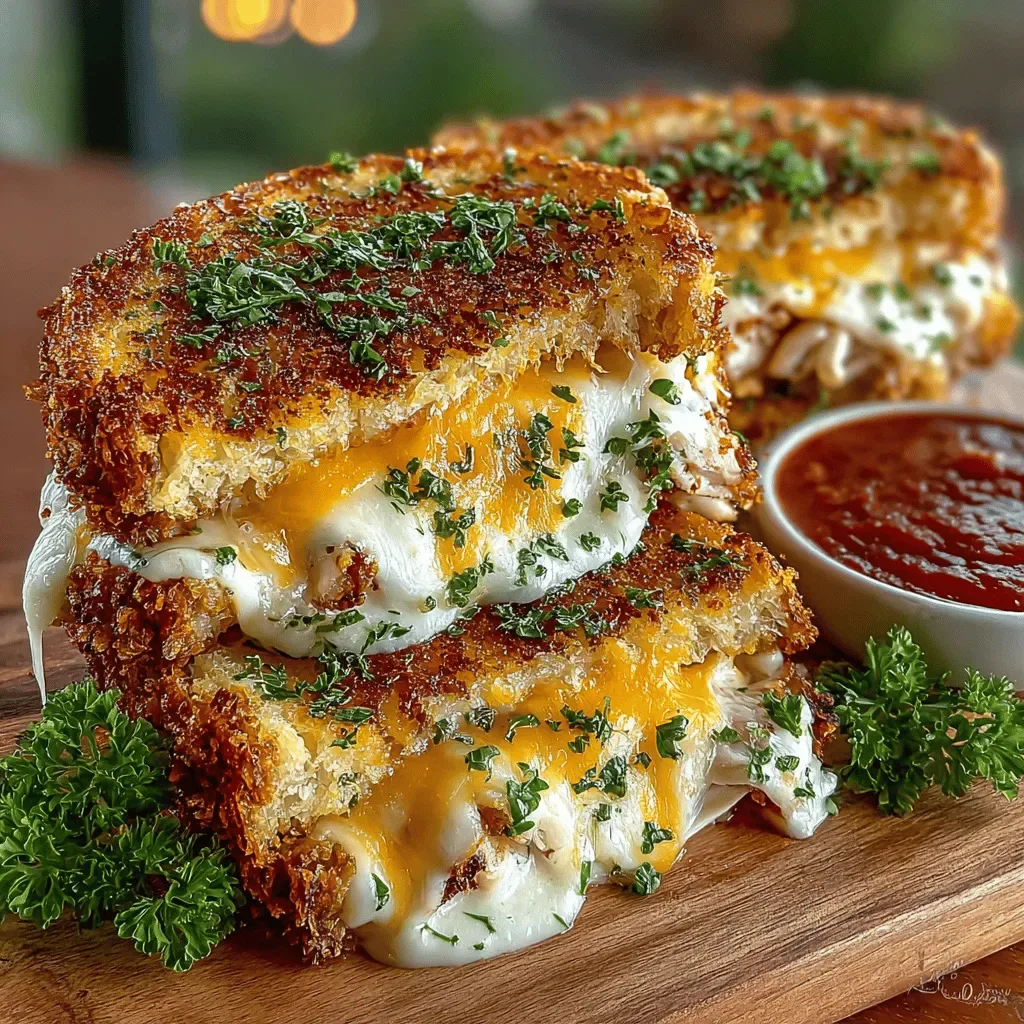
Cheesy Schoolyard Delight Sandwich Melt
 Save
Save
Imagine the sound of a schoolyard lunch bell, the excitement of a quick bite between classes, and the comforting melt of cheese stretching with every pull. The Cheesy Schoolyard Delight Sandwich Melt captures that nostalgic moment in a single, handheld masterpiece that’s perfect for any snack break.
What makes this melt stand out is the marriage of a crisp, buttery sourdough base with a creamy, tangy cheddar‑cheddar blend, all layered with caramelized onions, crisp bacon, and a whisper of honey‑mustard drizzle. Each bite delivers a satisfying crunch followed by a gooey, savory center.
This snack will win over kids, teenagers, and adults alike—whether you’re feeding a bustling family after school, hosting a casual game night, or need a quick bite before a workout. It’s equally at home on a picnic table or a busy office break room.
Preparation is straightforward: toast the bread, sauté the fillings, assemble the sandwich, and finish it under the broiler for that perfect golden‑brown finish. In under thirty minutes you’ll have a crowd‑pleasing melt that feels both familiar and indulgent.
Why You'll Love This Recipe
Kid‑Approved Flavor: The combination of melty cheddar, sweet honey‑mustard, and salty bacon hits every child's taste buds while still satisfying adult cravings.
Fast & Easy: With a prep time of just fifteen minutes and a quick broil, this melt fits perfectly into busy weekday schedules.
Customizable Core: Swap in turkey, ham, or even a plant‑based patty; the recipe is a flexible canvas for endless variations.
Comfort in Every Bite: The buttery sourdough crust gives a satisfying crunch that balances the creamy interior, delivering true comfort food vibes.
Tips & Tricks
Perfecting the Recipe
Dry the Bread. Pat the sourdough slices with a paper towel after buttering to remove excess moisture; this ensures a crisp, non‑soggy crust.
Even Cheese Distribution. Sprinkle both cheddar and mozzarella evenly across the bread to avoid pockets of melted cheese that can leak out during broiling.
Use a Cast‑Iron Skillet. The heavy bottom retains heat, giving a uniform sear before the broiler finishes the melt.
Watch the Broiler. Keep the oven door slightly ajar and stay nearby; the top can go from perfectly browned to burnt in seconds.
Flavor Enhancements
Add a teaspoon of fresh thyme to the onions while they caramelize for an herbal lift. A dash of hot sauce in the honey‑mustard blend introduces a subtle kick that balances the sweetness. For extra richness, fold a thin slice of aged gouda into the cheese layer.
Common Mistakes to Avoid
Skipping the initial pan‑sear leaves the bread soggy and prevents the cheese from anchoring. Over‑loading the sandwich with sauce can cause it to pool and make the melt messy. Finally, using low‑fat cheese reduces meltability and results in a rubbery texture.
Pro Tips
Prep Ahead. Caramelize the onions and cook the bacon up to 24 hours in advance; store them in airtight containers and reheat quickly before assembly.
Temperature Check. Use an instant‑read thermometer to confirm the internal temperature of the melt reaches 160°F, guaranteeing food safety for the bacon.
Layer Strategically. Place the cheese directly on the bread, then the bacon and onions; this order prevents the bacon from slipping out when you bite.
Finish with Fresh Herbs. A sprinkle of chopped chives or parsley right before serving adds color and a burst of fresh flavor.
Variations
Ingredient Swaps
Replace the bacon with thinly sliced prosciutto for a more delicate salty bite, or swap cheddar for pepper jack if you love extra heat. For a vegetarian spin, use grilled portobello caps and smoked Gouda. Changing the bread to rye or multigrain adds a nutty depth that pairs well with the cheese blend.
Dietary Adjustments
To keep it gluten‑free, choose certified gluten‑free sourdough or sturdy gluten‑free sandwich rolls. Swap butter for a plant‑based spread and use dairy‑free cheddar alternatives for a vegan version. For a low‑carb approach, replace the bread with large lettuce leaves or low‑carb cloud bread, and keep the cheese and bacon as they are.
Serving Suggestions
Pair the melt with a simple cucumber‑mint salad dressed in lemon vinaigrette for a refreshing contrast. Sweet potato fries seasoned with paprika make a hearty side, while a bowl of chilled tomato soup offers a classic combo. For a party platter, cut the melts into bite‑size squares and serve with assorted dipping sauces.
Storage Info
Leftover Storage
Allow any leftover melts to cool to room temperature, then wrap each sandwich tightly in plastic wrap and place them in a sealed container. Refrigerate for up to 3 days. For longer keeping, freeze the individually wrapped sandwiches for up to 2 months; the cheese and bread retain texture when reheated properly.
Reheating Instructions
Reheat in a preheated 350°F oven for 10‑12 minutes, covered with foil for the first half to keep moisture in, then uncovered to restore crispness. In a microwave, heat on medium power for 45‑60 seconds, then finish under a broiler for 1‑2 minutes to regain that golden top.
Frequently Asked Questions
Can I prepare the sandwich ahead of time and just heat it later?
What if I don’t have a broiler—can I still achieve the same result?
Can I substitute the honey‑mustard sauce with something else?
What side dishes work best with this melt?
This Cheesy Schoolyard Delight Sandwich Melt brings together the comfort of melted cheese, the crunch of toasted sourdough, and the savory punch of bacon and caramelized onions—all in under thirty minutes. With clear steps, handy tips, and plenty of room for personal twists, you have everything you need for a snack that feels both nostalgic and gourmet. Feel free to experiment with the suggested swaps or add your own flair. Enjoy the melt, share it with friends, and let the school‑yard vibes inspire your next gathering!
Cheesy Schoolyard Delight Sandwich Melt
Delicious Cheesy Schoolyard Delight Sandwich Melt
Ingredients
Bread & Cheese
- 8 slices sourdough bread
- 1 cup shredded sharp cheddar cheese
- ½ cup shredded mozzarella cheese
Fillings
- 4 slices thick‑cut bacon
- 1 medium yellow onion, thinly sliced
- 1 tablespoon butter
Sauce & Seasonings
- 2 tablespoons honey
- 1 tablespoon Dijon mustard
- ¼ teaspoon smoked paprika
- Salt and freshly ground black pepper, to taste
Instructions
Caramelizing the Onions
- Reduce Heat & Add Onions. Lower the skillet to medium‑low, add the sliced onion to the retained bacon fat, and stir to coat. Cook, stirring occasionally, for 12‑15 minutes until the onions turn deep golden and sweet. This slow caramelization builds the melt’s signature flavor foundation.
- Season Lightly. Sprinkle a pinch of salt, pepper, and smoked paprika over the onions. The paprika adds a subtle smokiness that mirrors the bacon, while the salt draws out any remaining moisture, ensuring the onions stay tender, not soggy.
Cooking the Melt
- Preheat the Broiler. Set your oven’s broiler to high and position the rack about 6 inches from the heating element. This proximity delivers a quick, even browning without overcooking the interior.
- Pan‑Sear First. Return the assembled sandwiches to the skillet, buttered side down, and cook for 2‑3 minutes until the bread turns golden. This initial sear creates a sturdy crust that will hold up under the broiler’s intense heat.
- Broil to Perfection. Transfer the skillet (or move the sandwiches to a baking sheet) to the preheated broiler. Watch closely; after 1‑2 minutes the cheese should melt fully and the top slice will develop a beautiful caramelized hue. Remove immediately to prevent burning.
Similar Recipes
 Appetizers
Spicy-Sweet Chicken Bliss Lettuce Wraps: A Flavorful and Healthy Delight
Delicious Spicy-Sweet Chicken Bliss Lettuce Wraps: A Flavorful and Healthy Delight
 Appetizers
Mini Sweet Corn Taco Bowls: A Flavorful Culinary Adventure
Delicious Mini Sweet Corn Taco Bowls: A Flavorful Culinary Adventure
 Appetizers
Refreshing Chicken Caesar Pasta Salad Recipe
Delicious Refreshing Chicken Caesar Pasta Salad Recipe
 Appetizers
Bacon Cheeseburger Grilled Cheese
Learn how to make delicious Bacon Cheeseburger Grilled Cheese. Easy recipe with step-by-step instructions.
 Appetizers
Sweet and Spicy Baked Cauliflower Recipe
Learn how to make delicious Sweet and Spicy Baked Cauliflower Recipe. Easy recipe with step-by-step instructions.
 Appetizers
Delightful Strawberry Basil Bruschetta: A Perfect Fusion of Flavors
Delicious Delightful Strawberry Basil Bruschetta: A Perfect Fusion of Flavors
 Appetizers
Flavorful Cucumber Couscous Salad: A Refreshing Delight!
Learn how to make delicious Flavorful Cucumber Couscous Salad: A Refreshing Delight!. Easy recipe with step-by-step…
 Appetizers
healthy roasted winter squash and kale salad with garlic herb dressing
Learn how to make delicious healthy roasted winter squash and kale salad with garlic herb dressing.…

Lucy
I cook these recipes at home before they ever land here — simple ingredients, clear steps.