Irresistible Enchiladas Rojas Estilo Monterrey Recipe
 Save
Save
It was a chilly Saturday evening in early November, the kind of night when the wind whistles through the cracked window panes and the kitchen becomes the heart of the home. I remember pulling a battered cast‑iron skillet out of the cupboard, the one that has seen more family celebrations than any other piece of cookware in the house. As I heated a splash of oil, the scent of cumin and garlic rose like an invitation, swirling around the room and coaxing everyone from the living room to the countertop. The moment I lifted the lid on the simmering red sauce, a cloud of fragrant steam hit me, tinged with smoky paprika and a whisper of dried oregano, and I knew we were about to create something unforgettable.
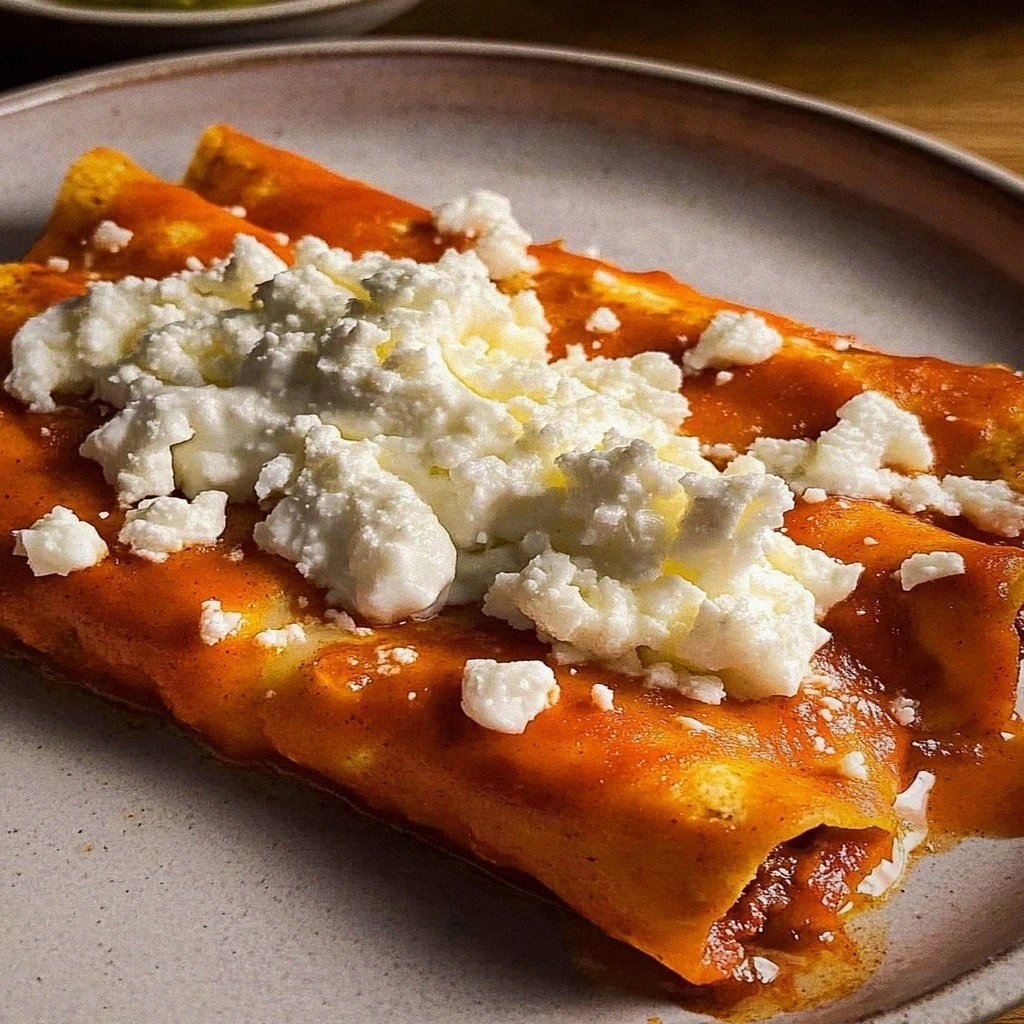
Enchiladas Rojas Estilo Monterrey have a reputation for being bold, comforting, and irresistibly saucy—exactly the kind of dish that brings people together around the table. What sets this version apart is the balance between the rich, slightly smoky sauce and the tender, juicy chicken that fills each tortilla, all crowned with a molten blanket of cheese that stretches like golden ribbons. I’ve spent countless evenings perfecting this recipe, tweaking the sauce, adjusting the spice levels, and learning the subtle art of rolling the tortillas so they hold their shape without tearing. The result? A dish that feels like a warm hug from a Mexican abuela, yet simple enough for a weeknight dinner.
If you’ve ever wondered why the enchiladas at your favorite Mexican restaurant taste so much richer than the ones you make at home, the secret lies in a few key techniques and the quality of the ingredients. I’m about to spill the beans (and the chilies) on those tricks, but first let’s talk about the story behind this recipe. It began when I visited my cousin in Monterrey, where the streets are lined with taco stands and the aroma of chilies fills the air, and I tasted a version of red enchiladas that was both fiery and comforting. That experience sparked a quest to bring that authentic flavor back to my own kitchen, and after many trials, I finally nailed the perfect balance.
Now, you’re probably wondering how to translate that street‑food magic into a home‑cooked masterpiece without a commercial kitchen. Trust me, it’s easier than you think, and the payoff is worth every minute you spend stirring, rolling, and baking. Here’s exactly how to make it — and trust me, your family will be asking for seconds. But wait, there’s a secret trick hidden in step four that will take your enchiladas from great to legendary, so keep reading!
🌟 Why This Recipe Works
- Flavor Depth: The combination of roasted chilies, smoked paprika, and a splash of chicken broth creates a sauce that’s both smoky and slightly sweet, delivering layers of flavor that develop as the enchiladas bake.
- Texture Harmony: Soft, pliable tortillas wrapped around tender chicken and a creamy cheese melt together, while the sauce seeps in, ensuring every bite is moist without being soggy.
- Ease of Execution: Each step uses familiar techniques—sautéing, simmering, and baking—so even a beginner can follow along without feeling overwhelmed.
- Time Efficiency: With a prep time of just 15 minutes and a cooking time of 30 minutes, this dish fits perfectly into a busy weekday schedule while still feeling like a special occasion.
- Versatility: Swap the chicken for shredded beef, pork, or even roasted vegetables to adapt the dish to different dietary preferences without sacrificing flavor.
- Nutrition Balance: By using lean protein, a modest amount of cheese, and a tomato‑based sauce, the enchiladas provide a satisfying mix of protein, carbs, and healthy fats.
- Ingredient Quality: Fresh aromatics like garlic and onion, along with high‑quality Mexican cheese, elevate the dish from ordinary to restaurant‑level.
- Crowd‑Pleasing Factor: The vibrant red color, melty cheese, and comforting spices make this a hit for both kids and adults, turning any dinner into a celebration.
🥗 Ingredients Breakdown
The Foundation
The base of any great enchilada starts with the tortillas. I prefer corn tortillas because they have a slightly sweet, earthy flavor that pairs beautifully with the robust sauce. Look for tortillas that are fresh and pliable; if they’re a bit dry, lightly steam them for 20 seconds on each side before filling. This simple step prevents cracking and ensures a smooth roll that holds the sauce without falling apart. Remember, the tortilla is the canvas, and a good canvas makes the painting shine.
Aromatics & Spices
Onion and garlic are the dynamic duo that lay the aromatic groundwork for the sauce. Finely dice the onion so it melts into the sauce, releasing its natural sweetness, while minced garlic adds a sharp, fragrant punch that cuts through the richness of the cheese. The spice blend—cumin, dried oregano, and smoked paprika—brings warmth, earthiness, and a whisper of smoke that mimics the flavor of a wood‑fired oven. If you like a little heat, a pinch of cayenne or a few drops of chipotle adobo can be added without overwhelming the palate.
The Secret Weapons
Two ingredients often get overlooked but make a world of difference: chicken broth and a splash of sour cream. The broth thins the sauce just enough to coat the tortillas without drowning them, while the sour cream adds a silky richness that balances the acidity of the tomatoes. When combined, they create a sauce that’s velvety, flavorful, and perfectly clingy. I also like to add a handful of fresh cilantro at the end for a burst of herbaceous freshness that lifts the entire dish.
Finishing Touches
The cheese is the crowning glory—choose a Mexican blend that melts smoothly, such as Oaxaca, Chihuahua, or a good-quality cheddar‑Mexican mix. This ensures a gooey, stretchy top that browns beautifully in the oven. A final drizzle of sour cream and a sprinkle of chopped cilantro right before serving add a cool contrast to the hot, spicy sauce. And don’t forget a squeeze of lime; the citrus brightens the flavors and adds a refreshing zing that makes each bite sing.
With your ingredients prepped and ready, let's get cooking. Here's where the fun really begins...
🍳 Step-by-Step Instructions
🔐 Expert Tips for Perfect Results
The Taste Test Trick
Before you pour the sauce over the assembled enchiladas, take a spoonful and taste it. This is your chance to adjust seasoning—add a pinch more salt, a dash of sugar if the sauce feels too acidic, or a splash more lime juice for brightness. Trust your palate; a well‑balanced sauce is the foundation of a memorable dish.
Why Resting Time Matters More Than You Think
Allowing the baked enchiladas to rest for 5‑10 minutes after coming out of the oven lets the cheese set slightly and the sauce thicken. This prevents the sauce from running off the plate and ensures each bite stays cohesive. I once served them straight from the oven, and the sauce was so runny that the tortillas got soggy—lesson learned!
The Seasoning Secret Pros Won’t Tell You
A small amount of ground coriander added to the sauce can enhance the overall flavor profile, giving a subtle citrus note that complements the chilies. It’s a secret many chefs keep under wraps, but once you try it, you’ll wonder why you ever omitted it. Just a quarter teaspoon is enough to make a difference.
Choosing the Right Cheese
Mexican cheeses like Oaxaca or Chihuahua melt beautifully and have a mild flavor that lets the sauce shine. If you can’t find those, a blend of Monterey Jack and mild cheddar works well, but avoid overly sharp cheeses that can dominate the flavor. The key is a cheese that stretches and browns without becoming rubbery.
The Power of Fresh Cilantro
Fresh cilantro added at the end not only adds color but also a burst of fresh, herbaceous flavor that balances the richness of the cheese and sauce. I always keep a bunch of cilantro on hand, and I’ve learned that a light sprinkle right before serving makes the dish feel lighter and more vibrant.
Don’t Skip the Light Toast
A quick toast of the tortillas before rolling prevents them from absorbing too much sauce and becoming soggy. This step also adds a faint toasted corn flavor that deepens the overall taste. It’s a small effort that pays huge dividends in texture.
🌈 Delicious Variations to Try
One of my favorite things about this recipe is how versatile it is. Here are some twists I've tried and loved:
Green Enchilada Twist
Swap the red sauce for a tomatillo‑based green sauce flavored with jalapeños and fresh cilantro. The bright, tangy green sauce pairs beautifully with the same chicken filling, offering a completely different flavor experience while retaining the comforting texture.
Smoky Chipotle Beef
Replace the chicken with slow‑cooked shredded beef, and add a tablespoon of chipotle in adobo to the sauce for a deep, smoky heat. This variation is perfect for those who love a richer, heartier protein and a touch of smoky spice.
Vegetarian Black Bean & Sweet Potato
For a meat‑free option, combine roasted sweet potato cubes with black beans, corn, and a pinch of cumin. The sweet‑savory combo works wonderfully with the red sauce, and you can still top with cheese or a vegan alternative for a satisfying bite.
Cheese‑Only Deluxe
If you’re a cheese lover, double the cheese amount and add a layer of crumbled queso fresco before baking. The extra cheese creates an ultra‑creamy interior and a delightfully crunchy top when baked.
Breakfast Enchiladas
Scramble some eggs with diced chorizo, fold them into the tortillas, and top with the red sauce and cheese. Bake as usual, and you have a hearty breakfast that feels like a fiesta on a plate.
Seafood Surprise
Replace the chicken with a mixture of shrimp and crab meat, seasoned with lime juice and a dash of Old Bay. The delicate seafood flavors meld with the robust sauce, creating a luxurious twist perfect for special occasions.
📦 Storage & Reheating Tips
Refrigerator Storage
Allow the enchiladas to cool to room temperature before transferring them to an airtight container. They will keep fresh in the refrigerator for up to 3 days. When storing, keep the sauce separate if possible, or make sure the container is sealed tightly to prevent the sauce from drying out.
Freezing Instructions
For longer storage, freeze the assembled but unbaked enchiladas on a parchment‑lined tray for 2‑3 hours, then transfer them to a freezer‑safe zip‑top bag. They’ll stay good for up to 2 months. To bake from frozen, add an extra 10‑15 minutes to the baking time and cover the dish with foil for the first 20 minutes to prevent over‑browning.
Reheating Methods
When reheating leftovers, a splash of chicken broth or water helps revive the sauce’s moisture. Reheat in the oven at 350°F (175°C) for 15‑20 minutes, covered with foil, then uncover for the last 5 minutes to re‑crisp the cheese. If you’re in a hurry, the microwave works fine—heat on medium power for 2‑3 minutes, stirring halfway through, but the oven method preserves the texture best.
❓ Frequently Asked Questions
Can I use flour tortillas instead of corn?
How spicy is this recipe?
Can I make the sauce from scratch?
What can I use instead of sour cream?
Do I need to pre‑cook the chicken?
Can I add beans to the filling?
How do I prevent the tortillas from tearing?
What side dishes pair best with these enchiladas?
Remove the enchiladas from the oven and let them rest for 5 minutes. This short resting period allows the sauce to thicken slightly, making it easier to serve without all the liquid spilling over the plate. While they rest, sprinkle fresh chopped cilantro and a few extra crumbles of cheese on top for color and freshness. A final squeeze of lime juice adds a bright, citrusy contrast that cuts through the richness.
Serve the enchiladas hot, accompanied by a side of Mexican rice, refried beans, or a simple avocado salad. Encourage your guests to add a dollop of sour cream and a few extra cilantro leaves if they like. The result is a plate brimming with vibrant red sauce, melty cheese, and tender chicken—all wrapped in a soft tortilla that’s just the right amount of bite. Trust me on this one: the first bite will have you reaching for seconds before you even finish the first plate.
Similar Recipes
 Appetizers
Mini Air Fryer Pizza Calzones Recipe
Delicious Mini Air Fryer Pizza Calzones Recipe
 Appetizers
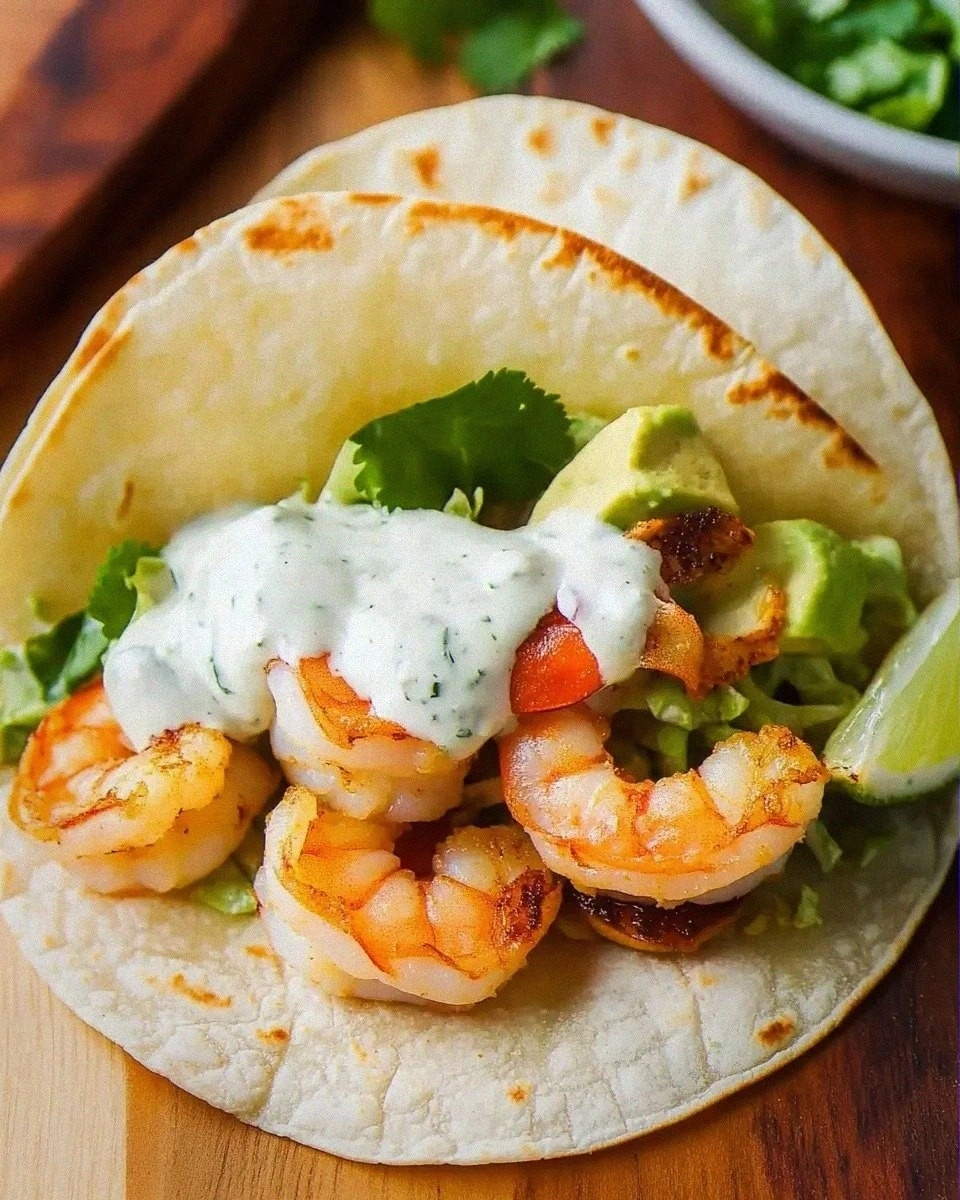
Cilantro Lime Shrimp Tacos that Will Wow Your Guests!
Learn how to make delicious Cilantro Lime Shrimp Tacos that Will Wow Your Guests!. Easy recipe…
 Appetizers
Crispy BLT Cauliflower Salad Recipe
Delicious Crispy BLT Cauliflower Salad Recipe
 Appetizers
Honey Sesame Chicken: An Incredible Ultimate Recipe
Learn how to make delicious Honey Sesame Chicken: An Incredible Ultimate Recipe. Easy recipe with step-by-step…
 Appetizers
Zesty Crunch Lemon Pepper Wings: Your Ultimate Guide to Flavorful Bites
Delicious Zesty Crunch Lemon Pepper Wings: Your Ultimate Guide to Flavorful Bites
 Appetizers
cheesy twicebaked potatoes with bacon and green chives for holiday feasts
Wow guests with cheesy twice-baked potatoes loaded with crispy bacon & green chives. Easy pork side…
 Appetizers
Crispy Lemon Pepper Chicken Tenders
Delicious Crispy Lemon Pepper Chicken Tenders
 Appetizers
Cheesy Delight: Savory Cheddar Chive Scones
Delicious Cheesy Delight: Savory Cheddar Chive Scones

Lucy
I cook these recipes at home before they ever land here — simple ingredients, clear steps.