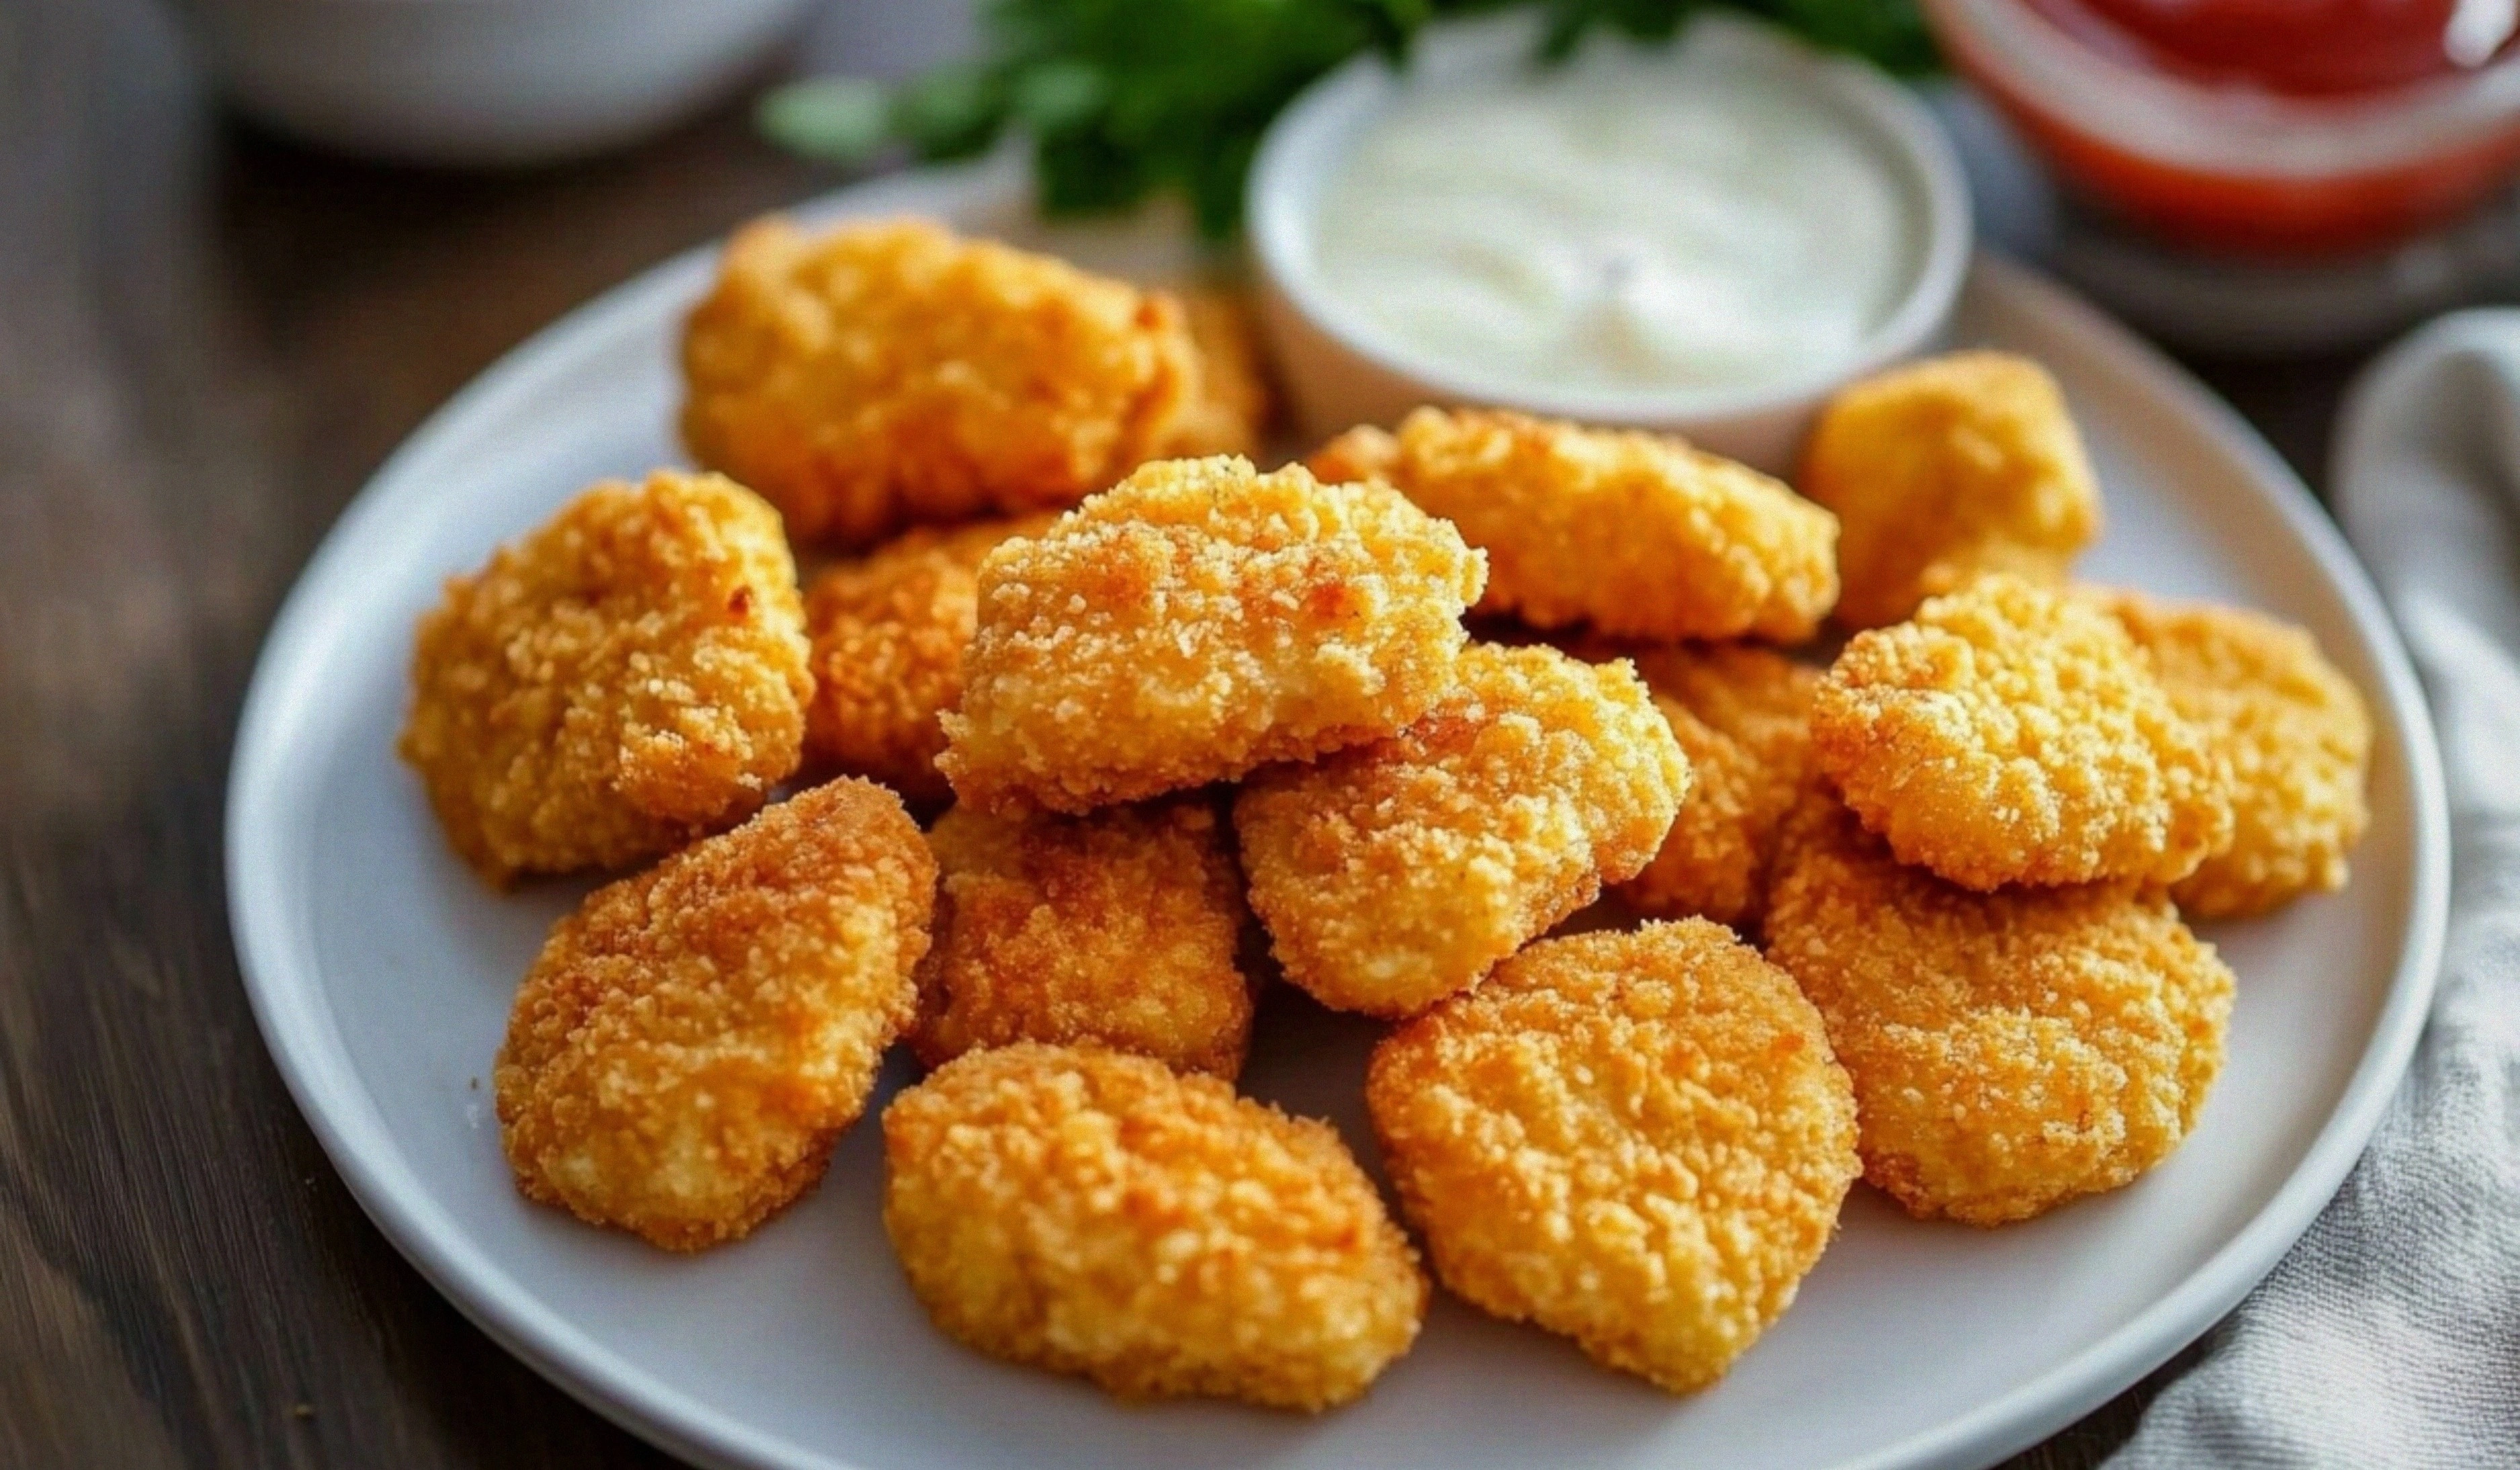
Homemade Chicken Nuggets: Crispy, Golden Bites of Joy
 Save
Save
It was a rainy Saturday afternoon, the kind that makes you want to stay in the kitchen and let the aromas do the talking. I remember the sound of the kettle whistling, the soft clatter of the cutting board, and the way the sunlight filtered through the blinds, turning the steam from the pan into a golden haze. When I first tried to recreate the fast‑food nuggets that my kids adored, I realized that the secret wasn’t in a mysterious industrial coating—it was in the love and the little tricks I learned along the way. The moment you lift the lid, a cloud of fragrant steam hits you, carrying hints of toasted breadcrumbs, a whisper of paprika, and the comforting scent of cooked chicken that instantly makes your stomach rumble.
I spent a whole weekend experimenting: swapping regular flour for a mix of cornstarch and rice flour, testing double‑dredging versus a single coat, and even trying a quick brine to keep the meat juicy. Each trial taught me something new, and by the third attempt, the nuggets were so crisp they sang when you bit into them—almost like a tiny, edible fireworks show. Have you ever wondered why restaurant versions taste so different? The answer lies in the balance of texture and flavor, and I’m about to spill the beans (and the breadcrumbs) that make this recipe stand out from the crowd.
But wait—there’s a secret trick in step 4 that will change the way you think about crunch forever. I won’t give it away just yet, because the journey is half the fun. Imagine serving a platter of golden nuggets that crackle under the fork, releasing a burst of savory juices that are both tender and perfectly seasoned. The kids will be shouting “again!” while the adults nod in quiet approval, savoring the nostalgic yet elevated taste. That’s the magic we’re after: a dish that feels both familiar and extraordinary, a comfort food that you can proudly claim as your own.
Now, before you rush to the pantry, let’s set the stage for success. I’ll walk you through every detail—from why each ingredient matters, to the exact temperature that guarantees a flawless crust, to the little hacks that keep the nuggets from turning soggy. Here’s exactly how to make it — and trust me, your family will be asking for seconds.
🌟 Why This Recipe Works
- Flavor Depth: By marinating the chicken briefly in a buttermilk‑spice blend, the meat absorbs a subtle tang that balances the richness of the fried coating, creating layers of taste that linger on the palate.
- Ultimate Crunch: The double‑dredge technique—first in seasoned flour, then in a panko‑breadcrumb mixture—creates a light, airy crust that stays crisp even after a few minutes of resting.
- Ease of Preparation: All the steps can be completed in under an hour, and the ingredients are pantry‑friendly, making it perfect for busy weeknights or lazy weekends.
- Time‑Saving Hack: Using a shallow oil pan instead of a deep fryer reduces cleanup while still delivering that restaurant‑level golden finish.
- Versatility: These nuggets can be served with a variety of dips—from classic honey mustard to spicy sriracha mayo—allowing you to customize the flavor profile for every guest.
- Nutrition Boost: By choosing lean chicken breast and adding a light coating of whole‑grain breadcrumbs, you get a protein‑packed bite without the excess grease of fast‑food versions.
- Ingredient Quality: Fresh, hormone‑free chicken and high‑quality spices make a noticeable difference, turning a simple snack into a gourmet experience.
- Crowd‑Pleasing Factor: The familiar shape and comforting crunch appeal to kids and adults alike, making it a reliable go‑to for parties, game nights, or a quick family dinner.
🥗 Ingredients Breakdown
The Foundation
1 lb (about 450 g) boneless, skinless chicken breast, cut into bite‑size pieces. Why it matters: Chicken breast offers lean protein and a neutral flavor that soaks up the seasoning beautifully. If you prefer a richer bite, you can swap in thigh meat, which adds extra juiciness but also a bit more fat. Look for meat that’s pink and firm, not pale or mushy; a fresh piece will hold its shape during frying.
1 cup buttermilk (or 1 cup milk mixed with 1 tbsp lemon juice). Why it matters: The acidity of buttermilk tenderizes the chicken while adding a subtle tang that brightens the overall flavor. If you’re out of buttermilk, a simple DIY version works just as well—just let the milk sit for five minutes after adding the lemon juice.
Aromatics & Spices
1 tsp kosher salt and ½ tsp freshly ground black pepper. Why it matters: Salt enhances the natural chicken flavor, while pepper adds a gentle heat that rounds out the seasoning profile. Try using flaky sea salt for a delicate crunch on the surface.
1 tsp smoked paprika. Why it matters: Smoked paprika brings a deep, earthy smokiness that mimics the flavor of a grill without the actual fire. It also contributes a gorgeous reddish hue to the coating.
½ tsp garlic powder and ½ tsp onion powder. Why it matters: These powdered aromatics infuse the crust with layers of savory depth, ensuring each bite is aromatic, not just salty.
The Secret Weapons
½ cup all‑purpose flour mixed with ¼ cup rice flour. Why it matters: The blend creates a light, crispy base that prevents the nuggets from becoming doughy. Rice flour adds a subtle crispness that’s often missing in standard flour‑only coatings.
1 cup panko breadcrumbs (Japanese style). Why it matters: Panko’s larger flakes trap air, resulting in a crunchier texture compared to regular breadcrumbs. For a gluten‑free version, substitute with crushed cornflakes or gluten‑free panko.
2 large eggs, lightly beaten. Why it matters: Eggs act as the adhesive that makes the flour and breadcrumbs cling to the chicken, ensuring an even coat that doesn’t flake off during frying.
Finishing Touches
Vegetable oil (such as canola or peanut) for shallow frying, enough to fill the pan about ¼‑inch deep. Why it matters: A neutral‑tasting oil with a high smoke point lets the nuggets fry at 350°F (175°C) without burning, preserving the delicate flavor of the spices.
A pinch of dried oregano or Italian seasoning (optional). Why it matters: This adds a herbaceous note that lifts the flavor, especially if you’re serving the nuggets with a tomato‑based dip. Fresh herbs can be used too—just chop finely and mix into the breadcrumb layer.
With your ingredients prepped and ready, let's get cooking. Here's where the fun really begins...
🍳 Step-by-Step Instructions
🔐 Expert Tips for Perfect Results
The Taste Test Trick
Before you commit to the full batch, fry a single nugget as a test. This lets you gauge the seasoning level and adjust salt or spice before the rest of the batch hits the pan. I once under‑seasoned the flour and learned the hard way that a tiny pinch of extra paprika can make a world of difference. The test nugget also confirms that your oil temperature is spot‑on.
Why Resting Time Matters More Than You Think
Letting the coated nuggets rest for 5‑10 minutes before frying allows the flour and breadcrumbs to hydrate, forming a tighter bond. This step prevents the coating from falling off during the high‑heat shock of the oil. I once skipped this rest and ended up with a sad, crumbly plate of nuggets—lesson learned!
The Seasoning Secret Pros Won’t Tell You
Add a dash of ground white pepper to the flour mixture; it gives a subtle heat that doesn’t overpower the other spices. Professionals also sprinkle a tiny amount of sugar into the breadcrumb mix, which caramelizes during frying, adding a whisper of sweetness that balances the savory notes.
Oil Management Mastery
Instead of constantly adding fresh oil, reuse the same oil for a few batches, straining out crumbs between uses. This not only saves money but also builds a deeper, richer flavor as the oil absorbs the essence of the spices. Just be sure to keep the temperature steady; a sudden drop can cause soggy nuggets.
The Double‑Dredge Debate
If you crave an ultra‑light crunch, try a triple‑dredge: flour, egg, flour again, then breadcrumbs. The extra flour layer creates a micro‑air pocket that expands in the heat, producing an almost airy crust. I tried this once for a family gathering, and the reaction was unanimous—everyone asked for the “cloud‑like” version.
Serving with Style
Arrange the nuggets on a wooden board with a trio of dips, a handful of fresh herbs, and a wedge of lemon. The visual appeal makes the dish feel restaurant‑grade, and the lemon adds a bright acidity that cuts through the richness. I’ve found that a drizzle of melted butter infused with garlic right before serving adds a luxurious finish.
🌈 Delicious Variations to Try
One of my favorite things about this recipe is how versatile it is. Here are some twists I've tried and loved:
Spicy Sriracha Crunch
Add 1 tbsp sriracha to the buttermilk and sprinkle a pinch of crushed red pepper flakes into the breadcrumb mix. The result is a fiery bite that still retains the classic crunch, perfect for a game‑day snack.
Herb‑Infused Garden Nuggets
Fold finely chopped fresh basil, parsley, and thyme into the breadcrumb mixture. The herbs release aromatic oils as they fry, giving the nuggets a fragrant, garden‑fresh finish that pairs wonderfully with a lemon‑yogurt dip.
Cheesy Parmesan Explosion
Stir ¼ cup grated Parmesan into the panko before coating. The cheese melts into the crust, creating pockets of gooey, nutty flavor that make each bite a little indulgent.
Gluten‑Free Crunch
Swap all‑purpose flour for a gluten‑free blend and use gluten‑free panko or crushed rice crackers. The texture remains delightfully crisp, and the flavor stays true to the original.
Sweet‑and‑Savory Maple Glaze
After frying, toss the nuggets in a mixture of pure maple syrup, a splash of soy sauce, and a dash of smoked paprika. The glaze adds a caramelized sweetness that balances the savory interior, making it a hit for brunch or a cozy winter snack.
Asian‑Inspired Sesame
Mix toasted sesame seeds into the breadcrumb coating and serve with a soy‑ginger dipping sauce. The nutty aroma and umami‑rich sauce turn these nuggets into an Asian‑style appetizer that feels both familiar and exotic.
📦 Storage & Reheating Tips
Refrigerator Storage
Allow the nuggets to cool completely, then place them in an airtight container lined with a paper towel to absorb excess moisture. They’ll stay fresh for up to 3 days. When you’re ready to eat, reheat in a hot oven (375°F/190°C) for 8‑10 minutes to revive the crunch.
Freezing Instructions
Arrange the cooled nuggets on a parchment‑lined baking sheet and freeze until solid (about 2 hours). Transfer the frozen nuggets to a zip‑top bag, removing as much air as possible. They’ll keep for up to 2 months. To cook from frozen, add an extra minute or two to the frying time, or bake at 400°F (200°C) for 12‑15 minutes, turning halfway.
Reheating Methods
The trick to reheating without drying out? A splash of water in the pan and a quick cover for 2‑3 minutes creates steam that revives the interior, then finish uncovered for a final crisp. Alternatively, a quick blast in a preheated air fryer (350°F/175°C for 4 minutes) restores that restaurant‑style crunch in seconds.
❓ Frequently Asked Questions
Can I use frozen chicken instead of fresh?
What oil is best for frying?
Do I have to double‑dredge?
Can I bake these instead of frying?
How do I keep the nuggets from getting soggy after frying?
What dipping sauces pair best?
Can I make these gluten‑free?
How long can I keep the cooked nuggets in the fridge?


Other Reader Favorites
 Dinner
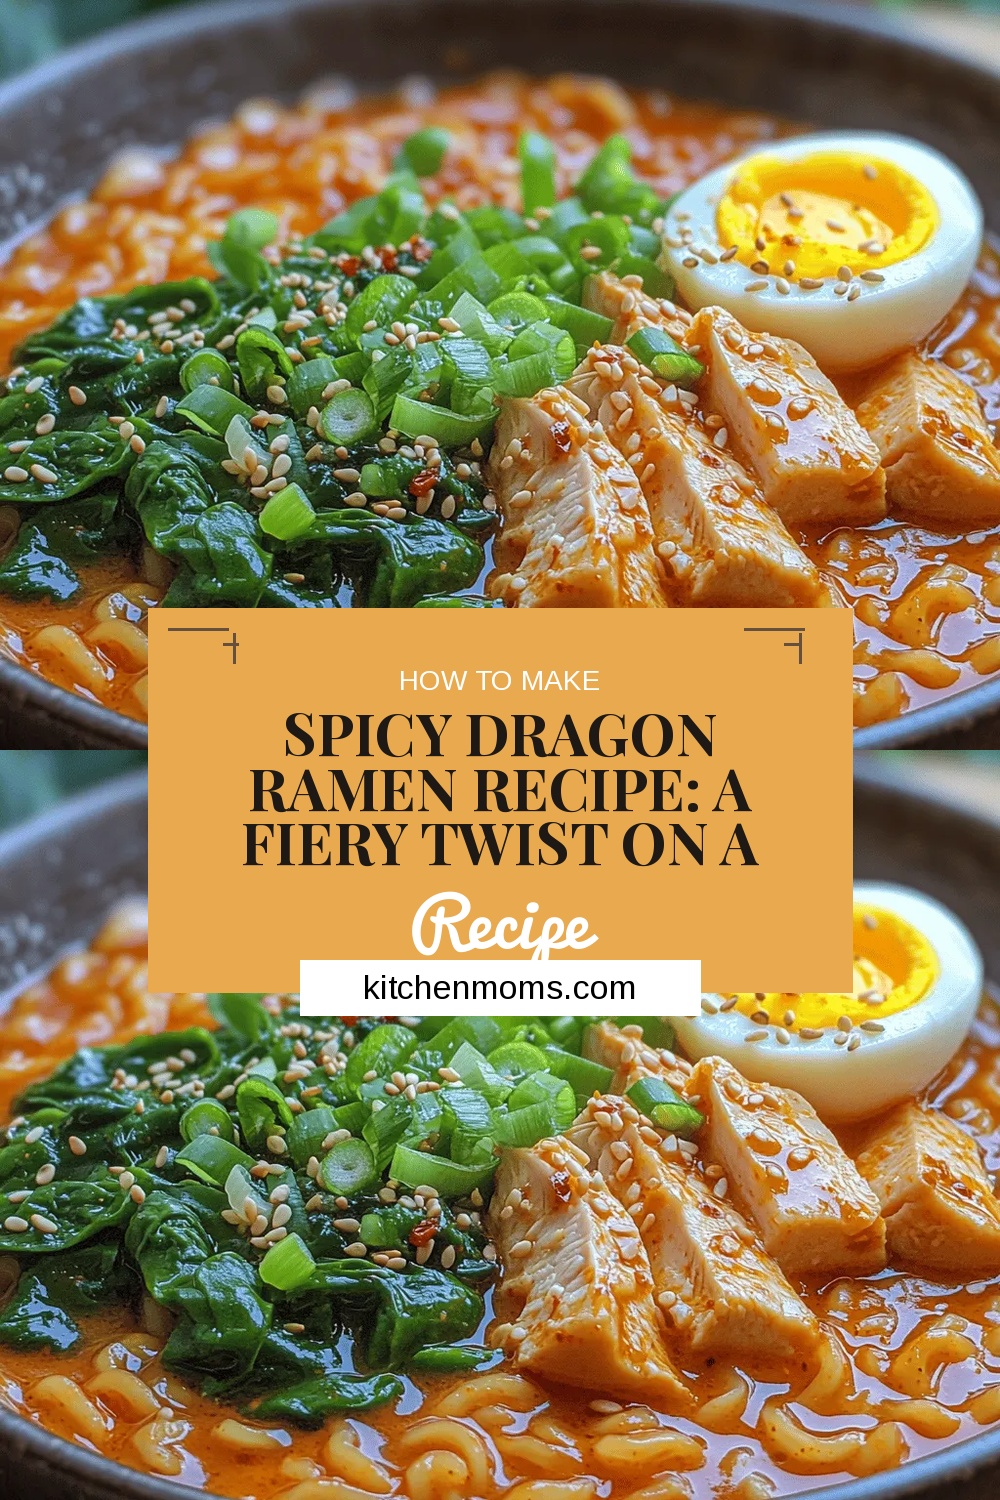
Spicy Dragon Ramen Recipe: A Fiery Twist on a Beloved Classic
Delicious Spicy Dragon Ramen Recipe: A Fiery Twist on a Beloved Classic
 Dinner
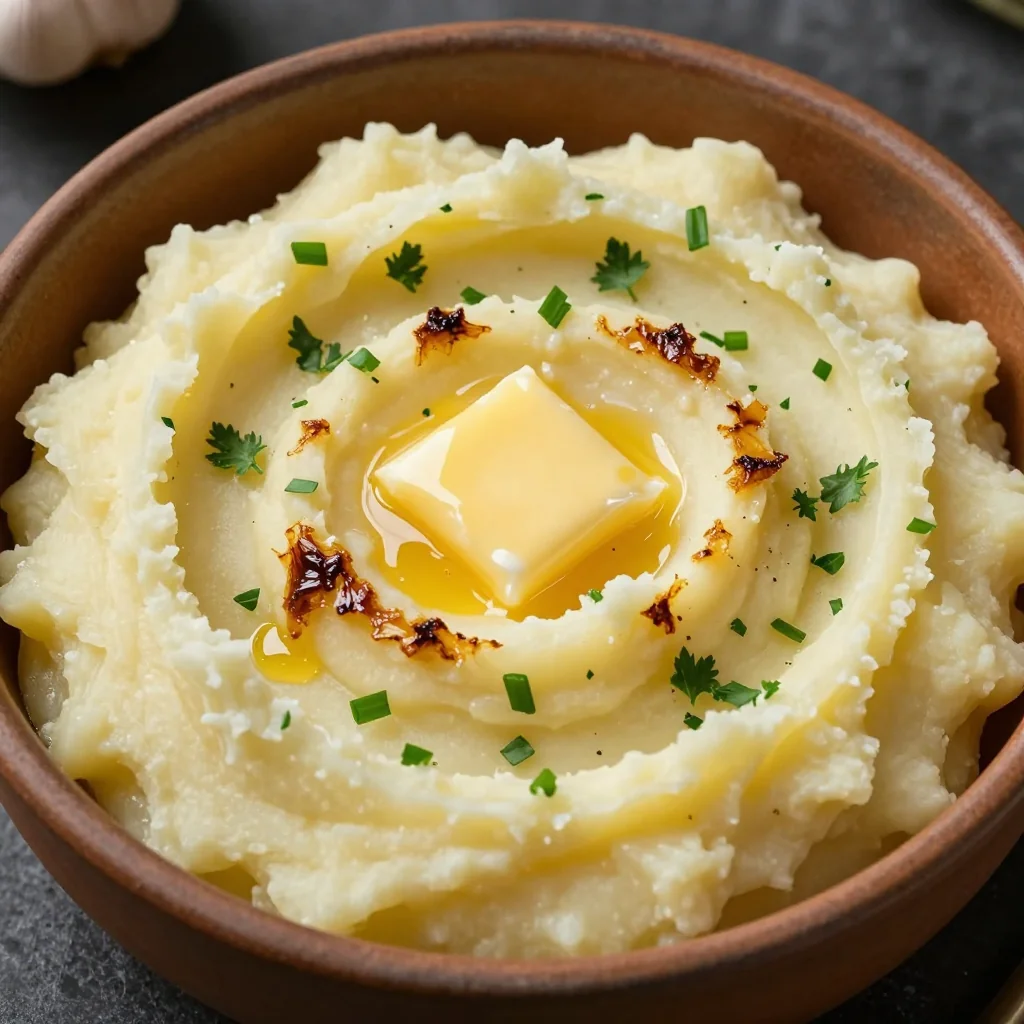
roasted garlic and herb mashed potatoes for classic christmas sides
Learn how to make delicious roasted garlic and herb mashed potatoes for classic christmas sides. Easy…
 Breakfast
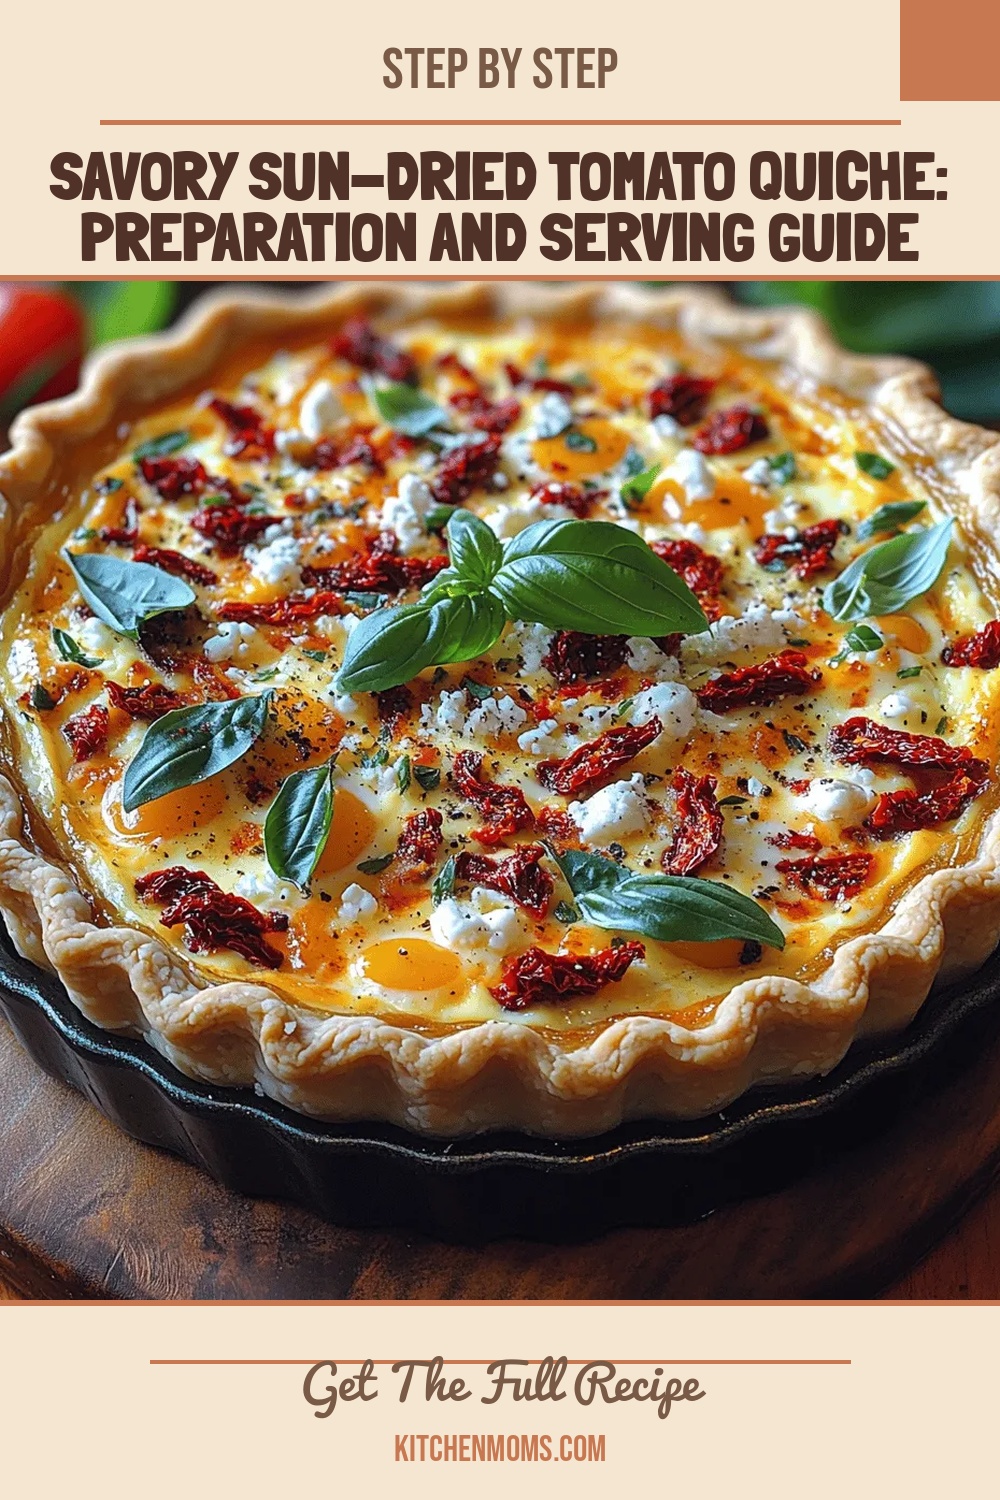
Savory Sun-Dried Tomato Quiche: Preparation and Serving Guide
Delicious Savory Sun-Dried Tomato Quiche: Preparation and Serving Guide
 Drinks
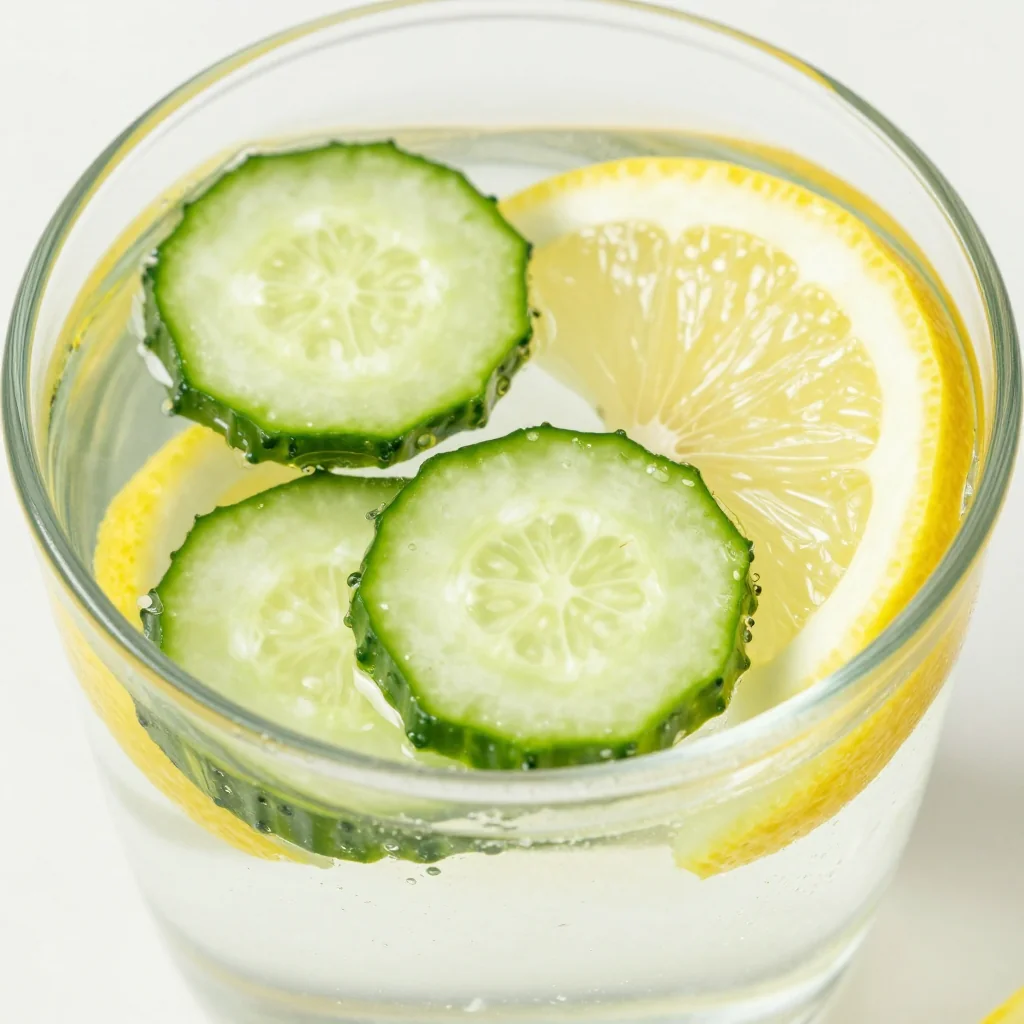
New Year’s Day Reset Water with Cucumber and Lemon
Learn how to make delicious New Year's Day Reset Water with Cucumber and Lemon. Easy recipe…