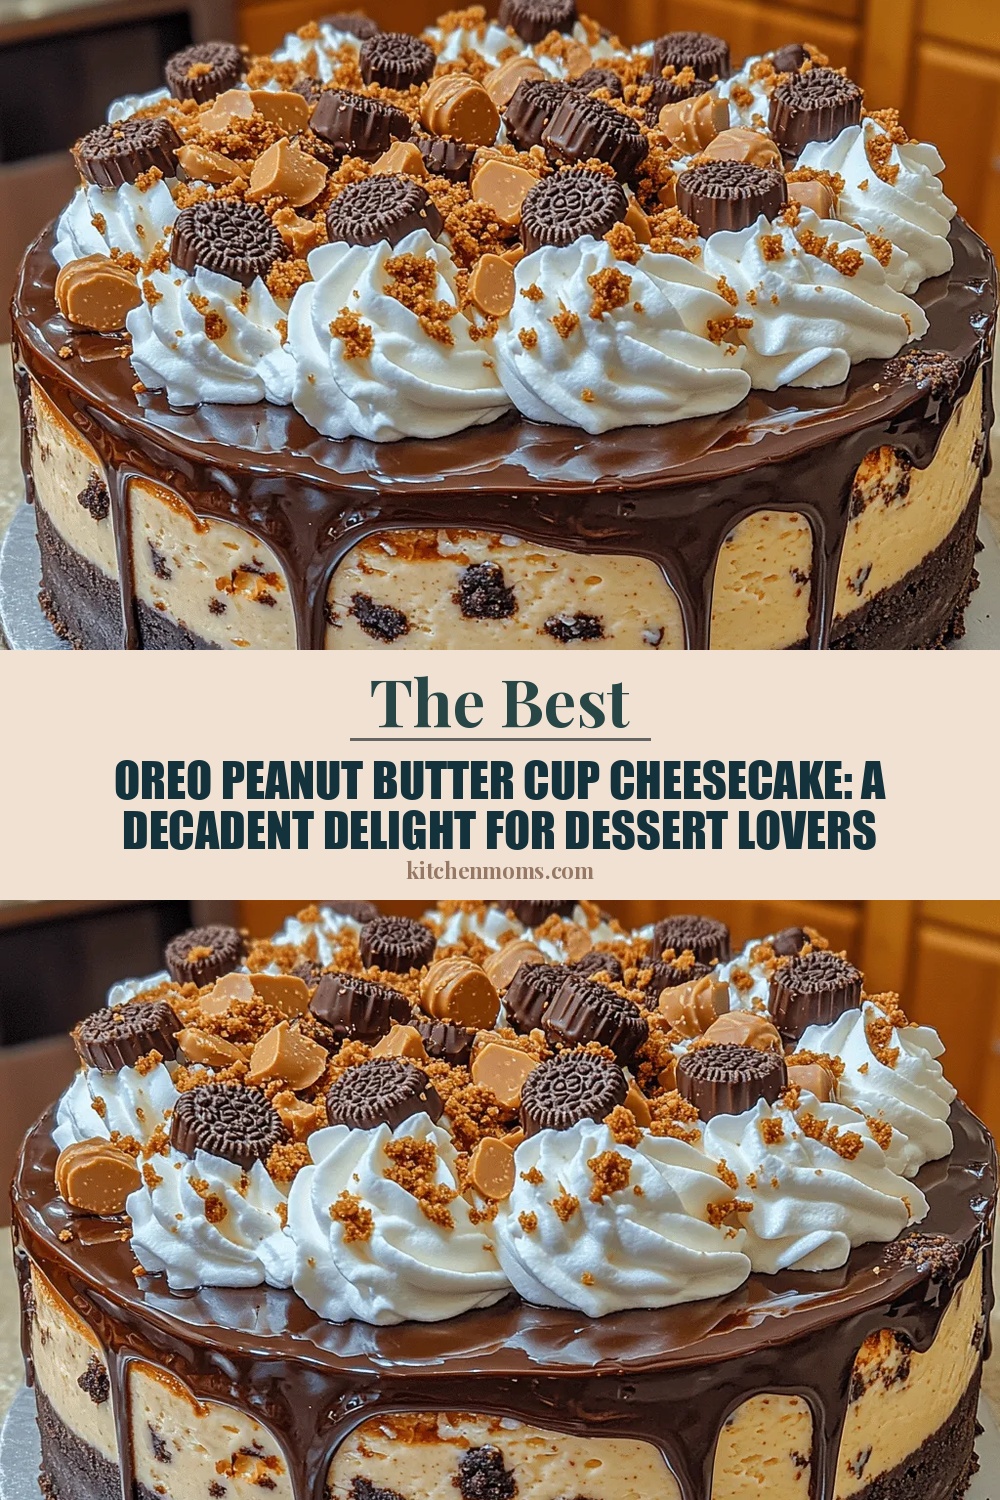
Oreo Peanut Butter Cup Cheesecake: A Decadent Delight for Dessert Lovers
 Save
Save
Imagine the creamy richness of classic cheesecake colliding with the iconic crunch of Oreo cookies, all swirled through a silky peanut‑butter‑cup frosting. This Oreo Peanut Butter Cup Cheesecake turns an ordinary brunch dessert into a show‑stopping centerpiece that feels both nostalgic and indulgent.
What makes it truly special is the layered texture: a buttery Oreo crust, a velvety cheesecake base infused with melted chocolate, and a glossy peanut‑butter‑cup topping that adds salty‑sweet contrast. Each bite delivers a symphony of flavors that dance across the palate.
Breakfast lovers, brunch hosts, and anyone with a sweet tooth will adore this dessert. It shines at weekend brunches, holiday morning feasts, or any occasion where you want to wow guests without spending hours in the kitchen.
The process is straightforward: crush cookies for the crust, blend a classic cheesecake filling, bake gently, then finish with a luscious peanut‑butter‑cup glaze. A brief cooling period lets the layers set perfectly before slicing.
Why You'll Love This Recipe
Decadent Layers: The combination of crunchy crust, smooth filling, and glossy topping creates a multi‑textured experience that feels luxurious yet approachable.
Simple Technique: All components use familiar baking methods—no special equipment required—so even beginner bakers can achieve professional results.
Brunch‑Ready: Its sweet‑savory balance pairs beautifully with coffee, mimosas, or fresh fruit, making it the perfect centerpiece for a relaxed morning gathering.
Make‑Ahead Friendly: The cheesecake can be prepared a day ahead, allowing flavors to meld and freeing up time for other brunch preparations.
Tips & Tricks
Perfecting the Recipe
Room‑Temp Ingredients: Ensure cream cheese, eggs, and sour cream are at room temperature to avoid a lumpy filling and promote even baking.
Water Bath Seal: Wrap the bottom of the springform pan in foil before placing it in the water bath to prevent leaks that could water down the crust.
Gentle Mixing: When adding eggs, mix on low speed just until incorporated; over‑mixing introduces air that can cause cracks during cooling.
Chill Thoroughly: A full night in the fridge yields a firmer slice and more defined layers, especially important for brunch service.
Flavor Enhancements
Add a splash of espresso to the filling for a subtle coffee note that deepens the chocolate flavor. Swirl in a tablespoon of caramel sauce before baking for ribboned caramel streaks. Top the glaze with a few crushed peanut‑butter cups for extra crunch and visual flair.
Common Mistakes to Avoid
Never skip the water bath; without it, the cheesecake can bake too quickly, leading to cracks. Avoid opening the oven door during the first 30 minutes, as temperature fluctuations cause uneven rising. Also, don’t over‑bake—remember the center should still jiggle slightly.
Pro Tips
Use a Silicone Spatula: It scrapes every last bit of batter from the bowl, ensuring a consistent flavor throughout.
Heat‑Resistant Knife for Slicing: Dip the blade in hot water, wipe dry, and slice; this yields clean, elegant cuts without crumbling.
Finish with a Salt Sprinkle: A light dusting of flaky sea salt just before serving amplifies the sweet‑salty dynamic.
Store in the Springform Ring: Keeping the cake in its ring while refrigerating protects the delicate crust from absorbing fridge odors.
Variations
Ingredient Swaps
Replace Oreo crumbs with chocolate graham‑cracker crumbs for a slightly lighter crust. Swap semi‑sweet chocolate chips for white chocolate if you prefer a sweeter, buttery flavor. For a nut‑free version, use sunflower seed butter in place of peanut butter while keeping the same cream ratio.
Dietary Adjustments
Use a gluten‑free cookie blend certified gluten‑free for the crust. Substitute regular cream cheese with a plant‑based alternative (e.g., almond‑based cream cheese) and coconut cream for the sour cream component to make the cheesecake dairy‑free. For a low‑sugar version, replace granulated sugar with erythritol or monk fruit blend.
Serving Suggestions
Serve slices with fresh berries or a drizzle of raspberry coulis for a pop of acidity. Pair with a chilled glass of vanilla‑infused cold brew or a classic mimosa for brunch. For a festive touch, garnish each plate with a mini peanut‑butter cup on a decorative pick.
Storage Info
Leftover Storage
Allow any remaining cheesecake to cool completely, then cover the springform pan tightly with plastic wrap or transfer slices to an airtight container. Store in the refrigerator for up to 4 days. For longer preservation, freeze individual portions wrapped in parchment and then sealed in a freezer bag; they keep well for up to 3 months.
Reheating Instructions
To enjoy a warm slice, preheat the oven to 300°F (150°C), place the cheesecake on a baking sheet, and cover loosely with foil. Heat for 10‑12 minutes until just warmed through; this revives the creamy texture without drying the crust. Microwaving is not recommended as it can make the filling rubbery.
Frequently Asked Questions
Can I make this cheesecake a day ahead?
What if I don’t have a springform pan?
Can I substitute the peanut butter with another nut butter?
How do I prevent cracks on the surface?
This Oreo Peanut Butter Cup Cheesecake brings together the beloved flavors of a classic candy bar with the elegance of a brunch‑worthy dessert. By following the detailed steps, using the tips provided, and customizing to your taste, you’ll create a show‑stopping treat that’s both comforting and exciting. Feel free to experiment with swaps or add‑ons—making it your own is part of the fun. Enjoy every creamy, crunchy, salty‑sweet bite!
Oreo Peanut Butter Cup Cheesecake: A Decadent Delight for Dessert Lovers
Delicious Oreo Peanut Butter Cup Cheesecake: A Decadent Delight for Dessert Lovers
Ingredients
Crust
- 2 ½ cups Oreo cookie crumbs
- ¼ cup unsalted butter, melted
- 2 tablespoons granulated sugar
Filling
- 32 oz (4 packages) cream cheese, softened
- 1 cup granulated sugar
- ½ cup sour cream
- 3 large eggs, room temperature
- ¼ cup unsweetened cocoa powder
- ½ cup semi‑sweet chocolate chips, melted
Peanut Butter Cup Topping
- ½ cup creamy peanut butter
- ¼ cup heavy cream
- ¼ cup dark chocolate chips
- ¼ teaspoon sea salt flakes
Instructions
Assembling & Baking
- Pour the filling. Gently spread the chocolate cheesecake batter over the prepared crust, smoothing the top with a spatula. Tap the pan lightly on the counter to release any trapped air bubbles.
- Water bath. Place the springform pan in a larger roasting pan and fill the outer pan with hot water until it reaches halfway up the sides of the cheesecake. This bain‑marie ensures gentle, even cooking and prevents cracking.
- Bake. Bake for 45–50 minutes, or until the edges are set and the center still has a slight wobble. The residual heat will finish the cooking as it cools.
- Cool. Remove the cheesecake from the water bath and let it cool on a wire rack for 1 hour. Then refrigerate, uncovered, for at least 4 hours or overnight for optimal firmness.
Similar Recipes
 Desserts
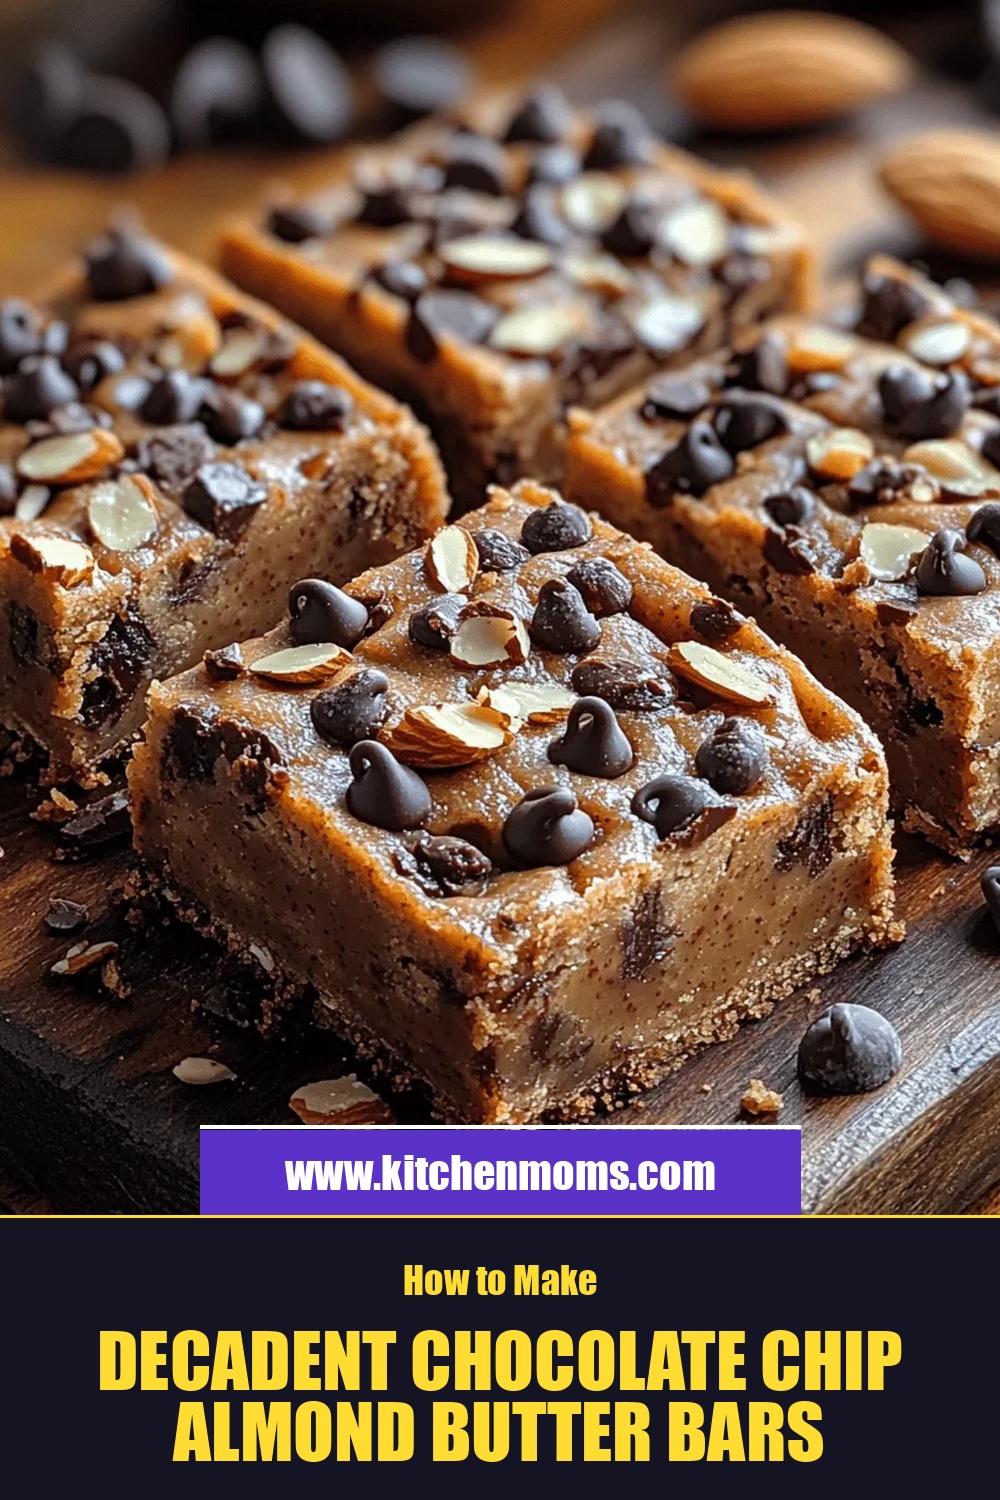
Decadent Chocolate Chip Almond Butter Bars
Delicious Decadent Chocolate Chip Almond Butter Bars
 Desserts
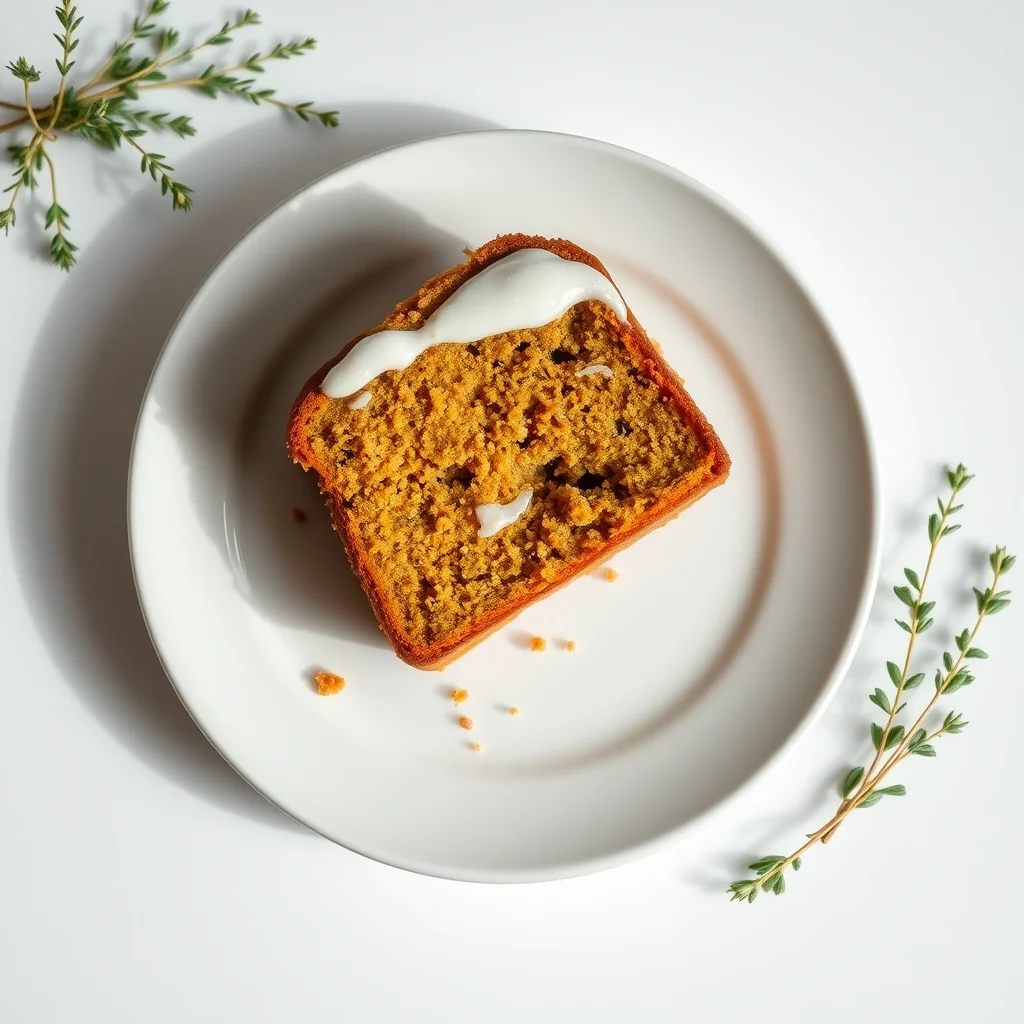
Pumpkin Streusel Pound Cake
Discover the perfect fall treat with our Pumpkin Streusel Pound Cake—a moist, buttery cake topped with…
 Desserts
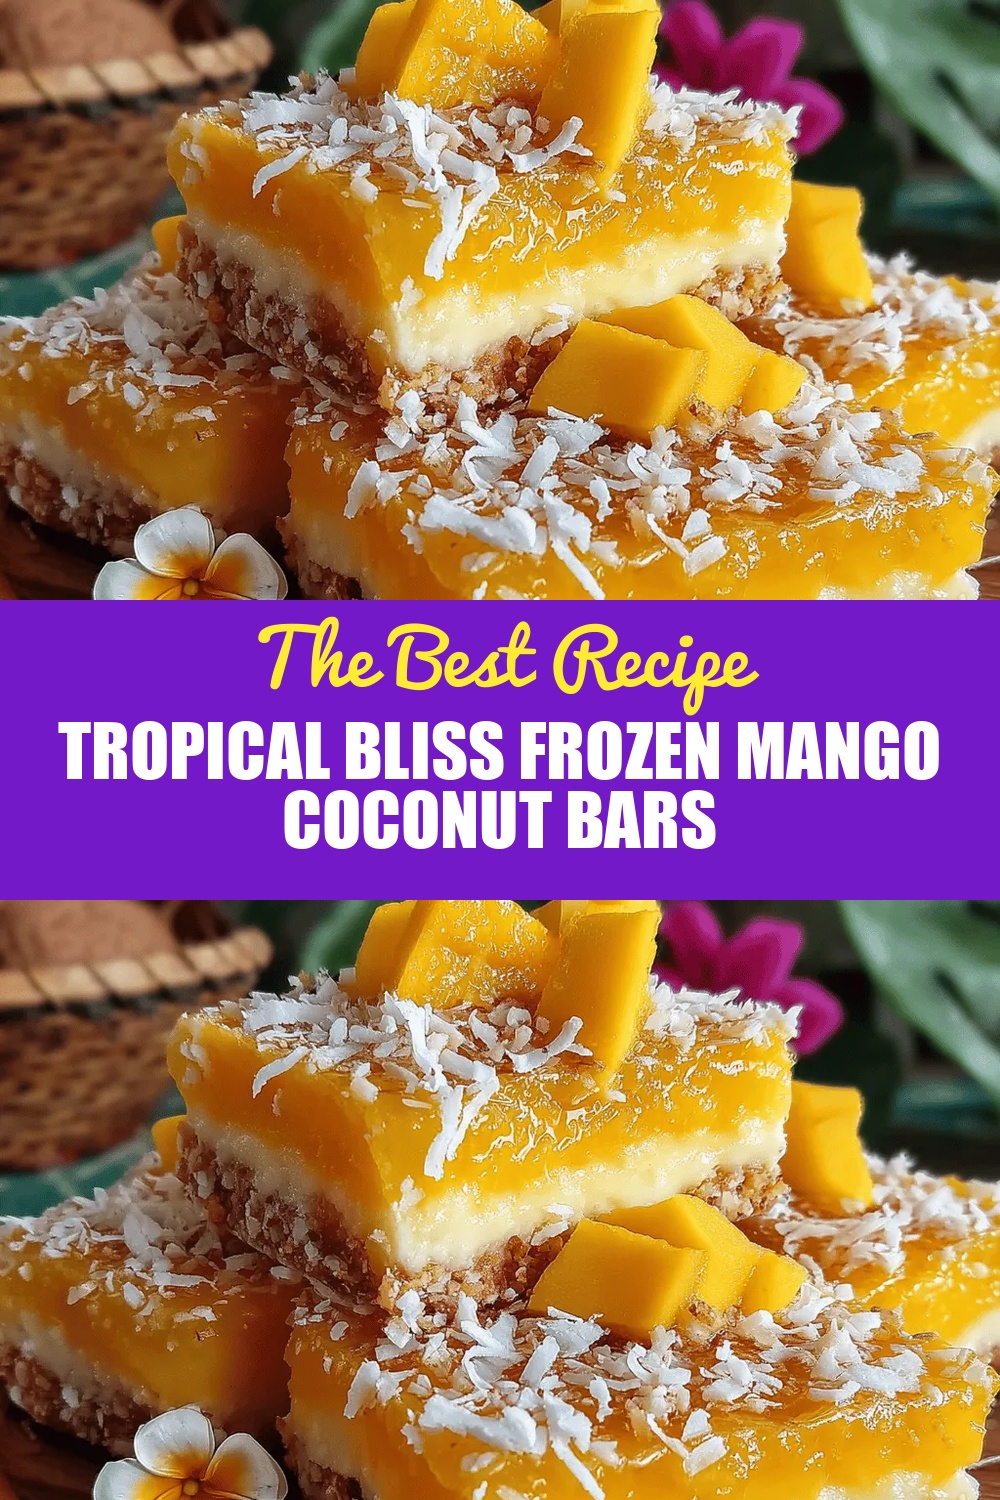
Tropical Bliss Frozen Mango Coconut Bars
Delicious Tropical Bliss Frozen Mango Coconut Bars
 Desserts
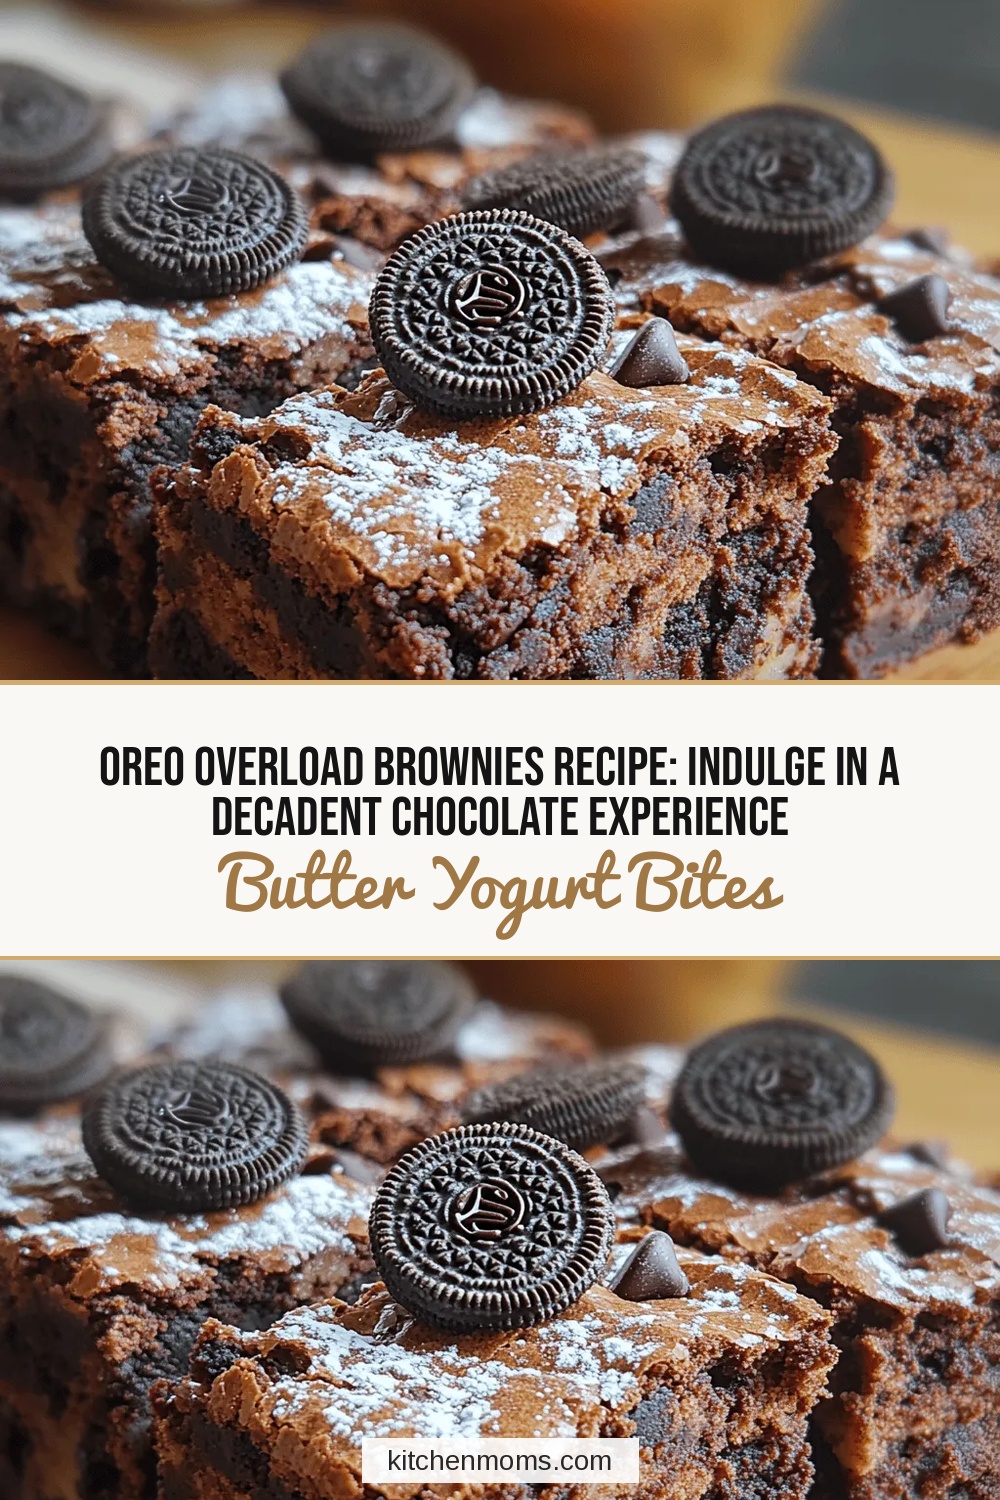
Oreo Overload Brownies Recipe: Indulge in a Decadent Chocolate Experience
Delicious Oreo Overload Brownies Recipe: Indulge in a Decadent Chocolate Experience
 Desserts
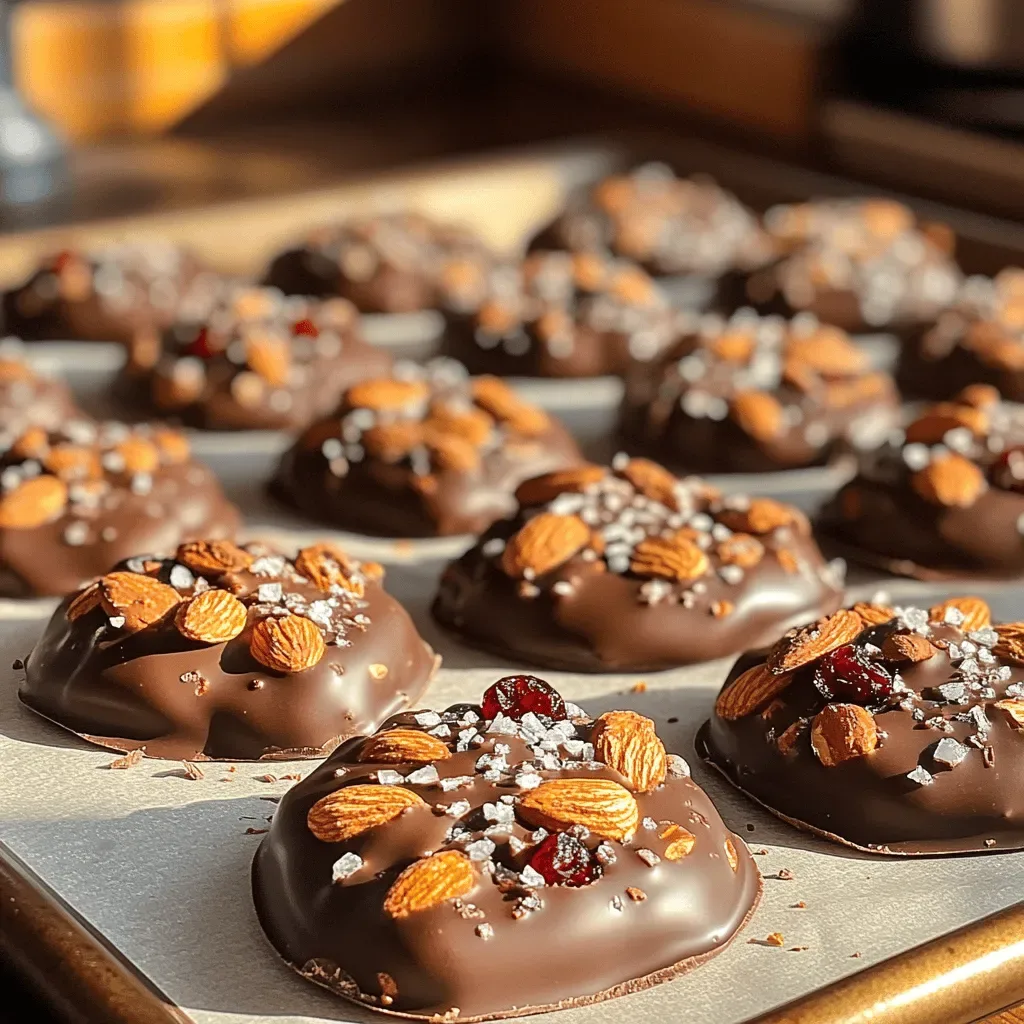
Sweet Chocolate Almond Clusters Recipe: Delve Into the Details
Delicious Sweet Chocolate Almond Clusters Recipe: Delve Into the Details
 Desserts
Nutty Chocolate Bliss Bites: A Deliciously Nutritious Recipe
Delicious Nutty Chocolate Bliss Bites: A Deliciously Nutritious Recipe
 Desserts
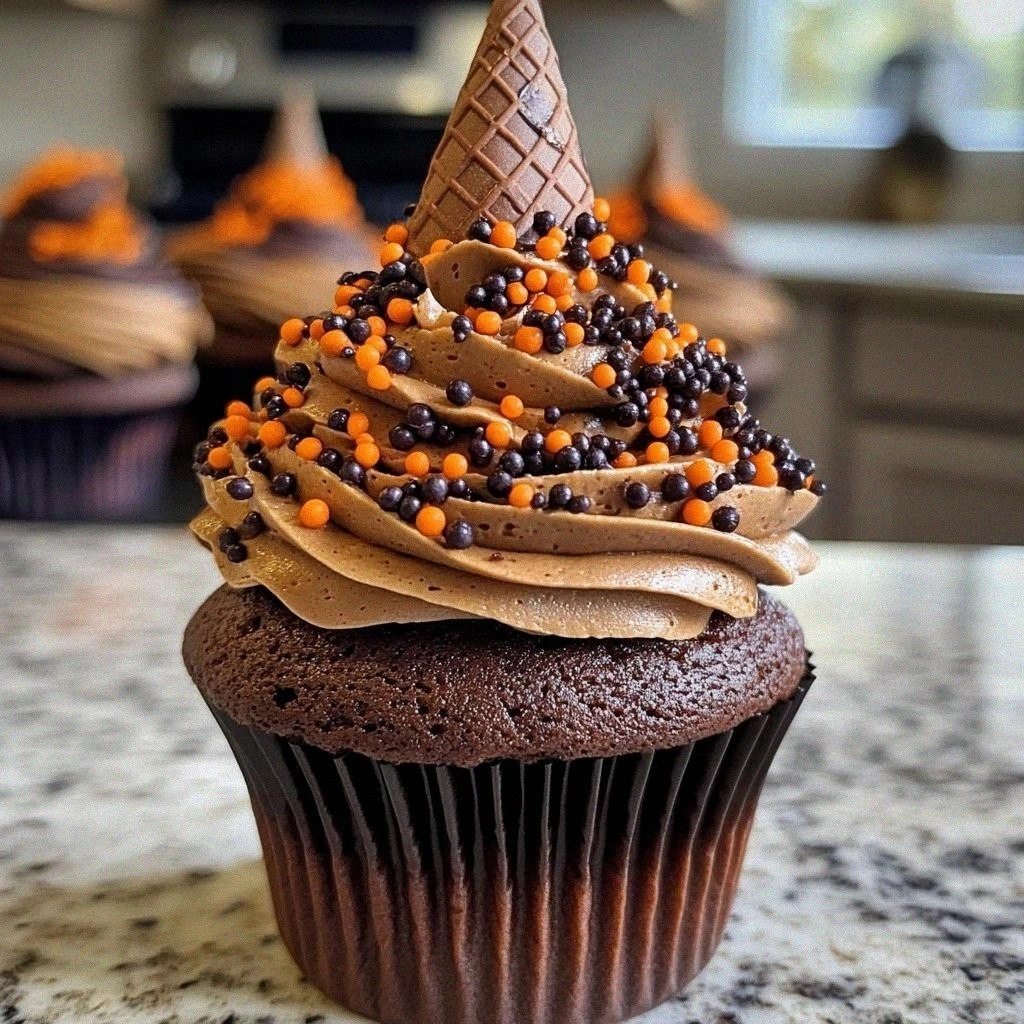
27 Magical Witches Hat Cupcakes That Steal the Show
Learn how to make delicious 27 Magical Witches Hat Cupcakes That Steal the Show. Easy recipe…
 Desserts
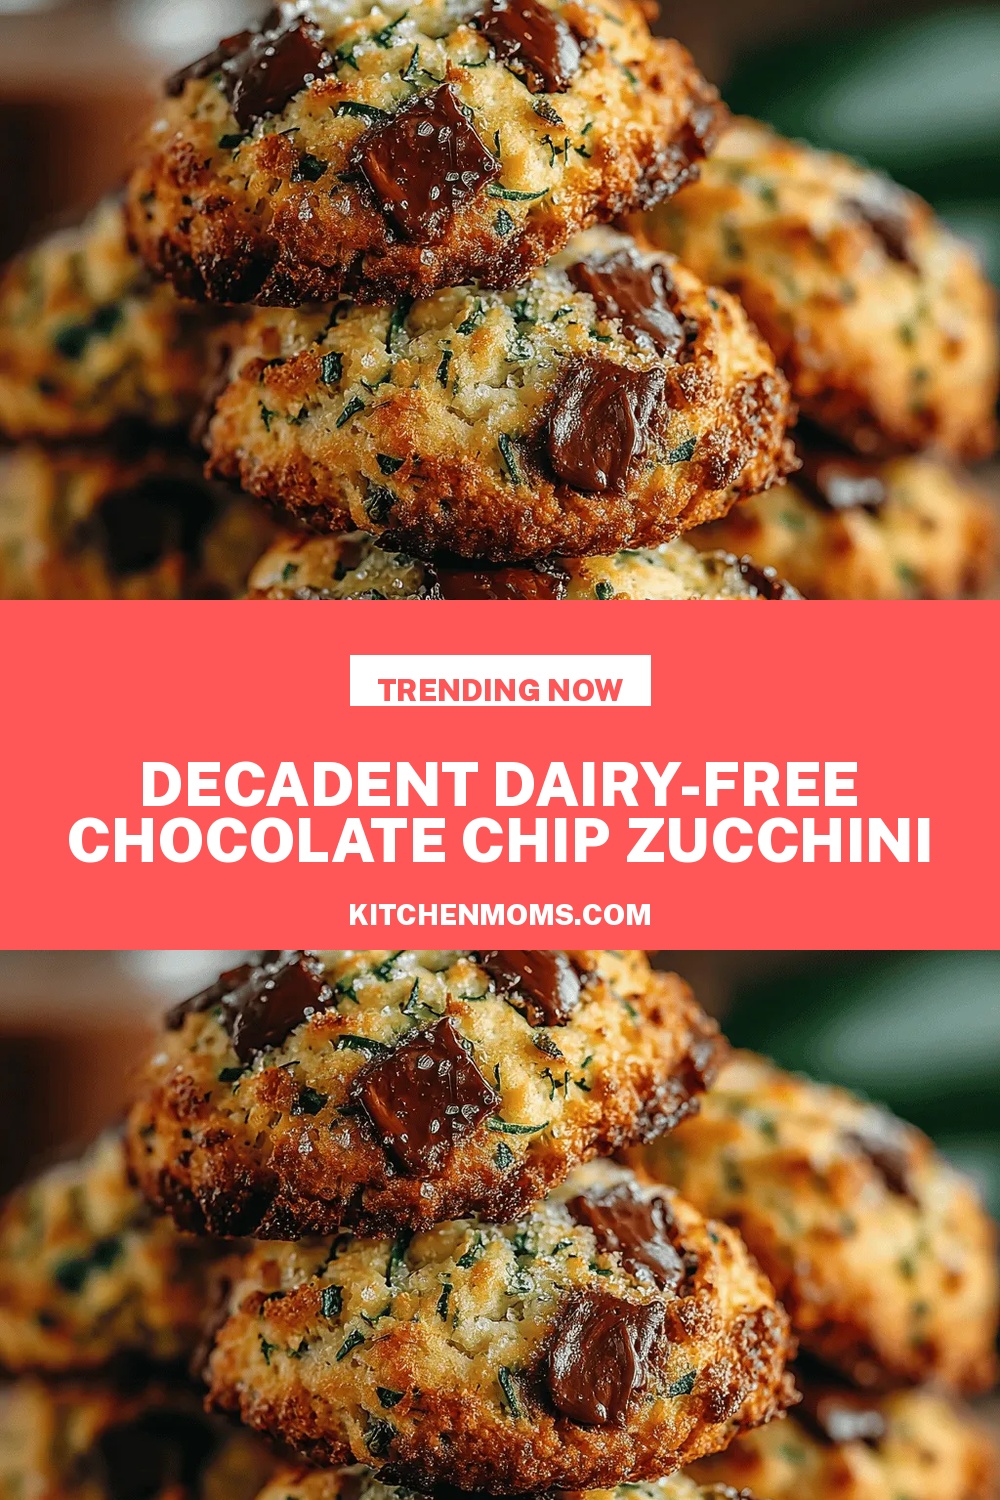
Decadent Dairy-Free Chocolate Chip Zucchini Cookies: A Delicious Alternative
Delicious Decadent Dairy-Free Chocolate Chip Zucchini Cookies: A Delicious Alternative

Lucy
I cook these recipes at home before they ever land here — simple ingredients, clear steps.