Decadent Guilt-Free Chocolate Avocado Truffles: The Process and More
 Save
Save
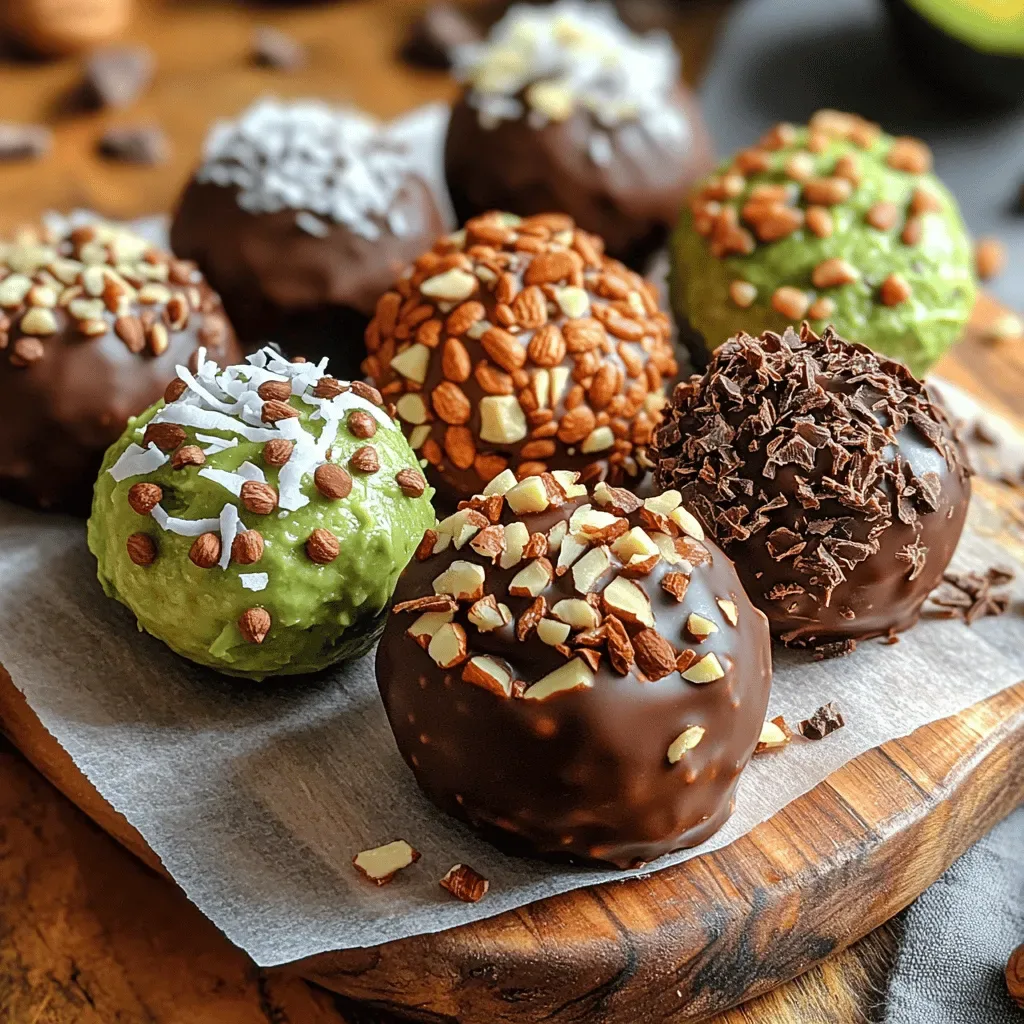
Imagine biting into a silky‑smooth truffle that feels indulgent yet whispers “guilt‑free” with every bite. These Decadent Guilt‑Free Chocolate Avocado Truffles deliver that exact moment—rich cocoa, creamy avocado, and just the right hint of natural sweetness without any refined sugar.
What makes this treat truly special is the way ripe avocado replaces heavy cream, giving the truffles a luscious texture while keeping the calorie count modest. A dash of vanilla and a sprinkle of sea‑salt elevate the flavor profile, turning a simple dessert into a brunch‑worthy showstopper.
Chocolate lovers, health‑conscious brunch hosts, and anyone craving a sweet finish will adore these truffles. Serve them on a pretty platter at a weekend brunch, as a post‑workout snack, or even as a sophisticated after‑dinner bite.
The process is straightforward: blend, chill, roll, and coat. With just a few kitchen tools and a short waiting period, you’ll have a batch of elegant, velvety truffles ready to impress.
Why You'll Love This Recipe
Guilt‑Free Indulgence: Avocado provides buttery richness without the saturated‑fat load of traditional cream, letting you savor chocolate decadence while staying light on calories.
Simple Ingredient List: Only pantry staples—cocoa powder, maple syrup, and a few fresh add‑ins—are needed, so you won’t run to the store for exotic items.
Versatile Presentation: Roll them in cocoa, shredded coconut, or chopped nuts to match any brunch theme, from rustic farmhouse to sleek modern.
Make‑Ahead Friendly: The truffles firm up in the refrigerator, allowing you to prepare them a day ahead and free up morning prep time.
Tips & Tricks
Perfecting the Recipe
Use fully ripe avocados. A ripe avocado yields a silky base; under‑ripe fruit leaves a grainy texture that’s hard to mask.
Chill the mixture thoroughly. Skipping the full hour of refrigeration makes the truffles difficult to roll and can cause them to fall apart.
Keep hands cold. Run your hands under cold water and pat dry before shaping; this prevents the chocolate from melting prematurely.
Don’t over‑mix. Blend just until smooth; excessive processing can introduce air, making the truffles lighter but less dense.
Flavor Enhancements
Add a pinch of espresso powder to intensify chocolate notes, or swirl in a teaspoon of almond butter for a nutty undertone. A splash of orange zest brightens the flavor, while a drizzle of dark‑chocolate ganache adds luxurious richness.
Common Mistakes to Avoid
Avoid using low‑fat cocoa, which can make the mixture dry and crumbly. Also, never substitute maple syrup with a high‑fructose corn syrup; the flavor profile will suffer, and the truffles won’t achieve the same natural sweetness.
Pro Tips
Freeze for a firmer bite. If you prefer a firmer texture, place the finished truffles in the freezer for 10‑15 minutes before serving.
Use a silicone mat. Rolling truffles on a silicone baking mat prevents sticking and makes cleanup a breeze.
Batch‑coat for uniformity. Place your coating material in a zip‑top bag, add a few truffles, and shake gently for even coverage.
Label flavors. If you create multiple coating variations, label each tray with a small toothpick to avoid confusion during service.
Variations
Ingredient Swaps
Swap the avocado for a cup of silken tofu for an even lighter texture, or replace maple syrup with agave nectar for a milder sweetness. For a deeper chocolate flavor, use raw cacao nibs in the coating instead of cocoa powder.
Dietary Adjustments
This recipe is naturally gluten‑free and dairy‑free. To make it vegan‑strict, ensure the maple syrup is 100 % pure. For keto enthusiasts, replace the maple syrup with a keto‑friendly monk fruit blend and increase the cocoa percentage slightly.
Serving Suggestions
Pair the truffles with a cup of freshly brewed espresso for a classic brunch combo, or serve them alongside a fruit platter featuring berries and kiwi. They also make a delightful garnish for a tropical smoothie bowl, adding a surprise burst of chocolate.
Storage Info
Leftover Storage
Transfer any remaining truffles to an airtight container once they have cooled. Store in the refrigerator for up to four days. For longer keeping, arrange them in a single layer on a freezer‑safe tray, freeze solid, then move to a zip‑top bag for up to three months.
Reheating Instructions
To enjoy a truffle at room temperature, let it sit on the counter for 10‑15 minutes. For a warm treat, place a few in a preheated 300 °F oven for 5‑7 minutes, or microwave on low power for 10‑15 seconds, adding a drizzle of extra maple syrup if desired.
Frequently Asked Questions
Can I make these truffles ahead of time?
What if I don’t have ripe avocados?
Can I use a different sweetener?
How do I keep the coating from falling off?
These Decadent Guilt‑Free Chocolate Avocado Truffles prove that indulgence doesn’t have to come at a nutritional cost. By following the detailed steps, using the right ingredients, and applying a few pro tips, you’ll create a brunch‑worthy dessert that’s silky, rich, and surprisingly light. Feel free to experiment with coatings, sweeteners, or add‑ins to make the recipe truly yours. Serve them chilled, share them with friends, and enjoy every velvety bite!
Decadent Guilt-Free Chocolate Avocado Truffles: The Process and More
Delicious Decadent Guilt-Free Chocolate Avocado Truffles: The Process and More
Ingredients
Main Ingredients
- 2 ripe Hass avocados (about 300 g flesh)
- ½ cup unsweetened cocoa powder
- ¼ cup pure maple syrup
Flavor Boosters
- 1 tsp pure vanilla extract
- ¼ tsp fine sea‑salt
Coating Options
- 2 tbsp unsweetened cocoa powder (for rolling)
- 2 tbsp finely shredded coconut
- ¼ cup finely chopped toasted almonds
Instructions
Chilling the Mixture
- Transfer to a bowl. Spoon the blended mixture into a shallow glass or silicone bowl, spreading it into an even layer. This uniform thickness helps the mixture set evenly.
- Cover and refrigerate. Place a piece of plastic wrap directly on the surface to prevent a skin from forming, then chill for 45‑60 minutes at 4 °C (39 °F). The mixture should become firm enough to handle without sticking.
- Test firmness. Press a small spoonful against the side of the bowl; if it holds its shape without melting, it’s ready for rolling.
Coating & Finishing
- Prepare coating stations. Place each coating option (cocoa, coconut, almonds) in separate shallow dishes. This allows you to dip each truffle into your preferred texture.
- Roll and coat. Gently roll each truffle in the chosen coating, pressing lightly to ensure adhesion. For a double‑coated look, dip first in cocoa, then in coconut or nuts.
- Final chill. Arrange the finished truffles on a parchment‑lined tray and refrigerate for another 20‑30 minutes. This firming step locks in shape and flavor before serving.
Similar Recipes
 Desserts
Dreamy White Chocolate Mousse: A Decadent Dessert Experience
Delicious Dreamy White Chocolate Mousse: A Decadent Dessert Experience
 Desserts
Pumpkin Pie Sticky Bars
Discover the perfect pumpkin pie sticky bars – moist, spiced, and topped with a caramel glaze.…
 Desserts
No-Bake Energy Boost Bites Recipe
Delicious No-Bake Energy Boost Bites Recipe
 Desserts
Irresistible German Chocolate Pie
Learn how to make delicious Irresistible German Chocolate Pie. Easy recipe with step-by-step instructions.
 Desserts
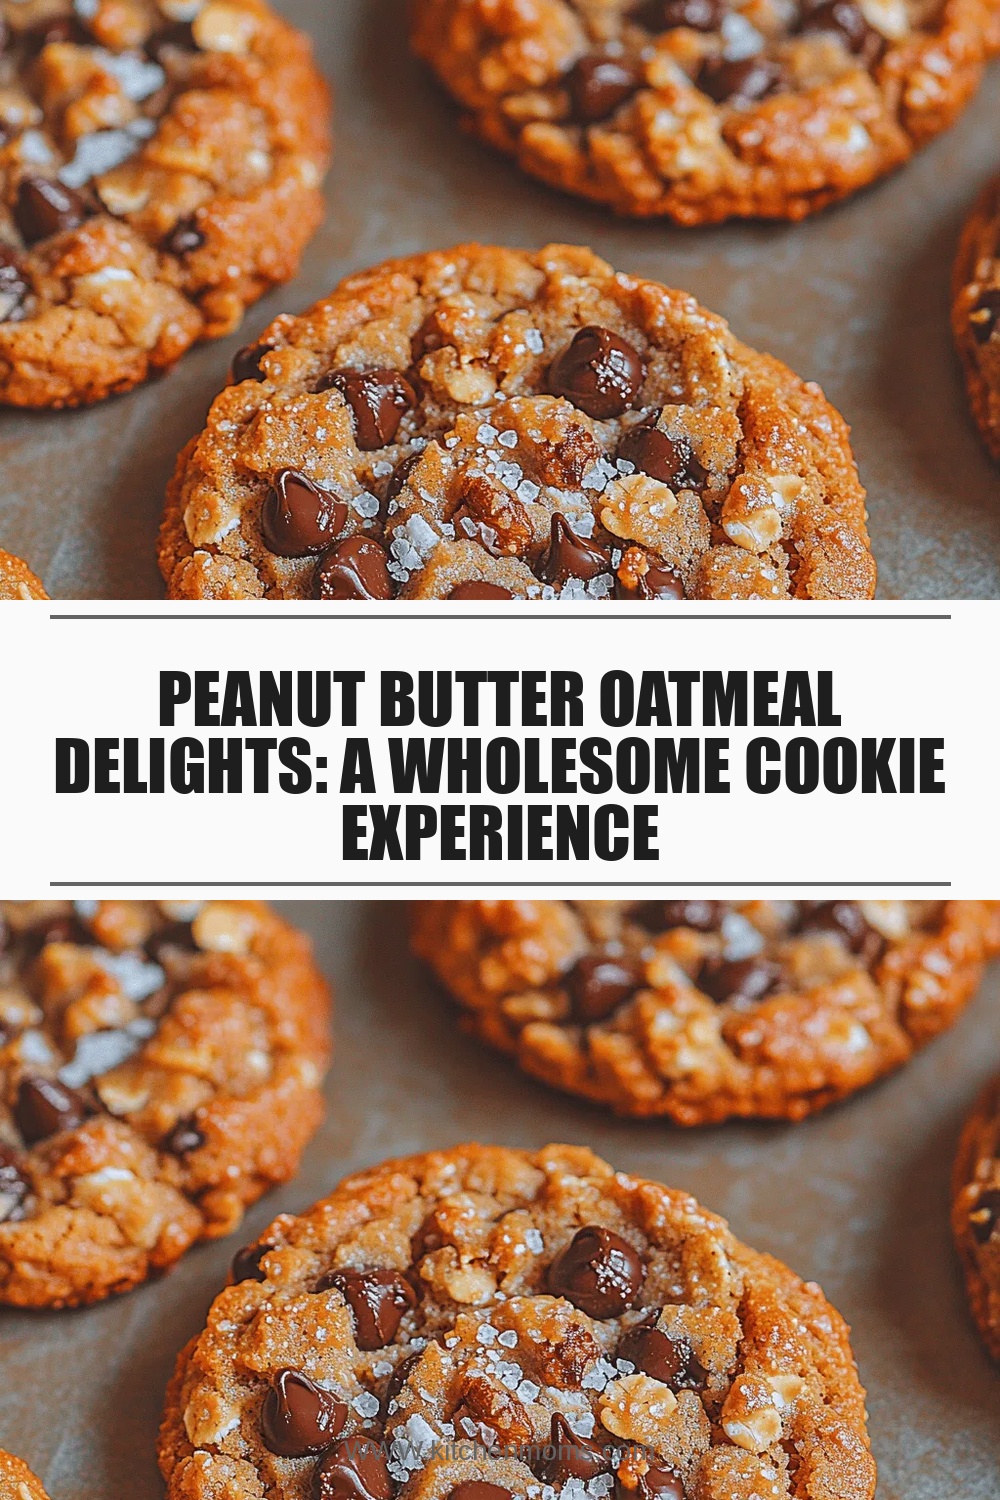
Peanut Butter Oatmeal Delights: A Wholesome Cookie Experience
Delicious Peanut Butter Oatmeal Delights: A Wholesome Cookie Experience
 Desserts
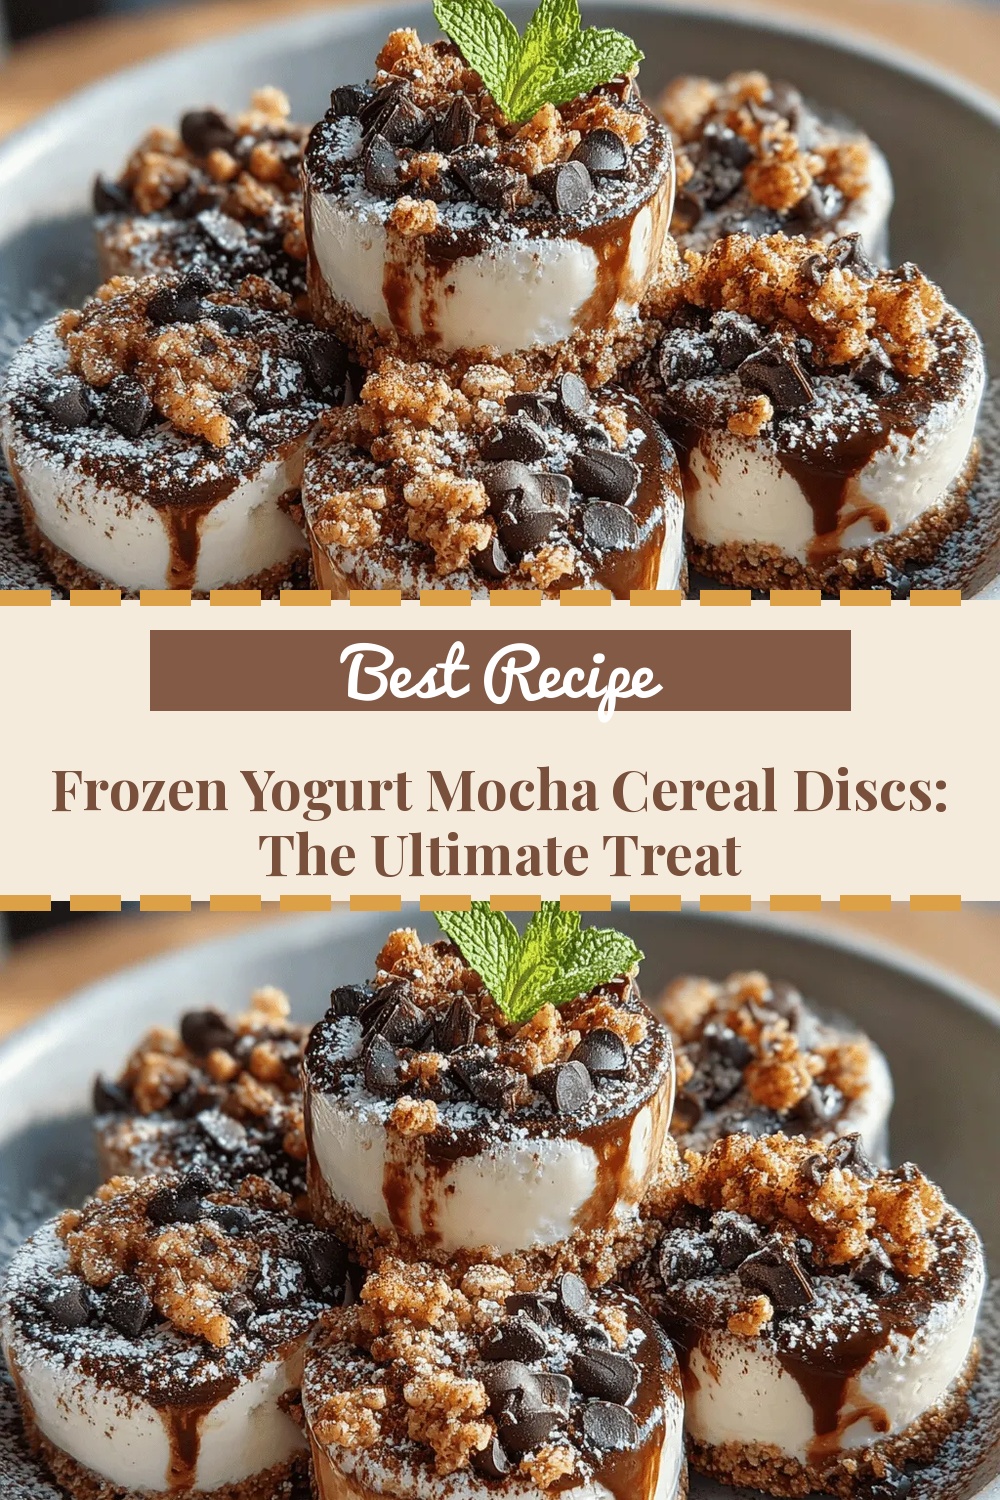
Frozen Yogurt Mocha Cereal Discs: The Ultimate Treat
Delicious Frozen Yogurt Mocha Cereal Discs: The Ultimate Treat
 Desserts
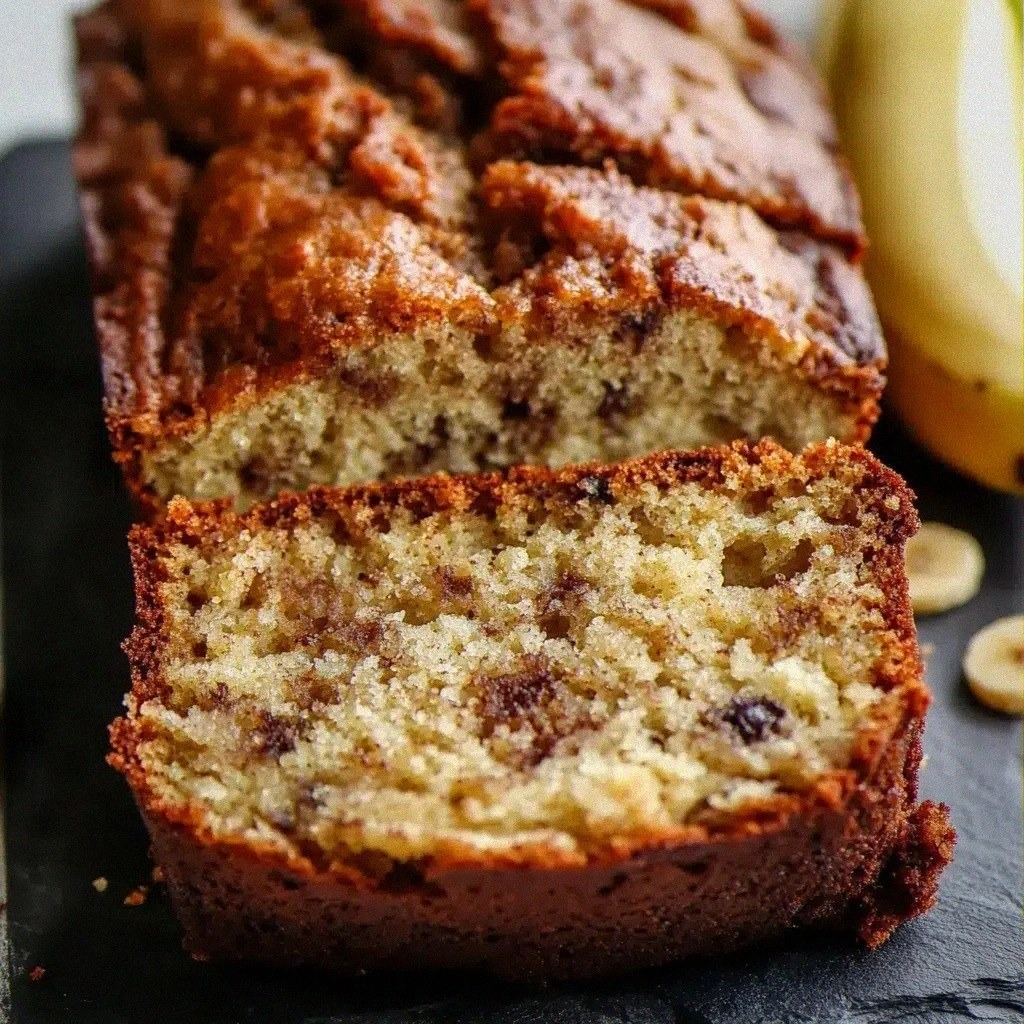
Sugar Free Banana Bread: An Amazing Ultimate Recipe
Learn how to make delicious Sugar Free Banana Bread: An Amazing Ultimate Recipe. Easy recipe with…
 Desserts
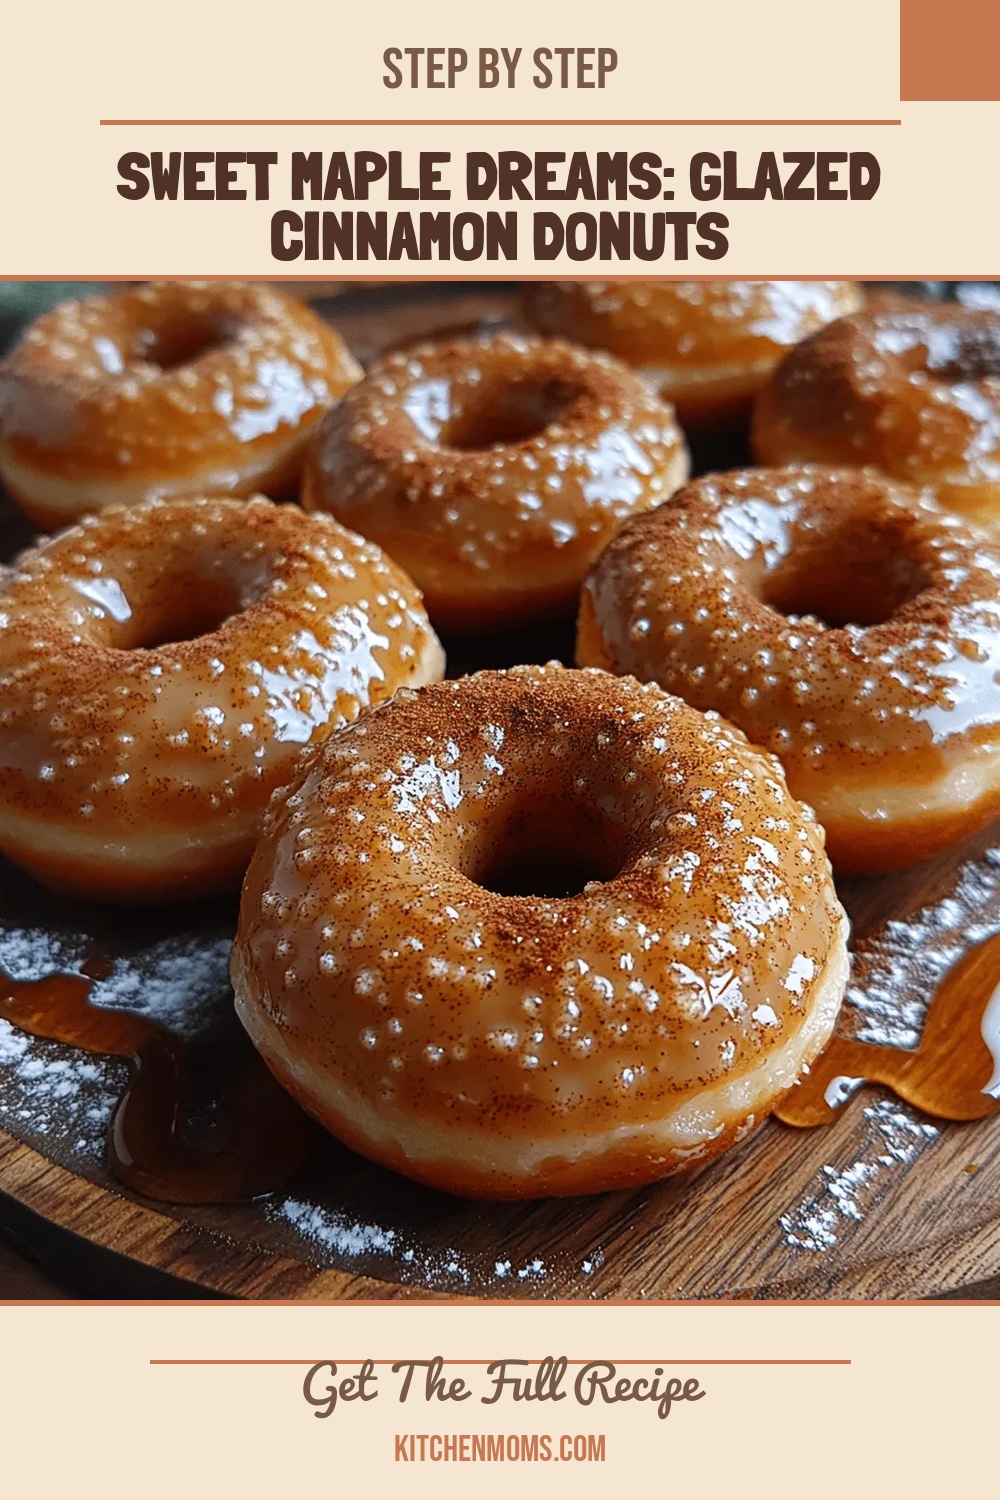
Sweet Maple Dreams: Glazed Cinnamon Donuts
Delicious Sweet Maple Dreams: Glazed Cinnamon Donuts

Lucy
I cook these recipes at home before they ever land here — simple ingredients, clear steps.