Cheesy Delight Mac & Crunch
 Save
Save
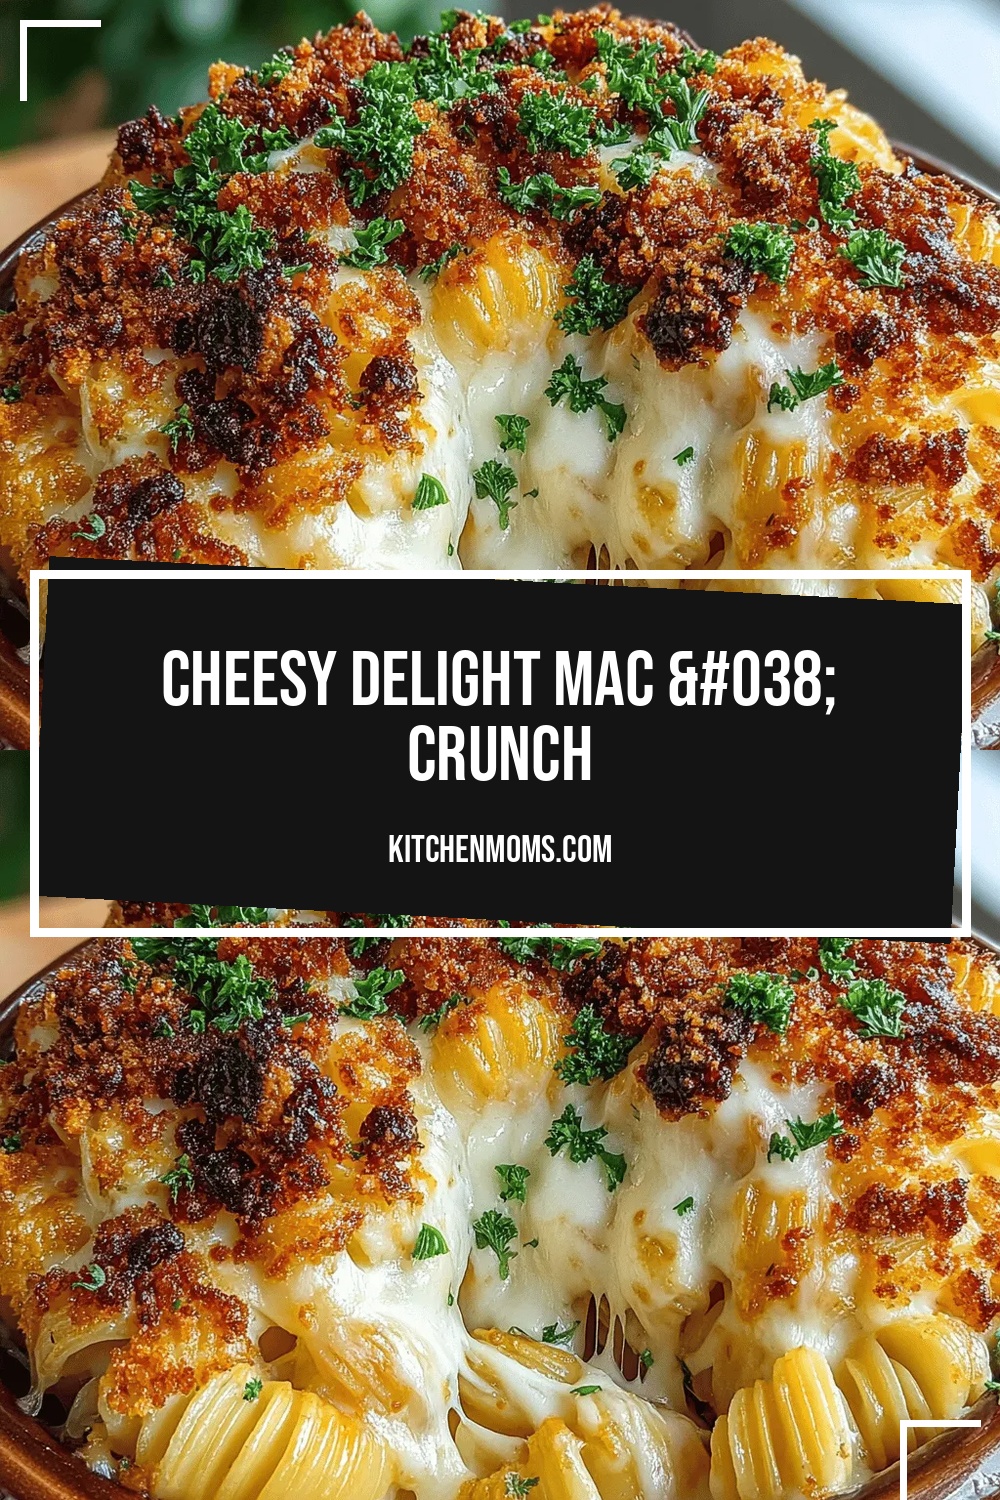
Imagine a bowl of perfectly al dente macaroni swirled in a velvety cheese sauce, then crowned with a golden, crunchy topping that shatters with every bite. That contrast of silky and crisp makes Cheesy Delight Mac & Crunch an instant crowd‑pleaser.
What sets this dish apart is the layered flavor profile: sharp cheddar, creamy mozzarella, and a whisper of smoked paprika mingle with a buttery breadcrumb crust infused with garlic and Parmesan. The result is comfort food elevated to gourmet status.
This recipe shines at family dinners, weekend potlucks, or even a cozy night in. Kids adore the cheesy pull, while adults appreciate the sophisticated crunch and subtle spice notes.
The cooking process is straightforward: boil the pasta, craft a silky cheese sauce, toss everything together, sprinkle the crunchy topping, then bake until bubbling and golden. In under an hour you’ll have a dish that looks as impressive as it tastes.
Why You'll Love This Recipe
Ultimate Comfort: The creamy cheese sauce delivers that nostalgic, comforting feeling while the crunchy topping adds an unexpected textural surprise that keeps the dish exciting.
One‑Pan Simplicity: All components are prepared in just two pans, meaning minimal cleanup and more time enjoying the meal with family and friends.
Customizable Layers: Swap cheeses, adjust spices, or add extra veggies—each variation still delivers the signature cheesy‑crunch experience you love.
Balanced Nutrition: Whole‑grain pasta, a modest amount of dairy, and a sprinkle of herbs provide protein, fiber, and essential micronutrients without sacrificing indulgence.
Tips & Tricks
Perfecting the Recipe
Al Dente Pasta. Cook the macaroni just shy of full doneness; it will finish cooking in the oven, preventing a mushy texture.
Even Breadcrumb Distribution. Toss the panko with melted butter before sprinkling; this ensures every crumb is coated and browns uniformly.
Room‑Temperature Milk. Using milk that’s not straight from the fridge helps the sauce thicken smoothly without clumping.
Flavor Enhancements
For an extra depth of flavor, stir a splash of dry white wine into the sauce after the roux forms; let it reduce before adding milk. A pinch of mustard powder adds subtle tang, and a drizzle of truffle oil right before serving elevates the dish to restaurant quality.
Common Mistakes to Avoid
Avoid over‑baking; the crust will darken while the interior can dry out. Keep a close eye after the 20‑minute mark. Also, don’t skip the butter in the breadcrumb mix—without it the topping stays soggy instead of crisp.
Pro Tips
Use a Mix of Cheeses. Combining a sharp cheddar with a milder mozzarella gives both bite and melt, creating a balanced flavor profile.
Pre‑Toast Panko. Lightly toast the breadcrumbs in a dry skillet for 2‑3 minutes before mixing with butter; this adds an extra layer of nuttiness.
Finish with a Splash of Lemon. A teaspoon of fresh lemon juice brightens the richness just before serving.
Variations
Ingredient Swaps
Swap elbow macaroni for rotini or cavatappi for a fun shape that holds more sauce. Replace cheddar with Gruyère for a nuttier taste, or add crumbled blue cheese for a bold twist. For the topping, use crushed cornflakes instead of panko for an extra crunchy texture.
Dietary Adjustments
Choose gluten‑free pasta and gluten‑free panko to keep the dish safe for gluten sensitivities. For a dairy‑free version, substitute butter with olive oil, use plant‑based milk, and swap the cheese for a high‑quality vegan cheddar blend. A low‑carb take uses spiralized zucchini in place of pasta.
Serving Suggestions
Pair the casserole with a simple arugula salad dressed in lemon vinaigrette to cut through the richness. Garlic‑roasted broccoli or sautéed green beans add color and crunch. For a heartier meal, serve alongside crusty sourdough bread to mop up any extra sauce.
Storage Info
Leftover Storage
Allow the casserole to cool completely, then transfer to an airtight container. It will keep in the refrigerator for 3‑4 days. For longer preservation, portion into freezer‑safe bags, flatten, and freeze up to 3 months. Thaw overnight in the fridge before reheating.
Reheating Instructions
Reheat in a 350°F (175°C) oven, covered with foil, for 15‑20 minutes until warmed through; uncover for the last 5 minutes to restore crunch. In a microwave, stir in a splash of milk, cover, and heat on medium for 2‑3 minutes, stirring halfway.
Frequently Asked Questions
Can I make this recipe ahead of time?
What if I only have half the cheese listed?
How do I keep the topping from getting soggy?
Cheesy Delight Mac & Crunch delivers the perfect balance of creamy indulgence and satisfying crunch, all while staying simple enough for a busy weeknight. With clear steps, handy tips, and plenty of room for personal twists, you’ll feel confident serving a dish that looks and tastes restaurant‑worthy. Experiment with your favorite cheeses or herbs, and make this comforting classic truly your own. Enjoy every bite!
Cheesy Delight Mac & Crunch
Delicious Cheesy Delight Mac & Crunch
Ingredients
Main Ingredients
- 12 ounces elbow macaroni
- 1 cup whole milk
- 1 cup shredded sharp cheddar cheese
- ½ cup shredded mozzarella cheese
Cheese Sauce
- 2 tablespoons unsalted butter
- 2 tablespoons all‑purpose flour
- ¼ teaspoon smoked paprika
Crunch Topping
- ½ cup panko breadcrumbs
- 2 tablespoons melted butter
- ¼ cup grated Parmesan cheese
Seasonings & Garnish
- ½ teaspoon garlic powder
- Salt and freshly ground black pepper, to taste
- 2 tablespoons chopped fresh parsley
Instructions
Assembling & Baking
- Combine Pasta and Sauce. In a large mixing bowl toss the drained macaroni with the cheese sauce, ensuring every piece is evenly coated. This coating is the foundation of flavor throughout the bake.
- Transfer to Baking Dish. Spoon the coated pasta into a greased 9‑inch square baking dish, spreading it into an even layer. A uniform depth promotes consistent browning.
- Prepare Crunch Topping. In a small bowl combine ½ cup panko breadcrumbs, 2 tablespoons melted butter, and ¼ cup grated Parmesan. Mix until the crumbs are glossy and clump together.
- Apply Topping. Sprinkle the breadcrumb mixture evenly over the pasta. Pat gently with the back of a spoon so the topping adheres and will form a solid crust.
- Bake. Place the dish in a preheated oven at 375°F (190°C) and bake for 20‑25 minutes, or until the topping turns golden‑brown and the sauce bubbles at the edges. The heat crisps the crumbs while keeping the interior luxuriously creamy.
Similar Recipes
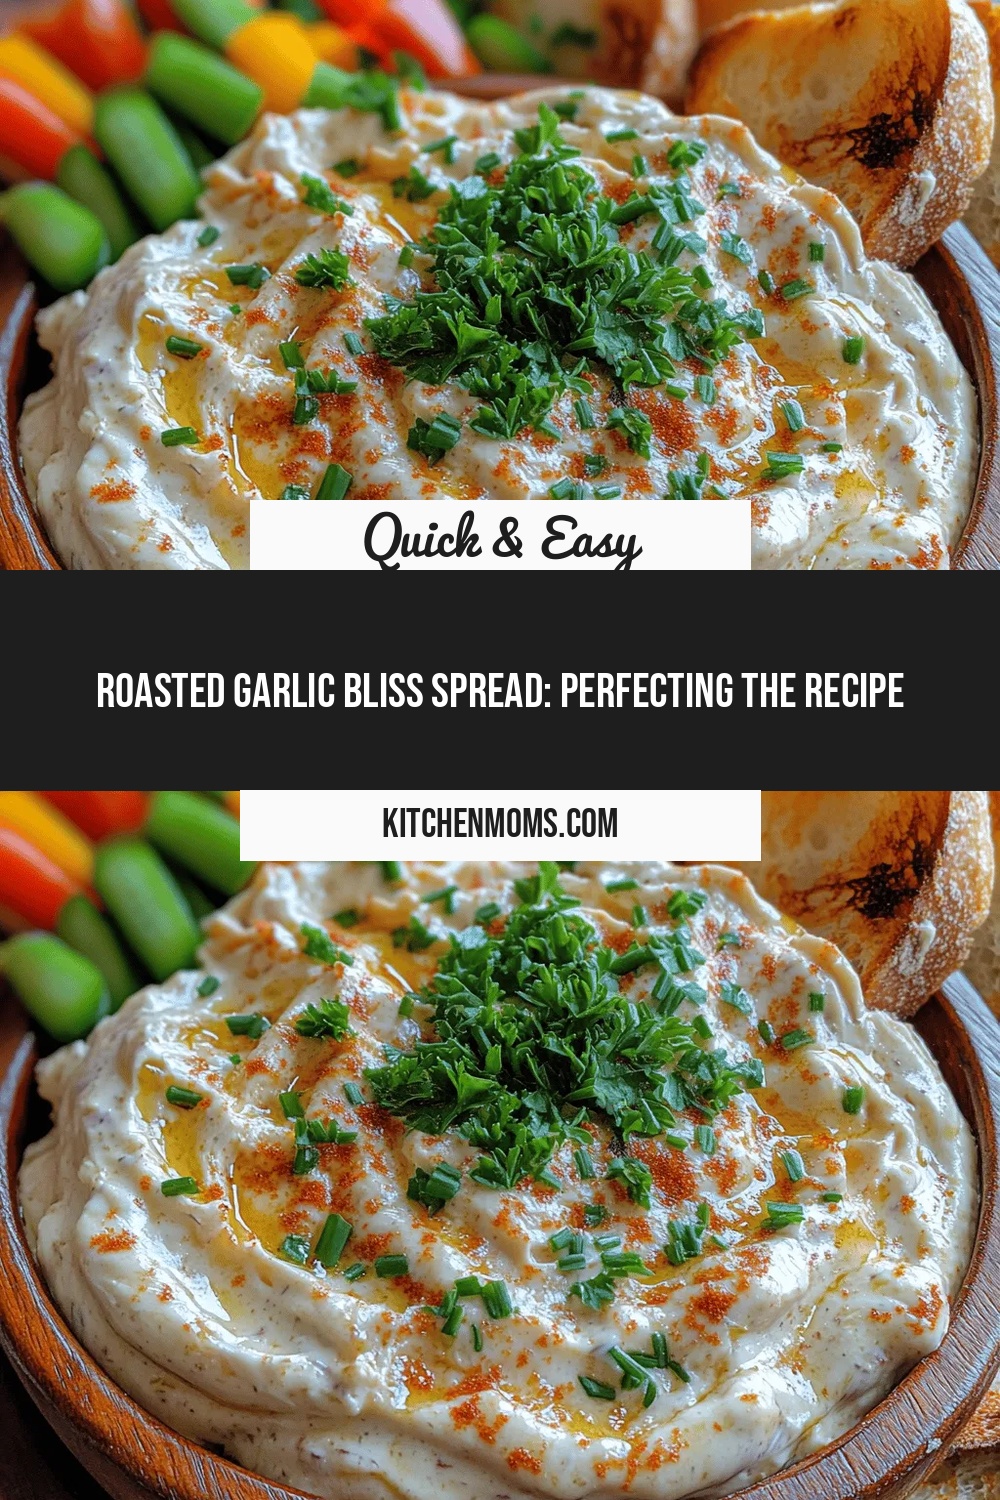 Appetizers
Roasted Garlic Bliss Spread: Perfecting the Recipe
Delicious Roasted Garlic Bliss Spread: Perfecting the Recipe
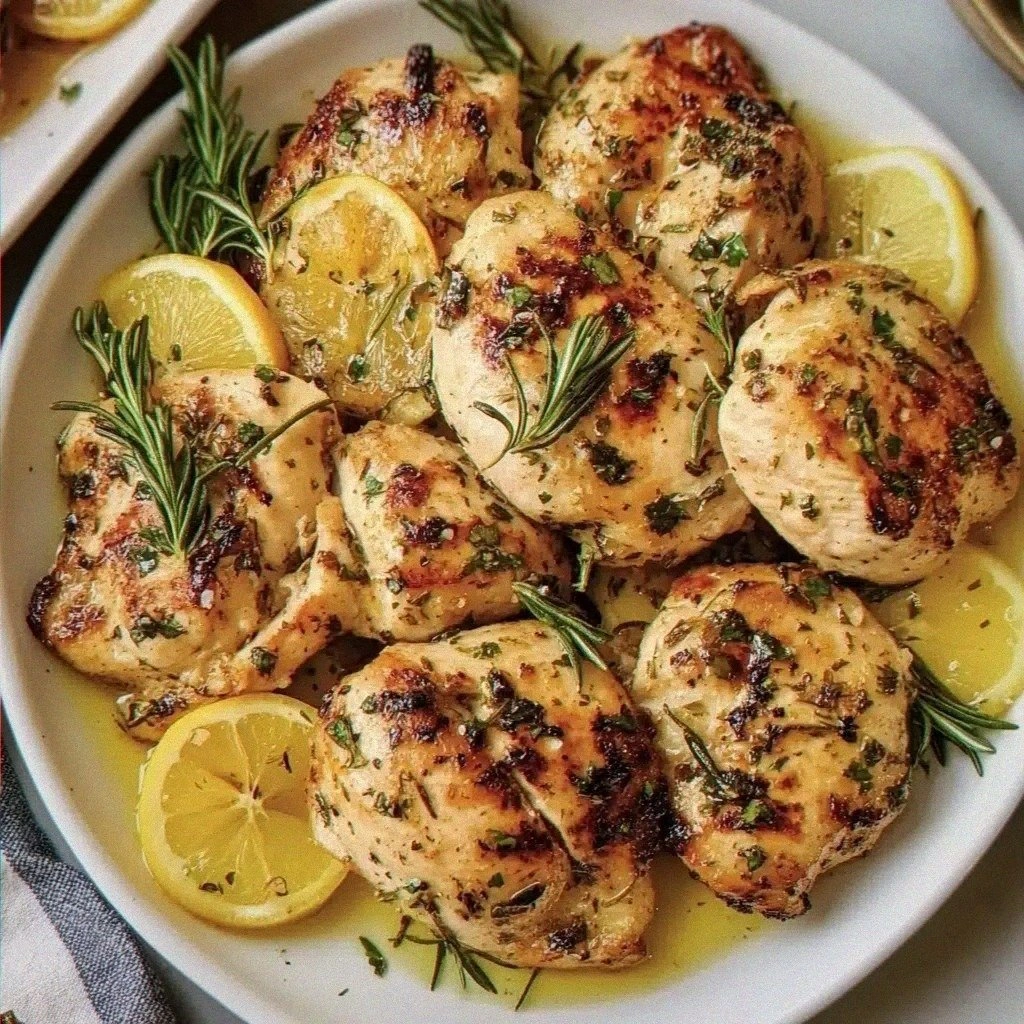 Appetizers
Tuscan Lemon Chicken: An Incredible Ultimate Recipe
Learn how to make delicious Tuscan Lemon Chicken: An Incredible Ultimate Recipe. Easy recipe with step-by-step…
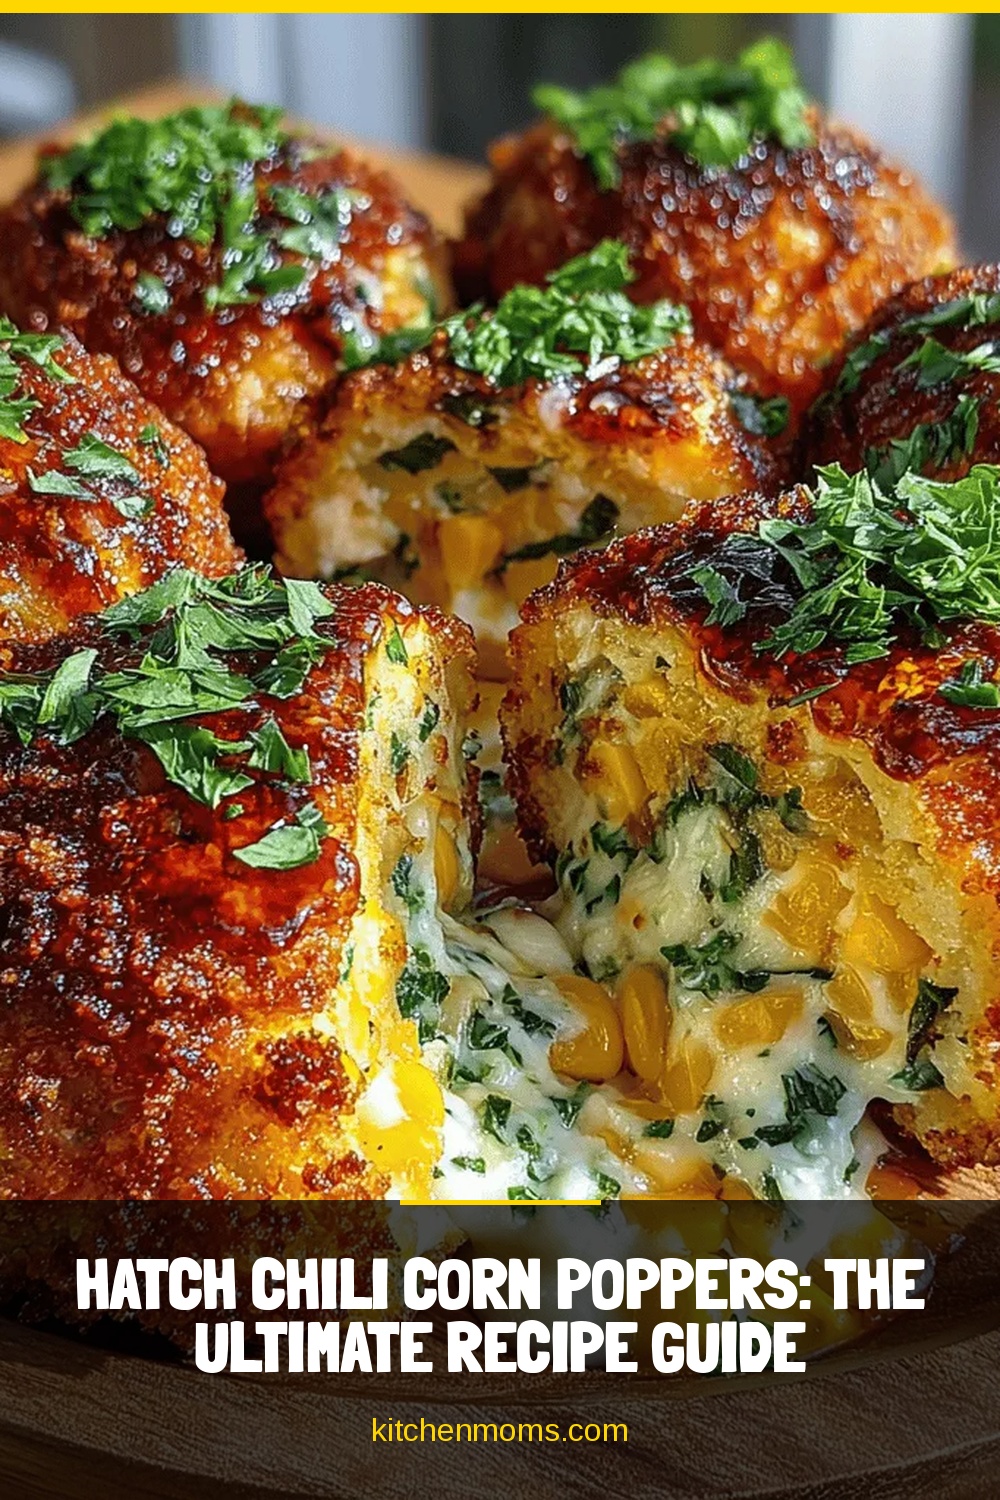 Appetizers
Hatch Chili Corn Poppers: The Ultimate Recipe Guide
Delicious Hatch Chili Corn Poppers: The Ultimate Recipe Guide
 Appetizers
Creamy Crockpot Cheesy Scalloped Potatoes: Tips, Techniques, and Serving Suggestions
Delicious Creamy Crockpot Cheesy Scalloped Potatoes: Tips, Techniques, and Serving Suggestions
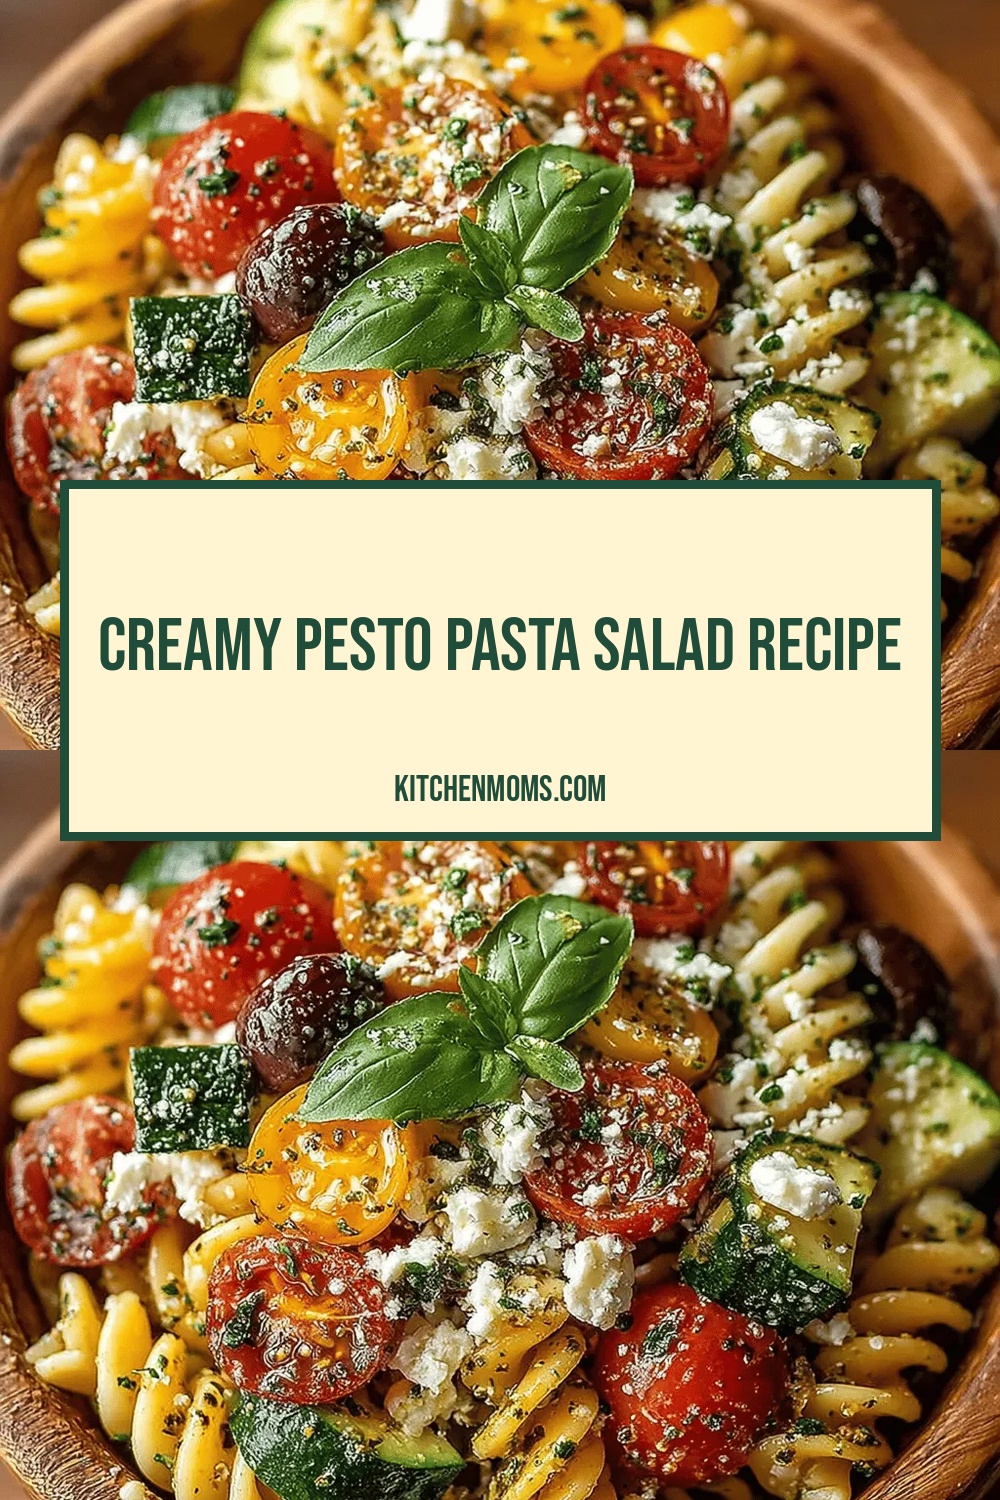 Appetizers
Creamy Pesto Pasta Salad Recipe
Delicious Creamy Pesto Pasta Salad Recipe
 Appetizers
Cool Veggie Cream Cheese Roll-Ups Recipe
Delicious Cool Veggie Cream Cheese Roll-Ups Recipe
 Appetizers
Strawberry Rhubarb Sauce
Learn how to make delicious Strawberry Rhubarb Sauce. Easy recipe with step-by-step instructions.
 Appetizers
Zesty Orzo Salad with Roasted Veggies
Delicious Zesty Orzo Salad with Roasted Veggies

Lucy
I cook these recipes at home before they ever land here — simple ingredients, clear steps.