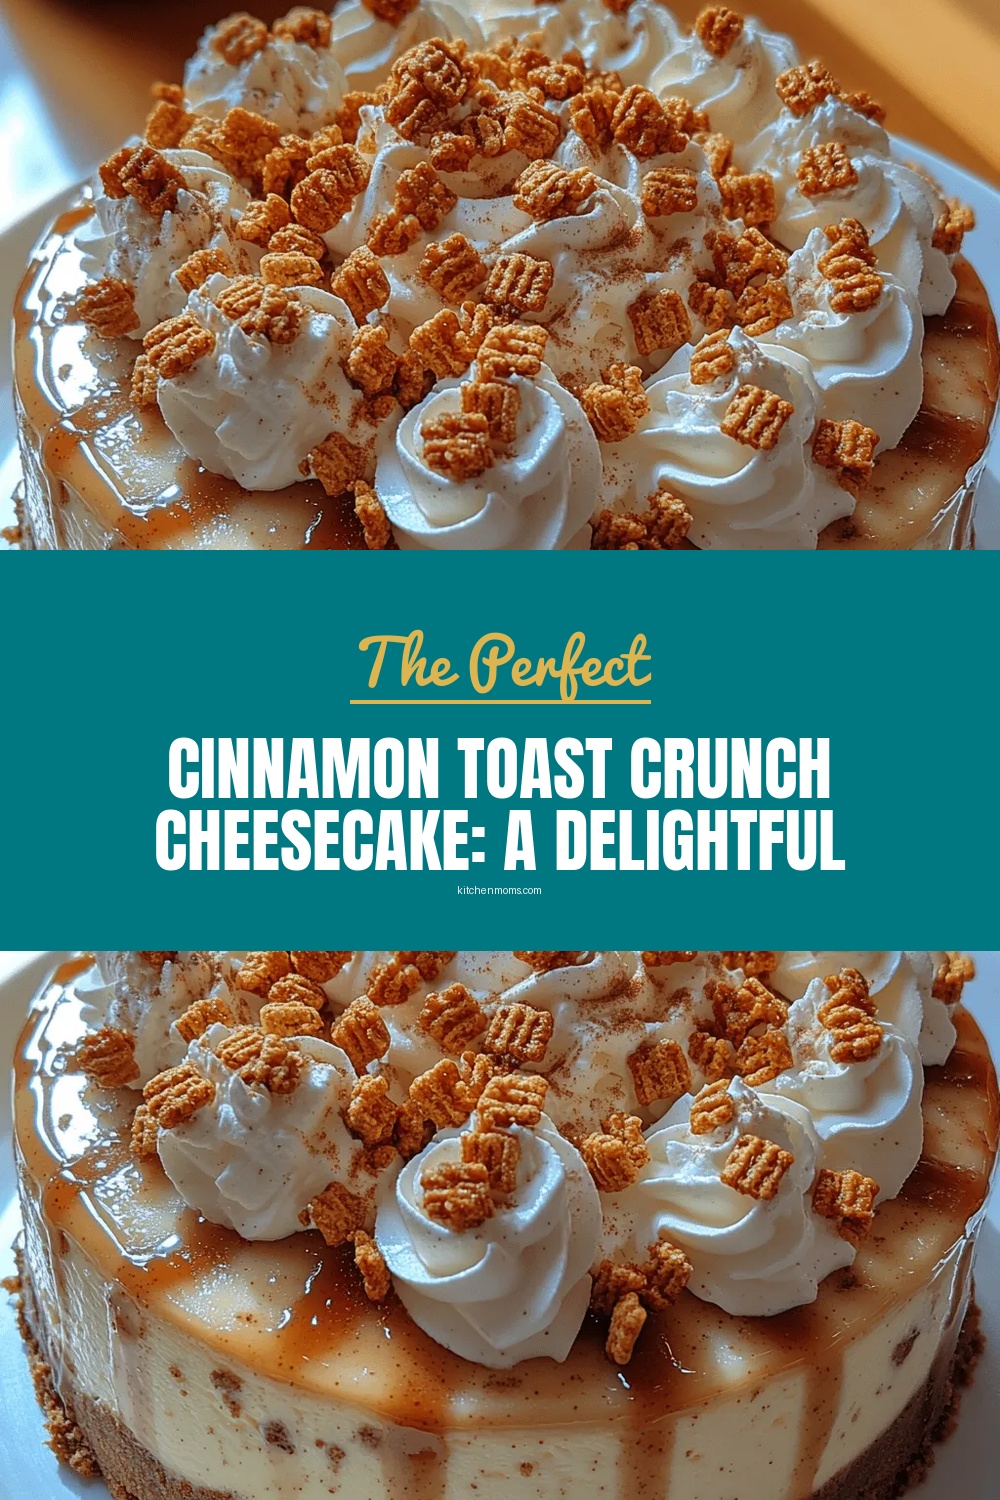
Cinnamon Toast Crunch Cheesecake: A Delightful Dessert Experience
 Save
Save
Imagine the nostalgic crunch of Cinnamon Toast Crunch swirling through a silky cheesecake—each bite delivers that beloved breakfast flavor in a velvety, dessert‑ready form. This whimsical twist takes a classic cereal and elevates it into a show‑stopping centerpiece that’s as fun to make as it is to eat.
What makes this recipe truly special is the perfect balance between the buttery, crumbly crust and the light, cinnamon‑infused cream cheese filling, all crowned with a glossy, caramelized topping that crackles under your fork.
Cinnamon Toast Crunch Cheesecake will win over kids who recognize the cereal, adults craving a nostalgic treat, and anyone looking for a crowd‑pleasing dessert for birthdays, brunches, or holiday gatherings.
The process is straightforward: craft a crunchy crust, whisk together a fluffy filling, bake until set, and finish with a quick broil to achieve that signature sparkle. No fancy equipment required—just a springform pan and a love for playful desserts.
Why You'll Love This Recipe
Nostalgic Flavor Fusion: The familiar cinnamon‑sugar crunch meets creamy cheesecake, creating a comforting yet surprising taste that transports you back to childhood breakfast tables.
Effortless Elegance: Despite its impressive appearance, the recipe requires only basic kitchen tools and a short prep time, making it perfect for both novice bakers and seasoned chefs.
Versatile Presentation: Serve it plain, drizzle with caramel, or garnish with fresh berries—the base is adaptable to countless finishing touches for any occasion.
Make‑Ahead Friendly: This cheesecake sets beautifully in the fridge, allowing you to prepare it a day ahead and focus on other party prep without stress.
Tips & Tricks
Perfecting the Recipe
Room‑Temp Ingredients: Keep cream cheese, eggs, and heavy cream at room temperature before mixing. This prevents a lumpy batter and ensures a silky texture.
Gentle Mixing: Over‑beating incorporates too much air, which can cause cracks. Mix just until ingredients are combined for a smooth, crack‑free surface.
Water‑Bath Seal: Wrap the bottom of the springform pan in foil before placing it in the water bath to prevent water from seeping in.
Cooling Gradually: Let the cheesecake cool slowly in the oven with the door ajar for 15 minutes; sudden temperature changes increase the risk of cracks.
Flavor Enhancements
Add a splash of bourbon or dark rum to the topping for an adult‑friendly depth, or fold in a tablespoon of caramel sauce into the filling before baking. A pinch of sea salt on the final broiled crust heightens the sweet‑and‑spicy balance.
Common Mistakes to Avoid
Skipping the water bath often leads to a dry, cracked top. Also, avoid opening the oven door during the broil stage; the intense heat can burn the topping before it sets. Finally, never over‑bake—the center should still have a slight wobble.
Pro Tips
Use a Silicone Spatula: It scrapes every last bit of batter from the bowl, ensuring consistent flavor throughout the cheesecake.
Warm the Knife: Dip your cutting knife in hot water, wipe dry, and slice. This yields clean, professional‑looking pieces without dragging crumbs.
Chill the Topping: After the broil, let the glaze set for 5 minutes; it will firm up, giving a satisfying snap when you bite.
Store with a Plastic Wrap Layer: Place a sheet of plastic directly on the surface before sealing the container to prevent a dry crust.
Variations
Ingredient Swaps
Replace the cereal crust with crushed graham crackers for a classic cheesecake base, or use chocolate‑covered Cinnamon Toast Crunch for a richer, cocoa‑infused twist. For the filling, swap half of the cream cheese with mascarpone for an even silkier mouthfeel.
Dietary Adjustments
To make it gluten‑free, ensure the cereal is certified gluten‑free and use a gluten‑free graham cracker crumb alternative. For a dairy‑free version, substitute cream cheese with a vegan cream cheese blend and use coconut cream in place of heavy cream. A low‑sugar version can employ a sugar substitute like erythritol in the topping.
Serving Suggestions
Pair each slice with a dollop of whipped vanilla bean cream or a drizzle of salted caramel. Fresh berries—especially raspberries or blackberries—add a bright, tart contrast. For a festive touch, sprinkle edible gold leaf or crushed candied pecans on top.
Storage Info
Leftover Storage
Allow the cheesecake to cool completely, then cover the surface with a thin layer of plastic wrap to prevent a skin from forming. Transfer the entire springform pan to an airtight container and refrigerate; it will keep fresh for 3‑4 days. For longer storage, slice, wrap each piece individually, and freeze for up to 2 months.
Reheating Instructions
To enjoy leftovers, preheat the oven to 300°F (150°C), place a slice on a parchment‑lined baking sheet, and warm for 10‑12 minutes until the center is soft but not melted. If you’re in a hurry, microwave a single slice on medium power for 30‑45 seconds, adding a splash of milk to revive the creamy texture.
Frequently Asked Questions
Can I make this cheesecake ahead of time?
What if I don’t have a springform pan?
Can I substitute the topping with something else?
How do I keep the crust from getting soggy?
This Cinnamon Toast Crunch Cheesecake brings together nostalgia and elegance in a single slice, proving that comfort food can also be refined. With a straightforward crust, a silky cinnamon‑kissed filling, and a caramelized topping, the recipe is both approachable and impressive. Feel free to experiment with swaps, toppings, or dietary tweaks—make it truly yours. Serve, savor, and enjoy every crunchy‑creamy bite! (92 words)
Cinnamon Toast Crunch Cheesecake: A Delightful Dessert Experience
Delicious Cinnamon Toast Crunch Cheesecake: A Delightful Dessert Experience
Ingredients
Crust
- 2 ½ cups Cinnamon Toast Crunch, lightly crushed
- 3 Tbsp unsalted butter, melted
- 2 Tbsp granulated sugar
Filling
- 24 oz (3 packages) cream cheese, softened
- 1 cup heavy whipping cream
- ¾ cup light brown sugar
- 2 large eggs, room temperature
- 1 tsp vanilla extract
- ½ tsp ground cinnamon
Topping
- ¼ cup heavy cream
- 2 Tbsp light brown sugar
- 1 Tbsp melted butter
- ½ tsp ground cinnamon
Instructions
Assembling & Baking
- Fill the Pan. Pour the cream cheese batter over the chilled crust, smoothing the top with a spatula. Tap the pan gently on the counter to release any air bubbles that may have formed.
- Water Bath. Place the springform pan inside a larger roasting pan. Fill the outer pan with hot water until it reaches halfway up the side of the springform pan—this bain‑marie ensures gentle, even cooking and prevents cracks.
- Bake. Preheat the oven to 325°F (163°C). Slide the water‑bath assembly onto the middle rack and bake for 45‑50 minutes, or until the edges are set and the center jiggles slightly when the pan is shaken.
- Prepare the Topping. While the cheesecake bakes, whisk together heavy cream, brown sugar, melted butter, and cinnamon in a small saucepan over low heat. Cook until the sugar dissolves and the mixture thickens, about 3 minutes.
- Broil for Crunch. When the cheesecake is done, remove it from the water bath and immediately spoon the warm topping over the surface, spreading it thinly. Switch the oven to broil and place the cheesecake on the top rack for 2‑3 minutes, watching closely until the topping bubbles and turns a light golden‑brown. This step creates the signature crackly crust.
Similar Recipes
 Desserts
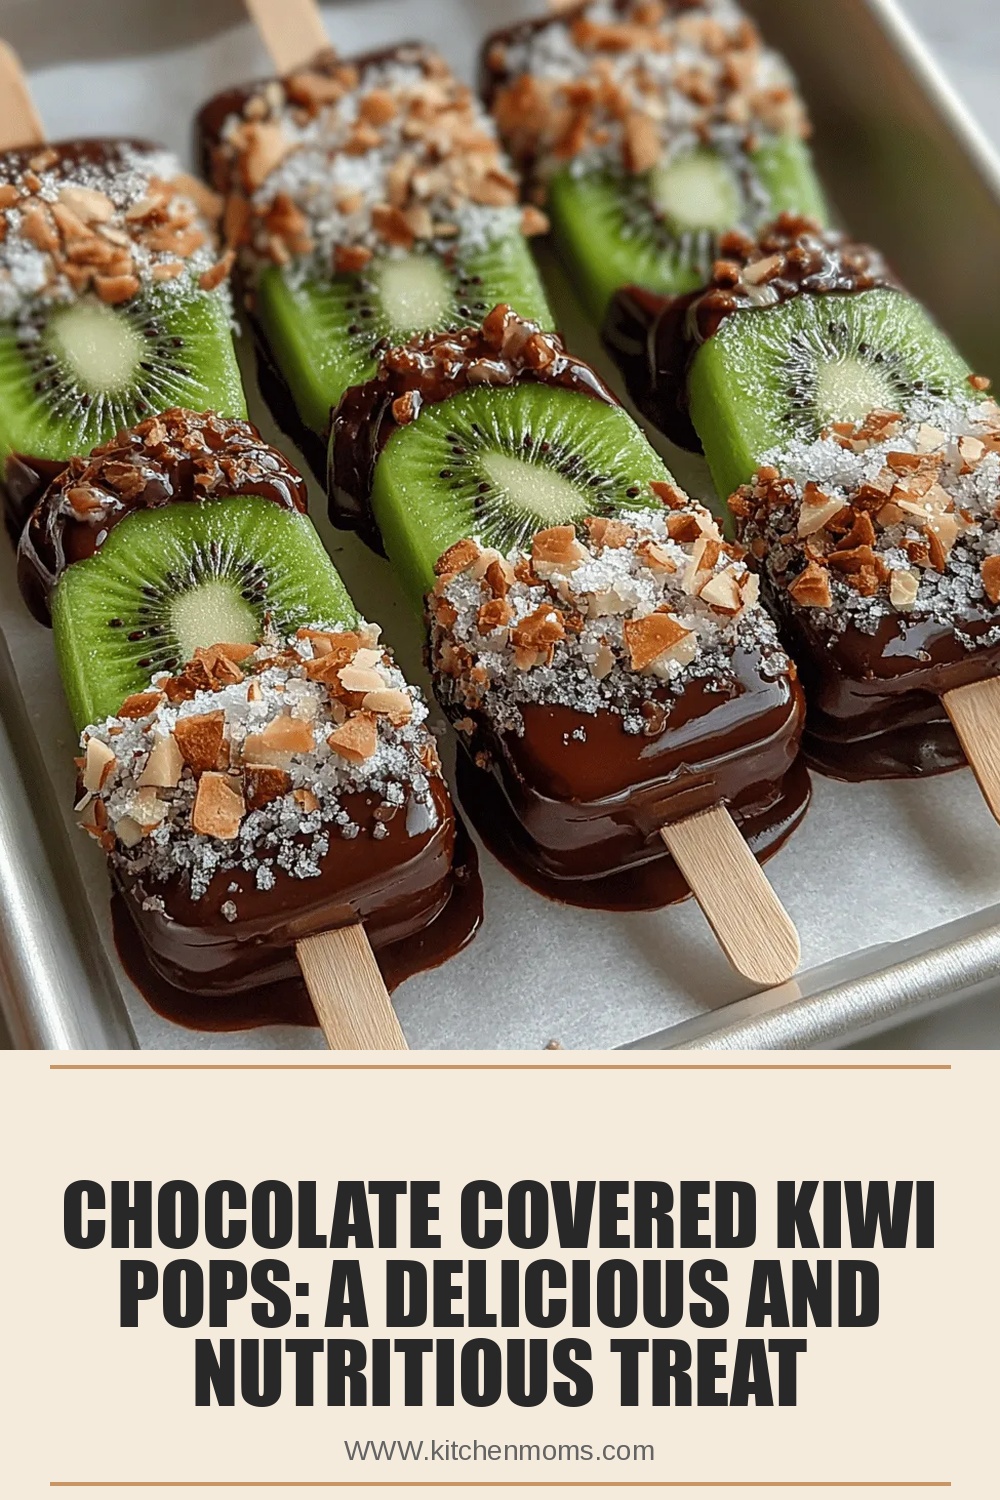
Chocolate Covered Kiwi Pops: A Delicious and Nutritious Treat
Delicious Chocolate Covered Kiwi Pops: A Delicious and Nutritious Treat
 Desserts
Tropical Tajín Watermelon Pops Recipe
Delicious Tropical Tajín Watermelon Pops Recipe
 Desserts
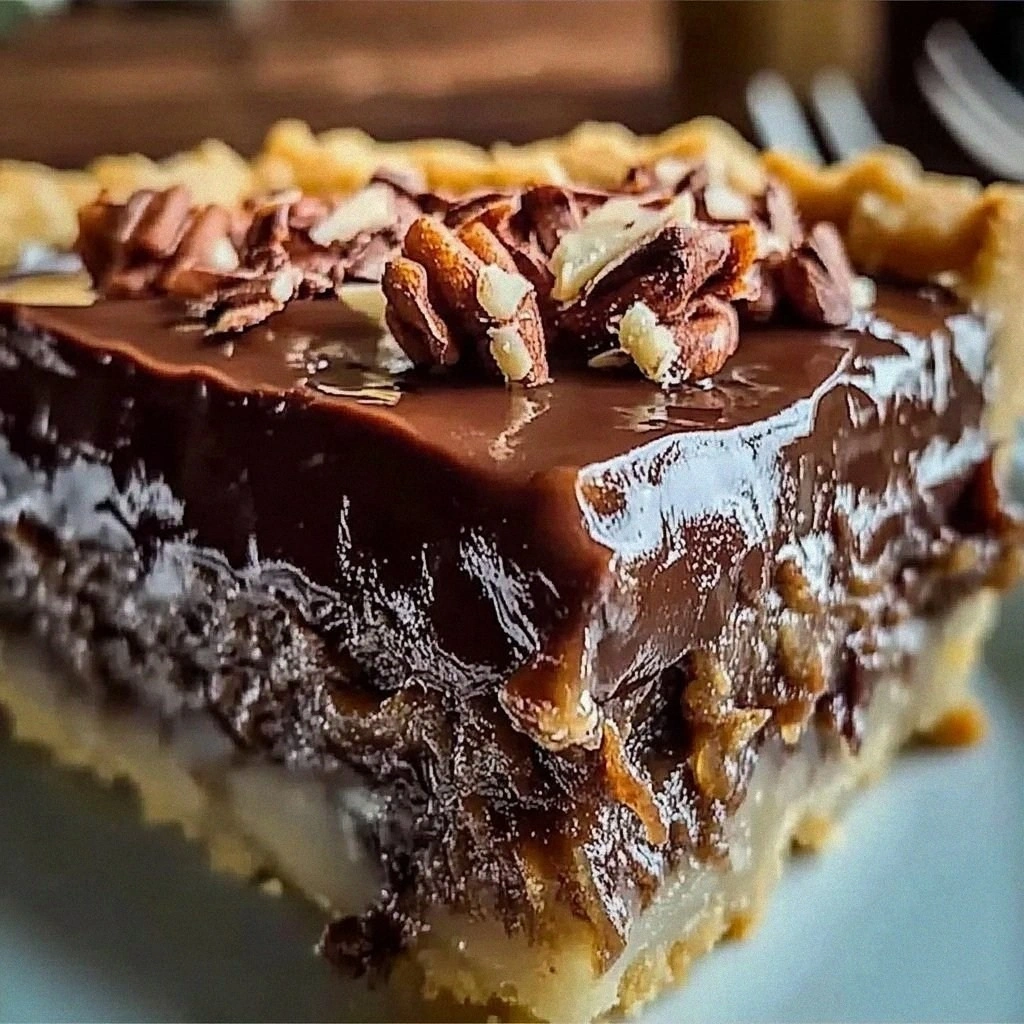
Irresistible German Chocolate Pie
Learn how to make delicious Irresistible German Chocolate Pie. Easy recipe with step-by-step instructions.
 Desserts
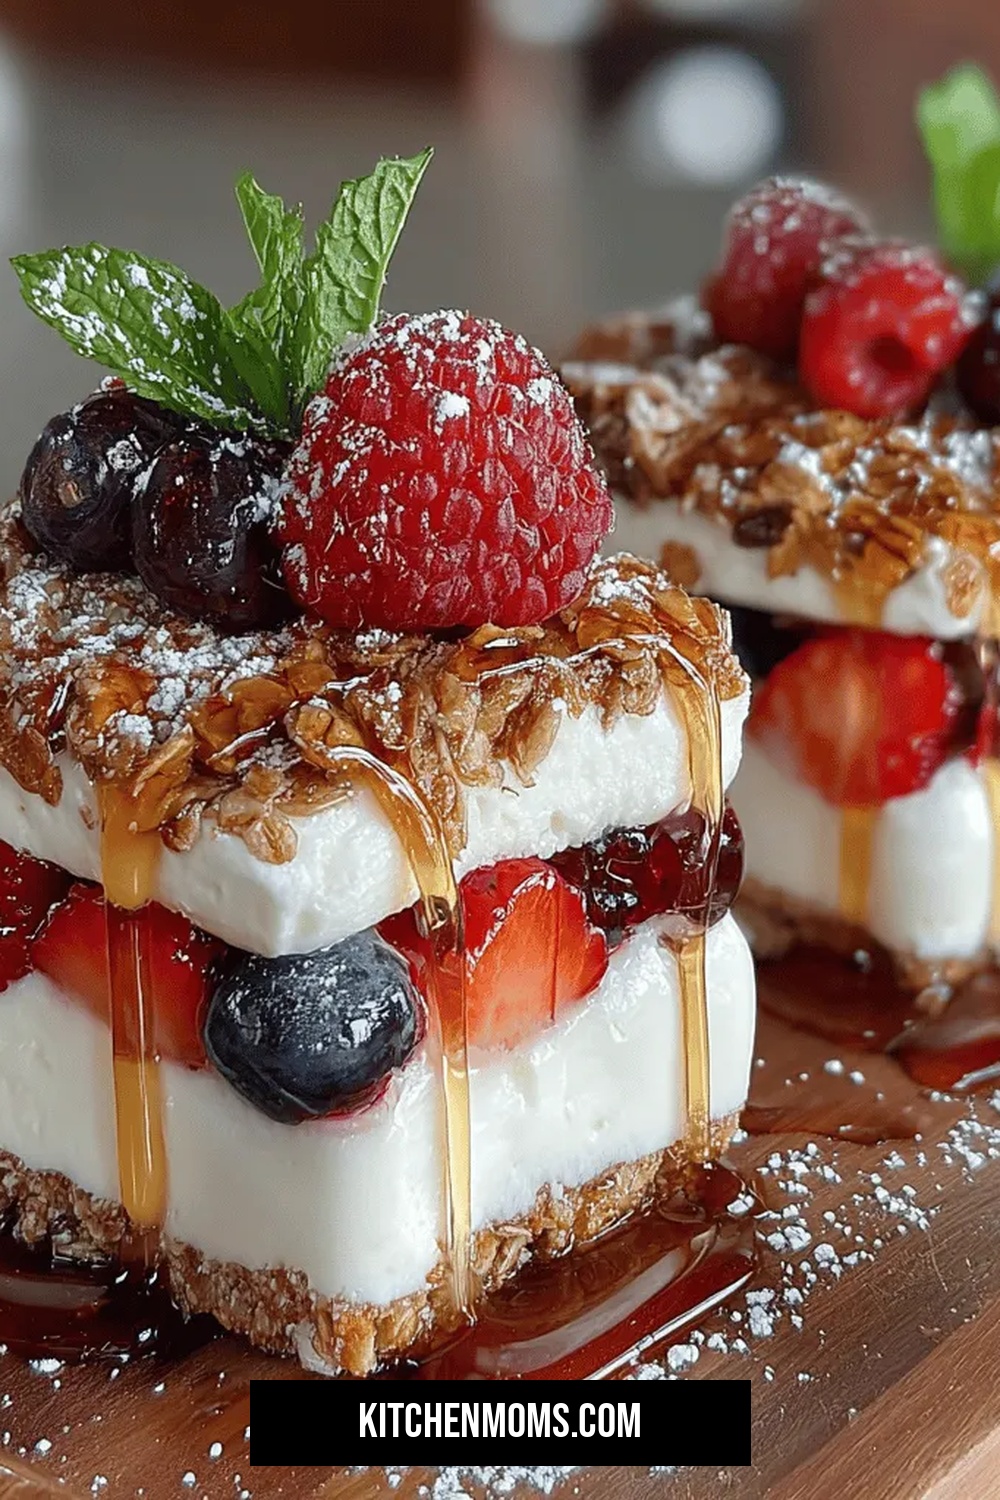
Honeyed Delight: Frozen Yogurt Granola Sandwiches
Delicious Honeyed Delight: Frozen Yogurt Granola Sandwiches
 Desserts
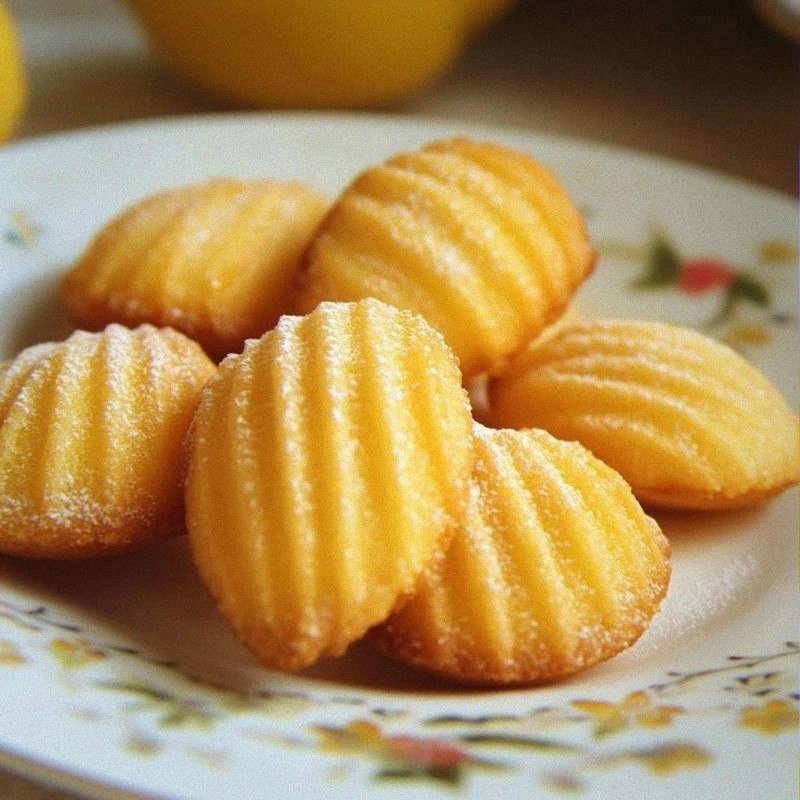
Easy Lemon Madeleine Recipe
Learn how to make delicious Easy Lemon Madeleine Recipe. Easy recipe with step-by-step instructions.
 Desserts
Irresistible Banana Cake With Caramel Filling Recipe
Learn how to make delicious Irresistible Banana Cake With Caramel Filling Recipe. Easy recipe with step-by-step…
 Desserts
Spiced Apple Crème Brûlée – A Cozy Twist on a French Classic
Learn how to make delicious Spiced Apple Crème Brûlée – A Cozy Twist on a French…
 Desserts
Autumn in My Heart: 4 Emotions Captured in Every Bite
Learn how to make delicious Autumn in My Heart: 4 Emotions Captured in Every Bite. Easy…

Lucy
I cook these recipes at home before they ever land here — simple ingredients, clear steps.