Crispy Herb Cheese & Cracker Bites
 Save
Save
Imagine a bite‑size morsel that cracks open with a satisfying snap, releases a burst of herb‑infused cheese, and leaves a lingering buttery crunch on the palate. That’s the magic of Crispy Herb Cheese & Cracker Bites—an elegant snack that feels indulgent yet stays effortlessly simple.
What makes these bites truly special is the marriage of sharp cheddar, fresh herbs, and a buttery cracker coating that turns ordinary pantry staples into a party‑ready appetizer in under half an hour.
Kids, cheese lovers, and cocktail‑hour hosts will adore these bites, whether served at a backyard gathering, a holiday appetizer spread, or a quick after‑school treat.
The process is straightforward: blend cheese and herbs, coat each spoonful with crushed crackers, then bake until golden. A few minutes of prep and a quick bake create a crowd‑pleasing snack that stays crispy and flavorful.
Why You'll Love This Recipe
Bold Flavor in Every Bite: Fresh herbs and sharp cheddar combine for a robust taste that’s instantly recognizable and endlessly satisfying.
Fast and Foolproof: Minimal prep and a single bake mean you can go from pantry to plate in less than 30 minutes, even on a busy weeknight.
Perfectly Portable: Bite‑size portions are easy to transport, making them ideal for potlucks, picnics, or on‑the‑go snacking.
Customizable Canvas: Swap cheeses, herbs, or crackers to match your pantry or dietary preferences without compromising texture.
Tips & Tricks
Perfecting the Recipe
Use cold cheese. Keep the cheddar chilled until mixing; colder cheese holds its shape better when forming balls, preventing premature melting.
Don’t over‑process crumbs. Pulse crackers just enough to get fine crumbs; overly fine powder can become soggy during baking.
Even coating. Lightly press the cracker mixture onto each ball; too much pressure can crush the cheese core, too little leaves gaps.
Watch the bake. Oven hotspots can brown edges faster—rotate the sheet halfway through for uniform color.
Flavor Enhancements
Add a pinch of cayenne or a few dashes of hot sauce to the cheese mixture for subtle heat. Mixing in a tablespoon of grated Parmesan into the cracker coating adds an extra umami depth. Finish each bite with a drizzle of lemon‑infused olive oil for brightness.
Common Mistakes to Avoid
Skipping the egg wash leads to a crumbly exterior that falls apart during baking. Also, avoid using overly moist herbs; pat them dry to keep the coating crisp. Finally, don’t bake at a temperature lower than 350°F, or the bites will dry out before the crust crisps.
Pro Tips
Freeze before baking. Place formed bites on a tray and freeze for 10 minutes; this firms them up, yielding an even crisper crust.
Use a silicone mat. A non‑stick silicone baking mat prevents sticking and makes cleanup a breeze.
Season after baking. A light sprinkle of flaky sea salt just out of the oven adds a satisfying crunch and flavor burst.
Serve warm. These bites are at their crispiest within 5‑10 minutes of removal; re‑heat briefly if needed to restore snap.
Variations
Ingredient Swaps
Swap sharp cheddar for Gruyère or smoked gouda for a deeper, nuttier flavor. Replace buttery crackers with crushed pretzel sticks for extra saltiness, or use gluten‑free rice crackers for a grain‑free version. Fresh basil or dill can replace parsley for a different herb profile.
Dietary Adjustments
For a gluten‑free bite, choose certified gluten‑free crackers and ensure all seasonings are gluten‑free. To make it dairy‑free, substitute cheddar with a sharp plant‑based cheese and use a vegan butter alternative. Vegans can replace the egg with a tablespoon of aquafaba or a light corn‑starch slurry.
Serving Suggestions
Pair these bites with a cool cucumber‑mint yogurt dip, a tangy mustard sauce, or a simple marinara for a classic touch. They also shine on a charcuterie board alongside cured meats, olives, and pickles. For brunch, serve them with a mimosa‑friendly fruit salsa.
Storage Info
Leftover Storage
Allow the bites to cool completely, then transfer them to an airtight container. Store in the refrigerator for up to 3 days. For longer keeping, arrange the bites in a single layer on a freezer‑safe tray, freeze solid, then move to a zip‑top bag; they’ll retain quality for up to 2 months.
Reheating Instructions
Re‑heat refrigerated bites in a pre‑heated 350°F (175°C) oven for 8‑10 minutes, or until the crust regains its crispness. Microwaving is possible but will soften the coating; use a short 30‑second burst followed by a quick broil if you need speed.
Frequently Asked Questions
Can I make these bites ahead of time?
What if I don’t have buttery crackers?
How can I keep the bites extra crunchy?
What dipping sauces pair best?
This Crispy Herb Cheese & Cracker Bites recipe delivers bold flavor, irresistible crunch, and a versatile canvas for endless tweaks. By following the detailed steps, you’ll achieve a perfect golden crust and a melt‑in‑your‑mouth cheese center every time. Feel free to experiment with cheeses, herbs, or coatings to make it truly yours. Serve warm, share generously, and enjoy every crunchy, cheesy bite!
Crispy Herb Cheese & Cracker Bites
Delicious Crispy Herb Cheese & Cracker Bites
Ingredients
Cheese & Herb Mixture
- 1 ½ cups shredded sharp cheddar cheese
- ¼ cup finely chopped fresh parsley
- 2 tablespoons chopped fresh chives
- ½ teaspoon garlic powder
Cracker Coating
- 1 ½ cups crushed buttery crackers (e.g., Ritz or similar)
- 2 tablespoons melted unsalted butter
- ¼ teaspoon smoked paprika
Binding & Finishing
- 1 large egg, lightly beaten
- Salt and freshly ground black pepper, to taste
Instructions
Form the Bites
- Shape the Base. Using a small spoon, scoop roughly one tablespoon of the cheese‑herb mixture and roll it into a loose ball. The egg will later act as glue, so keep the balls loosely formed.
- Bind with Egg. Dip each cheese ball into the beaten egg, turning to coat all sides. The egg creates a thin film that helps the cracker crumbs cling during the final bake.
- Coat with Crackers. Transfer the egg‑dipped ball to the buttered cracker mixture. Press gently, rolling the ball until fully encased in crumbs. The coating should be even and slightly pressed to avoid loose crumbs.
- Arrange on Baking Sheet. Place each coated bite on a parchment‑lined baking sheet, spacing them about an inch apart. This spacing promotes even airflow, giving every bite a uniform crisp.
Similar Recipes
 Appetizers
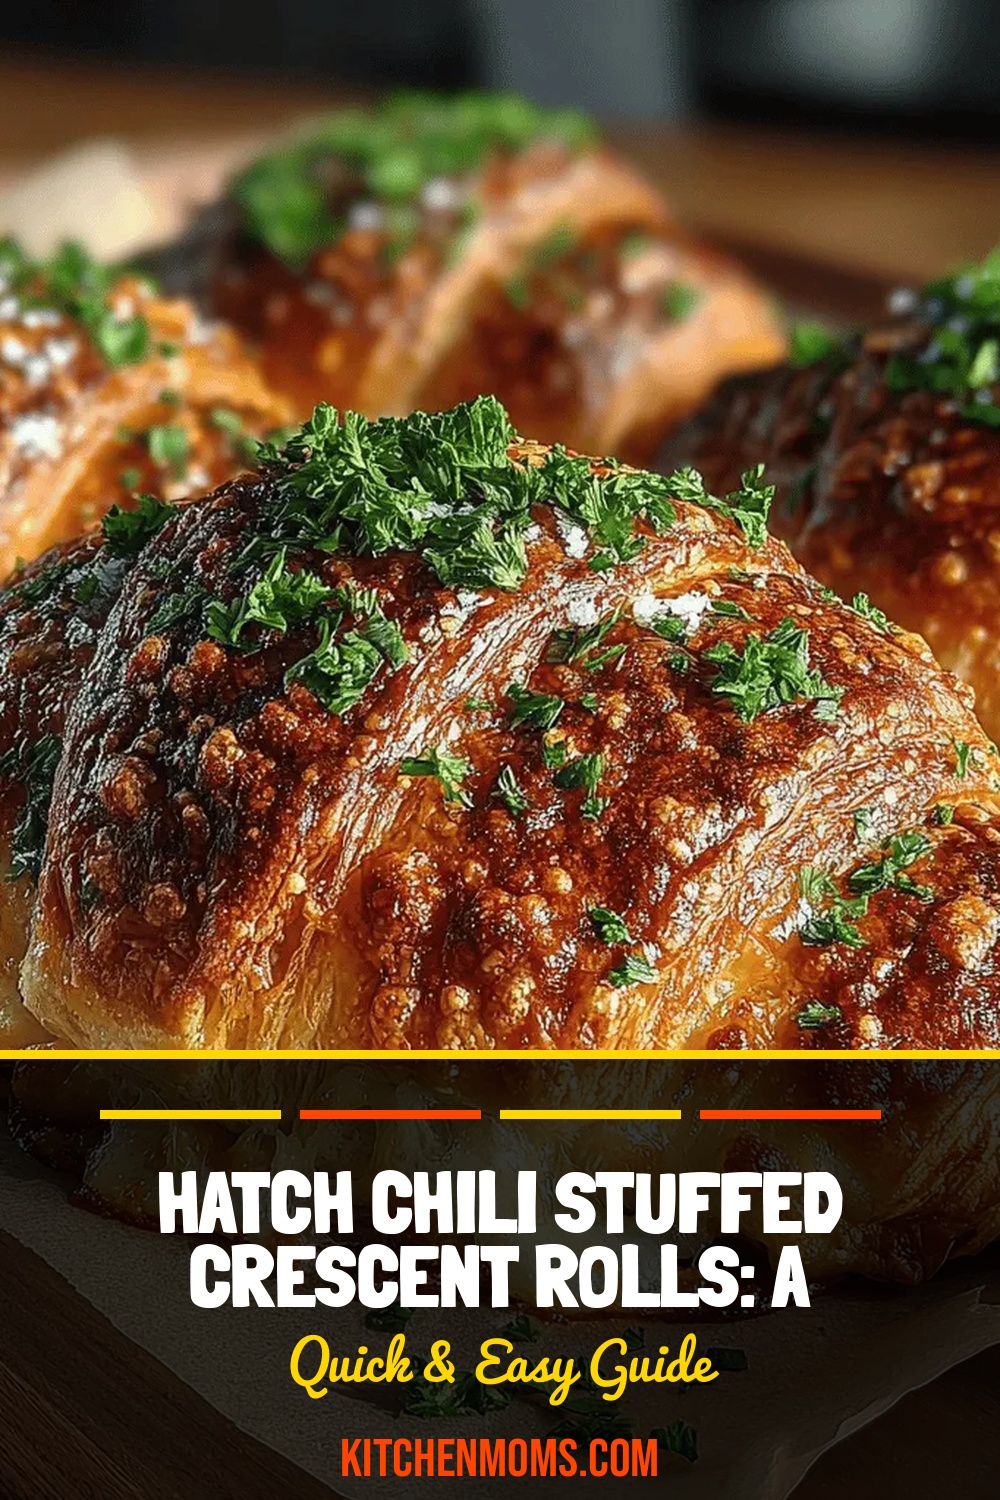
Hatch Chili Stuffed Crescent Rolls: A Flavorful Snack Recipe
Delicious Hatch Chili Stuffed Crescent Rolls: A Flavorful Snack Recipe
 Appetizers
Mini BBQ Veggie Tostada Bites Recipe
Delicious Mini BBQ Veggie Tostada Bites Recipe
 Appetizers
Turkey Apple Cheese Roll-Ups: The Perfect Snack for Any Occasion
Delicious Turkey Apple Cheese Roll-Ups: The Perfect Snack for Any Occasion
 Appetizers
White Chocolate Candy Cane Cookies – Festive & Crunchy Treats
Learn how to make delicious White Chocolate Candy Cane Cookies – Festive & Crunchy Treats. Easy…
 Appetizers
NFL Playoff Chicken Wings with Blue Cheese Dip
Learn how to make delicious NFL Playoff Chicken Wings with Blue Cheese Dip. Easy recipe with…
 Appetizers
Creamy Garlic-Paprika Shrimp Skillet
Learn how to make delicious Creamy Garlic-Paprika Shrimp Skillet. Easy recipe with step-by-step instructions.
 Appetizers
Delicious Homemade Pierogi
Learn how to make delicious Delicious Homemade Pierogi. Easy recipe with step-by-step instructions.
 Appetizers
Garden Veggie Hummus Pinwheels: A Delightful and Healthy Snack
Delicious Garden Veggie Hummus Pinwheels: A Delightful and Healthy Snack

Lucy
I cook these recipes at home before they ever land here — simple ingredients, clear steps.