Crispy Lemon Garlic Drumsticks: A Flavorful Delight
 Save
Save
Imagine biting into a piece of chicken that crackles with a golden, buttery crust, then bursts with bright lemon and aromatic garlic. That’s the promise of our Crispy Lemon Garlic Drumsticks, a dish that turns a humble cut into a star‑centered showpiece.
What makes this recipe special is the balance between a high‑heat sear that creates that coveted crunch and a tangy, buttery glaze that stays glossy without sogging the skin.
Family dinners, casual weekend barbecues, or a quick weekday supper—anyone who loves bold, citrus‑forward flavor will adore this dish. It’s especially perfect when you want a crowd‑pleaser without spending hours in the kitchen.
The process is straightforward: marinate the drumsticks, sear them until the skin is blistered, then finish in a hot oven while the lemon‑garlic sauce reduces to a silky coating. The result is a dish that looks as impressive as it tastes.
Why You'll Love This Recipe
Bright Citrus Punch: Fresh lemon juice lifts the rich garlic and butter, creating a lively flavor that awakens the palate without overwhelming the chicken.
Crispy Skin Guarantee: A quick sear followed by a short bake locks in moisture while delivering that satisfying crunch every bite.
Minimal Prep, Maximum Impact: With only a handful of pantry staples and a 20‑minute prep, you get restaurant‑quality results on a home‑cooked timeline.
Versatile Pairings: The dish pairs beautifully with rice, potatoes, or a fresh salad, making it adaptable to any meal plan or dietary preference.
Tips & Tricks
Perfecting the Recipe
Dry the Skin Thoroughly. Moisture prevents crisping; pat the drumsticks dry and let them air for a few minutes before seasoning.
Use a Cast‑Iron Skillet. Its heat retention ensures an even sear and a uniform crust on every piece.
Baste Frequently. Brushing the sauce every few minutes builds layers of flavor and keeps the meat moist.
Rest Before Cutting. A short rest locks in juices, preventing a dry bite.
Flavor Enhancements
Add a pinch of red‑pepper flakes to the glaze for a subtle heat, or stir in a teaspoon of Dijon mustard for extra depth. Finish the sauce with a small knob of cold butter right before serving for a silkier texture.
Common Mistakes to Avoid
Skipping the sear will leave the skin soft rather than crisp. Also, avoid overcrowding the pan; too many drumsticks steam instead of brown. Finally, don’t over‑bake—once the internal temperature hits 165°F, remove the chicken to keep it juicy.
Pro Tips
Season Ahead. Lightly salt the drumsticks and let them sit uncovered in the fridge for an hour; this dry‑brines the skin for extra crunch.
Use a Meat Thermometer. Insert it into the thickest part of the drumstick to guarantee perfect doneness without guesswork.
Deglaze the Pan. After searing, add a splash of broth and scrape up browned bits; they enrich the glaze with umami.
Finish Under the Broiler. A brief broil at the end adds that final caramelized sparkle without drying the meat.
Variations
Ingredient Swaps
Swap chicken drumsticks for bone‑in thighs for a similarly juicy result. Replace lemon with lime for a different citrus twist, or use orange zest for a sweeter profile. For a deeper umami note, add a tablespoon of soy sauce or tamari to the glaze.
Dietary Adjustments
To keep it gluten‑free, ensure the broth and any added sauces are certified gluten‑free. For dairy‑free, substitute butter with a dairy‑free margarine or extra olive oil. Keto diners can replace honey with a low‑carb sweetener such as erythritol.
Serving Suggestions
Serve the drumsticks over a bed of fluffy basmati rice or quinoa to soak up the sauce. Roasted asparagus, green beans, or a crisp cucumber‑tomato salad add freshness. For a comforting twist, pair with creamy mashed potatoes or crusty garlic bread.
Storage Info
Leftover Storage
Cool the drumsticks to room temperature, then transfer them to an airtight container. Refrigerate for 3‑4 days. For longer keeping, portion into freezer‑safe bags, squeeze out excess air, and freeze up to 3 months. The sauce can be stored separately to prevent soggy skin.
Reheating Instructions
Reheat in a 350°F (175°C) oven, covered with foil, for 12‑15 minutes until hot, then uncover for the final 3 minutes to restore crispness. A microwave works in a pinch—heat on medium power for 2‑3 minutes, adding a splash of broth and stirring the sauce to revive moisture.
Frequently Asked Questions
Can I make this recipe ahead of time?
What if I only have frozen drumsticks?
How do I keep the skin crispy when reheating leftovers?
Can I add vegetables to the pan while baking?
This Crispy Lemon Garlic Drumsticks recipe blends bright citrus, aromatic garlic, and a buttery glaze to give you a restaurant‑level main dish with minimal fuss. We’ve covered everything—from selecting the right ingredients and mastering the sear to storing leftovers and customizing the flavor. Feel free to experiment with herbs, spices, or side dishes—cooking is an adventure, not a rulebook. Serve hot, enjoy the crunch, and let the zestful aroma fill your kitchen.
Crispy Lemon Garlic Drumsticks: A Flavorful Delight
Delicious Crispy Lemon Garlic Drumsticks: A Flavorful Delight
Ingredients
Main Ingredients
- 8 chicken drumsticks (about 2 lb)
- 2 tablespoons olive oil
Marinade & Sauce
- 4 cloves garlic, minced
- Zest of 1 large lemon
- 3 tablespoons freshly squeezed lemon juice
- 2 tablespoons unsalted butter, melted
- 1 tablespoon honey
- ¼ cup low‑sodium chicken broth
Seasonings & Garnish
- 1 teaspoon sea salt
- ½ teaspoon freshly ground black pepper
- ½ teaspoon smoked paprika (optional)
- 2 tablespoons chopped fresh parsley
Instructions
Searing & Baking
- Preheat the oven. Set your oven to 400°F (200°C). A hot oven creates a rapid rise in internal temperature, sealing juices while allowing the glaze to caramelize.
- Sear the drumsticks. Heat a large cast‑iron skillet over medium‑high heat. Add a drizzle of olive oil, then lay the drumsticks skin‑side down. Cook undisturbed for 4‑5 minutes until the skin turns deep golden and releases easily from the pan.
- Flip and baste. Turn the pieces over, brush each with a generous spoonful of the lemon‑garlic mixture, and let them sear another 3‑4 minutes. This initial coating starts the flavor infusion before the oven takes over.
- Transfer to the oven. Place the skillet (or a baking sheet if your pan isn’t oven‑safe) into the preheated oven. Bake for 20‑25 minutes, basting with the remaining sauce halfway through. The internal temperature should reach 165°F (74°C).
- Finish the glaze. Remove the pan, switch the oven to broil, and let the drumsticks cook an extra 2‑3 minutes until the glaze bubbles and darkens slightly. Watch closely to avoid burning.
Similar Recipes
 Dinner
slow cooker lentil and root veggie stew packed with protein for families
Warm up with a slow cooker lentil and root veggie stew packed with protein for families,…
 Dinner
onepot garlic chicken and winter vegetable soup for cold evenings
Warm up with this easy one-pot garlic chicken and winter vegetable soup recipe. Loaded with hearty…
 Dinner
Zesty Basil Pesto Zucchini Noodles Recipe
Delicious Zesty Basil Pesto Zucchini Noodles Recipe
 Dinner
Grilled Octopus Seafood Dish: A Flavorful Mediterranean Escape
Learn how to make delicious Grilled Octopus Seafood Dish: A Flavorful Mediterranean Escape. Easy recipe with…
 Dinner
Creamy Spinach and Mushroom Chicken Skillet
Delicious Creamy Spinach and Mushroom Chicken Skillet
 Dinner
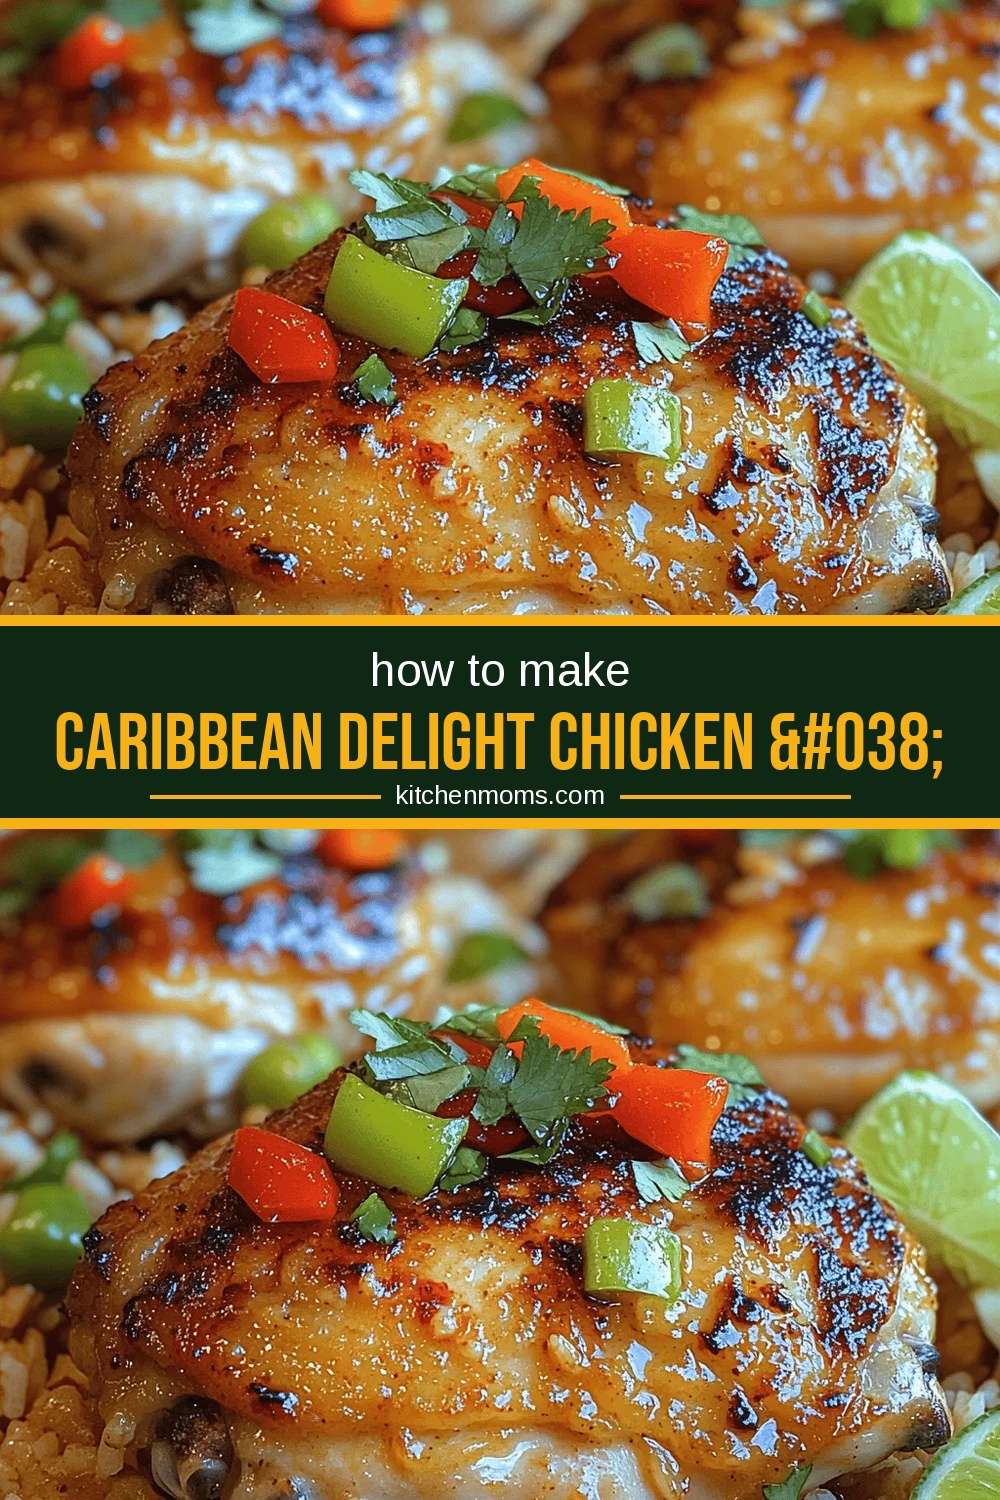
Caribbean Delight Chicken & Rice Recipe
Delicious Caribbean Delight Chicken & Rice Recipe
 Dinner
Zesty Creamy Lemon Chicken & Rice: A Flavorful Delight
Delicious Zesty Creamy Lemon Chicken & Rice: A Flavorful Delight
 Dinner
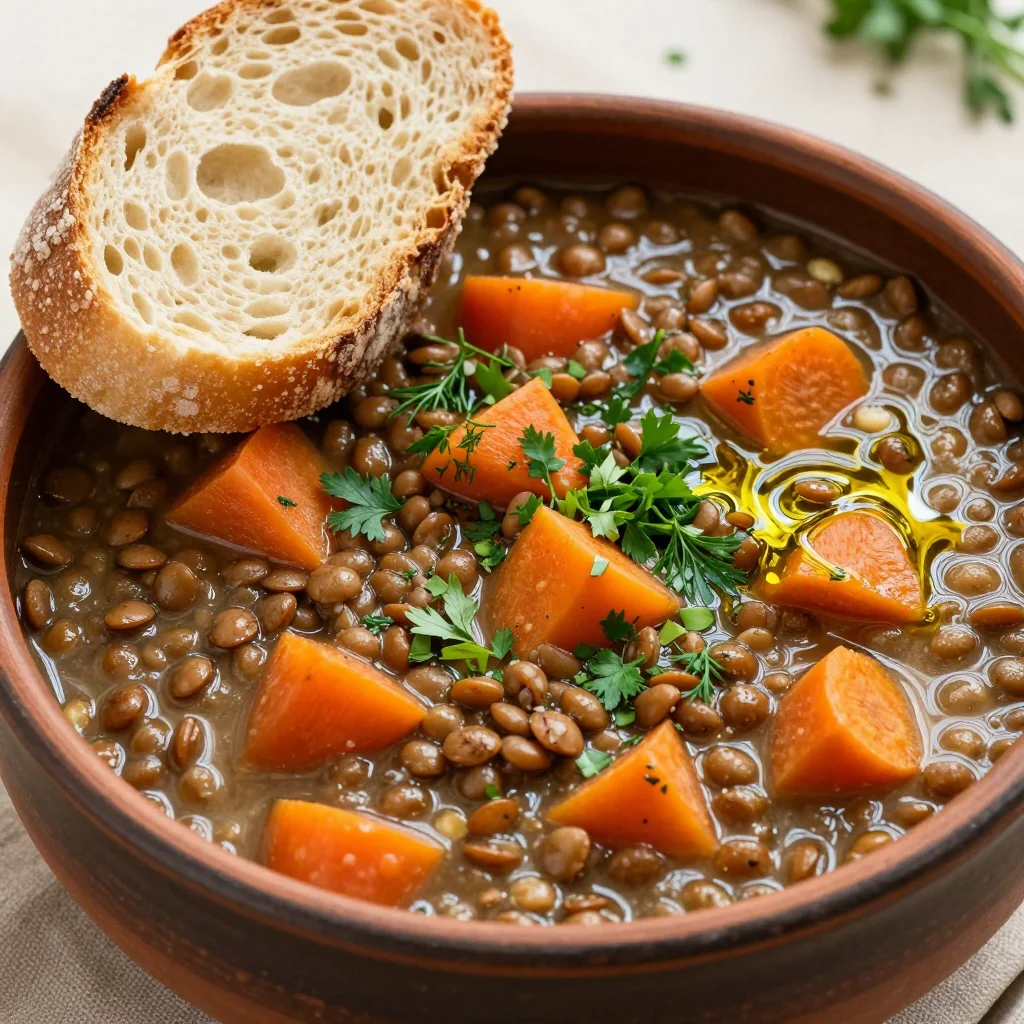
batchcooked lentil and carrot stew with fresh herbs for quick dinners
Make-ahead lentil carrot stew with fresh herbs. Batch-cook this hearty soup, freeze portions & enjoy healthy…

Lucy
I cook these recipes at home before they ever land here — simple ingredients, clear steps.