Crunchy Delight No-Bake Peanut Butter Granola Cups
 Save
Save
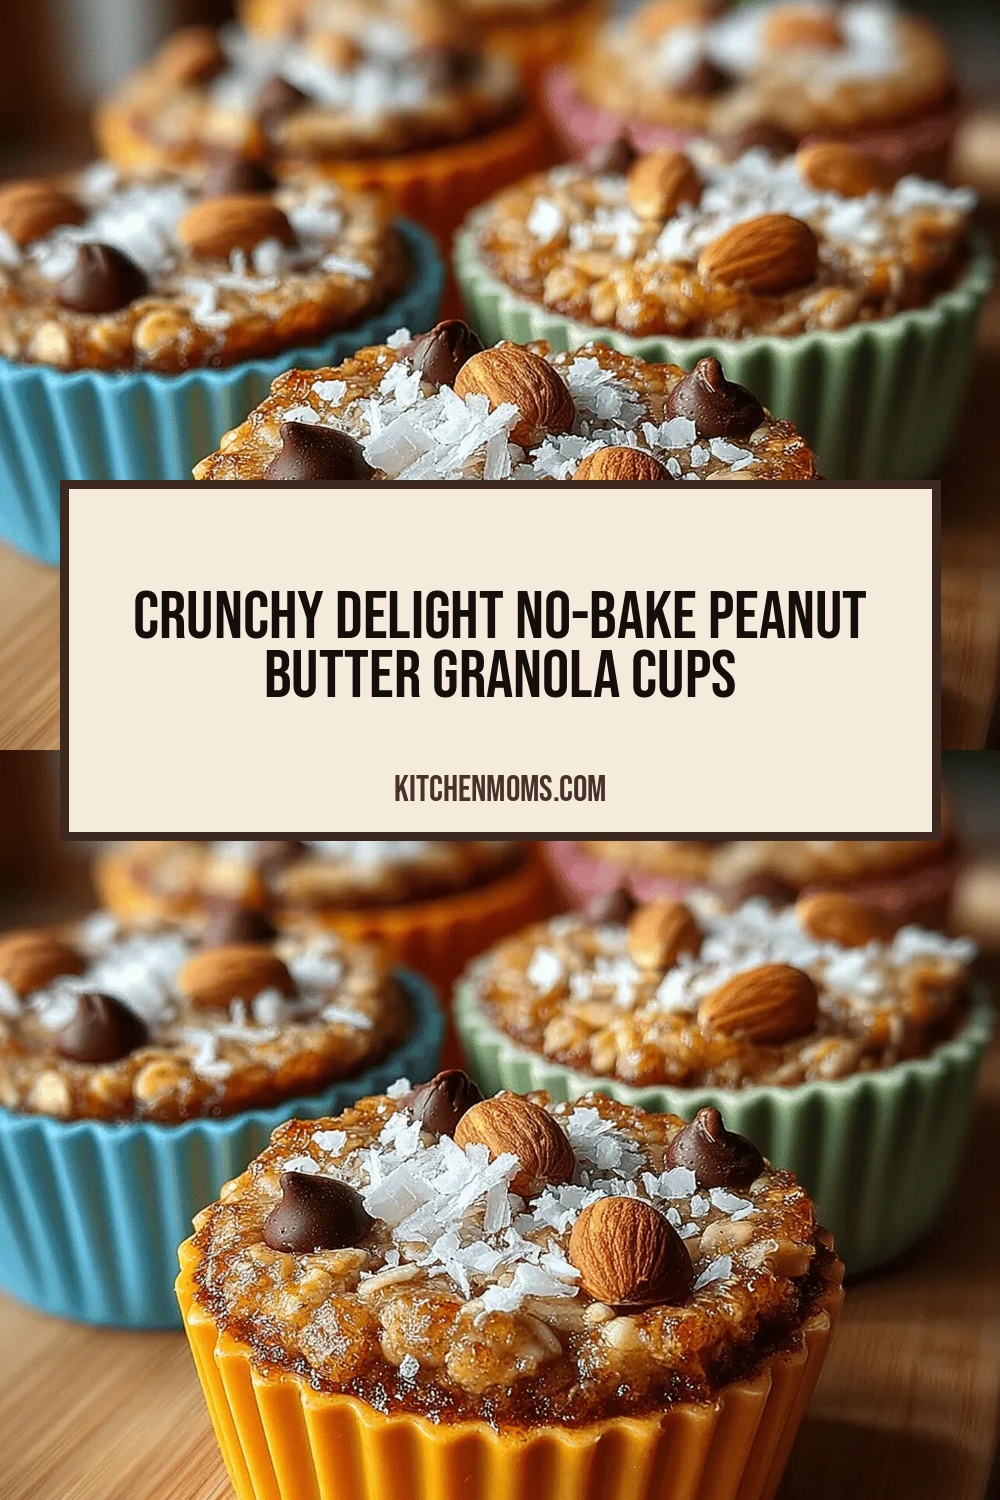
Imagine biting into a golden‑brown cup that crackles with toasted granola, then melts into a silky peanut‑butter center. Crunchy Delight No‑Bake Peanut Butter Granola Cups deliver that exact moment of texture and flavor without ever heating the oven.
What makes this recipe stand out is the perfect marriage of sweet, salty, and nutty notes, all held together by a light honey‑maple glaze that adds just enough shine to make each bite irresistible.
This treat is ideal for busy families, brunch‑loving friends, or anyone who craves a wholesome snack that feels indulgent yet stays wholesome. Serve them at weekend brunches, as a quick breakfast on the go, or as a portable after‑school snack.
The process is delightfully simple: toast the granola, blend a creamy peanut‑butter filling, press the base into muffin tins, pipe the filling, and drizzle with a quick glaze. No baking, no fuss, just pure crunch.
Why You'll Love This Recipe
Quick & No‑Bake: All the flavor of a baked treat without turning on the oven, perfect for hot summer mornings or tiny kitchens.
Protein‑Packed: Peanut butter and granola provide lasting energy, making these cups a satisfying breakfast or snack.
Customizable Crunch: You can swap nuts, seeds, or dried fruit to match your personal texture preferences.
Kid‑Friendly Fun: Kids love the handheld shape and the chance to help press the base and pipe the filling.
Tips & Tricks
Perfecting the Recipe
Even Toasting. Keep the granola moving in the skillet; uneven heat can cause burnt spots that affect flavor and color.
Press Firmly. Use the back of a spoon or a small glass to compress the base; a loose base will crack when you lift the cup.
Cool Before Filling. Adding filling to a warm base can melt the peanut butter, making it runny.
Use a Pipe Bag. A piping bag gives a smooth, controlled dollop and creates a professional look.
Flavor Enhancements
Add a pinch of ground cinnamon or espresso powder to the granola for a subtle warmth. Stir in toasted sesame seeds or pumpkin seeds for an extra layer of crunch. Finish each cup with a light dusting of sea‑salt flakes to balance the sweetness.
Common Mistakes to Avoid
Skipping the chill step often results in a crumbly base that falls apart. Also, over‑mixing the peanut‑butter filling can make it too dense; a brief whip is enough to achieve a light texture.
Pro Tips
Batch Prep. Toast a large batch of granola and store it in an airtight container; you can assemble cups whenever cravings strike.
Temperature Check. Warm the glaze just enough to flow; overheating can cause it to separate.
Layered Garnish. Sprinkle half of the garnish before the glaze and the rest after; this creates a two‑tone crunch.
Use a Silicone Muffin Pan. It releases the cups effortlessly, preserving their shape.
Variations
Ingredient Swaps
Replace almonds with toasted walnuts or pecans for a richer flavor. Swap coconut for toasted quinoa for a gluten‑free crunch. Use almond butter or cashew butter instead of peanut butter to accommodate nut allergies or to vary the taste profile.
Dietary Adjustments
For a vegan version, choose a plant‑based peanut butter (no added honey) and replace honey with agave nectar or maple syrup throughout. Gluten‑free eaters should verify that rolled oats are certified gluten‑free. To lower sugar, halve the honey in the glaze and use a sugar‑free maple‑style syrup.
Serving Suggestions
Pair the cups with a dollop of Greek yogurt and fresh berries for a balanced breakfast. For a snack, serve alongside a cold glass of almond milk or a smoothie. They also travel well in a lunchbox, making them perfect for on‑the‑go protein bites.
Storage Info
Leftover Storage
Allow the cups to cool completely, then place them in an airtight container. Store in the refrigerator for up to 5 days. For longer keeping, separate the glaze and topping, then freeze the cups in a single layer before transferring to a freezer‑safe bag; they’ll keep for 2‑3 months.
Reheating Instructions
To enjoy warm, pop the cups in a preheated 300°F oven for 5‑7 minutes, covered with foil to prevent the glaze from hardening. If you prefer a quick microwave fix, heat for 20‑30 seconds on medium power, then drizzle a little extra glaze to revive the shine.
Frequently Asked Questions
Can I make these cups ahead of time?
What if I don’t have a muffin tin?
Can I substitute the honey in the glaze?
How long will the granola stay crunchy?
This no‑bake, crunchy‑delight recipe brings together wholesome granola, silky peanut butter, and a glossy honey‑maple glaze in a handheld cup that’s perfect for any time of day. The detailed steps, storage tips, and creative variations ensure you’ll master it quickly and keep it fresh in your repertoire. Feel free to experiment with nuts, sweeteners, or toppings—cooking is your playground. Enjoy the satisfying snap, the creamy center, and the smile that follows each bite!
Crunchy Delight No-Bake Peanut Butter Granola Cups
Delicious Crunchy Delight No-Bake Peanut Butter Granola Cups
Ingredients
Granola Base
- 2 cups old‑fashioned rolled oats
- ½ cup chopped almonds
- ¼ cup unsweetened shredded coconut
- 2 tablespoons chia seeds
- ¼ cup melted coconut oil
- 2 tablespoons honey
- ½ teaspoon sea salt
Peanut Butter Filling
- 1 cup natural creamy peanut butter
- ¼ cup maple syrup or honey
- 1 teaspoon pure vanilla extract
- Pinch of sea salt
Glaze & Toppings
- 2 tablespoons honey
- 1 tablespoon maple syrup
- 1 teaspoon melted butter (optional)
- Chopped peanuts or cacao nibs for garnish
Instructions
Forming the Cups
- Cool Slightly. Transfer the toasted granola to a large bowl and let it cool for 2‑3 minutes. Cooling prevents the mixture from becoming too soft when pressed.
- Press Into Molds. Using a 12‑cup muffin tin, spoon about 2‑3 tablespoons of granola into each cavity. Press firmly with the back of a spoon or a small glass to create an even, compact base. A solid base ensures the filling won’t leak.
- Chill. Place the tin in the refrigerator for 10 minutes. Chilling sets the base, making it easier to add the filling without breaking.
Assembling the Cups
- Pipe the Filling. Transfer the peanut‑butter mixture to a zip‑top bag fitted with a large star tip, or use a piping bag. Pipe a generous dollop (about 1 tablespoon) into the center of each chilled granola base, allowing it to rise slightly above the rim.
- Drizzle the Glaze. In a small saucepan, gently warm honey, maple syrup, and melted butter (if using) over low heat until fluid. Drizzle the glaze over each cup, letting it cascade down the sides for a glossy finish.
- Garnish. Sprinkle chopped peanuts or cacao nibs on top for extra texture and visual appeal. The garnish adds a final crunch that complements the soft filling.
Similar Recipes
 Breakfast
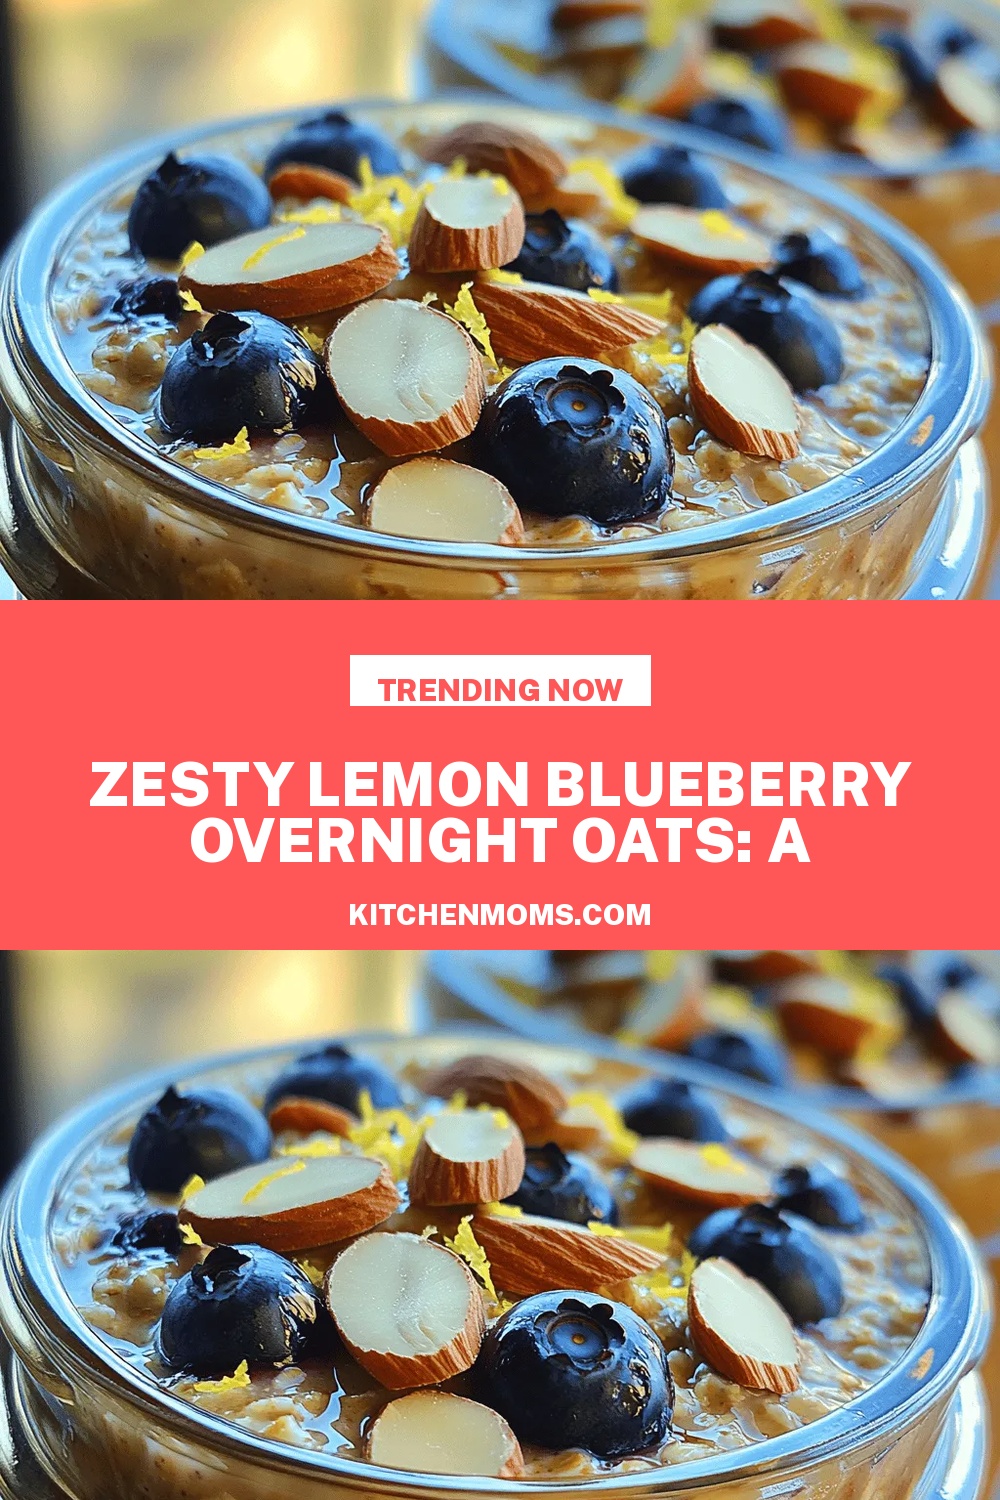
Zesty Lemon Blueberry Overnight Oats: A Delicious and Nutritious Start to Your Day
Delicious Zesty Lemon Blueberry Overnight Oats: A Delicious and Nutritious Start to Your Day
 Breakfast
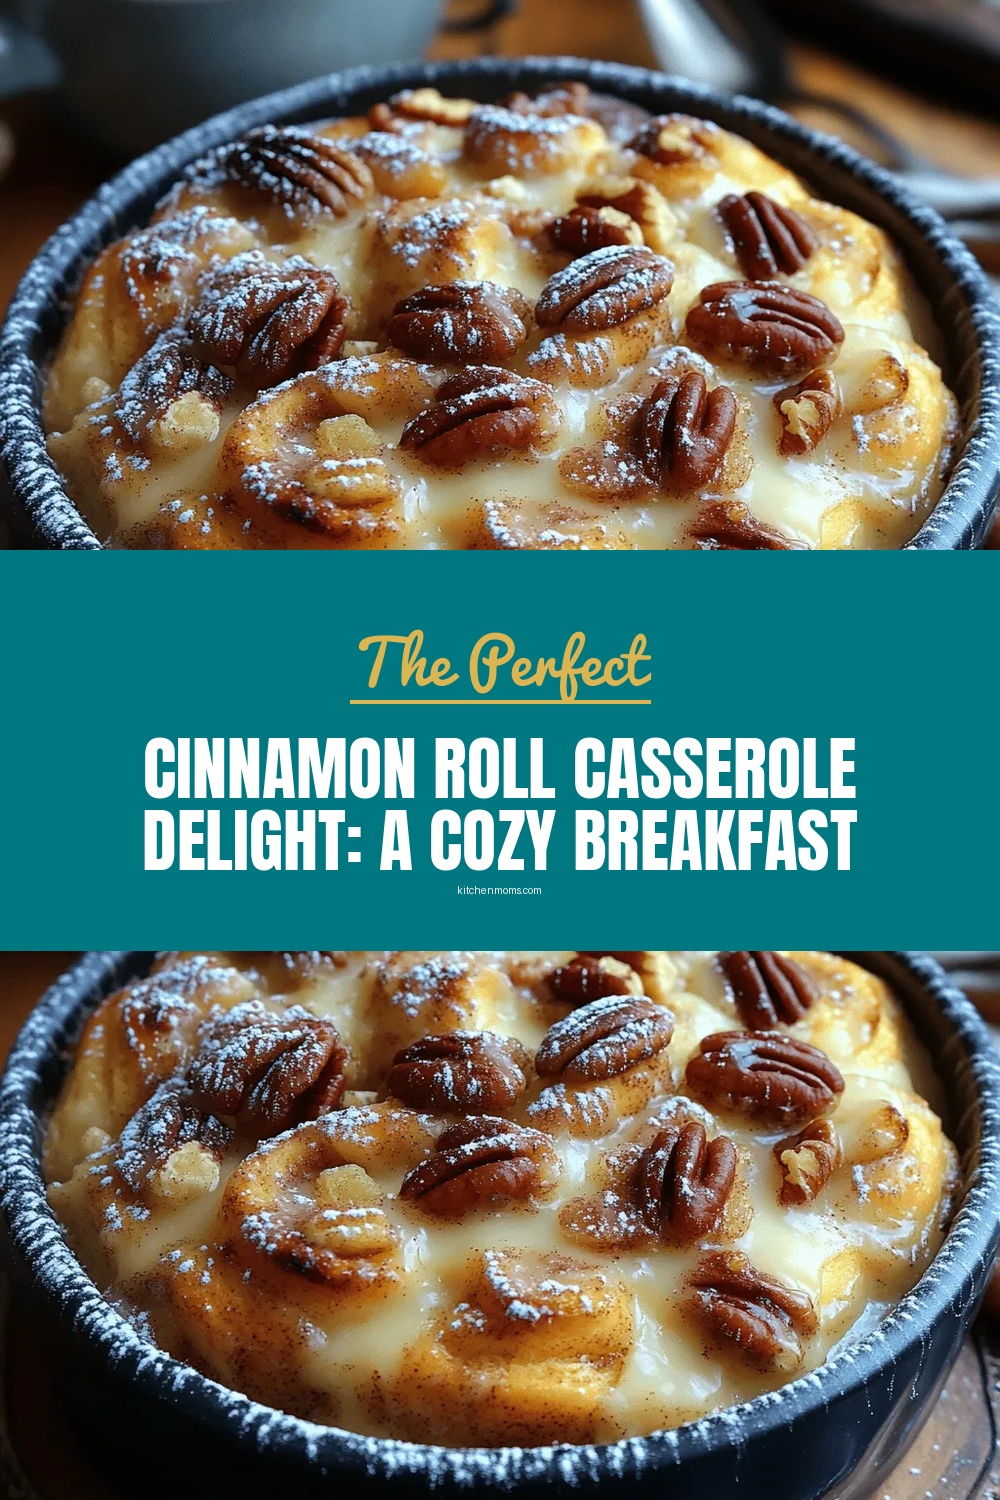
Cinnamon Roll Casserole Delight: A Cozy Breakfast Solution
Delicious Cinnamon Roll Casserole Delight: A Cozy Breakfast Solution
 Breakfast
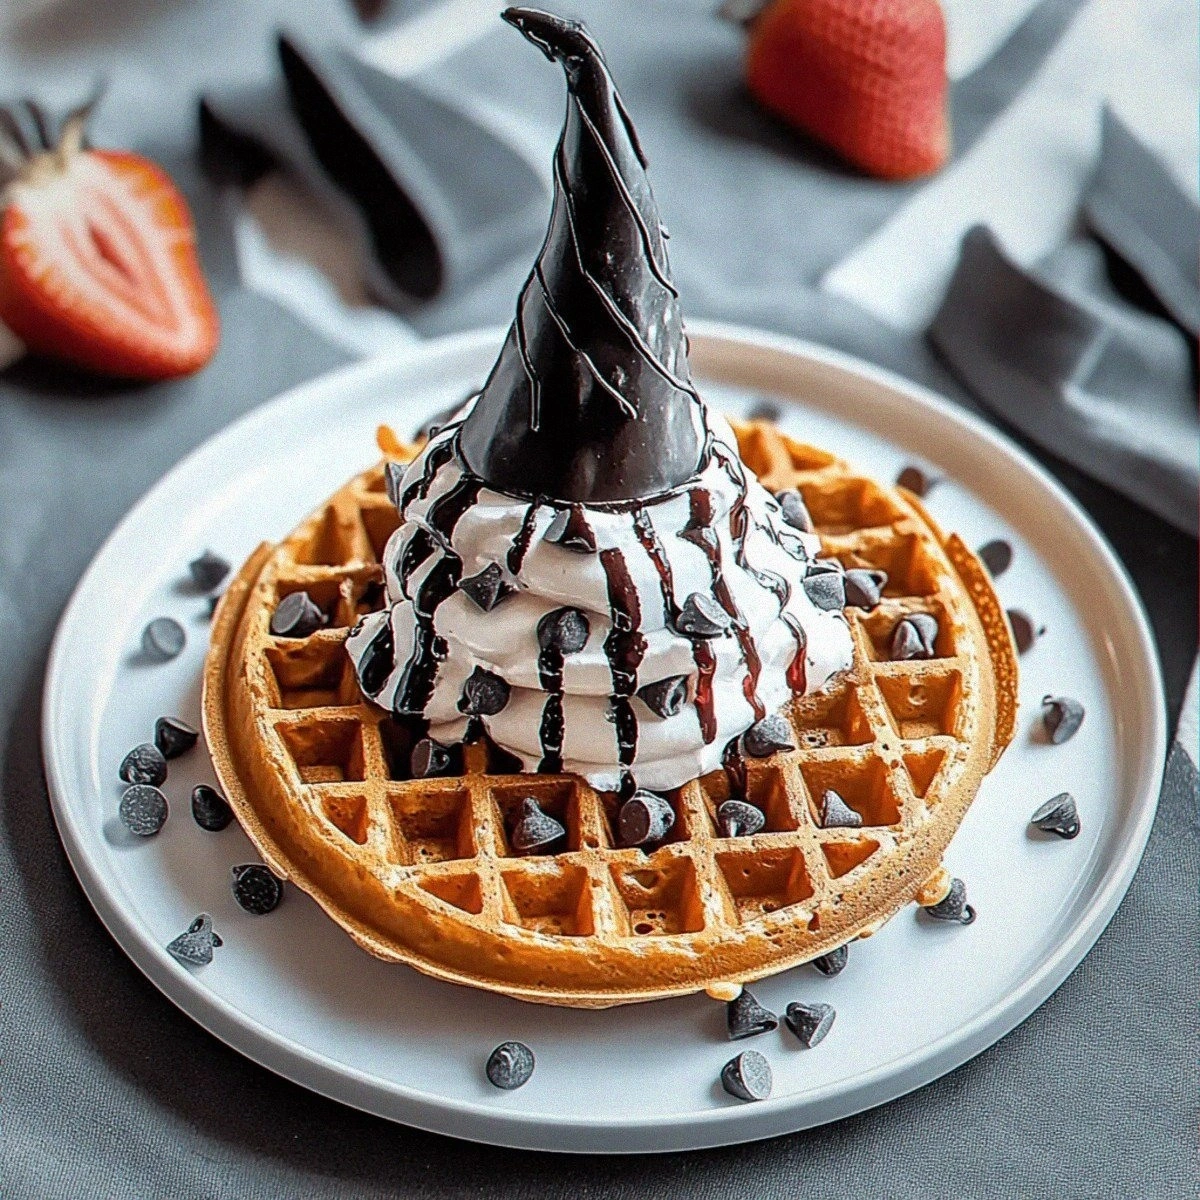
Create Magical Mornings with Enchanting Witch Hat Waffles
Learn how to make delicious Create Magical Mornings with Enchanting Witch Hat Waffles. Easy recipe with…
 Breakfast
Discover the Deliciousness of Banana Bliss Oatmeal Muffins
Delicious Discover the Deliciousness of Banana Bliss Oatmeal Muffins
 Breakfast
Heavenly Moist Banana Bread: A Delicious Journey Begins
Delicious Heavenly Moist Banana Bread: A Delicious Journey Begins
 Breakfast
Golden Harvest Fluffy Pumpkin Waffles
Delicious Golden Harvest Fluffy Pumpkin Waffles
 Breakfast
Cinnamon-Apple Delight Overnight Oats
Delicious Cinnamon-Apple Delight Overnight Oats
 Breakfast
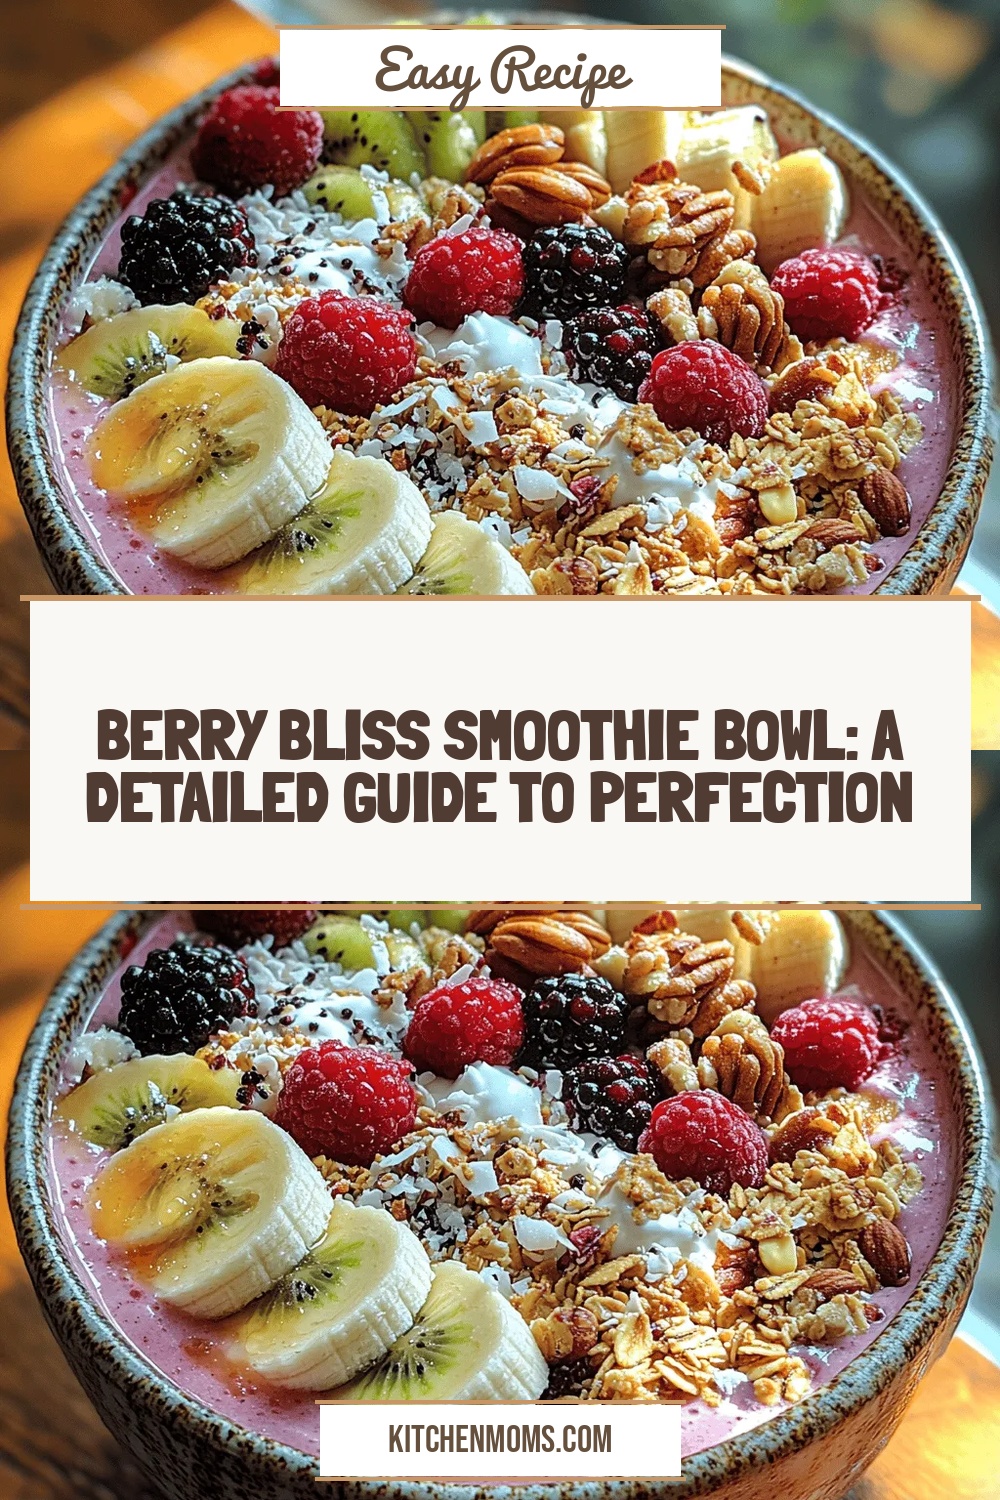
Berry Bliss Smoothie Bowl: A Detailed Guide to Perfection
Delicious Berry Bliss Smoothie Bowl: A Detailed Guide to Perfection

Lucy
I cook these recipes at home before they ever land here — simple ingredients, clear steps.