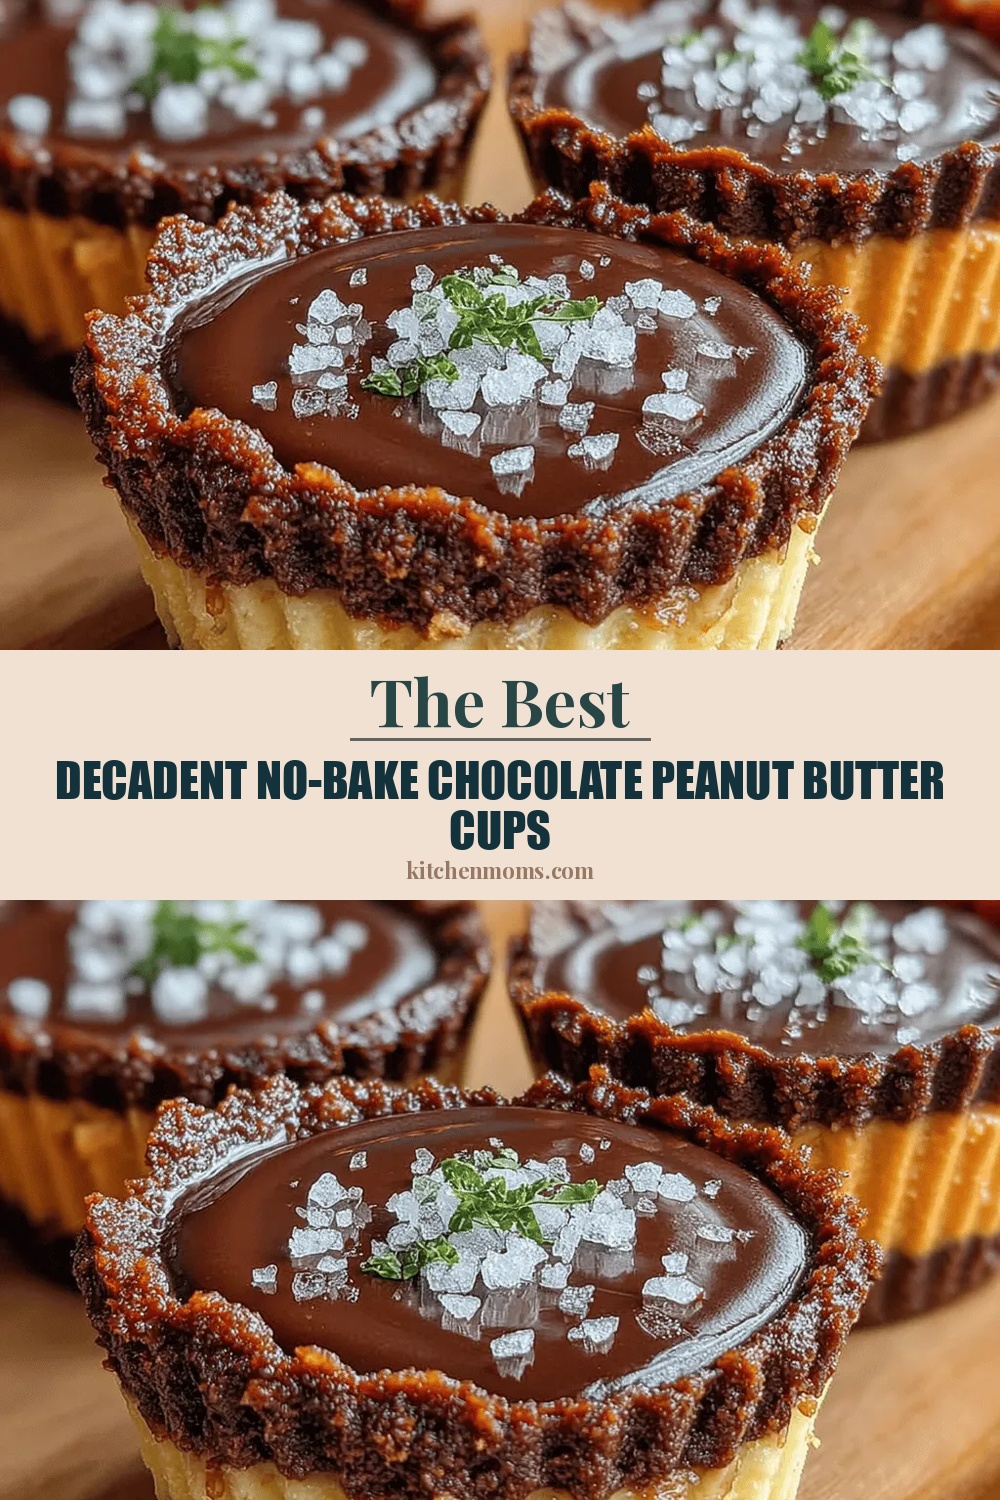
Decadent No-Bake Chocolate Peanut Butter Cups
 Save
Save
Imagine biting into a silky chocolate shell that gives way to a luscious swirl of creamy peanut butter—all without turning on the oven. These Decadent No‑Bake Chocolate Peanut Butter Cups are the perfect indulgence for a lazy weekend brunch or a special breakfast treat.
What sets this recipe apart is the balance of rich dark chocolate, lightly salted peanut butter, and a hint of sea‑salt sparkle that elevates each bite from ordinary to extraordinary.
Chocolate lovers, peanut‑butter fans, and anyone who craves a quick yet luxurious start to the day will adore these cups. Serve them on a festive brunch table, as a sweet finish to a pancake spread, or even as a grab‑and‑go morning snack.
The process is wonderfully simple: melt chocolate, layer a peanut‑butter filling, chill, and garnish. No baking, no mess, and only a handful of pantry staples are needed to create a dessert that feels gourmet.
Why You'll Love This Recipe
Zero‑Bake Simplicity: With just a microwave or stovetop melt, you can have a finished cup in under half an hour, perfect for busy mornings.
Customizable Sweetness: Adjust the sugar level or swap dark for milk chocolate to suit every palate, from kids to adults.
Protein‑Packed Boost: Peanut butter adds healthy fats and protein, turning a dessert into a satisfying mini‑meal that keeps you full longer.
Make‑Ahead Friendly: Once set, the cups keep beautifully in the fridge, allowing you to prep a batch ahead of your brunch gathering.
Tips & Tricks
Perfecting the Recipe
Use high‑quality chocolate. A good 70% dark chocolate provides depth and a firm snap; low‑grade chocolate can become grainy when set.
Don’t over‑heat the chocolate. Keep temperature below 115°F; overheating causes a dull finish and can cause the chocolate to seize.
Chill molds between layers. A quick freeze after the first chocolate layer prevents the filling from melting the shell.
Work in a cool room. Warm ambient temperatures can cause the chocolate to soften before it sets, leading to uneven cups.
Flavor Enhancements
Add a pinch of espresso powder to the chocolate for a subtle coffee note, or swirl in a drizzle of caramel before the final chill for extra decadence. A splash of almond extract in the peanut‑butter filling adds a nutty depth that pairs beautifully with dark chocolate.
Common Mistakes to Avoid
Avoid using chunky peanut butter; it can create gritty pockets in the filling. Also, don’t skip the final chilling step—if the chocolate isn’t fully set, the cups will be soft and may crumble when removed from the mold.
Pro Tips
Temper the chocolate. If you have a thermometer, bring chocolate to 115°F, cool to 82°F, then re‑heat to 88°F for a professional‑grade shine.
Use silicone molds with tall walls. This gives you more chocolate surface area for a thicker shell without extra effort.
Store in a single layer. Stacking cups before they’re fully set can cause them to stick together and ruin the presentation.
Finish with a light dusting. A quick sprinkle of flaky sea salt right after sealing adds a burst of flavor and visual contrast.
Variations
Ingredient Swaps
Swap dark chocolate for milk or white chocolate for a sweeter profile, or use almond butter instead of peanut butter for a milder nutty flavor. For a dairy‑free version, replace honey with agave nectar and ensure the chocolate is dairy‑free.
Dietary Adjustments
To keep the cups keto‑friendly, use a sugar‑free chocolate sweetened with erythritol and substitute honey with a few drops of liquid stevia. For a vegan version, choose a plant‑based chocolate and use a certified vegan peanut butter.
Serving Suggestions
Pair these cups with a fresh fruit platter, a dollop of Greek yogurt, or a glass of cold brew coffee for a balanced brunch. They also shine as a portable snack alongside a smoothie bowl or a handful of granola.
Storage Info
Leftover Storage
Once the cups have set, transfer them to an airtight container. Keep them refrigerated for up to 5 days; the chocolate will stay firm and the filling will remain creamy. For longer keeping, wrap each cup in parchment and freeze for up to 2 months, then thaw in the fridge before serving.
Reheating Instructions
To enjoy a warm version, place the cups on a parchment‑lined tray and warm in a 300°F oven for 5‑7 minutes, just until the chocolate softens slightly. Avoid microwaving for more than 10 seconds to prevent the filling from becoming oily.
Frequently Asked Questions
Can I make these cups ahead of time for a brunch?
What if I don’t have silicone molds?
Can I use crunchy peanut butter for extra texture?
How do I keep the chocolate from getting a white bloom?
These Decadent No‑Bake Chocolate Peanut Butter Cups bring café‑level indulgence to your breakfast or brunch table with minimal effort. By mastering the simple melt‑and‑set technique, you can create a treat that looks as impressive as it tastes. Feel free to experiment with chocolate types, sweeteners, or toppings to make the recipe truly your own. Serve them chilled, savor each bite, and enjoy the sweet start to a wonderful day!
Decadent No-Bake Chocolate Peanut Butter Cups
Delicious Decadent No-Bake Chocolate Peanut Butter Cups
Ingredients
Chocolate Coating
- 12 ounces dark chocolate (70% cacao), chopped
- 1 tablespoon coconut oil
- ¼ teaspoon sea salt
Peanut Butter Filling
- ½ cup creamy peanut butter
- 2 tablespoons honey or maple syrup
- ¼ teaspoon vanilla extract
- Pinch of sea salt
Toppings & Garnish
- Extra sea salt flakes (optional)
- Crushed peanuts for texture (optional)
Instructions
Forming the Cups
- Line the Molds. Arrange a silicone muffin tin or silicone candy molds on a baking sheet. This stabilizes the molds and makes transferring the cups easier later.
- First Chocolate Layer. Spoon about ½ teaspoon of melted chocolate into each mold, spreading it up the sides with a small brush. Aim for a uniform thickness of roughly ¼‑inch; this forms a sturdy shell that won’t crack when filled.
- Freeze the Shell. Place the tray in the freezer for 5‑7 minutes. Chilling solidifies the chocolate quickly, creating a barrier that prevents the filling from seeping through.
- Add Peanut Butter Filling. Drop a heaping ½‑teaspoon of the peanut‑butter mixture into the center of each chilled chocolate shell. Use a small spatula to smooth the top, leaving a tiny well for the final chocolate seal.
- Seal with Final Chocolate. Cover the filling with another ½ teaspoon of melted chocolate, gently tapping the mold to release air bubbles. The top should be smooth and level with the rim of the mold.
- Final Chill. Return the tray to the freezer for 15‑20 minutes, or until the chocolate is completely set. This ensures a firm snap when the cups are removed.
Similar Recipes
 Desserts
Refreshing Watermelon Lemonade Pops: The Ultimate Guide to a Summer Treat
Delicious Refreshing Watermelon Lemonade Pops: The Ultimate Guide to a Summer Treat
 Desserts
Pumpkin Spice Oat Snack Cookies Recipe
Delicious Pumpkin Spice Oat Snack Cookies Recipe
 Desserts
Indulge in Nigella Italian Christmas Cake Bliss
Learn how to make delicious Indulge in Nigella Italian Christmas Cake Bliss. Easy recipe with step-by-step…
 Desserts
Decadent Paleo Zucchini Brownies: A Guilt-Free Indulgence
Delicious Decadent Paleo Zucchini Brownies: A Guilt-Free Indulgence
 Desserts
Roasted Fruit Pizza Recipe
Delicious Roasted Fruit Pizza Recipe
 Desserts
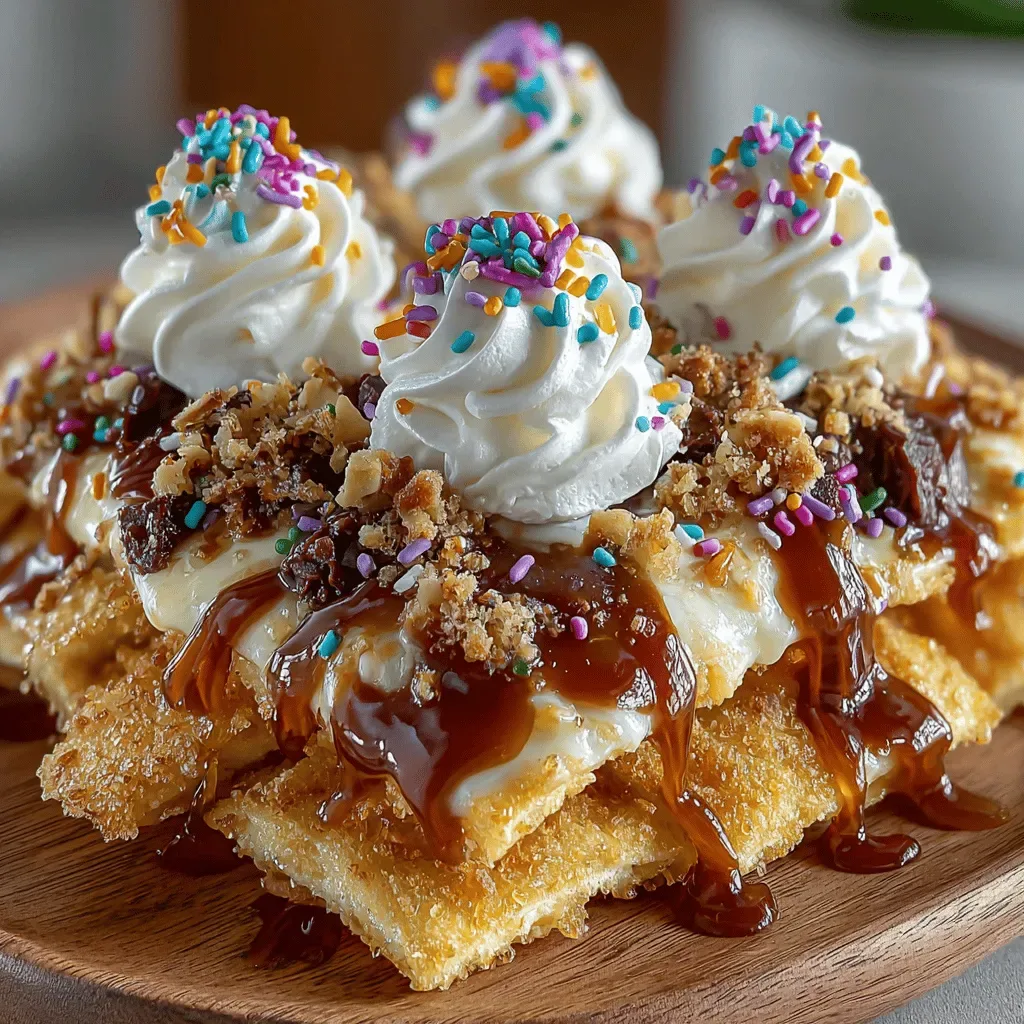
Zucchini Cookies Nachos Supreme: A Creative Dessert Experience
Delicious Zucchini Cookies Nachos Supreme: A Creative Dessert Experience
 Desserts
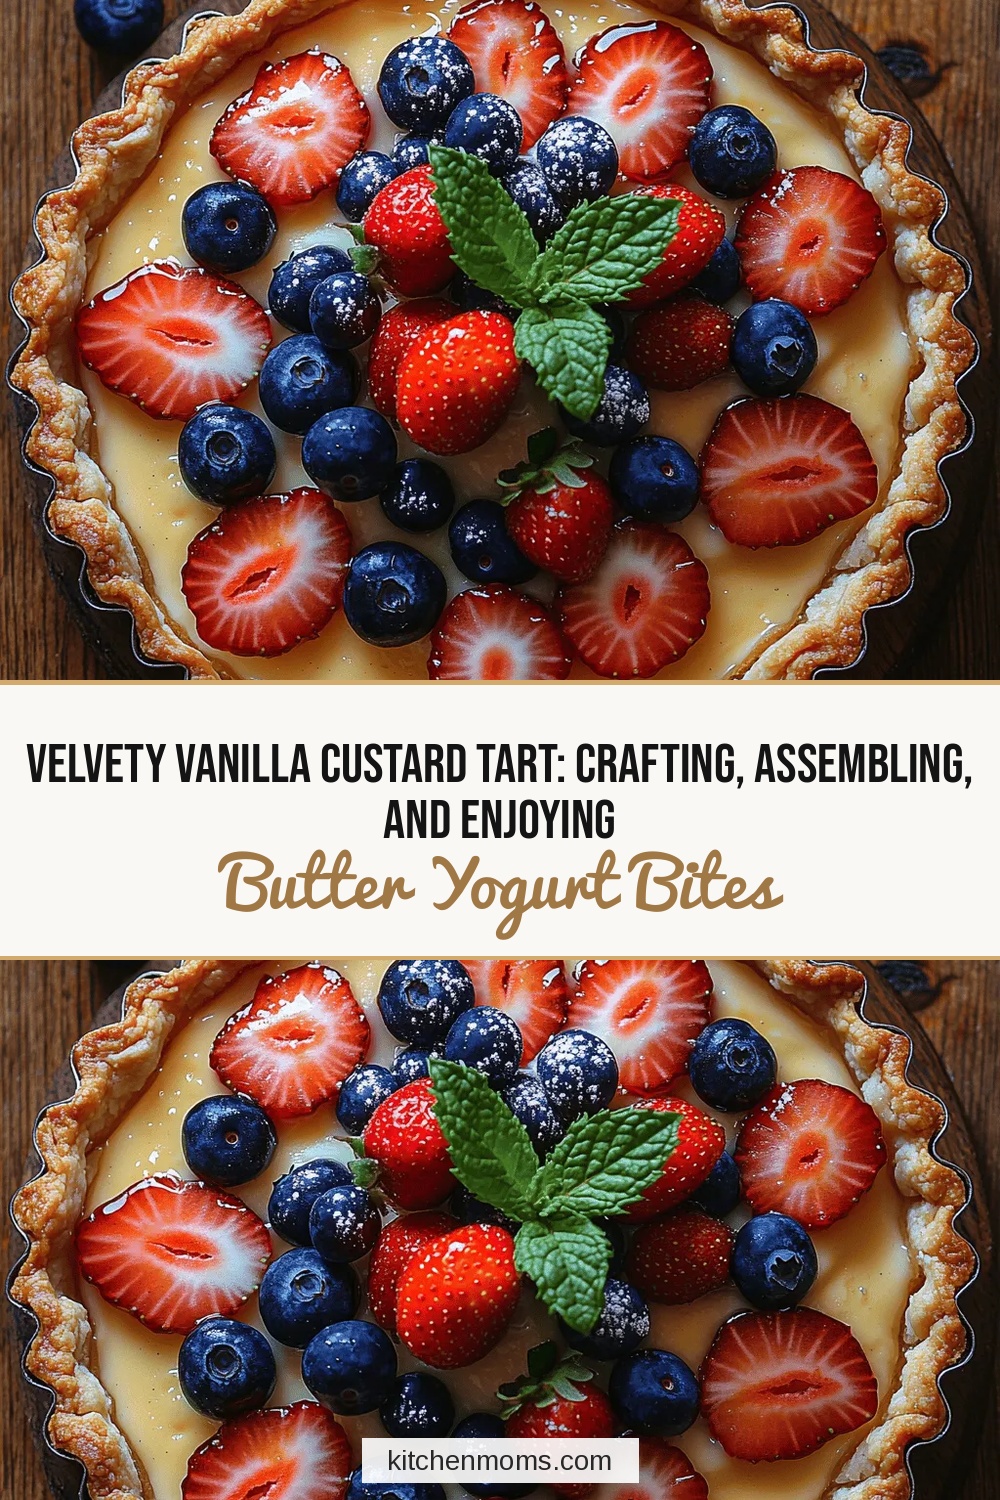
Velvety Vanilla Custard Tart: Crafting, Assembling, and Enjoying
Delicious Velvety Vanilla Custard Tart: Crafting, Assembling, and Enjoying
 Desserts
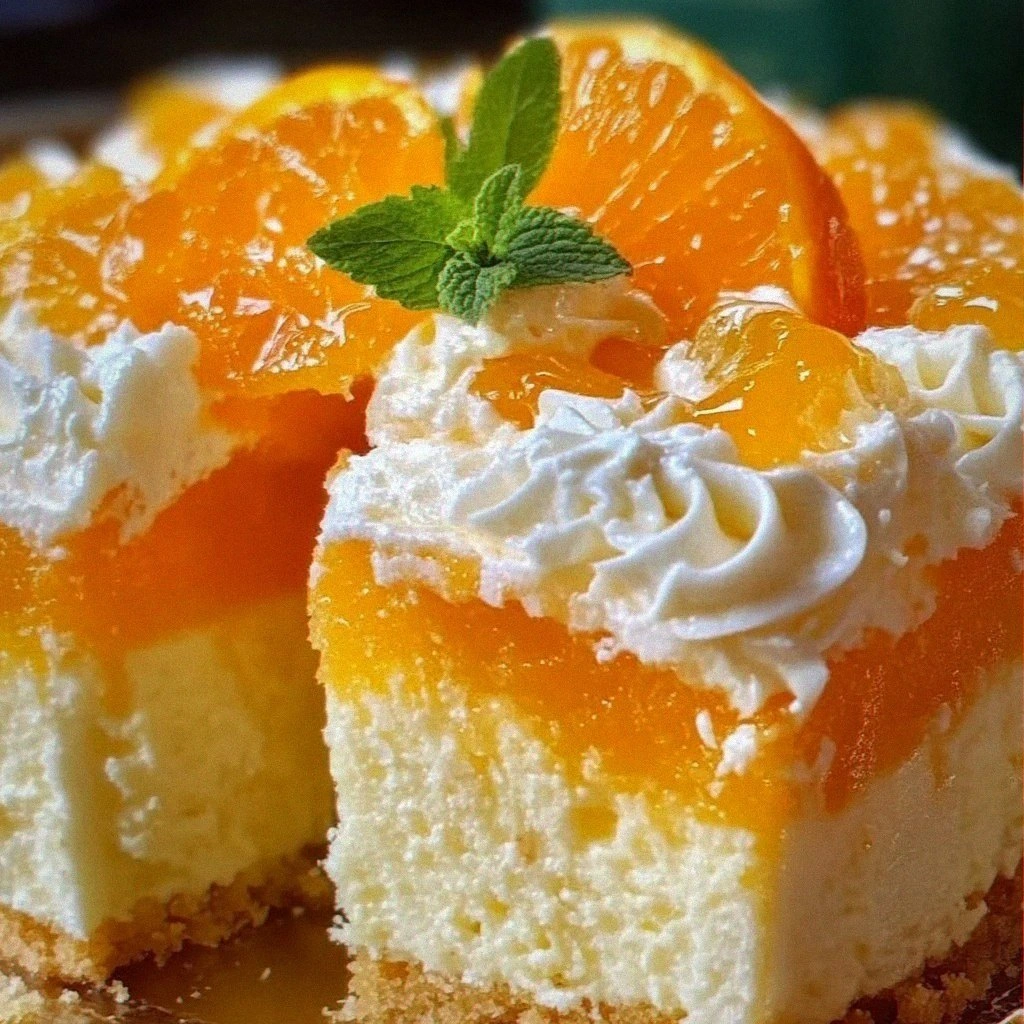
Irresistible Orange Creamsicle Cake
Learn how to make delicious Irresistible Orange Creamsicle Cake. Easy recipe with step-by-step instructions.

Lucy
I cook these recipes at home before they ever land here — simple ingredients, clear steps.