Delightful No-Bake Granola Yogurt Cups
 Save
Save
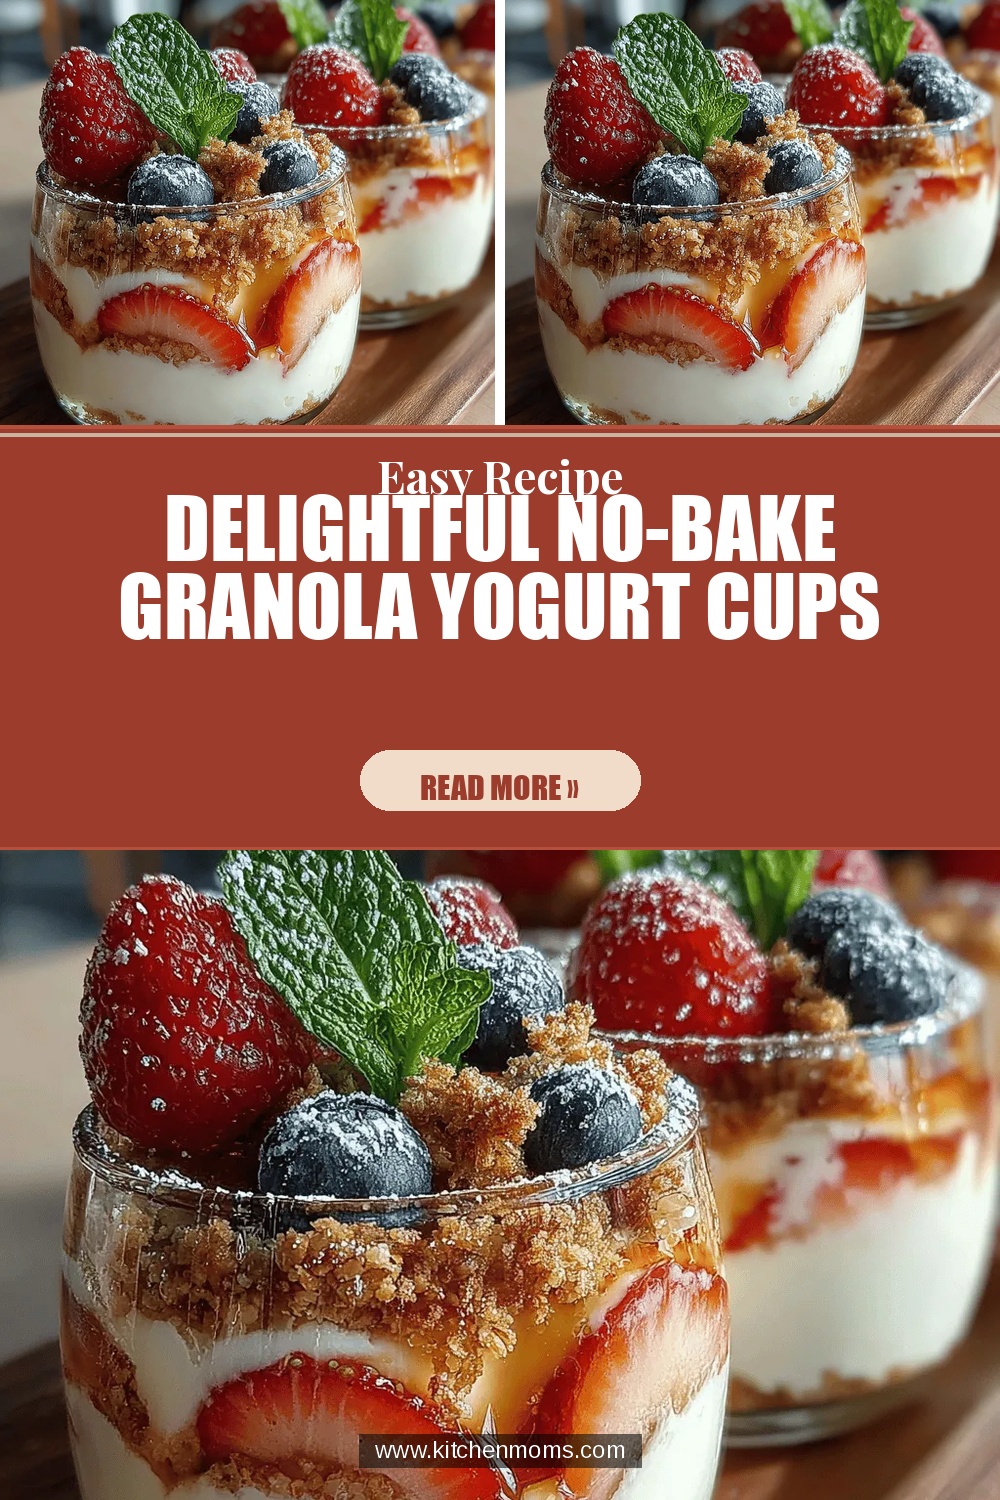
Imagine a breakfast that feels as indulgent as a dessert yet fuels you for the day ahead. Delightful No‑Bake Granola Yogurt Cups deliver that perfect balance of creamy, crunchy, and naturally sweet—all without turning on the oven.
What sets this recipe apart is the layered texture: a velvety Greek yogurt base, a honey‑kissed granola crumble, and a burst of fresh berries that keep each bite exciting from start to finish.
This dish is ideal for busy parents, brunch‑loving friends, or anyone craving a wholesome start without the mess of cooking. Serve it at weekend brunches, weekday grab‑and‑go breakfasts, or as a light snack any time of day.
The process is straightforward—mix, layer, chill, and enjoy. You’ll spend just a few minutes preparing the components, then let the cups set in the refrigerator while you tackle the rest of your morning routine.
Why You'll Love This Recipe
Quick Assembly: All components are ready in under fifteen minutes, making it perfect for hectic mornings when you still want something nutritious and beautiful.
No Baking Required: Skip the oven and keep your kitchen cool; the chill time in the fridge sets the flavors without any heat.
Customizable Layers: Swap fruits, nuts, or sweeteners to match seasonal produce or dietary preferences, turning each batch into a fresh creation.
Protein‑Packed: Greek yogurt provides a creamy source of protein and probiotics, supporting digestion and keeping you satisfied longer.
Tips & Tricks
Perfecting the Recipe
Use Full‑Fat Yogurt. The higher fat content yields a richer mouthfeel and helps the layers stay stable when chilled.
Dry Fruit First. Pat berries and dried cranberries with paper towels before adding; excess juice can make the granola soggy.
Layer in Order. Always place yogurt before granola and fruit; this prevents the granola from soaking too quickly.
Chill Glasses. For an extra‑cool presentation, chill the serving glasses in the freezer for 10 minutes before filling.
Flavor Enhancements
Add a pinch of ground cinnamon to the yogurt for warm spice, or swirl in a teaspoon of nut butter for added richness. A splash of fresh lemon juice over the berries brightens the overall profile.
Common Mistakes to Avoid
Avoid over‑mixing the granola with wet ingredients; it can become mushy. Also, don’t skip the chilling step—without it, the yogurt may separate and the texture will feel less cohesive.
Pro Tips
Prep Night Before. Assemble the cups the evening prior, cover tightly, and store in the fridge. They’ll be ready to grab in the morning.
Seasonal Fruit Swaps. Use peaches in summer, pomegranate seeds in winter, or kiwi for a tropical twist.
Portion Control. Use 4‑oz jars for individual servings; they’re perfect for meal‑prepping and fit neatly in lunch bags.
Texture Balance. Keep a small reserve of granola on the side to add just before serving for maximum crunch.
Variations
Ingredient Swaps
Replace Greek yogurt with plant‑based coconut or almond yogurt for a dairy‑free version. Swap honey for agave nectar or maple syrup to keep it vegan. Try pumpkin seeds, pistachios, or toasted coconut flakes instead of almonds for a different crunch profile.
Dietary Adjustments
For a low‑sugar diet, use unsweetened yogurt and cut the honey in half, adding a few drops of stevia if needed. Gluten‑free granola ensures the entire cup is safe for celiac guests. Keto lovers can omit the dried cranberries and use a sugar‑free sweetener, keeping net carbs low.
Serving Suggestions
Pair the cups with a side of whole‑grain toast or a small bowl of oatmeal for a heartier brunch. A glass of freshly squeezed orange juice or a chilled herbal tea balances the richness and adds a refreshing finish.
Storage Info
Leftover Storage
Allow any remaining cups to cool to room temperature, then seal each with a tight‑fitting lid. Store in the refrigerator for up to four days. If you plan to keep them longer, transfer the yogurt mixture and granola to separate containers, freeze the yogurt for up to three months, and keep granola airtight to preserve crunch.
Reheating Instructions
These cups are enjoyed cold, but if you prefer a warm twist, gently heat the yogurt base in a saucepan over low heat for 2‑3 minutes, stirring constantly. Add fresh fruit after warming to prevent it from turning mushy. Avoid microwaving the entire cup, as it can make the granola soggy.
Frequently Asked Questions
Can I make these cups ahead of time?
What if I don’t have fresh berries?
How long will the granola stay crunchy?
Can I use flavored yogurt instead of plain?
This no‑bake delight brings together creamy yogurt, sweet honey, and crunchy granola into a portable, eye‑catching breakfast that feels both indulgent and nutritious. By following the detailed steps, storage tips, and optional variations, you’ll master a versatile dish that can be customized to any palate or dietary need. Feel free to experiment with seasonal fruits, different nuts, or plant‑based yogurts—creativity is the secret ingredient. Enjoy each spoonful of your handcrafted granola yogurt cups and start every day with a smile.
Delightful No-Bake Granola Yogurt Cups
Delicious Delightful No-Bake Granola Yogurt Cups
Ingredients
Yogurt Base
- 2 cups plain Greek yogurt (full‑fat or 2% works)
- 2 tablespoons honey
- 1 teaspoon pure vanilla extract
Crunch Mix
- 1 cup granola (preferably low‑sugar)
- ¼ cup sliced almonds
- 2 tablespoons chia seeds
- ¼ cup dried cranberries, chopped
Fresh Toppings
- 1 cup mixed berries (strawberries, blueberries, raspberries)
- 1 tablespoon pure maple syrup (optional drizzle)
- Fresh mint leaves for garnish
Instructions
Layer the Cups
- First Yogurt Layer. Spoon a generous 2‑3 tablespoons of the yogurt mixture into the bottom of each serving glass or jar. Smooth with the back of a spoon to create an even foundation.
- Crunch Layer. Sprinkle a heaping tablespoon of the (toasted) granola‑nut‑seed blend over the yogurt. Press lightly so the granola adheres to the creamy surface.
- Fruit Layer. Add a handful of fresh mixed berries, distributing them evenly across each cup. The berries should sit atop the crunch for a vibrant visual contrast.
- Second Yogurt Layer. Top the fruit with another 2‑3 tablespoons of yogurt, smoothing again. This second layer locks the berries in place and adds extra creaminess.
- Finish with Toppings. Drizzle a thin stream of maple syrup over the top, scatter a few extra berries, and garnish with a sprig of fresh mint. The mint adds a refreshing aroma that lifts the whole cup.
Similar Recipes
 Desserts
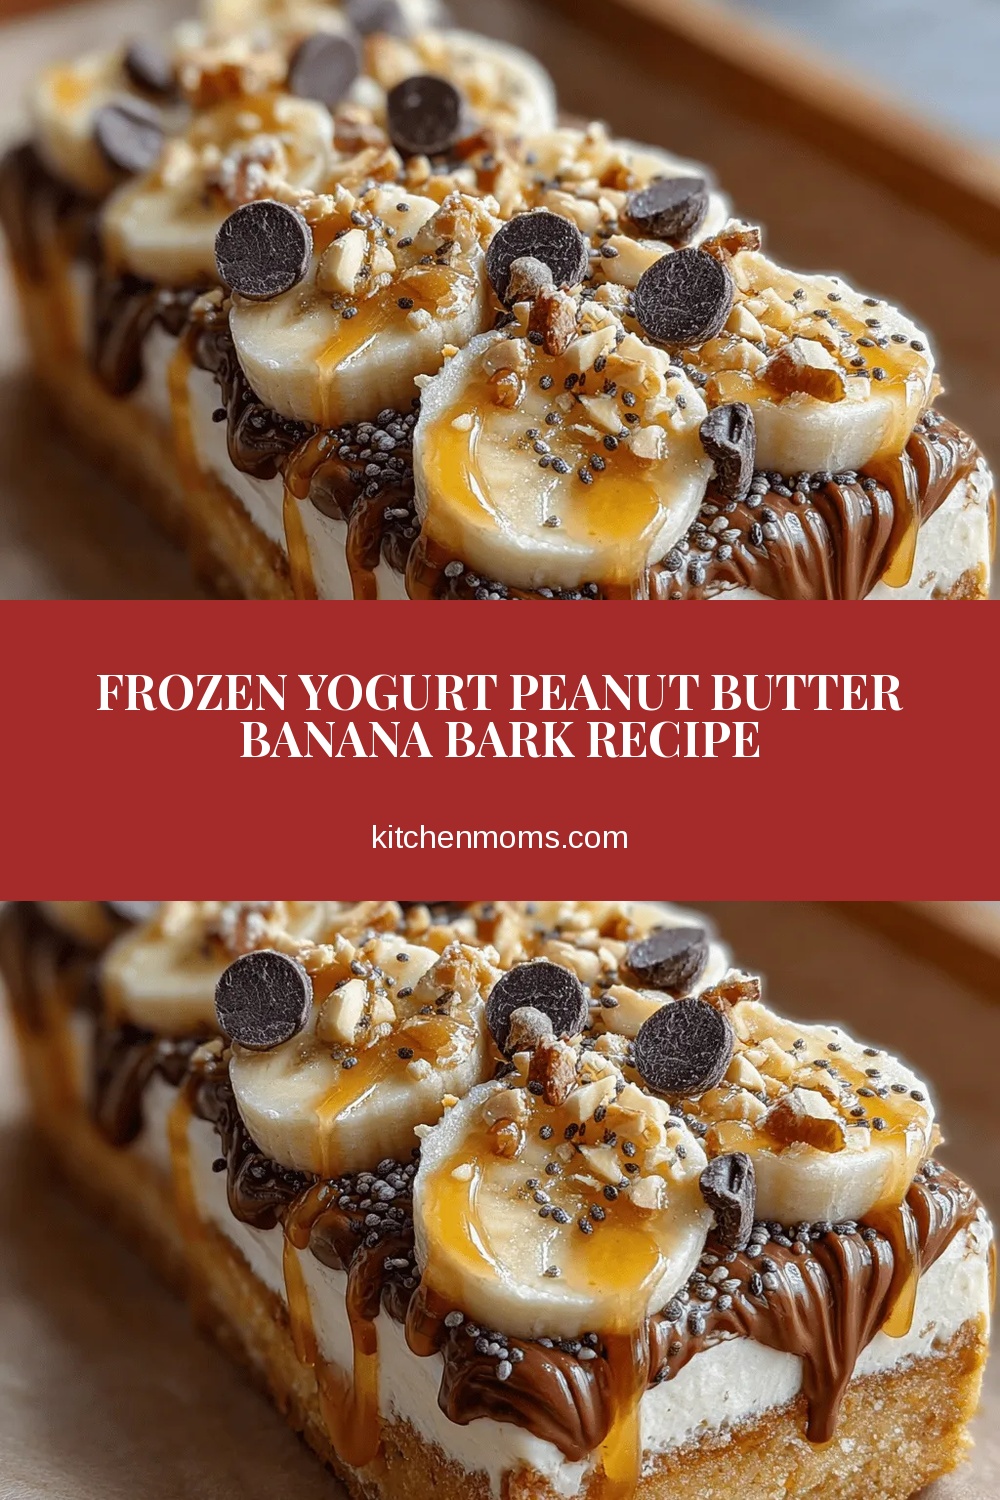
Frozen Yogurt Peanut Butter Banana Bark Recipe
Delicious Frozen Yogurt Peanut Butter Banana Bark Recipe
 Desserts
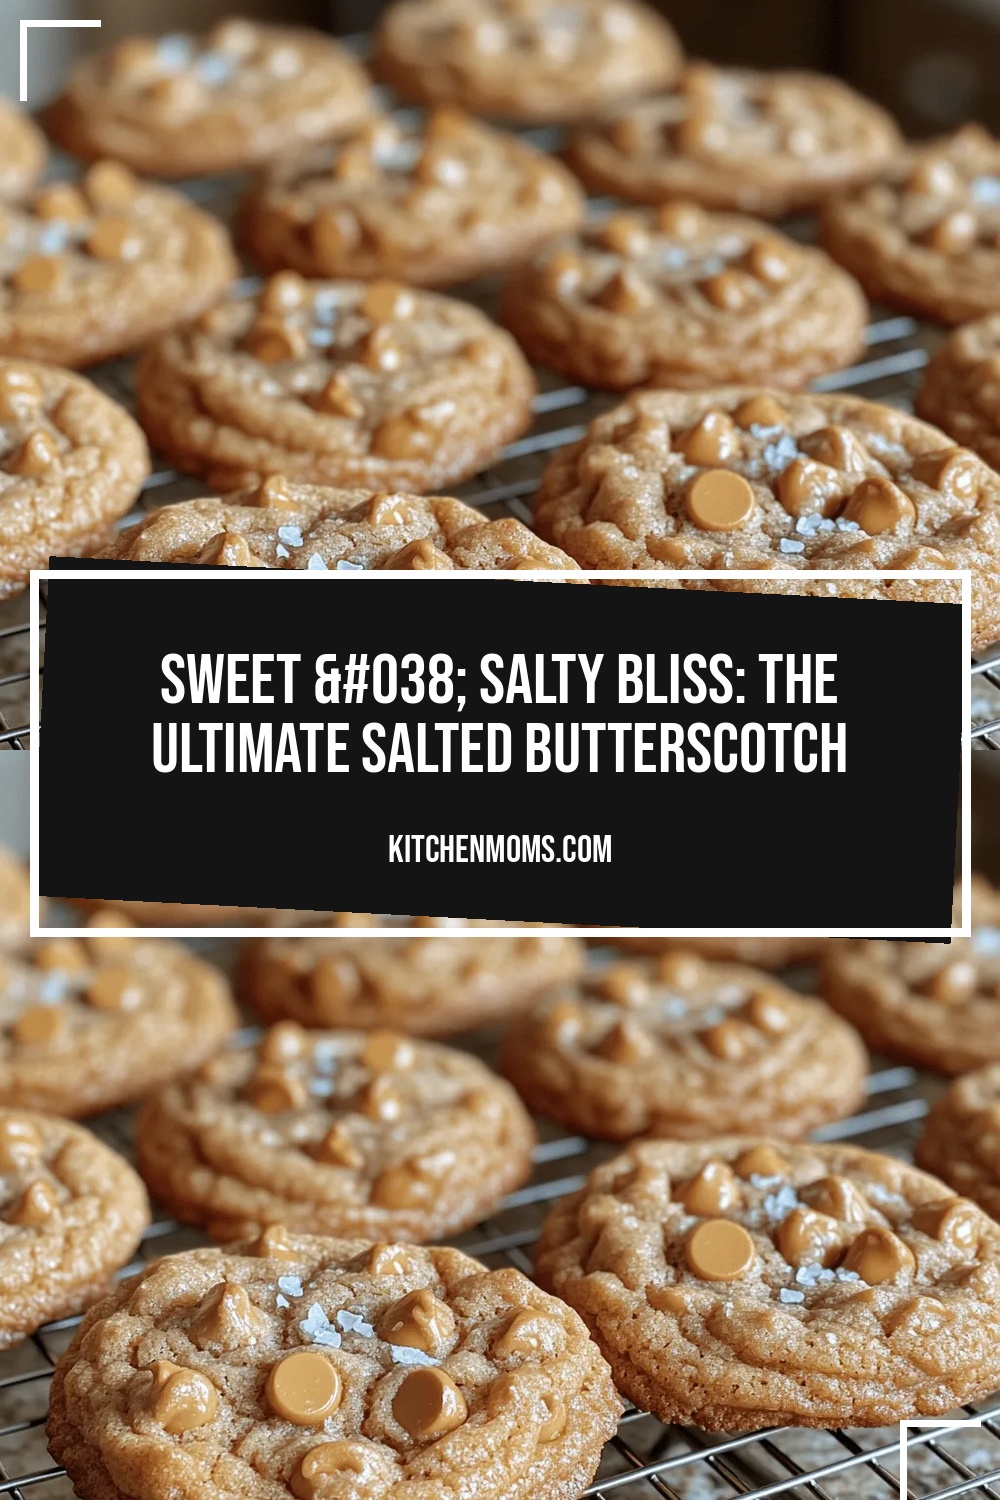
Sweet & Salty Bliss: The Ultimate Salted Butterscotch Cookies Recipe
Delicious Sweet & Salty Bliss: The Ultimate Salted Butterscotch Cookies Recipe
 Desserts
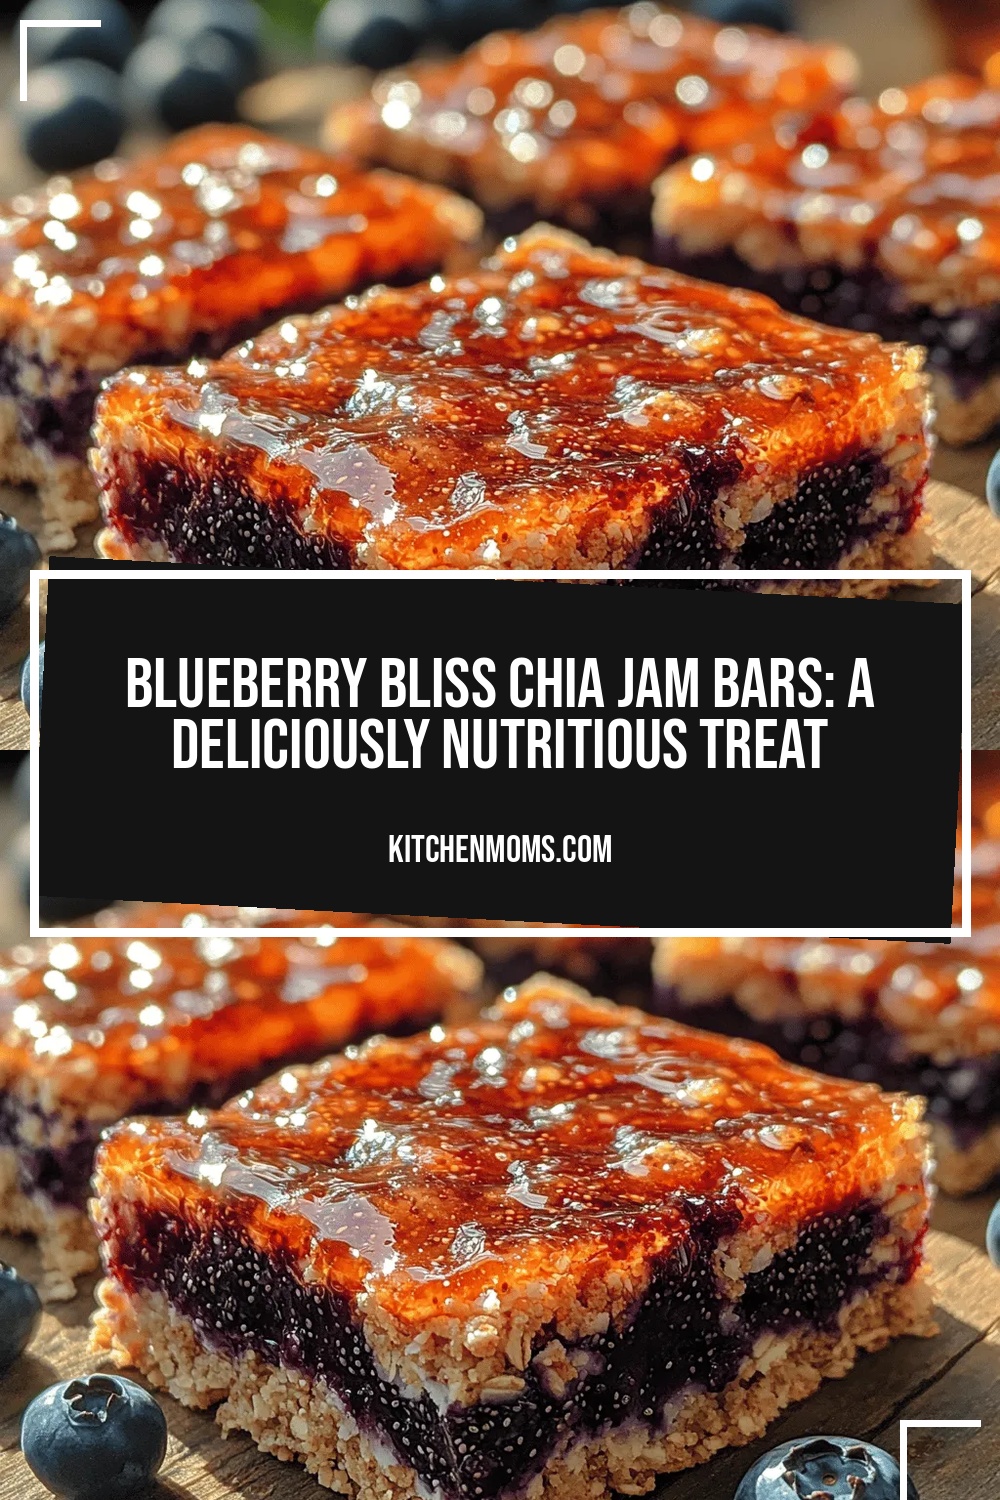
Blueberry Bliss Chia Jam Bars: A Deliciously Nutritious Treat
Delicious Blueberry Bliss Chia Jam Bars: A Deliciously Nutritious Treat
 Desserts
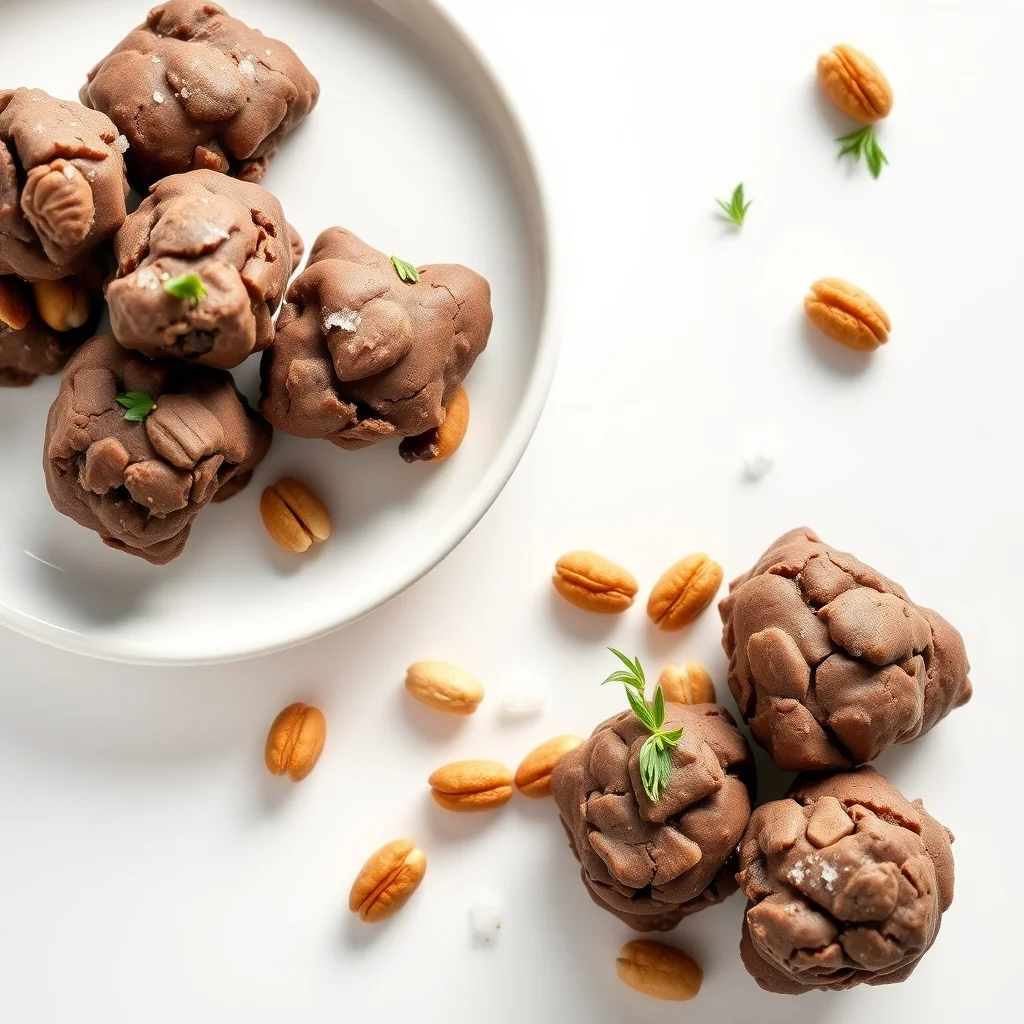
Irresistible Frozen Chocolate Nut Clusters with Sea Salt
Delicious Irresistible Frozen Chocolate Nut Clusters with Sea Salt
 Desserts
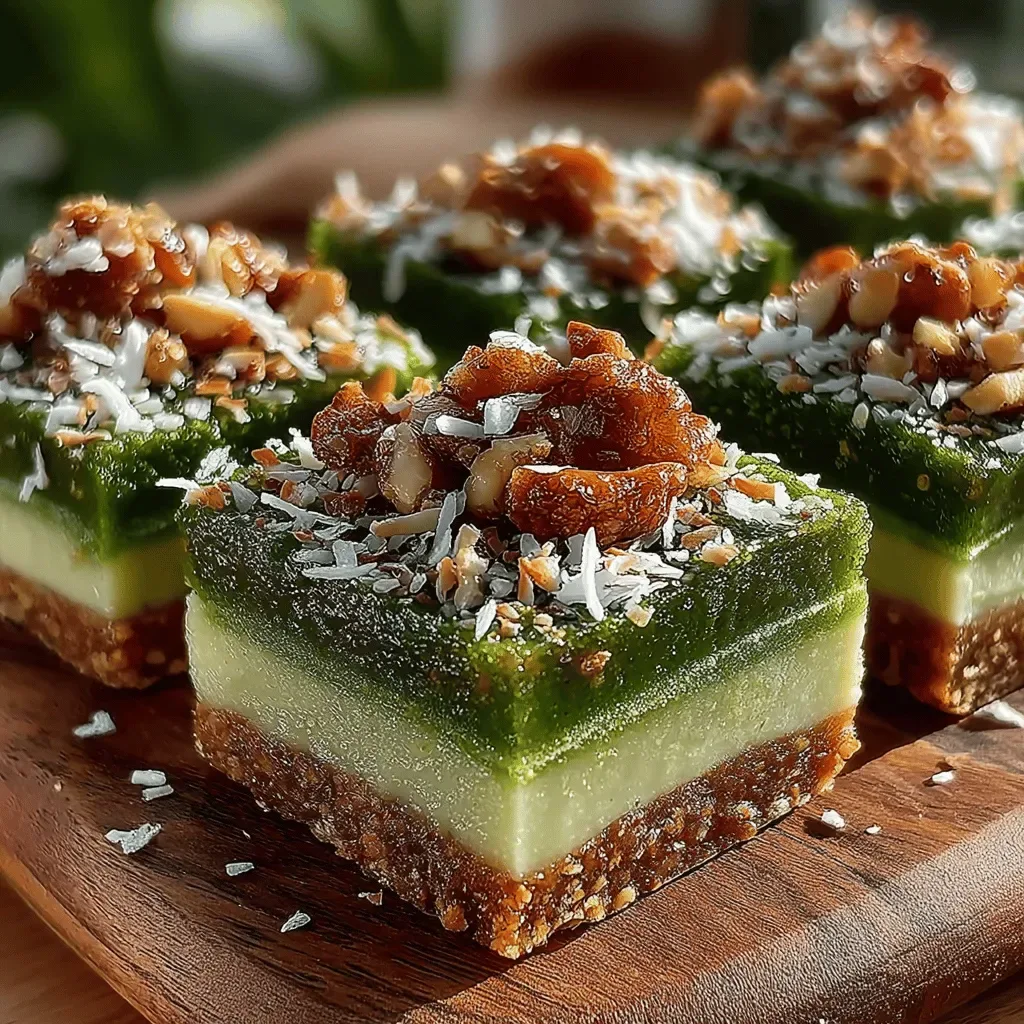
Frozen Yogurt Matcha Green Tea Squares: A Refreshing Treat
Delicious Frozen Yogurt Matcha Green Tea Squares: A Refreshing Treat
 Desserts
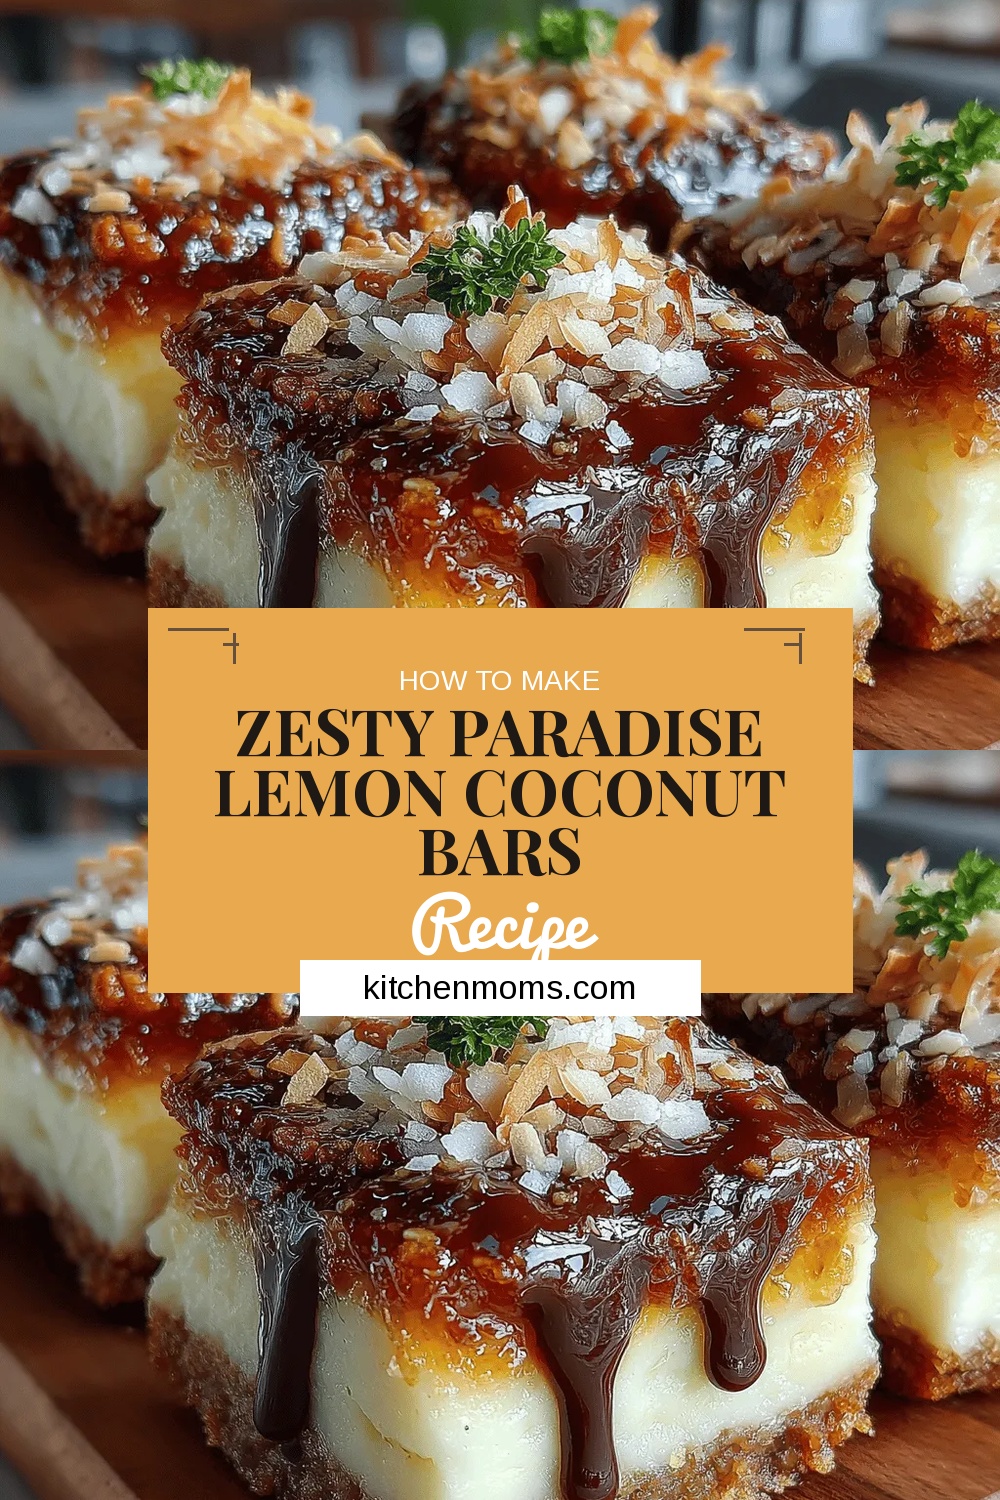
Zesty Paradise Lemon Coconut Bars
Delicious Zesty Paradise Lemon Coconut Bars
 Desserts
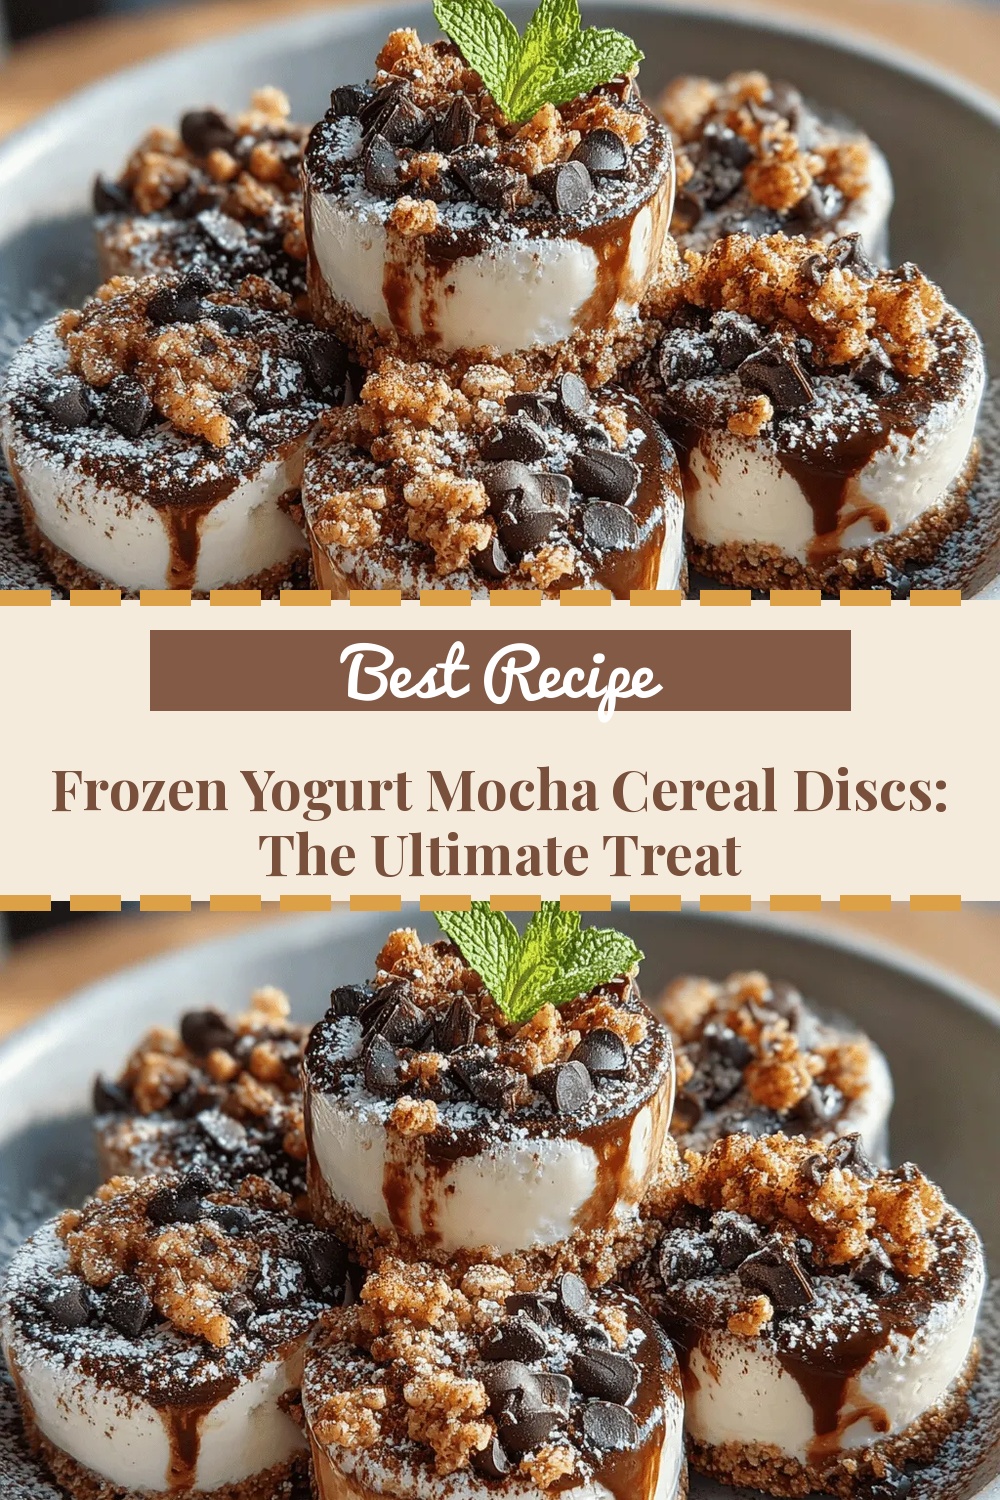
Frozen Yogurt Mocha Cereal Discs: The Ultimate Treat
Delicious Frozen Yogurt Mocha Cereal Discs: The Ultimate Treat
 Desserts
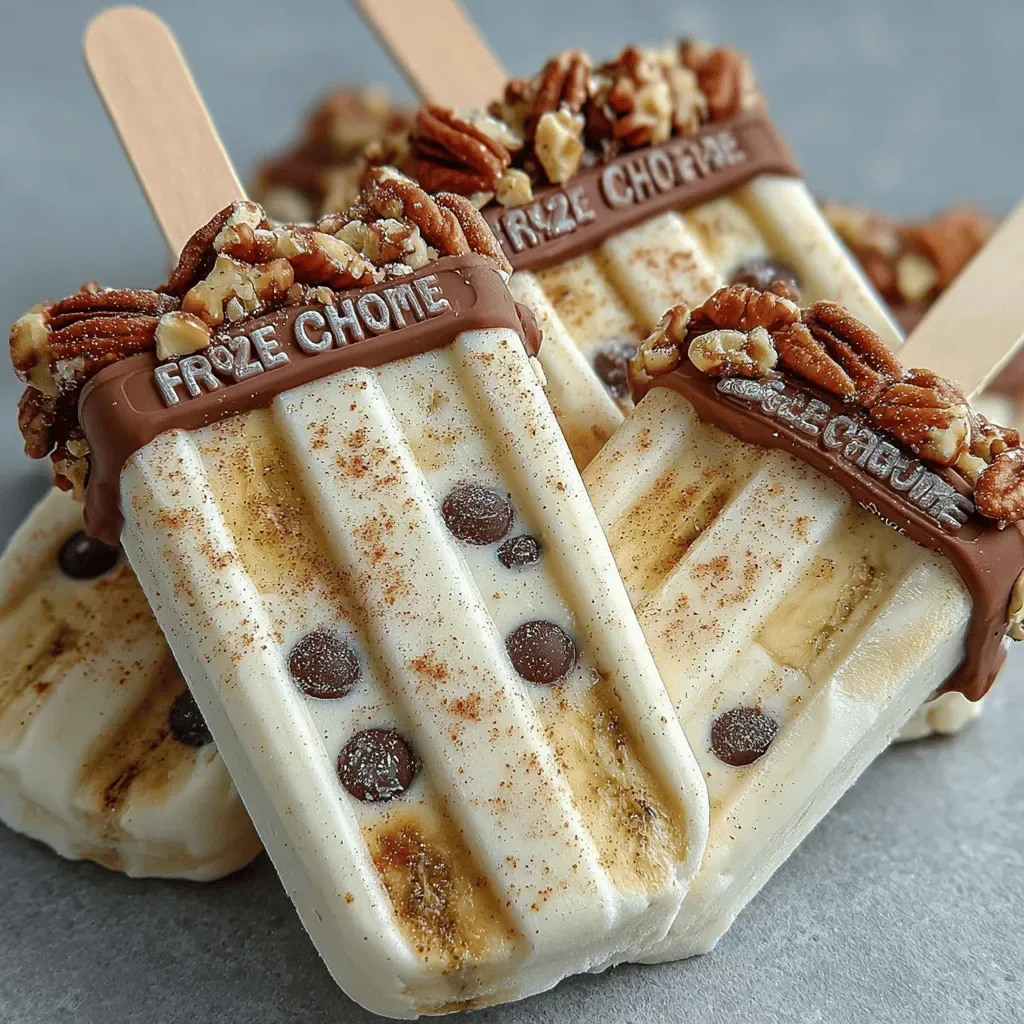
Frozen Yogurt Banana Pecan Pops: A Delicious and Healthy Treat
Delicious Frozen Yogurt Banana Pecan Pops: A Delicious and Healthy Treat

Lucy
I cook these recipes at home before they ever land here — simple ingredients, clear steps.