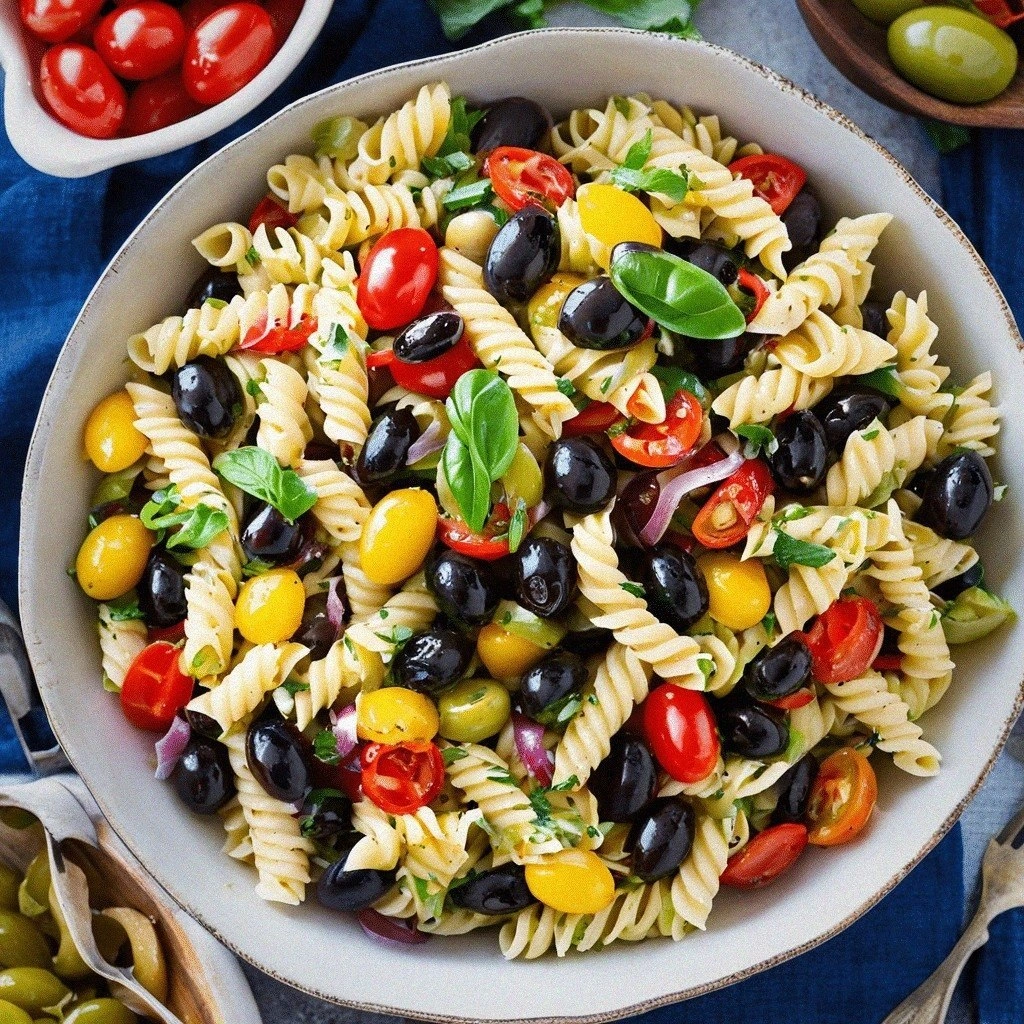
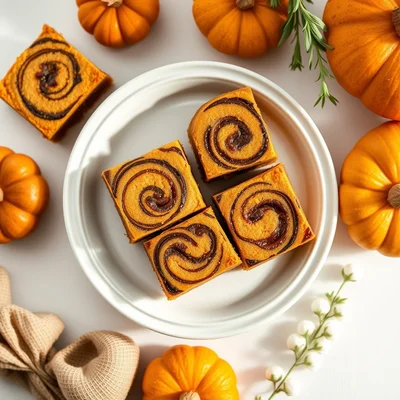
Frozen Yogurt Lemon Pie Cookie Squares
 Save
Save
Imagine the tang of fresh lemon, the creaminess of frozen yogurt, and the buttery crunch of a shortbread crust all in one bite. Frozen Yogurt Lemon Pie Cookie Squares capture that dreamy combination in a quick, no‑bake dessert that feels indulgent without the fuss.
What makes this treat special is the layered texture: a crisp cookie base, a silky lemon‑yogurt filling, and a light dusting of powdered sugar that adds just the right hint of sweetness. Each component is prepared separately, then assembled and chilled, allowing flavors to meld perfectly.
This dessert is perfect for brunch gatherings, afternoon tea, or a refreshing finish after a summer barbecue. Kids love the bright citrus flavor, while adults appreciate the sophisticated balance of tart and sweet.
The process is straightforward: whisk a simple cookie dough, bake it until golden, blend frozen yogurt with lemon zest and juice, spread the mixture, and finish with a quick chill. In under an hour you’ll have a tray of elegant squares ready to serve.
Why You'll Love This Recipe
Bright Citrus Flavor: The fresh lemon zest and juice cut through the richness of the yogurt, creating a lively palate that wakes up the senses.
No‑Bake Simplicity: Once the cookie base is baked, the rest of the dessert only requires mixing and chilling, making it ideal for hot days when you want to avoid the oven.
Portion‑Perfect Squares: Cutting the tray into uniform squares ensures each guest gets a tidy, elegant serving without any guesswork.
Customizable Toppings: A sprinkle of powdered sugar, toasted coconut, or fresh berries can be added at the end to suit any occasion or personal taste.
Tips & Tricks
Perfecting the Recipe
Room‑Temperature Butter. Soften butter to room temperature before mixing; it incorporates more evenly, giving a smoother crust that bakes uniformly.
Don’t Over‑Mix the Dough. Stop mixing once the crumbs come together. Over‑mixing develops gluten, which can make the shortbread tough.
Flavor Enhancements
Add a teaspoon of vanilla extract to the yogurt filling for subtle depth, or fold in a tablespoon of finely chopped fresh mint for a refreshing twist. A pinch of sea salt on the finished squares intensifies the lemon’s brightness.
Common Mistakes to Avoid
Avoid letting the yogurt sit at room temperature for too long; it can become runny and difficult to spread. Also, don’t skip the chilling step—without it the filling will be too soft to cut cleanly.
Pro Tips
Use a Light‑Dusted Sieve. For an even powdered‑sugar finish, sift the sugar through a fine mesh directly over the squares.
Freeze the Pan. Chill the baking pan for a few minutes before pressing the dough; this helps the crust keep its shape during baking.
Warm the Knife. Run a hot, dry knife under hot water, dry, and slice—this yields crisp, professional‑looking edges.
Variations
Ingredient Swaps
Replace the plain frozen yogurt with vanilla‑flavored frozen yogurt for a sweeter base, or swap lemon juice for lime for a tropical spin. For a richer crust, substitute half of the flour with finely ground almond meal, which adds a nutty undertone.
Dietary Adjustments
Use a gluten‑free flour blend to keep the dessert safe for gluten‑intolerant guests. For a dairy‑free version, choose coconut‑milk‑based frozen yogurt and swap butter for a plant‑based margarine. A sugar‑free sweetener such as erythritol can replace honey for a low‑carb option.
Serving Suggestions
Serve the squares alongside a dollop of whipped coconut cream and a sprig of mint for an elegant plated dessert. Pair them with a glass of chilled sparkling rosé or a light iced tea for a refreshing brunch accompaniment.
Storage Info
Leftover Storage
Allow any remaining squares to come to room temperature, then transfer them to an airtight container. Store in the refrigerator for up to 4 days. For longer keeping, wrap each square in plastic wrap and freeze in a zip‑top bag for up to 2 months.
Reheating Instructions
To enjoy a chilled bite, simply serve straight from the fridge. If you prefer a slightly warm dessert, place a square on a baking sheet and warm in a 300°F oven for 5‑7 minutes; the crust will soften while the filling stays creamy.
Frequently Asked Questions
Can I make this dessert ahead of time?
What if I don’t have frozen Greek yogurt?
Can I substitute the lemon with another citrus?
This Frozen Yogurt Lemon Pie Cookie Square recipe delivers a bright, creamy dessert with minimal effort. By following the detailed steps, using the suggested tips, and customizing as you like, you’ll create a crowd‑pleasing treat that feels both fresh and indulgent. Feel free to experiment with toppings or citrus variations to make it truly yours. Enjoy every tangy, buttery bite!
Frozen Yogurt Lemon Pie Cookie Squares
Delicious Frozen Yogurt Lemon Pie Cookie Squares
Ingredients
Cookie Base
- 1 ½ cups all‑purpose flour
- ¼ cup granulated sugar
- ¼ teaspoon salt
- ¾ cup unsalted butter, softened
Lemon Yogurt Filling
- 2 cups frozen Greek yogurt (plain)
- ¼ cup fresh lemon juice
- 2 teaspoons lemon zest
- ¼ cup honey or maple syrup
Topping & Finishing
- 2 tablespoons powdered sugar (for dusting)
- Optional: fresh berries or toasted coconut flakes
Instructions
Baking the Crust
- Preheat the Oven. Set the oven to 350°F (175°C) and let it fully heat—about 5 minutes. A properly preheated oven ensures the crust browns evenly without spreading.
- Bake the Base. Place the pan on the middle rack and bake for 12‑15 minutes, or until the edges turn a light golden brown. The crust should feel firm to the touch but not dark.
- Cool Slightly. Remove the pan and let the crust cool on a wire rack for 5 minutes. This prevents the hot base from melting the yogurt filling later.
Assembling the Squares
- Spread the Filling. Evenly pour the lemon‑yogurt mixture over the cooled cookie base, using a spatula to smooth the top. Aim for a uniform layer about ½‑inch thick.
- Chill to Set. Transfer the pan to the refrigerator and chill for at least 30 minutes, or until the filling firms up enough to cut cleanly.
- Cut into Squares. Using a sharp knife warmed under hot water, slice the dessert into 12 equal squares. Warm the knife between cuts for clean edges.
- Finish with Topping. Lightly dust each square with powdered sugar. If desired, garnish with fresh berries or toasted coconut for extra texture and visual appeal.
Similar Recipes
 Desserts
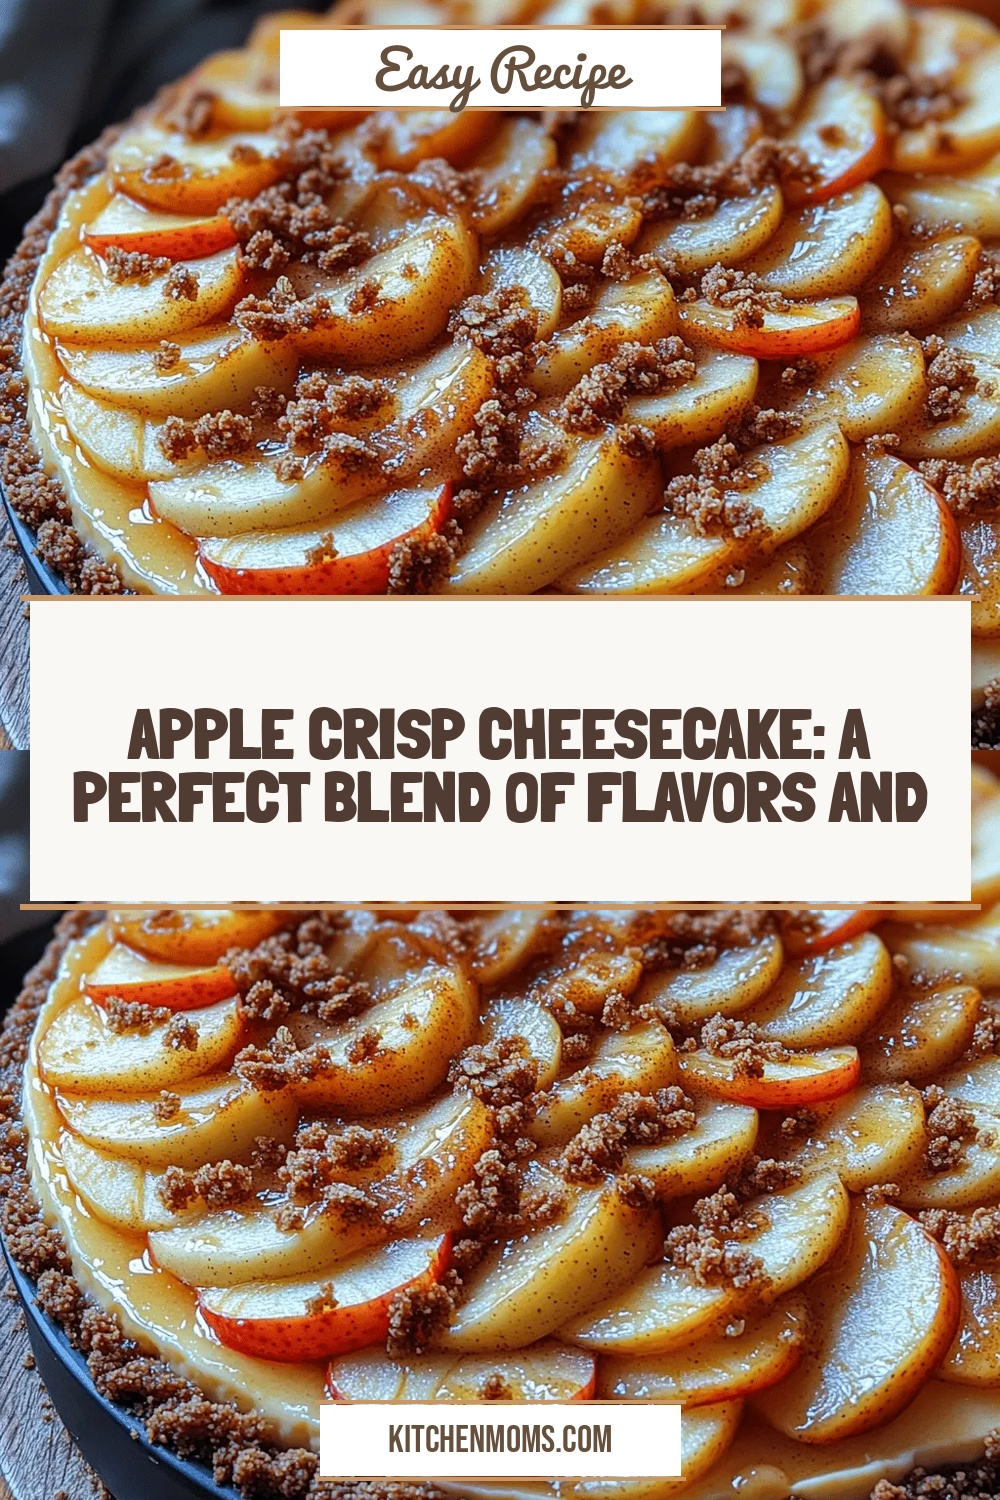
Apple Crisp Cheesecake: A Perfect Blend of Flavors and Textures
Delicious Apple Crisp Cheesecake: A Perfect Blend of Flavors and Textures
 Desserts
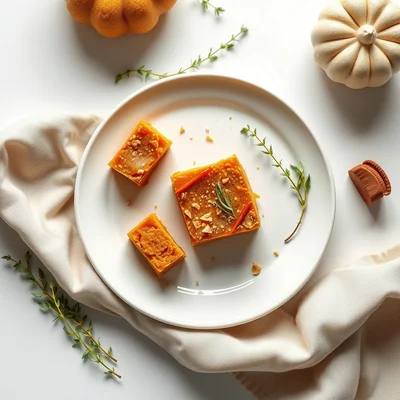
Pumpkin Pie Sticky Bars
Discover the perfect pumpkin pie sticky bars – moist, spiced, and topped with a caramel glaze.…
 Desserts
Zesty Frozen Lemonade Pie Bars: A Refreshing Delight
Delicious Zesty Frozen Lemonade Pie Bars: A Refreshing Delight
 Desserts
Cinnamon Roll Bliss Bars: A Delectable Twist on a Classic Favorite
Delicious Cinnamon Roll Bliss Bars: A Delectable Twist on a Classic Favorite
 Desserts
Chocolate Covered Kiwi Pops: A Delicious and Nutritious Treat
Delicious Chocolate Covered Kiwi Pops: A Delicious and Nutritious Treat
 Desserts
Back-to-School Chocolate Zucchini Muffin Bites: The Ultimate Recipe Guide
Delicious Back-to-School Chocolate Zucchini Muffin Bites: The Ultimate Recipe Guide
 Desserts
No-Bake Butterscotch Pie – Easy & Delicious Dessert Recipe
Learn how to make delicious No-Bake Butterscotch Pie – Easy & Delicious Dessert Recipe. Easy recipe…
 Desserts
Spiced Orange Olive Oil Cake
Learn how to make delicious Spiced Orange Olive Oil Cake. Easy recipe with step-by-step instructions.

Lucy
I cook these recipes at home before they ever land here — simple ingredients, clear steps.