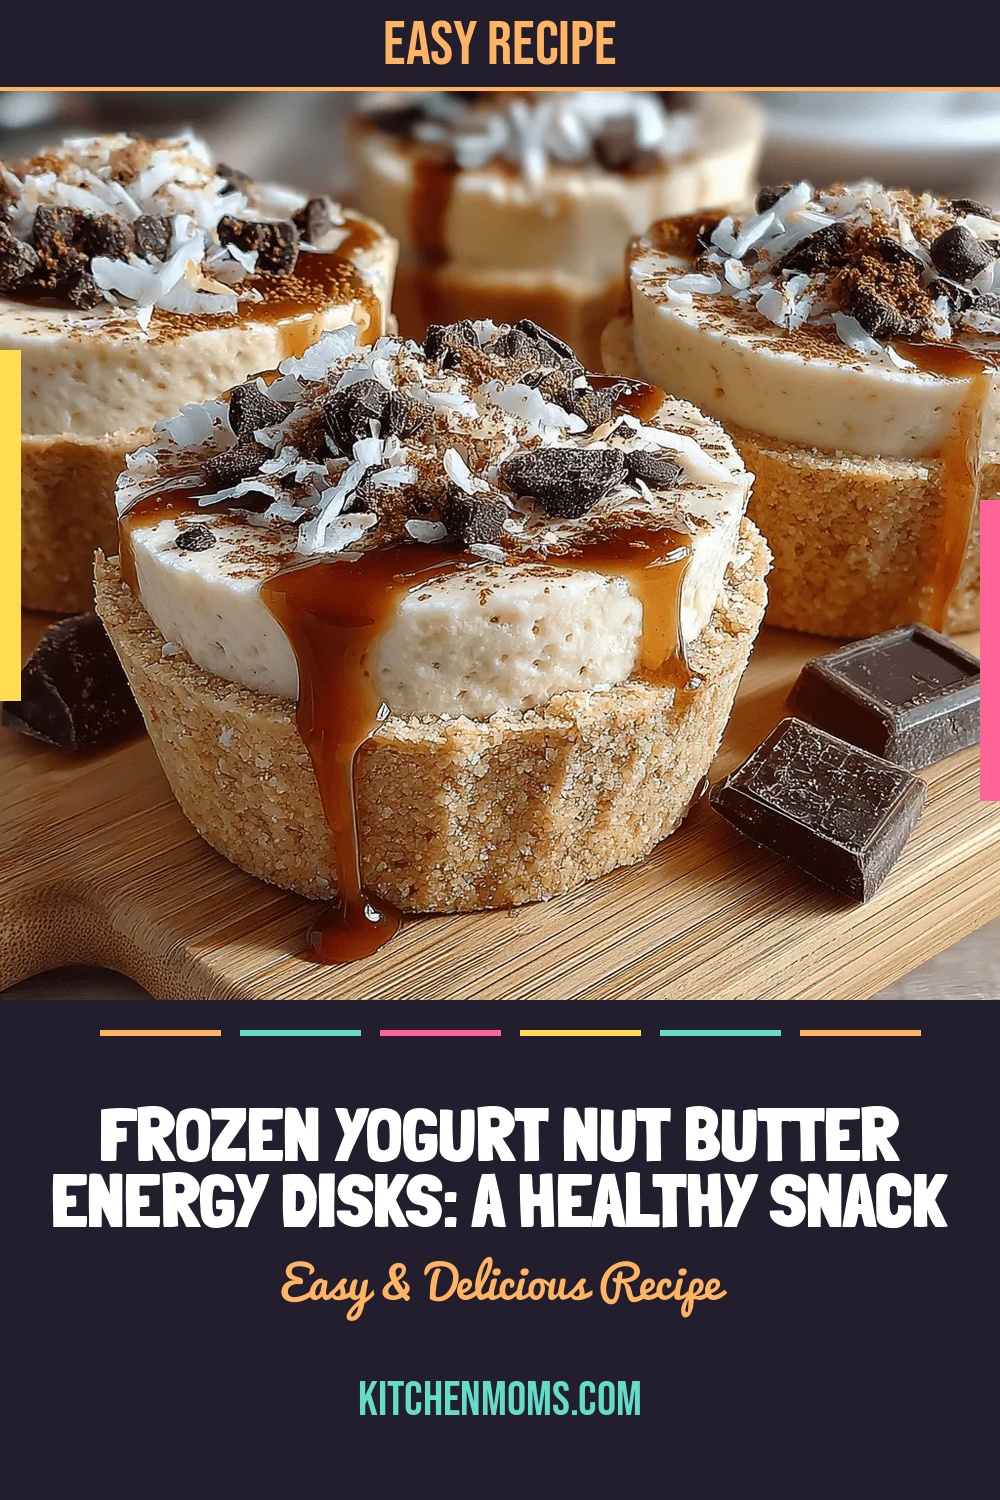
Frozen Yogurt Nut Butter Energy Disks: A Healthy Snack Option
 Save
Save
Imagine a bite‑size snack that feels indulgent yet fuels your body with clean energy. Frozen Yogurt Nut Butter Energy Disks deliver that perfect balance, offering a creamy, tangy base paired with a rich, protein‑packed nut butter swirl.
What makes these disks truly special is the marriage of probiotic‑rich Greek yogurt with natural almond or peanut butter, sweetened only with a touch of honey and a sprinkle of sea salt. The result is a snack that’s both satisfyingly crunchy on the outside and luxuriously smooth inside.
Kids, athletes, busy professionals, and anyone craving a wholesome pick‑me‑up will love these disks. They shine as a post‑workout treat, a mid‑afternoon office snack, or a guilt‑free dessert after dinner.
The process is straightforward: blend yogurt and sweetener, pipe circles onto a sheet, swirl in nut butter, freeze until solid, and enjoy. No baking, no frying—just a few minutes of prep and a quick chill in the freezer.
Why You'll Love This Recipe
Protein‑Packed Power: Greek yogurt and nut butter together provide a high‑quality protein boost that helps repair muscles and keep you feeling full longer.
Natural Sweetness: A drizzle of honey replaces refined sugars, delivering a gentle, sustained energy lift without the crash.
Freezer‑Friendly Convenience: Once made, the disks stay ready in the freezer for weeks, making grab‑and‑go snacking effortless.
Customizable Flavors: Swap almond for cashew, add cocoa powder or cinnamon, and tailor each batch to your personal taste preferences.
Tips & Tricks
Perfecting the Recipe
Use Full‑Fat Yogurt. The higher fat content yields a creamier mouthfeel and prevents the disks from becoming icy.
Keep Everything Cold. Chill the mixing bowls and utensils before whisking; this helps maintain a thick consistency that freezes well.
Don’t Over‑Swirl. A gentle swirl keeps distinct ribbons of nut butter, giving each bite a burst of flavor rather than a uniform blend.
Freeze on a Flat Surface. Level the baking sheet to ensure uniform thickness; uneven disks freeze at different rates.
Flavor Enhancements
Add a pinch of sea‑salted caramel drizzle after freezing, or fold in finely chopped dried fruit (like cranberries) into the yogurt before piping. A dash of espresso powder creates a mocha twist, while toasted coconut flakes add tropical crunch.
Common Mistakes to Avoid
Avoid using low‑fat yogurt—it can turn watery after freezing. Also, don’t over‑mix the nut butter; excessive stirring can incorporate too much air, leading to a crumbly texture once frozen. Finally, keep the freezer temperature at or below 0°F for optimal firmness.
Pro Tips
Portion Control. Use a silicone ice‑cream mold for perfectly uniform disks and easy portioning.
Layered Swirls. Pipe a thin yogurt layer, add nut butter, then another yogurt layer for a true “marbled” look.
Quick Thaw Hack. Place the container in the fridge for 10 minutes before serving to soften the edges without melting the center.
Label & Date. Write the creation date on the storage container; frozen yogurt can lose optimal texture after about 2 months.
Variations
Ingredient Swaps
Swap Greek yogurt for dairy‑free coconut yogurt for a vegan version, and replace almond butter with sunflower seed butter for a nut‑free alternative. For a chocolate lover, blend 1 tablespoon cocoa powder into the yogurt base before piping.
Dietary Adjustments
Make it keto by using a sugar‑free sweetener like erythritol and choosing a low‑carb nut butter. For gluten‑free, ensure any added mix‑ins (like granola) are certified gluten‑free. To keep it dairy‑free, choose a plant‑based yogurt and a nut‑free butter.
Serving Suggestions
Serve the frozen disks alongside a fresh fruit salad, drizzle with a little extra honey, or pair with a small glass of cold‑brew coffee for a balanced snack. They also make a fun addition to a post‑workout smoothie bowl, providing texture and protein.
Storage Info
Leftover Storage
Transfer the frozen disks to an airtight freezer‑safe container or a zip‑top bag, separating layers with parchment paper to avoid sticking. Store in the freezer for up to 3 months; the texture remains creamy if kept consistently frozen.
Reheating Instructions
For a softer bite, place a few disks on a plate and let them sit at room temperature for 5‑7 minutes before eating. If you prefer a warm treat, microwave a single disk on low power (30‑40 %) for 15‑20 seconds, then enjoy immediately.
Frequently Asked Questions
Can I make these disks ahead of time?
Can I use frozen yogurt instead of fresh Greek yogurt?
What’s the best way to serve these for a party?
How can I make these gluten‑free?
These Frozen Yogurt Nut Butter Energy Disks combine protein, healthy fats, and a touch of natural sweetness into a portable, freezer‑ready snack. The step‑by‑step guide, storage tips, and flavor variations ensure you can adapt the recipe to any dietary need or taste preference. Feel free to experiment with spices, fruits, or different nut butters—creativity is the secret ingredient. Enjoy the refreshing bite and the lasting energy it provides!
Frozen Yogurt Nut Butter Energy Disks: A Healthy Snack Option
Delicious Frozen Yogurt Nut Butter Energy Disks: A Healthy Snack Option
Ingredients
Base Yogurt Mixture
- 2 cups plain Greek yogurt (full‑fat or low‑fat)
- 2 tablespoons honey (or maple syrup for vegans)
- 1/2 teaspoon pure vanilla extract (optional)
- Pinch of sea salt
Nut Butter Swirl
- 1/2 cup natural almond butter (or peanut, cashew)
- 1 tablespoon honey (or agave)
- 1/4 teaspoon sea salt
Optional Add‑Ins & Toppings
- 1 tablespoon cocoa powder (for chocolate version)
- 1 teaspoon ground cinnamon (for warm spice)
- Chopped toasted nuts or shredded coconut (for garnish)
Instructions
Assembling the Disks
- Line a Baking Sheet. Place a parchment‑lined sheet on a flat surface. This prevents sticking and makes removal easy after freezing.
- Spoon Yogurt Circles. Using a tablespoon or small ice‑cream scoop, drop 2‑inch circles of the yogurt mixture onto the sheet, leaving a small gap between each.
- Add Nut Butter. Drop a small dollop (about 1/2 teaspoon) of the almond‑butter mixture in the center of each yogurt circle. Using a skewer or the back of a spoon, gently swirl the butter into the yogurt, creating a marbled effect.
- Optional Mix‑Ins. Sprinkle cocoa powder, cinnamon, or chopped nuts over the top if you’re customizing the flavor. This adds visual interest and extra texture.
- Freeze. Transfer the sheet to the freezer and let the disks solidify for 2‑3 hours. They should be firm enough to lift without breaking.
Similar Recipes
 Desserts
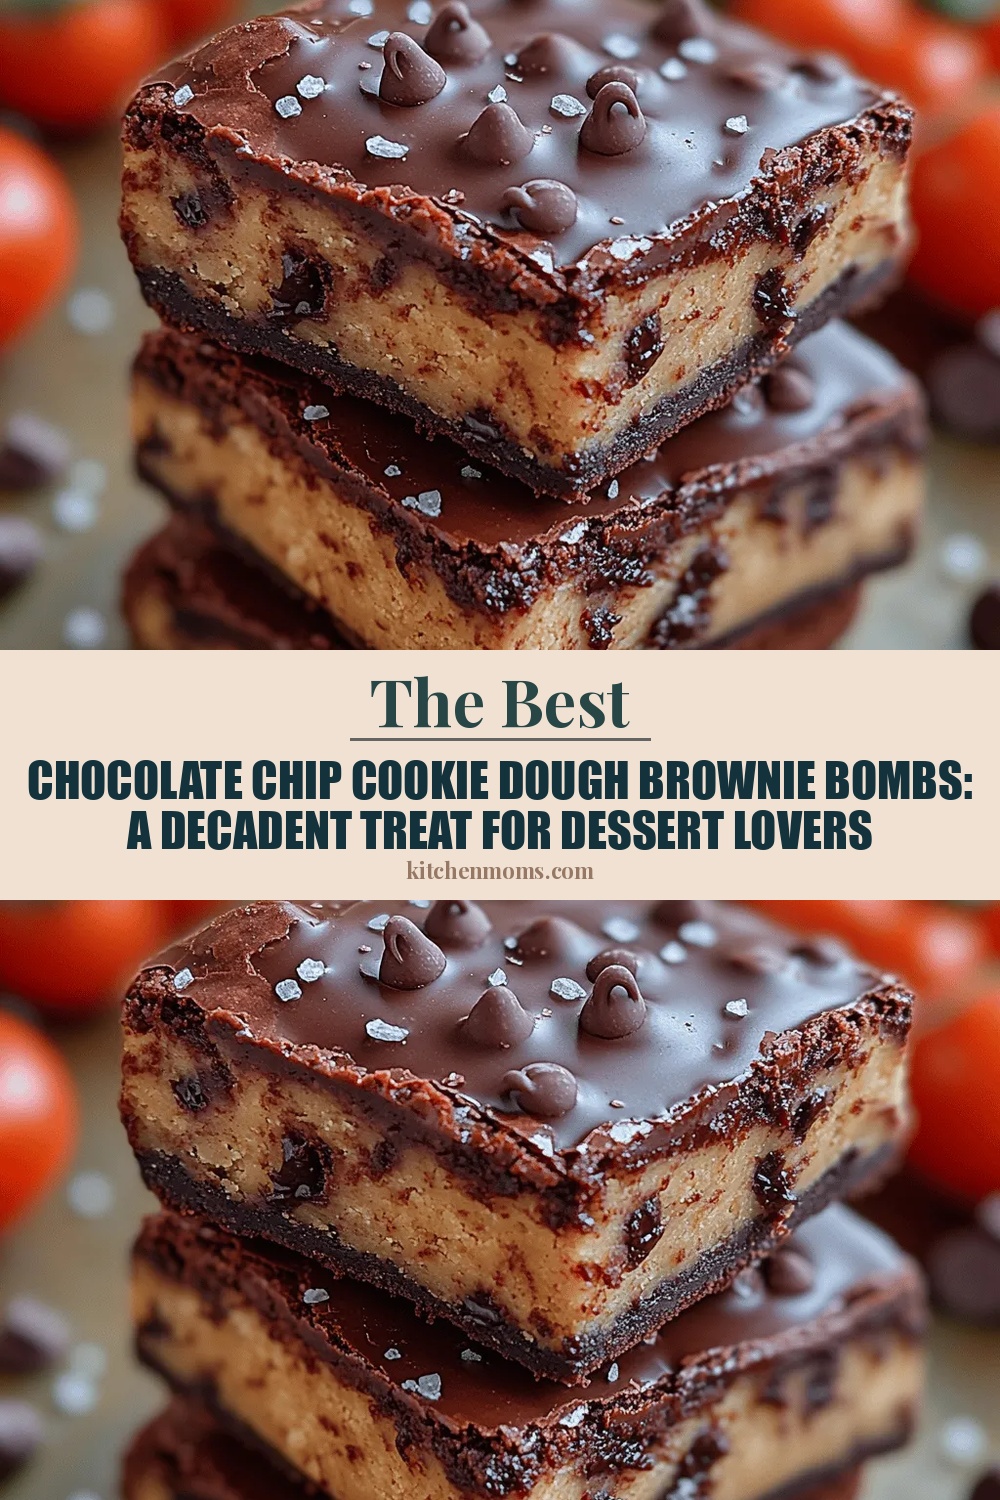
Chocolate Chip Cookie Dough Brownie Bombs: A Decadent Treat for Dessert Lovers
Delicious Chocolate Chip Cookie Dough Brownie Bombs: A Decadent Treat for Dessert Lovers
 Desserts
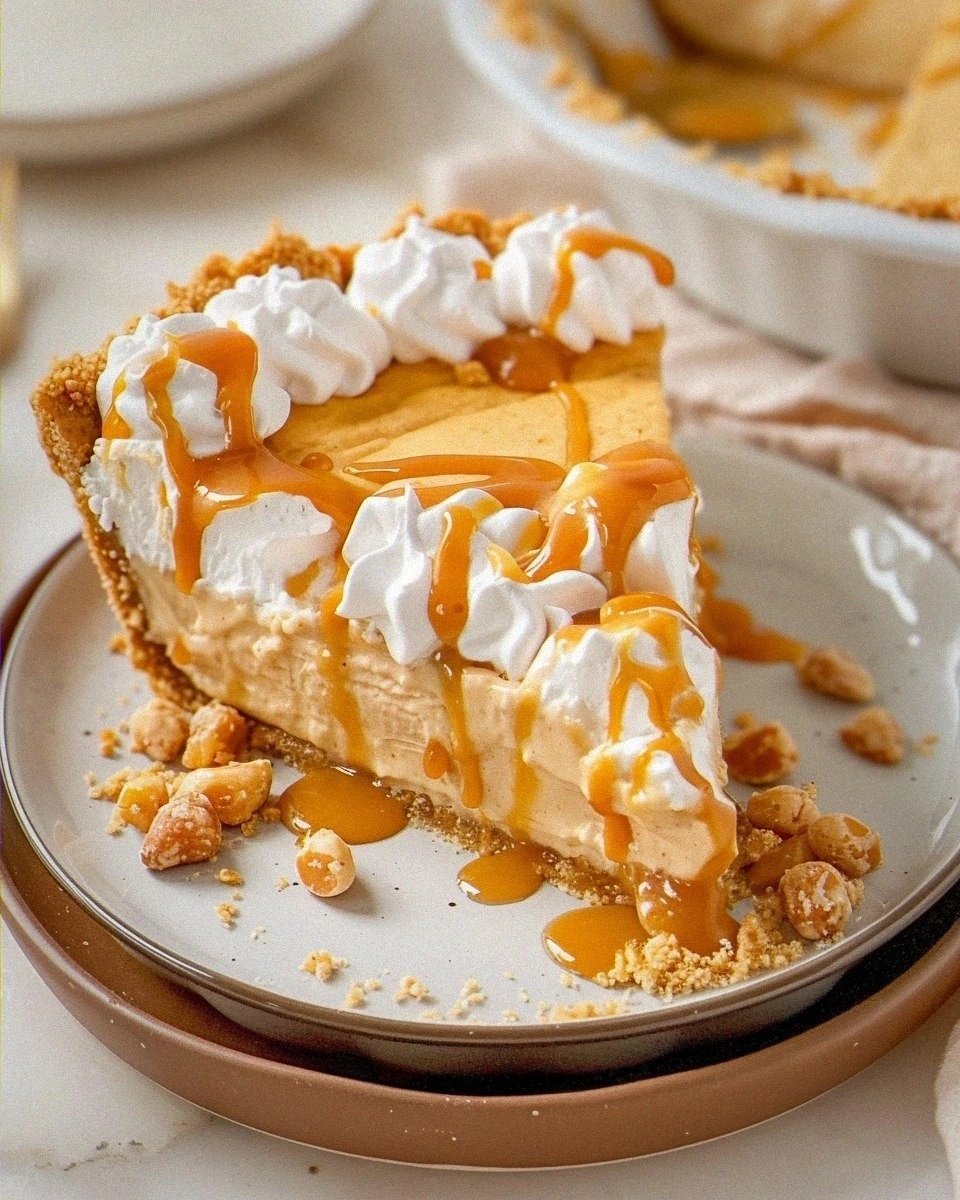
No-Bake Butterscotch Pie – Easy & Delicious Dessert Recipe
Learn how to make delicious No-Bake Butterscotch Pie – Easy & Delicious Dessert Recipe. Easy recipe…
 Desserts
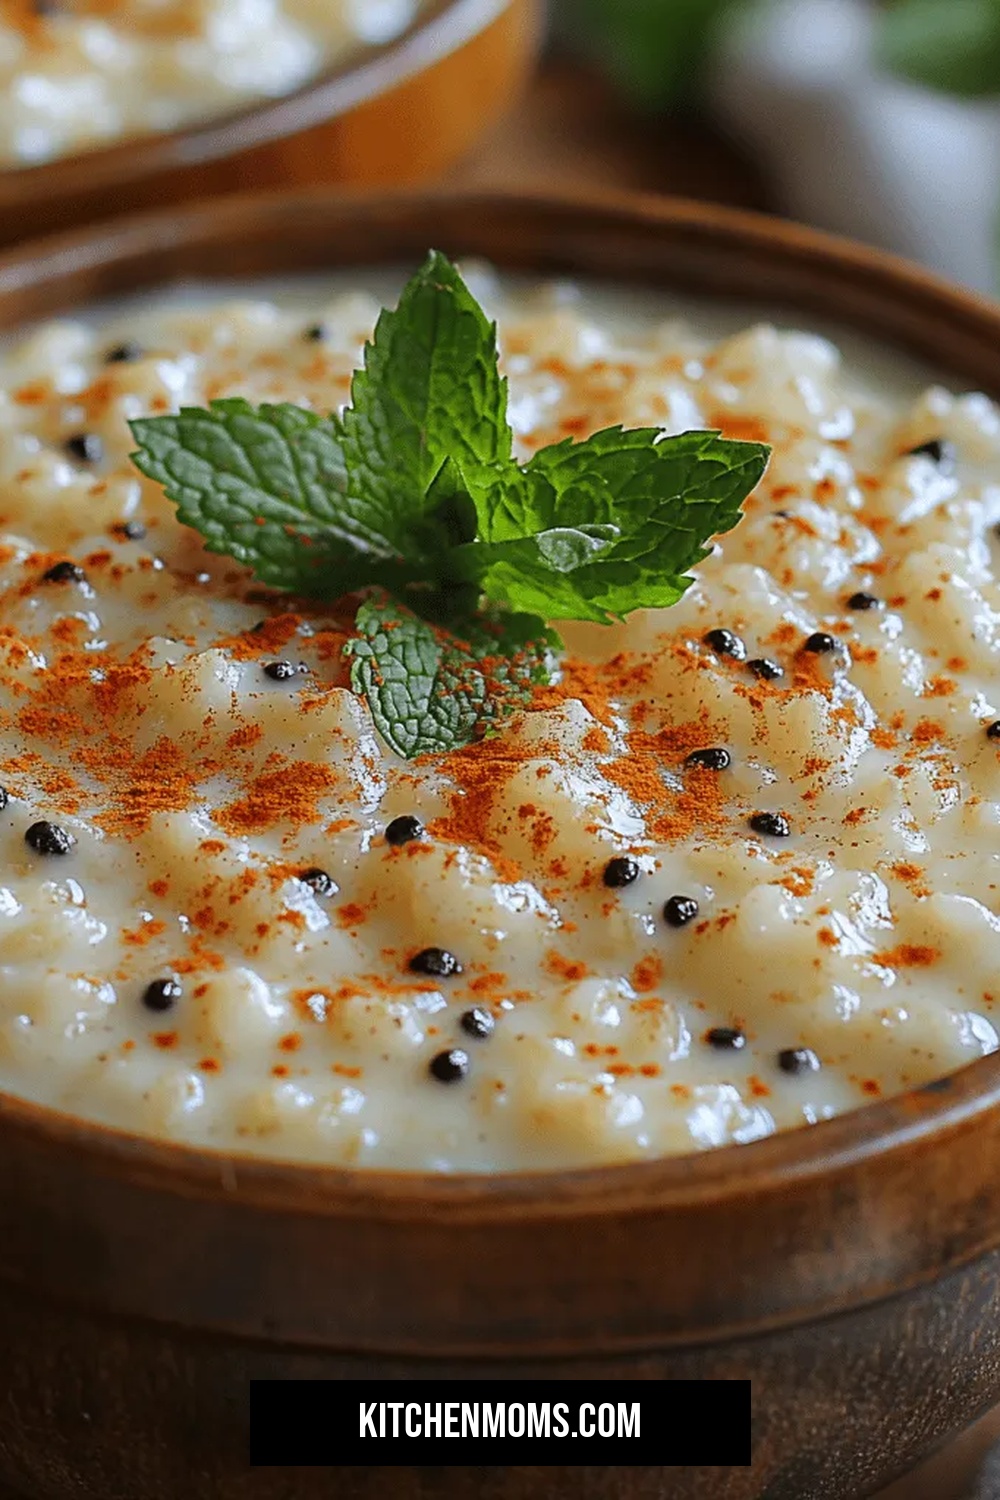
Velvety Vanilla Bean Rice Pudding: A Comprehensive Guide
Delicious Velvety Vanilla Bean Rice Pudding: A Comprehensive Guide
 Desserts
Pecan Pie Brownie Cups
Learn to bake bite‑size pecan pie brownie cups—rich chocolate, buttery crust, toasted pecans—all in a handheld…
 Desserts
Sweet & Salty Bliss: The Ultimate Salted Butterscotch Cookies Recipe
Delicious Sweet & Salty Bliss: The Ultimate Salted Butterscotch Cookies Recipe
 Desserts
Turtle Caramel Cake Recipe: A Deliciously Decadent Delight
Delicious Turtle Caramel Cake Recipe: A Deliciously Decadent Delight
 Desserts
Pumpkin Cinnamon Pound Cake
Discover how to make a moist pumpkin cinnamon pound cake with warm spices, buttery crumb, and…
 Desserts
Cocoa Apple Delight Cake: A Taste Sensation
Delicious Cocoa Apple Delight Cake: A Taste Sensation

Lucy
I cook these recipes at home before they ever land here — simple ingredients, clear steps.