Fruity Kiwi Strawberry Chill Pops Recipe
 Save
Save
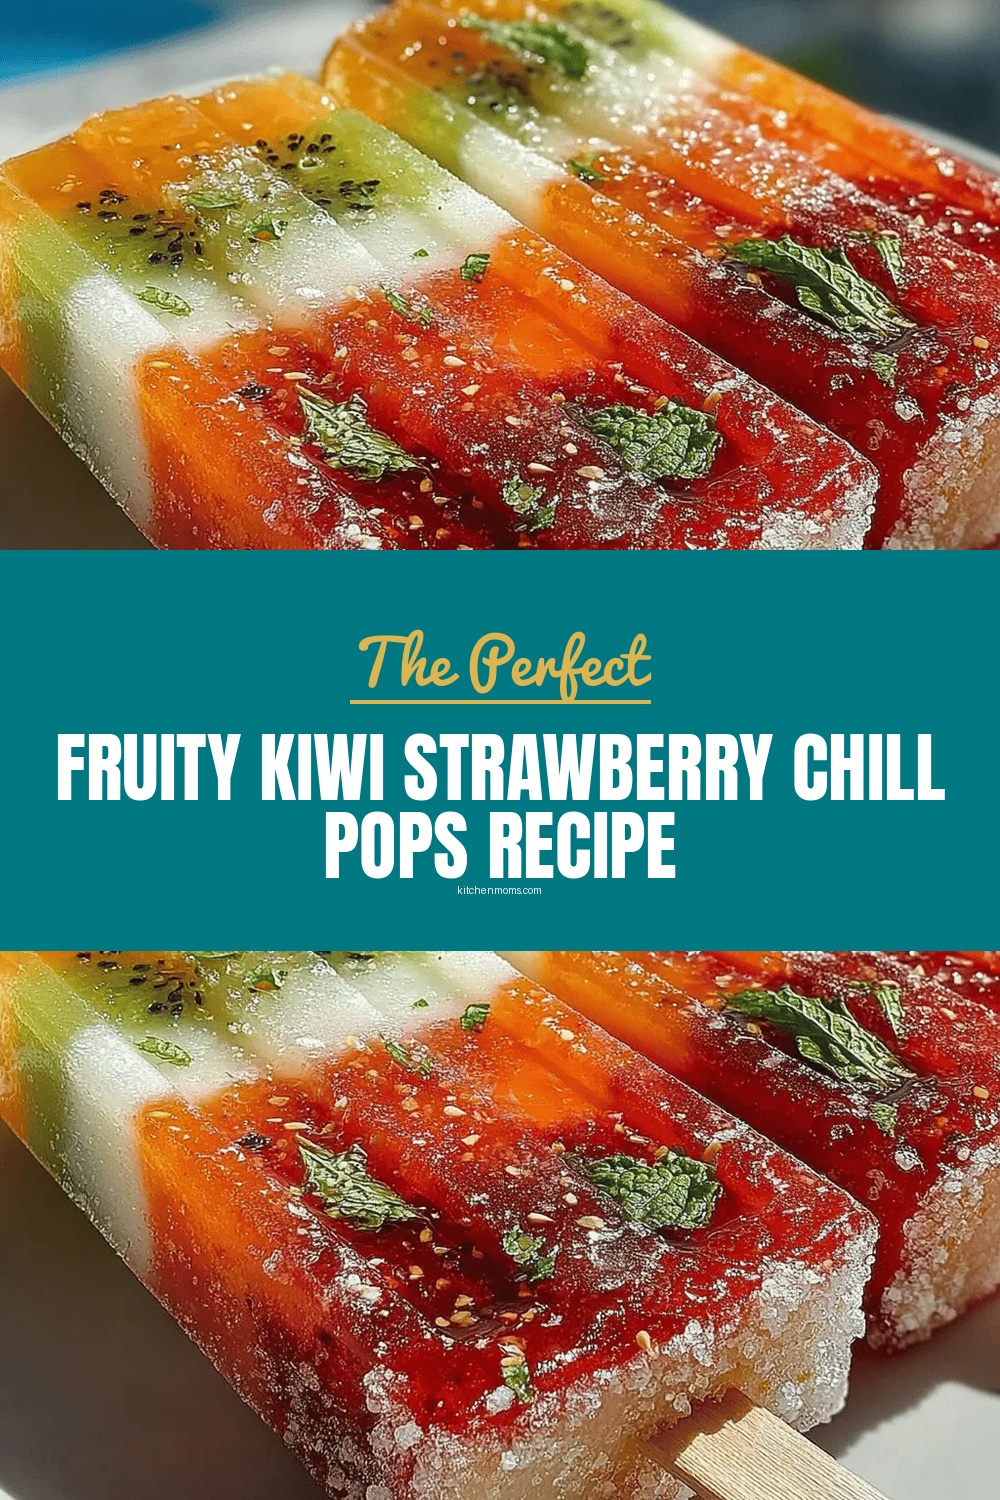
Imagine the first bite of a summer‑kissed frozen treat that bursts with sunshine‑bright flavor. The Fruity Kiwi Strawberry Chill Pops bring that moment to life, turning ordinary fruit into a playful, palate‑pleasing dessert.
What makes these pops truly special is the perfect balance of tart kiwi, sweet strawberries, and a whisper of honey, all swirled together in a silky coconut‑water base. No artificial colors, no heavy creams—just pure fruit joy in every lick.
Kids will race to the freezer for a cool snack, while adults can unwind after a long day with a guilt‑free, refreshing bite. Perfect for backyard barbecues, picnics, or a simple after‑school treat.
The process is delightfully straightforward: blend the fruit, sweeten, pour into molds, and freeze. In under ten minutes of active work you’ll have a batch of vibrant pops ready to chill for hours.
Why You'll Love This Recipe
Bright & Refreshing: The natural acidity of kiwi pairs with the mellow sweetness of strawberries, creating a palate‑cleansing pop that feels like a cool breeze on a hot day.
Super Simple: With just a blender, a few bowls, and a freezer, you can whip up a batch in under fifteen minutes—no special equipment required.
Nutritious Fun: Each pop delivers vitamin C, potassium, and antioxidants from the fruit, plus a touch of natural honey for energy, making it a wholesome indulgence.
Customizable Canvas: Add a hint of mint, a splash of vanilla, or a swirl of yogurt—these pops are a blank slate for your creative flavor experiments.
Tips & Tricks
Perfecting the Recipe
Use Ripe Fruit. Over‑ripe strawberries and kiwi give the purees natural sweetness, reducing the need for extra honey.
Strain for Silkiness. If you prefer an ultra‑smooth texture, push the blended mixture through a fine‑mesh sieve before filling the molds.
Pre‑chill Your Molds. Pop the silicone trays in the freezer for 10 minutes before pouring; this speeds up the initial set and prevents air bubbles.
Don’t Over‑fill. Leaving a small gap at the top accommodates expansion and avoids cracked pops.
Flavor Enhancements
A splash of lime juice adds a zing that brightens the kiwi’s tartness. For a tropical twist, mix in a tablespoon of mango puree. Finally, a pinch of sea salt on the surface before freezing can amplify the fruit’s natural sweetness.
Common Mistakes to Avoid
Avoid using frozen fruit straight from the bag; excess ice crystals dilute flavor and create a grainy texture. Also, never rush the freezing time—partial freezes lead to mushy centers and uneven texture.
Pro Tips
Layered Pops. Pour half the puree, freeze for 30 minutes, then add a contrasting layer (e.g., pureed watermelon) before completing the freeze.
Use a Funnel. A small kitchen funnel prevents spills and ensures each cavity receives the same amount of mixture.
Store in a Single Layer. When freezing multiple trays, keep them on a single shelf to guarantee even cold circulation.
Quick Release Hack. A quick dip of the mold’s bottom in warm water (5‑10 seconds) releases pops without melting the sticks.
Variations
Ingredient Swaps
Replace kiwi with green mango for a sweeter tropical note, or swap strawberries for raspberries for a deeper, slightly tart flavor. Coconut water can be exchanged for almond milk or plain water if you prefer a creamier or lighter base. Honey can be substituted with maple syrup for a richer, earthy sweetness.
Dietary Adjustments
To keep the recipe vegan, use agave nectar instead of honey and omit the Greek yogurt or replace it with coconut yogurt. For a low‑sugar version, reduce the honey to 1 tablespoon and add a few drops of stevia. All ingredients are naturally gluten‑free, making these pops safe for celiac diets.
Serving Suggestions
Serve the pops on a chilled platter with fresh fruit wedges for an eye‑catching dessert table. Pair them with a dollop of whipped coconut cream for extra indulgence, or drizzle a thin layer of dark chocolate for a sophisticated twist.
Storage Info
Leftover Storage
Once frozen, keep the pops in their original silicone trays or transfer them to an airtight freezer bag. Store in the freezer for up to 3 months; the flavor remains vibrant thanks to the natural fruit sugars. Label the bag with the date for easy rotation.
Reheating Instructions
These pops are meant to be enjoyed frozen, but if you prefer a softer texture, let them sit at room temperature for 5‑7 minutes before serving. For a quick melt‑down, run the sticks under warm water for a few seconds—this loosens them without melting the entire pop.
Frequently Asked Questions
Can I make these pops ahead of time for a party?
What if I only have frozen fruit on hand?
How can I make the pops more colorful without artificial dyes?
Can I add protein powder for a post‑workout snack?
This Fruity Kiwi Strawberry Chill Pops recipe delivers bright flavor, effortless preparation, and endless customization. By following the detailed steps, you’ll achieve perfectly smooth, freezer‑ready treats that delight kids and adults alike. Feel free to experiment with swaps, add‑ins, or protein boosts—making each batch uniquely yours. Grab a stick, take a bite, and let the cool, fruity refreshment brighten your day!
Fruity Kiwi Strawberry Chill Pops Recipe
Delicious Fruity Kiwi Strawberry Chill Pops Recipe
Ingredients
Fruit Base
- 2 cups fresh strawberries, hulled
- 2 large ripe kiwis, peeled and quartered
Liquid & Sweetener
- 1 cup coconut water (unsweetened)
- 2 tablespoons honey (or agave nectar for vegan)
- 1 tablespoon fresh lemon juice
Optional Add‑ins
- ¼ cup Greek yogurt (for creamier texture)
- 5 fresh mint leaves, finely chopped
- ½ teaspoon vanilla extract
Instructions
Freezing the Pops
- Prepare the molds. Arrange silicone pop‑mold trays on a flat baking sheet for stability. If you don’t have molds, small paper cups work well; just insert wooden sticks after a brief chill.
- Fill the molds. Using a ladle or a measuring cup, pour the puree into each cavity, leaving about ¼ inch of space at the top to allow for expansion as the liquid freezes.
- Insert sticks. Place a wooden popsicle stick into the center of each mold, ensuring it stands upright. If the sticks wobble, let the mixture set for 10‑15 minutes before adjusting.
- Freeze solid. Transfer the tray to the freezer and let the pops harden for 4‑6 hours. For a quick test, gently press the surface of a pop; it should feel firm and icy.
- Release and serve. Once fully frozen, run the mold briefly under warm (not hot) water for 5‑10 seconds. This loosens the pops without melting them. Gently pop them out, stand them upright, and enjoy immediately.
Similar Recipes
 Desserts
Creamy Delight Cheesecake Cookies: A Sweet Transformation from Cheesecake to Cookie
Delicious Creamy Delight Cheesecake Cookies: A Sweet Transformation from Cheesecake to Cookie
 Desserts
Salty Sweet Delight: Salted Caramel Pretzel Bark Recipe
Delicious Salty Sweet Delight: Salted Caramel Pretzel Bark Recipe
 Desserts
Frozen Raspberry Lemon Yogurt Bites: A Refreshing Treat
Delicious Frozen Raspberry Lemon Yogurt Bites: A Refreshing Treat
 Desserts
Christmas Fudge: Discover the Ultimate Holiday Treat!
Learn how to make delicious Christmas Fudge: Discover the Ultimate Holiday Treat!. Easy recipe with step-by-step…
 Desserts
Heavenly Soft Cinnamon Roll Cookies
Delicious Heavenly Soft Cinnamon Roll Cookies
 Desserts
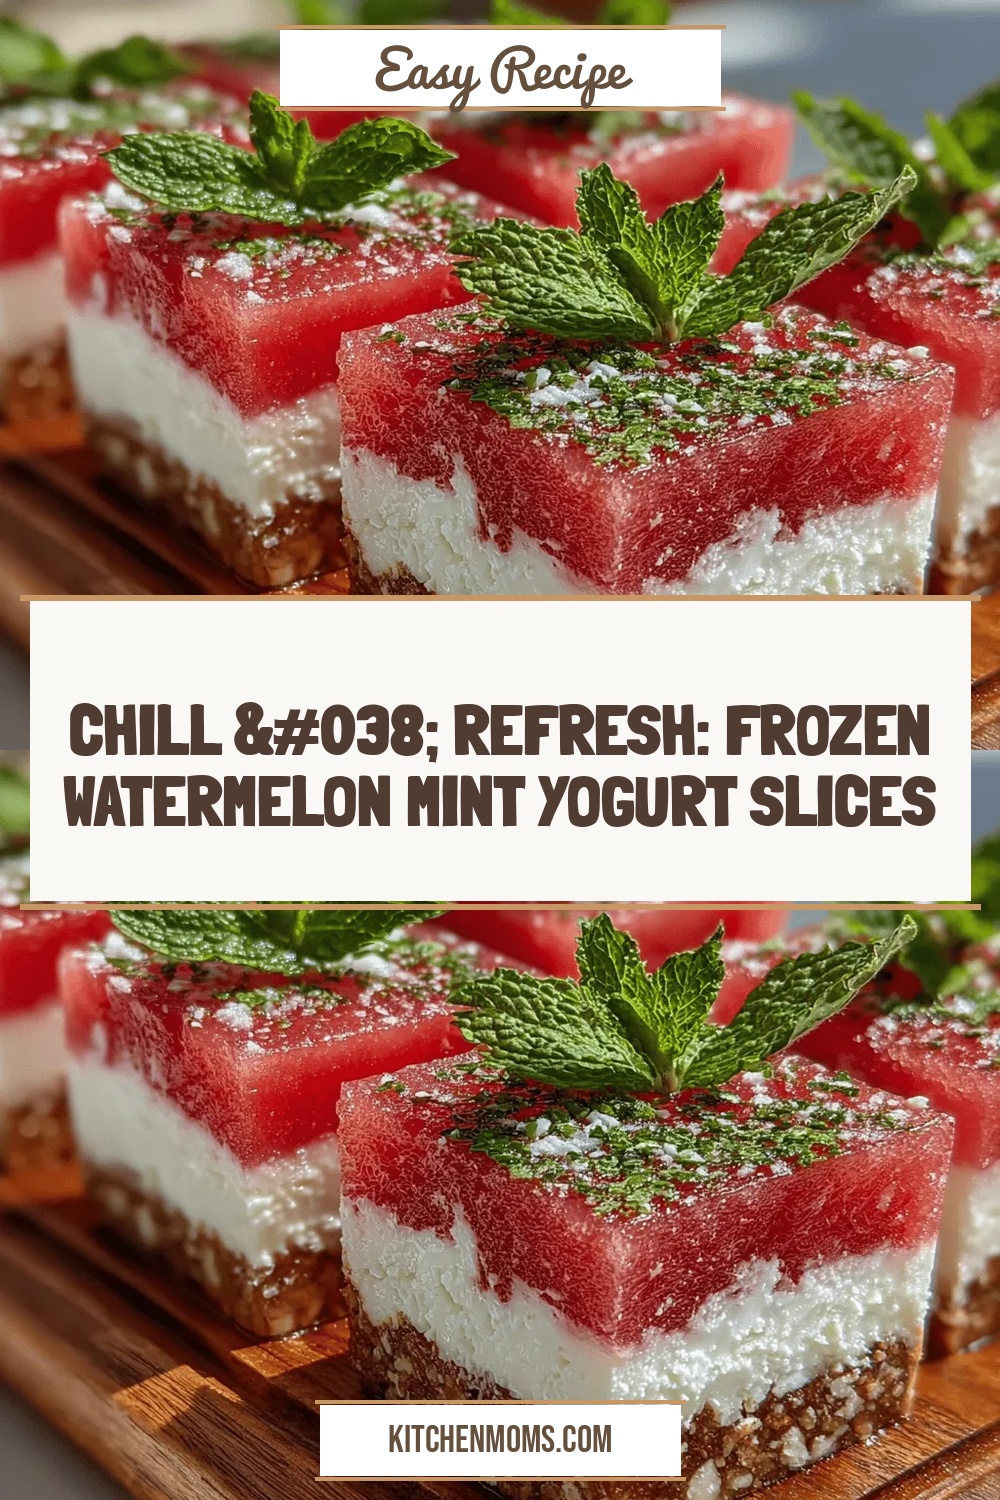
Chill & Refresh: Frozen Watermelon Mint Yogurt Slices
Delicious Chill & Refresh: Frozen Watermelon Mint Yogurt Slices
 Desserts
Romantic Desserts: 7 Sweet Treats to Ignite Passion
Learn how to make delicious Romantic Desserts: 7 Sweet Treats to Ignite Passion. Easy recipe with…
 Desserts
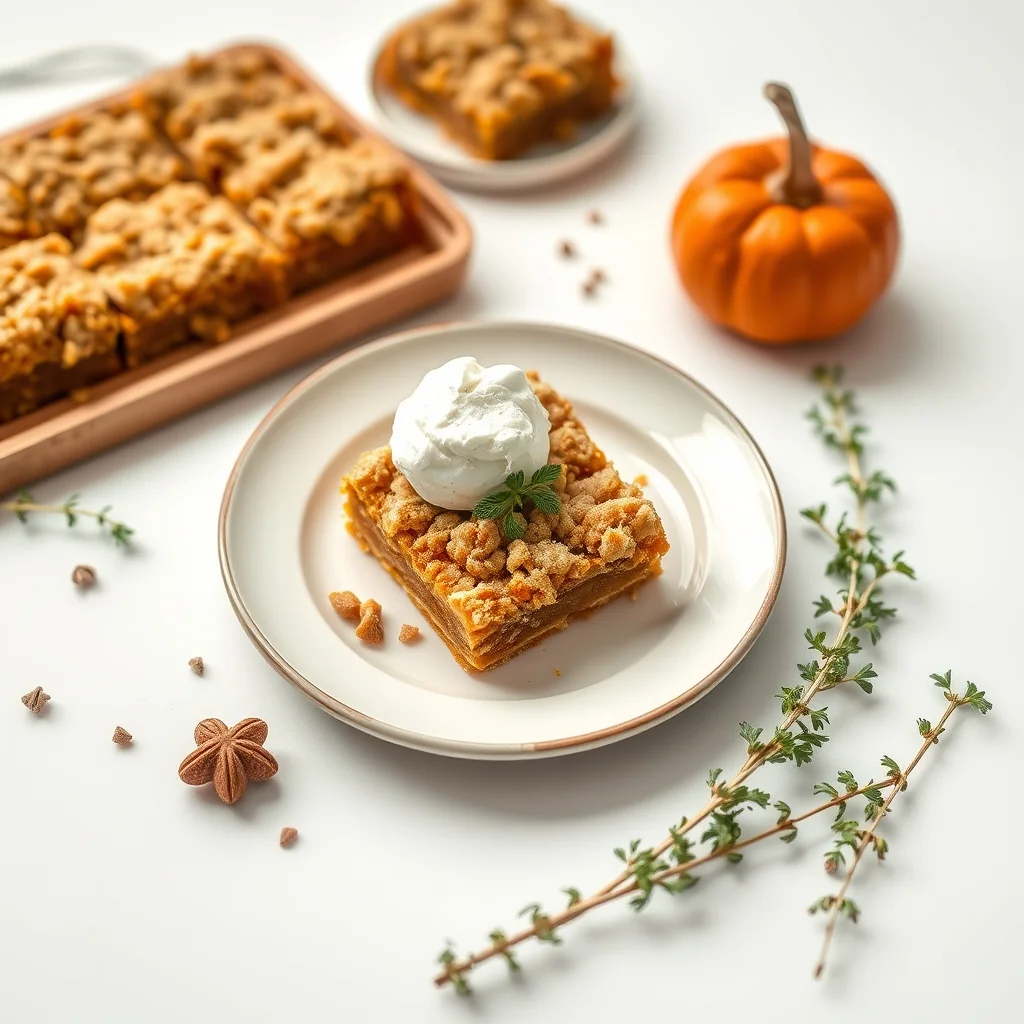
Pumpkin Pie Crumble Bars
Discover how to make buttery pumpkin pie crumble bars with a crisp topping – perfect for…

Lucy
I cook these recipes at home before they ever land here — simple ingredients, clear steps.