Green Chili Chicken Egg Cups: A Flavorful and Nutritious Delight
 Save
Save
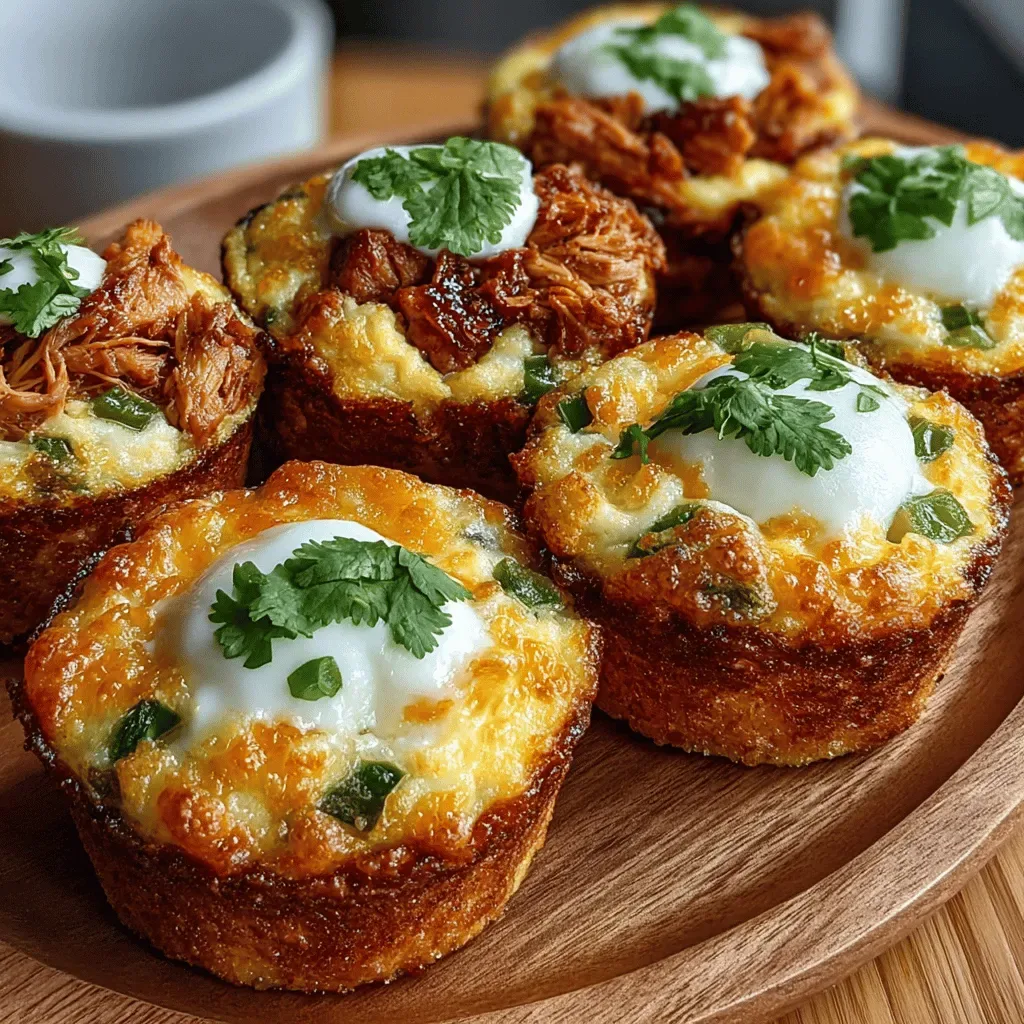
Imagine a breakfast that feels like a celebration on a plate—bright, spicy, and perfectly portable. Green Chili Chicken Egg Cups deliver that excitement with every bite, turning a simple brunch into a flavor‑packed experience.
What sets this dish apart is the marriage of tender chicken, smoky green chilies, and a silky egg custard, all baked inside a crisp muffin tin. The result is a handheld cup that’s both hearty and elegant, perfect for on‑the‑go mornings.
This recipe is ideal for busy families, brunch‑loving friends, or anyone craving a protein‑rich start to the day. Serve it at weekend brunches, holiday breakfasts, or as a make‑ahead lunch option.
The process is straightforward: sauté chicken with chilies, whisk a seasoned egg mixture, fill the cups, and bake until golden. A quick garnish of fresh cilantro and lime finishes the dish, adding a burst of freshness.
Why You'll Love This Recipe
Bold, Balanced Flavor: The smoky heat of green chilies pairs perfectly with the mild richness of eggs, creating a taste that’s both exciting and comforting.
Protein‑Packed Power: Each cup delivers lean chicken and egg protein, keeping you full and energized through the busiest mornings.
Handy Portion Control: Baked in a muffin tin, the cups are perfectly sized for individual servings, making plating and packing a breeze.
Easy to Customize: Swap chilies for jalapeños, add cheese, or sprinkle toasted seeds—each variation keeps the core concept fresh.
Tips & Tricks
Perfecting the Recipe
Use a hot skillet. Searing the chicken in a properly heated pan creates caramelized bits that deepen the flavor of the entire cup.
Don’t over‑mix the eggs. Whisk just until combined; over‑beating can make the custard tough instead of airy.
Even filling. Distribute the chicken mixture uniformly across cups to ensure each bite has the same flavor balance.
Check doneness. The tops should be lightly golden; a quick tap should feel firm but still slightly jiggle in the center.
Flavor Enhancements
Add a pinch of red‑pepper flakes to the chicken mixture for extra heat, or stir in a tablespoon of crumbled feta for a tangy surprise. A drizzle of avocado oil just before serving adds a silky finish.
Common Mistakes to Avoid
Avoid pouring cold eggs directly onto hot chicken; this can cause the eggs to scramble. Also, don’t skip the brief cooling period after baking—removing them too early often leads to broken cups.
Pro Tips
Prep the night before. Assemble the uncooked cups and refrigerate them covered; bake fresh in the morning for ultimate convenience.
Use a kitchen torch. After baking, lightly torch the tops for a beautifully bronzed finish without extra oven time.
Season the chicken early. Marinate the shredded chicken with a splash of lime juice and a dash of cumin for at least 30 minutes before cooking.
Choose the right pan. A non‑stick silicone muffin tray makes removal effortless and preserves the cup’s shape.
Variations
Ingredient Swaps
Swap chicken for diced turkey sausage or crumbled chorizo for a richer flavor profile. Replace green chilies with roasted poblano peppers for a milder, smoky taste, or add a handful of baby spinach for extra greens without changing the texture.
Dietary Adjustments
For a gluten‑free version, simply ensure any pre‑made cheese is certified gluten‑free. To make it dairy‑free, use a plant‑based cheese alternative and substitute milk with oat or soy milk. Keto diners can replace the milk with heavy cream and skip the cheese if they prefer a lower‑carb profile.
Serving Suggestions
Pair these cups with a simple avocado‑tomato salad, a side of seasoned black beans, or a warm corn tortilla for a Mexican‑inspired brunch. A dollop of sour cream or Greek yogurt adds creaminess, while fresh pico de gallo provides a bright, acidic contrast.
Storage Info
Leftover Storage
Allow the egg cups to cool completely, then gently remove them from the tin and place in an airtight container. Store in the refrigerator for up to 3 days. For longer keeping, wrap each cup in plastic wrap, then foil, and freeze for up to 2 months.
Reheating Instructions
Reheat refrigerated cups in a 350°F (175°C) oven, covered with foil, for 12‑15 minutes until warmed through. For frozen cups, add an extra 5‑7 minutes. A quick microwave (30‑45 seconds) works in a pinch, but the oven method retains the best texture.
Frequently Asked Questions
Can I make these egg cups ahead of time?
What if I don’t have fresh green chilies?
What side dishes pair best with Green Chili Chicken Egg Cups?
This Green Chili Chicken Egg Cup recipe brings together bold flavor, wholesome protein, and effortless preparation—perfect for any brunch table or busy morning routine. By following the step‑by‑step guide, mastering storage tips, and experimenting with suggested variations, you’ll create a dish that feels both special and approachable. Feel free to tweak the heat level, swap proteins, or add your favorite herbs; the core concept is flexible enough for endless creativity. Enjoy every bite of this vibrant, nutritious delight!
Green Chili Chicken Egg Cups: A Flavorful and Nutritious Delight
Delicious Green Chili Chicken Egg Cups: A Flavorful and Nutritious Delight
Ingredients
Main Ingredients
- 2 cups cooked, shredded chicken
- 4‑5 fresh green chilies, seeded & finely diced
- 1 medium onion, diced
- 2 cloves garlic, minced
Egg Mixture
- 6 large eggs
- ¼ cup whole milk or unsweetened almond milk
- ½ cup shredded Monterey Jack or cheddar cheese
- 1 tablespoon fresh lime juice
Seasonings & Garnish
- ½ teaspoon ground cumin
- ¼ teaspoon smoked paprika
- Salt and freshly ground black pepper, to taste
- 2 teaspoons olive oil
- ¼ cup fresh cilantro, chopped (for garnish)
Instructions
Cooking the Chicken & Chilies
- Sauté aromatics. Heat 2 teaspoons olive oil in a skillet over medium heat. Add the diced onion and cook 3‑4 minutes until translucent, then stir in the minced garlic and diced green chilies. Cook another minute, allowing the chilies to release their fragrance without burning.
- Combine chicken. Add the shredded chicken to the skillet, sprinkle with ½ teaspoon ground cumin, ¼ teaspoon smoked paprika, salt, and pepper. Toss everything together and cook for 2‑3 minutes so the chicken absorbs the spices and the mixture is evenly heated.
- Cool slightly. Transfer the chicken mixture to a bowl and let it cool for about 5 minutes. Cooling prevents the eggs from scrambling when combined later.
Filling and Baking
- Layer the base. Spoon a tablespoon of the chicken‑chili mixture into each prepared muffin cup, spreading it evenly across the bottom.
- Add the custard. Pour the egg mixture over the chicken, filling each cup about three‑quarters full. The egg will rise around the chicken as it bakes, creating a self‑contained cup.
- Bake. Place the tin in the preheated oven and bake for 18‑22 minutes, or until the tops are set and lightly golden. A gentle wobble in the center is okay; the residual heat will finish cooking the custard.
- Cool briefly. Remove the tin and let the cups rest for 5 minutes. This short cooling period helps them firm up, making removal easier.
Similar Recipes
 Breakfast
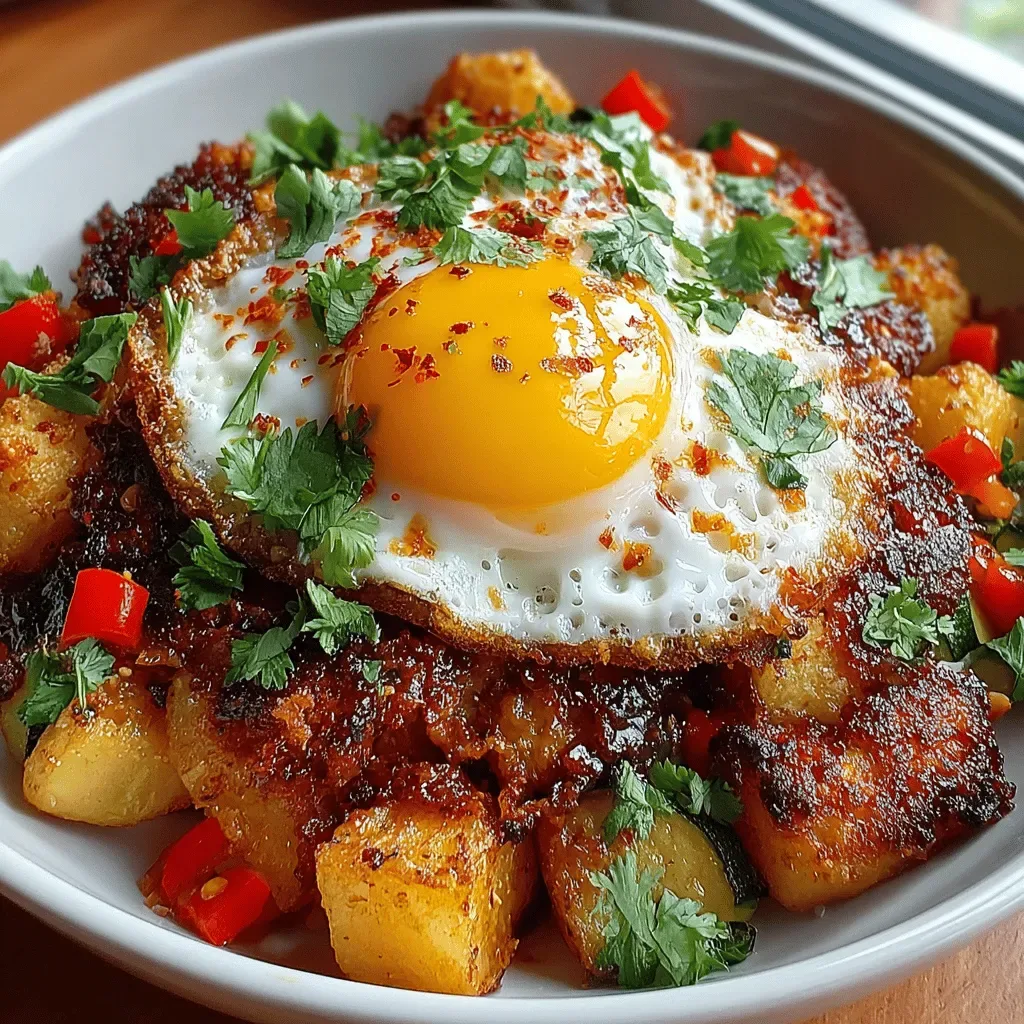
Zesty Zucchini Hash with Chorizo: A Flavorful Delight
Delicious Zesty Zucchini Hash with Chorizo: A Flavorful Delight
 Breakfast
Cheesy Jalapeño Cornbread Muffins: A Flavorful Twist on a Classic Recipe
Delicious Cheesy Jalapeño Cornbread Muffins: A Flavorful Twist on a Classic Recipe
 Breakfast
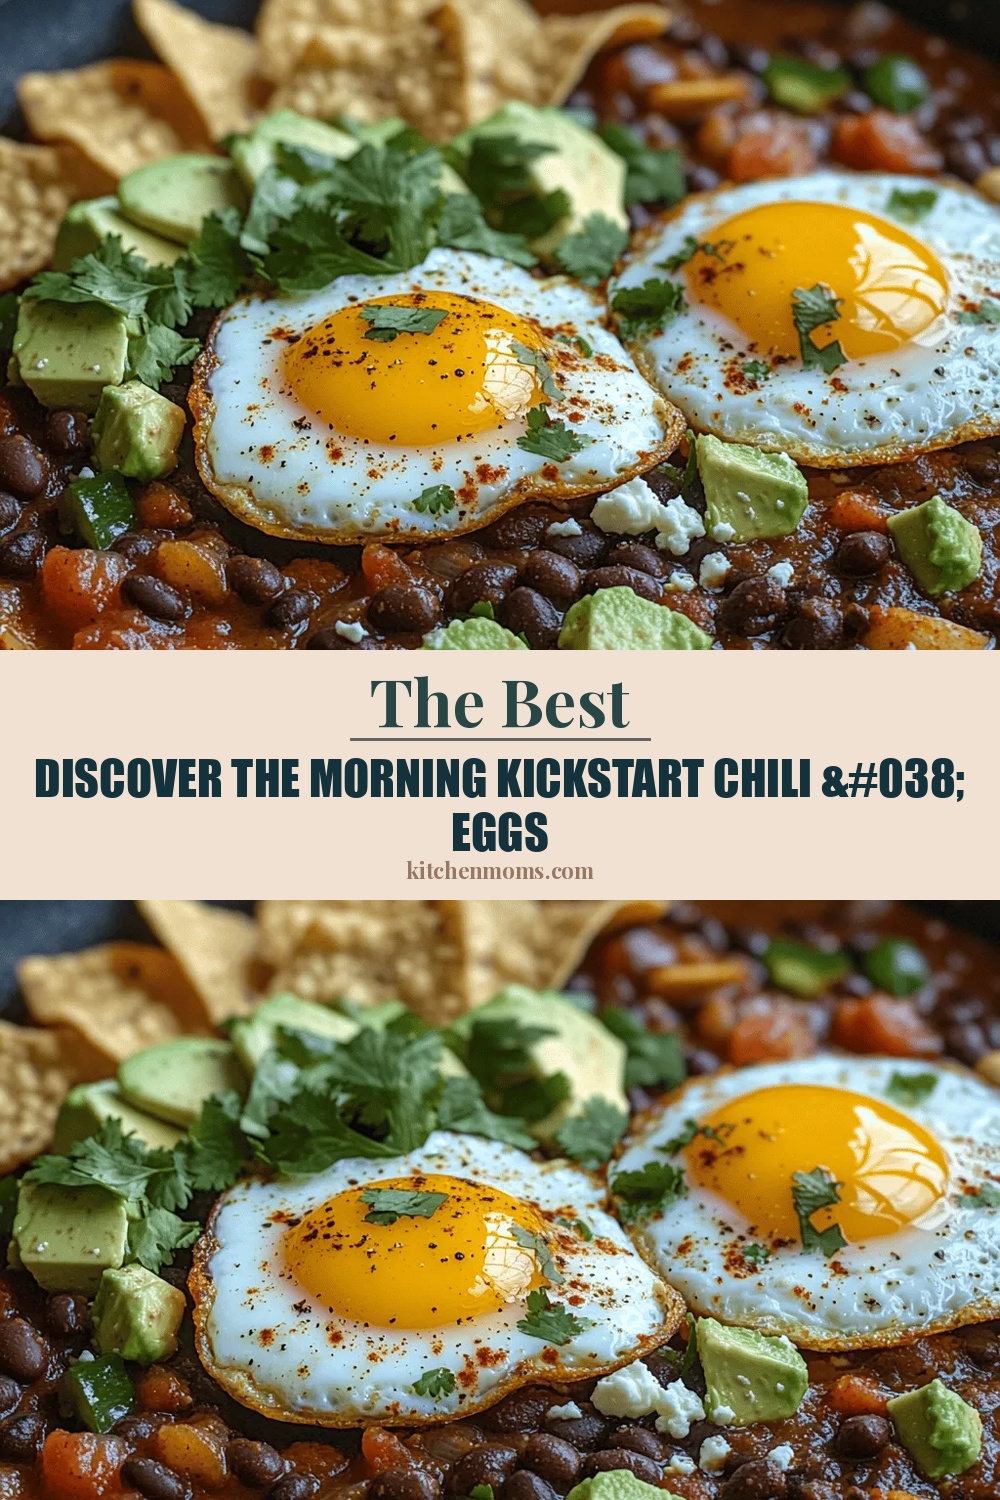
Discover the Morning Kickstart Chili & Eggs
Delicious Discover the Morning Kickstart Chili & Eggs
 Breakfast
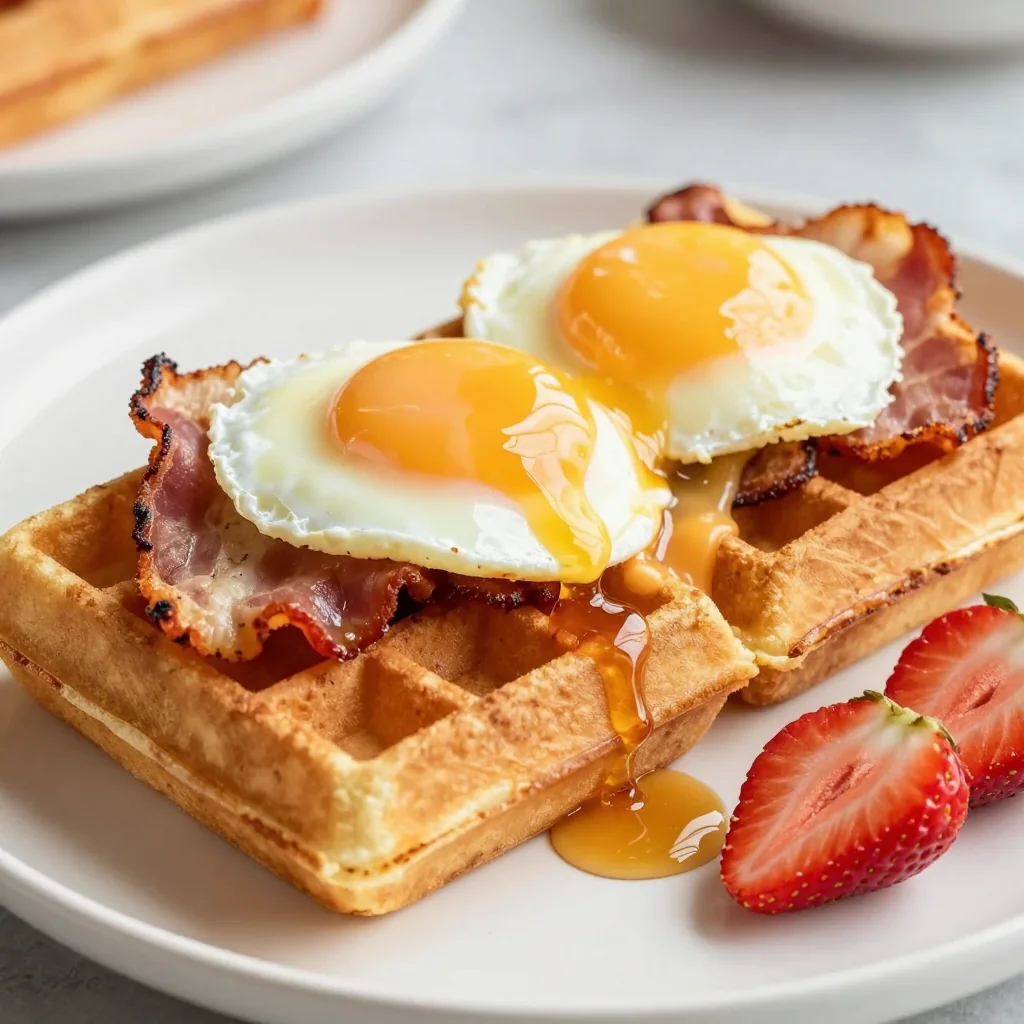
Cinnamon Roll Waffle Sandwich for Breakfast
Learn how to make delicious Cinnamon Roll Waffle Sandwich for Breakfast. Easy recipe with step-by-step instructions,…
 Breakfast
Golden Harvest Fluffy Pumpkin Waffles
Delicious Golden Harvest Fluffy Pumpkin Waffles
 Breakfast
Aromatic Cinnamon Cardamom Rolls: A Delightful Culinary Journey
Delicious Aromatic Cinnamon Cardamom Rolls: A Delightful Culinary Journey
 Breakfast
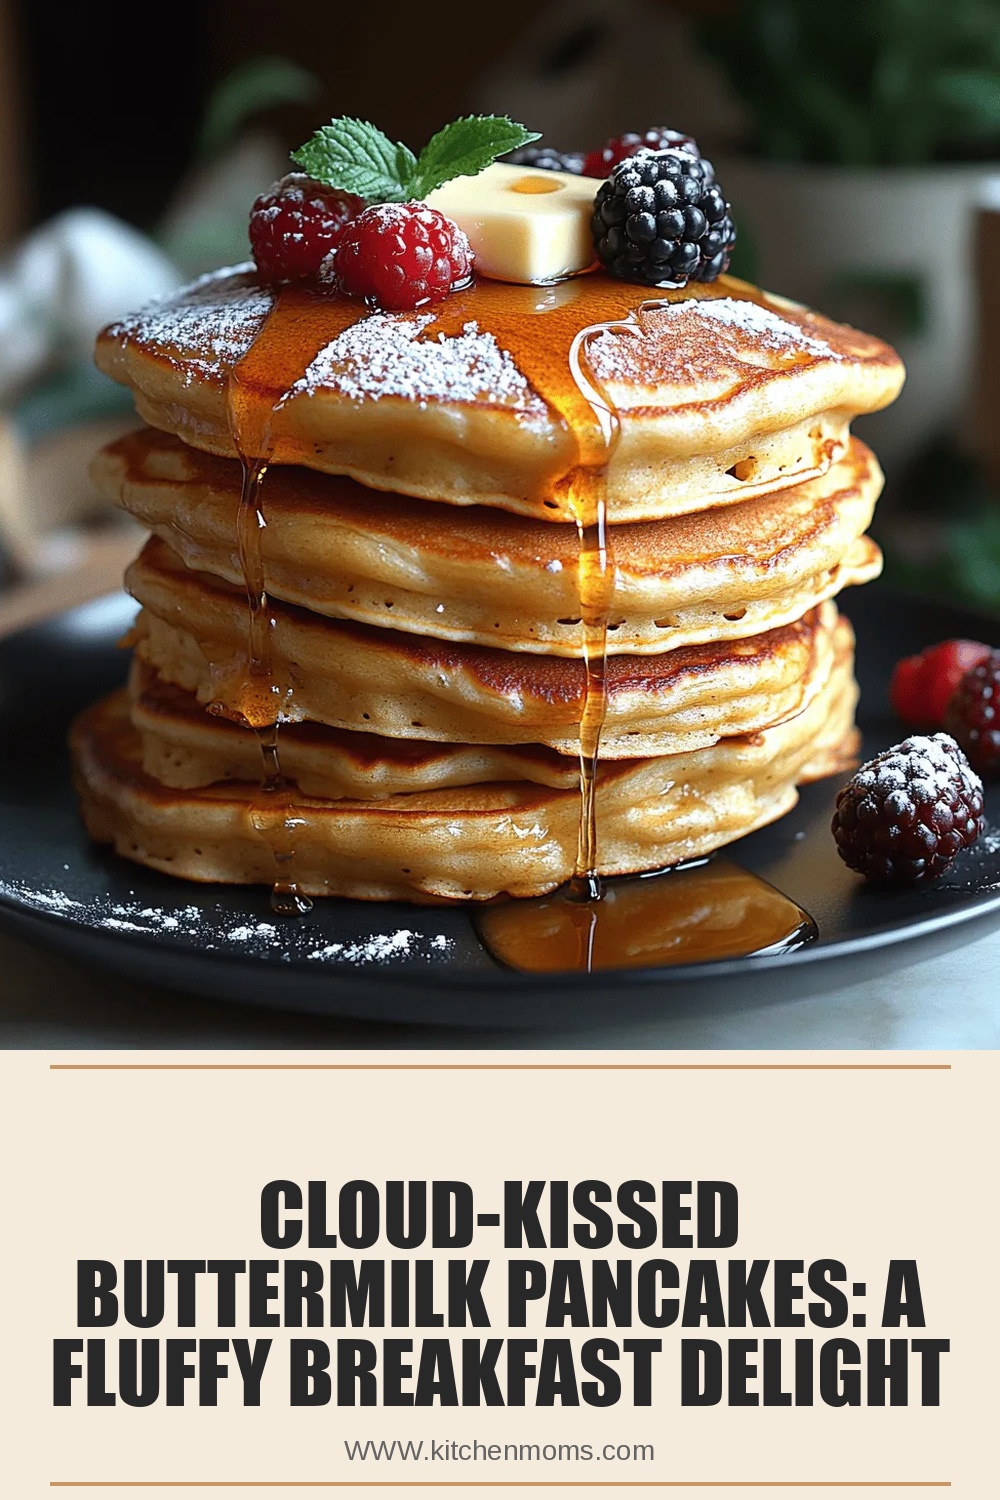
Cloud-Kissed Buttermilk Pancakes: A Fluffy Breakfast Delight
Delicious Cloud-Kissed Buttermilk Pancakes: A Fluffy Breakfast Delight
 Breakfast
Pumpkin Spice French Toast Breakfast Cups: A Fall Delight
Delicious Pumpkin Spice French Toast Breakfast Cups: A Fall Delight

Lucy
I cook these recipes at home before they ever land here — simple ingredients, clear steps.