Heavenly Chicken Parmesan Sliders: An Introduction to Comfort Food at Its Best
 Save
Save
Imagine sinking your teeth into a bite‑sized masterpiece that delivers all the comfort of classic chicken parm, but with a playful, handheld twist. These Heavenly Chicken Parmesan Sliders bring together juicy, breaded chicken, tangy marinara, and melty mozzarella, all sandwiched between soft, buttery mini rolls.
What makes this recipe truly special is the balance of textures: a crisp, golden crust gives way to a tender interior, while the sauce adds a bright, herby note that ties everything together. A sprinkle of fresh basil on top adds a pop of color and freshness that elevates the whole dish.
This crowd‑pleaser is perfect for casual weeknight meals, backyard barbecues, or game‑day gatherings. Kids love the size, adults appreciate the flavor, and anyone craving comfort food will be instantly satisfied.
The process is straightforward: season and bread the chicken, fry until golden, assemble each slider with sauce and cheese, then finish in the oven so the cheese melts perfectly. In under an hour you’ll have a tray of sliders that look as good as they taste.
Why You'll Love This Recipe
Irresistible Crunch: A quick fry creates a crisp, golden coating that stays crunchy even after the sliders bake, giving every bite a satisfying snap.
Flavor‑Packed Marinara: Homemade marinara infused with garlic, oregano, and a splash of red wine delivers depth that store‑bought sauces simply can’t match.
Hand‑Held Comfort: Mini rolls make the dish portable, perfect for parties or a fun family dinner where everyone can assemble their own slider.
Easy Customization: Swap cheeses, add a spicy kick, or replace chicken with turkey—this base adapts to any palate while staying delicious.
Tips & Tricks
Perfecting the Recipe
Room‑temperature chicken: Let the cutlets sit for 15 minutes before breading. This prevents the center from staying cold, ensuring even cooking and a uniform crust.
Dry the meat: Pat the chicken dry with paper towels before seasoning. Excess moisture creates steam, which can make the breadcrumb coating soggy.
Don’t overcrowd the pan: Fry in batches. Overcrowding drops the oil temperature, leading to a greasy, soft crust instead of a crisp golden one.
Rest after frying: Allow the chicken to rest on a rack for a few minutes. This lets excess oil drip off and keeps the coating crisp.
Flavor Enhancements
Stir a teaspoon of butter into the marinara just before serving for added richness. A splash of balsamic glaze drizzled over the finished sliders introduces a subtle sweet‑tangy contrast that brightens every bite.
Common Mistakes to Avoid
Skipping the brief oven finish can leave the cheese unmelted and the bun slightly raw. Also, using stale buns can absorb too much sauce, making the sliders soggy. Choose fresh brioche or lightly toast the buns before assembly.
Pro Tips
Use a meat thermometer: Verify the chicken reaches 165°F for safety and optimal juiciness without overcooking.
Mix cheeses: Combine shredded mozzarella with a touch of provolone for extra meltability and a slightly smoky flavor.
Pre‑make the sauce: The marinara can be prepared a day ahead; refrigerate and gently reheat before assembly for deeper flavor.
Serve immediately: The sliders are at their best when the cheese is still stretchy and the buns are warm, so plan to serve straight from the oven.
Variations
Ingredient Swaps
Replace chicken with thinly sliced pork tenderloin or turkey cutlets for a different protein profile. Swap mozzarella for pepper jack if you enjoy a mild heat, or use dairy‑free cheese for a vegan twist. For a crunchy twist, add a thin layer of crispy prosciutto between the chicken and bun.
Dietary Adjustments
For gluten‑free sliders, use gluten‑free panko and serve on gluten‑free slider rolls. To make the dish dairy‑free, substitute the cheese with a plant‑based mozzarella alternative and use olive oil instead of butter in the sauce. Keto lovers can replace the brioche buns with low‑carb almond‑flour rolls.
Serving Suggestions
Pair the sliders with a crisp arugula salad tossed in lemon vinaigrette, or serve alongside sweet potato fries for a balanced plate. A side of garlic‑buttered corn on the cob adds a sweet, buttery contrast that complements the tangy marinara.
Storage Info
Leftover Storage
Allow any leftover sliders to cool completely, then place them in an airtight container. Store in the refrigerator for up to 3 days. If you prefer to freeze, separate the components (buns, chicken, sauce) and wrap each tightly in plastic wrap followed by a foil layer; they’ll keep for up to 2 months.
Reheating Instructions
Reheat refrigerated sliders in a 350°F (175°C) oven, covered with foil, for 10‑12 minutes until the cheese melts and the interior is hot. For frozen portions, add an extra 5‑7 minutes. A quick microwave works for individual pieces, but finish under the broiler for a crisp top.
Frequently Asked Questions
Can I make this recipe ahead of time?
Can I use frozen chicken breasts for this dish?
What side dishes work best with these sliders?
How can I make the sliders spicier?
This Heavenly Chicken Parmesan Slider recipe delivers the classic comfort of chicken parm in a fun, bite‑size format, complete with crisp breading, rich marinara, and melty cheese. By following the detailed steps, tips, and storage guidelines you’ll achieve consistent, restaurant‑quality results every time. Feel free to experiment with the suggested swaps or spice levels—cooking is your canvas. Serve hot, share generously, and enjoy every delicious bite!
Heavenly Chicken Parmesan Sliders: An Introduction to Comfort Food at Its Best
Delicious Heavenly Chicken Parmesan Sliders: An Introduction to Comfort Food at Its Best
Ingredients
Main Ingredients
- 12 mini brioche slider buns
- 2 large boneless, skinless chicken breasts (about 1 lb)
- 1 cup shredded mozzarella cheese
- ¼ cup grated Parmesan cheese
Breading & Frying
- ½ cup all‑purpose flour
- 2 large eggs, beaten
- 1 ½ cups panko breadcrumbs
- 1 teaspoon garlic powder
- ½ teaspoon dried oregano
- Salt and freshly ground black pepper, to taste
Marinara Sauce
- 2 cups canned crushed tomatoes
- 2 cloves garlic, minced
- ¼ cup dry red wine (optional)
- 1 teaspoon dried basil
- ½ teaspoon sugar (to balance acidity)
- Salt and pepper, to taste
Seasonings & Garnish
- 2 tablespoons olive oil (for frying)
- Fresh basil leaves, torn (for garnish)
Instructions
Breading & Frying
- Set up a breading station. Place flour in a shallow bowl, beaten eggs in a second, and a mixture of panko, Parmesan, and a pinch of salt in a third. This three‑step system creates an even, adherent crust.
- Dredge the cutlets. Lightly coat each piece in flour, shaking off excess, then dip into the egg, and finally press into the panko mixture. Ensure every surface is fully covered; the panko will stay crisp after frying.
- Heat the oil. In a large skillet, warm 2 tablespoons olive oil over medium‑high heat until it shimmers (about 3 minutes). The oil should be hot enough that a breadcrumb sizzles on contact but not smoking.
- Fry the chicken. Add two cutlets at a time, giving them space to breathe. Cook for 3‑4 minutes per side, or until golden brown and the internal temperature reaches 165°F. Transfer to a paper‑towel‑lined plate to drain excess oil.
Making the Marinara
- Sauté aromatics. In the same skillet (add a splash more oil if needed), sauté minced garlic over medium heat for 30 seconds until fragrant, being careful not to brown.
- Combine sauce ingredients. Stir in crushed tomatoes, red wine (if using), dried basil, sugar, salt, and pepper. Bring to a gentle simmer, then reduce heat to low and let the sauce thicken for 8‑10 minutes, stirring occasionally.
- Adjust seasoning. Taste and add a pinch more salt or a dash of pepper if needed. The sauce should be bright, slightly sweet, and thick enough to cling to the chicken.
Assembling the Sliders
- Pre‑heat the oven. Set your oven to 375°F (190°C) while you finish assembly.
- Layer the buns. Slice each brioche bun horizontally. Place the bottom half on a baking sheet lined with parchment.
- Add sauce and cheese. Spoon a generous tablespoon of marinara onto each bun, then top with a fried chicken cutlet. Sprinkle mozzarella and a light dusting of Parmesan over the hot chicken.
- Bake to melt. Slide the tray into the oven and bake for 5‑7 minutes, or until the cheese bubbles and turns golden. This step melds the flavors and softens the bun slightly.
- Finish and serve. Remove from the oven, cap each slider with the top bun, and garnish with torn fresh basil. Serve immediately while the cheese is still oozy.
Similar Recipes
 Appetizers
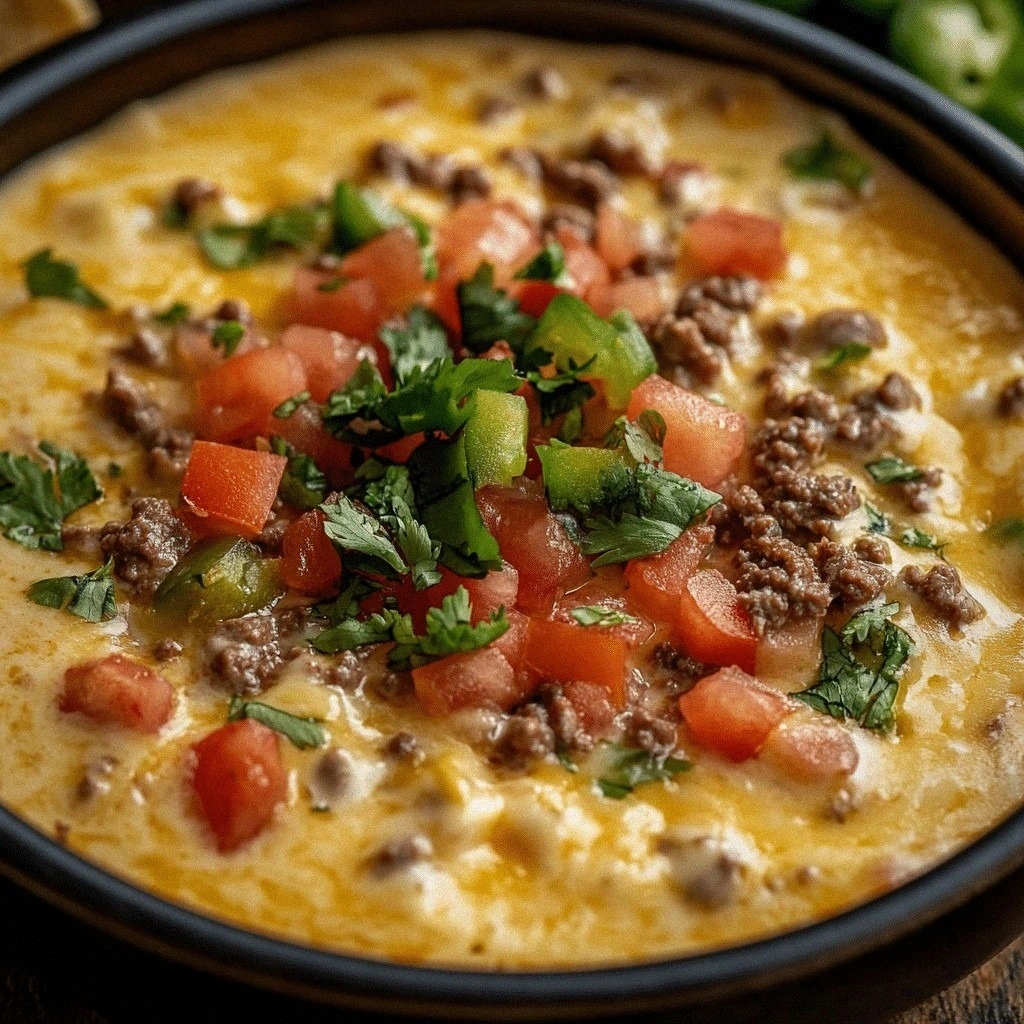
Cowboy Queso Recipe
Learn how to make delicious Cowboy Queso Recipe. Easy recipe with step-by-step instructions.
 Appetizers
Mini Chicken Alfredo Flatbread Pizzas: A Culinary Delight
Delicious Mini Chicken Alfredo Flatbread Pizzas: A Culinary Delight
 Appetizers
Crispy Cucumber Bites with Herbed Cream Cheese
Delicious Crispy Cucumber Bites with Herbed Cream Cheese
 Appetizers
Chilly Southwest Chicken Pasta Salad Recipe
Delicious Chilly Southwest Chicken Pasta Salad Recipe
 Appetizers
holiday spiced butternut squash soup with cinnamon and nutmeg
Learn how to make delicious holiday spiced butternut squash soup with cinnamon and nutmeg. Easy recipe…
 Appetizers
BBQ Chicken Sweet Potato Bites: A Delicious and Nutritious Twist on Comfort Food
Delicious BBQ Chicken Sweet Potato Bites: A Delicious and Nutritious Twist on Comfort Food
 Appetizers
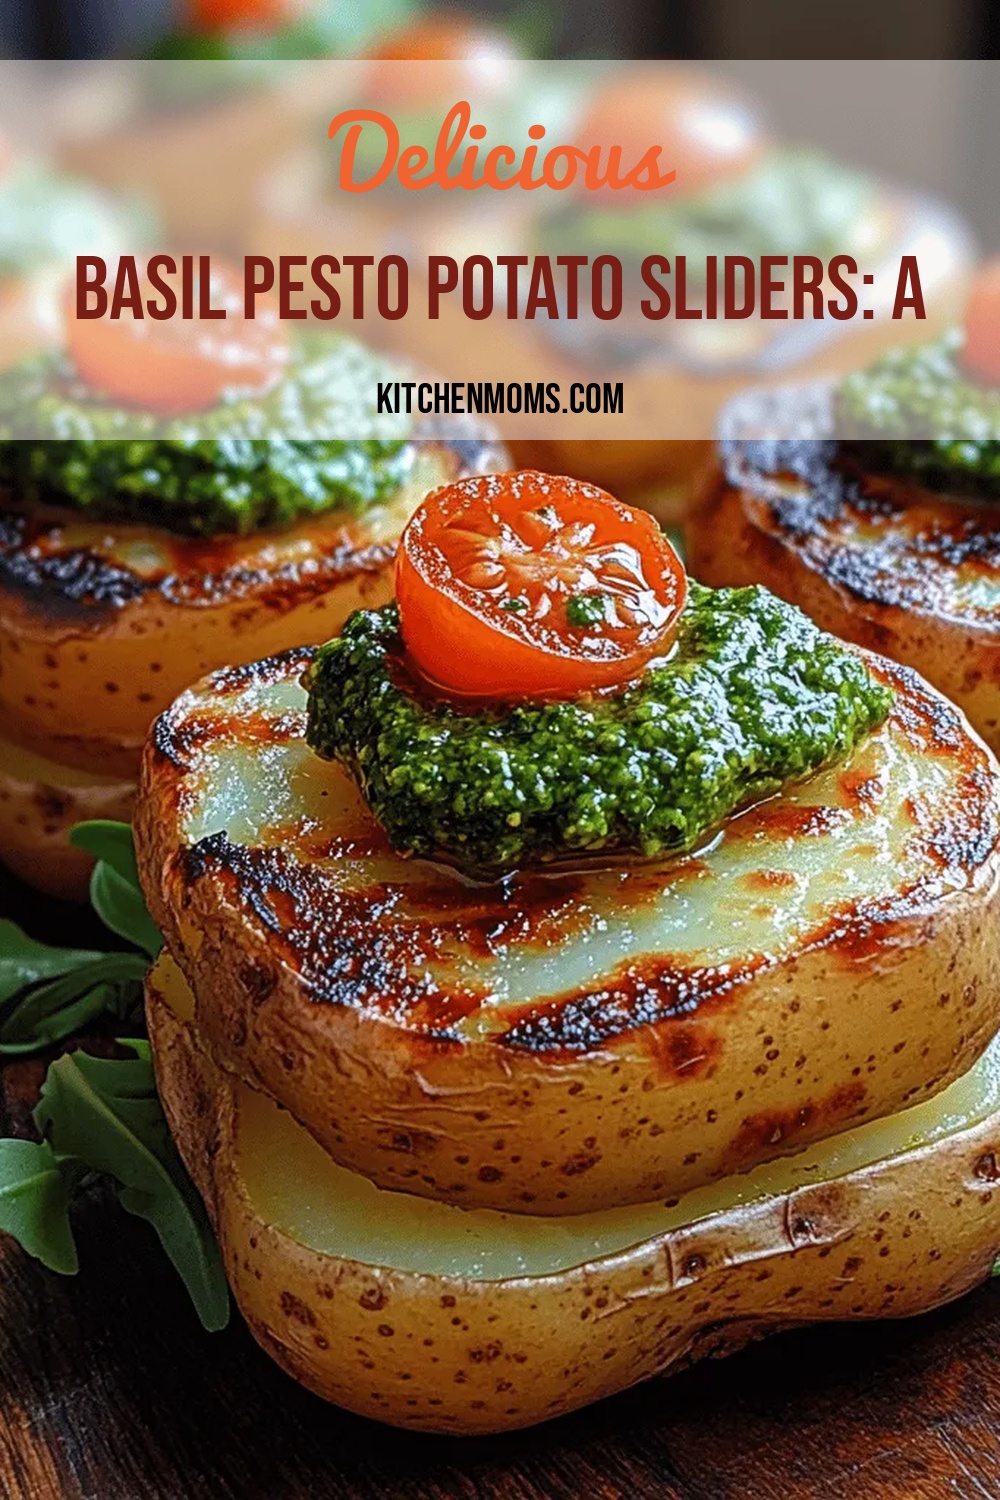
Basil Pesto Potato Sliders: A Delicious Vegetarian Treat
Delicious Basil Pesto Potato Sliders: A Delicious Vegetarian Treat
 Appetizers
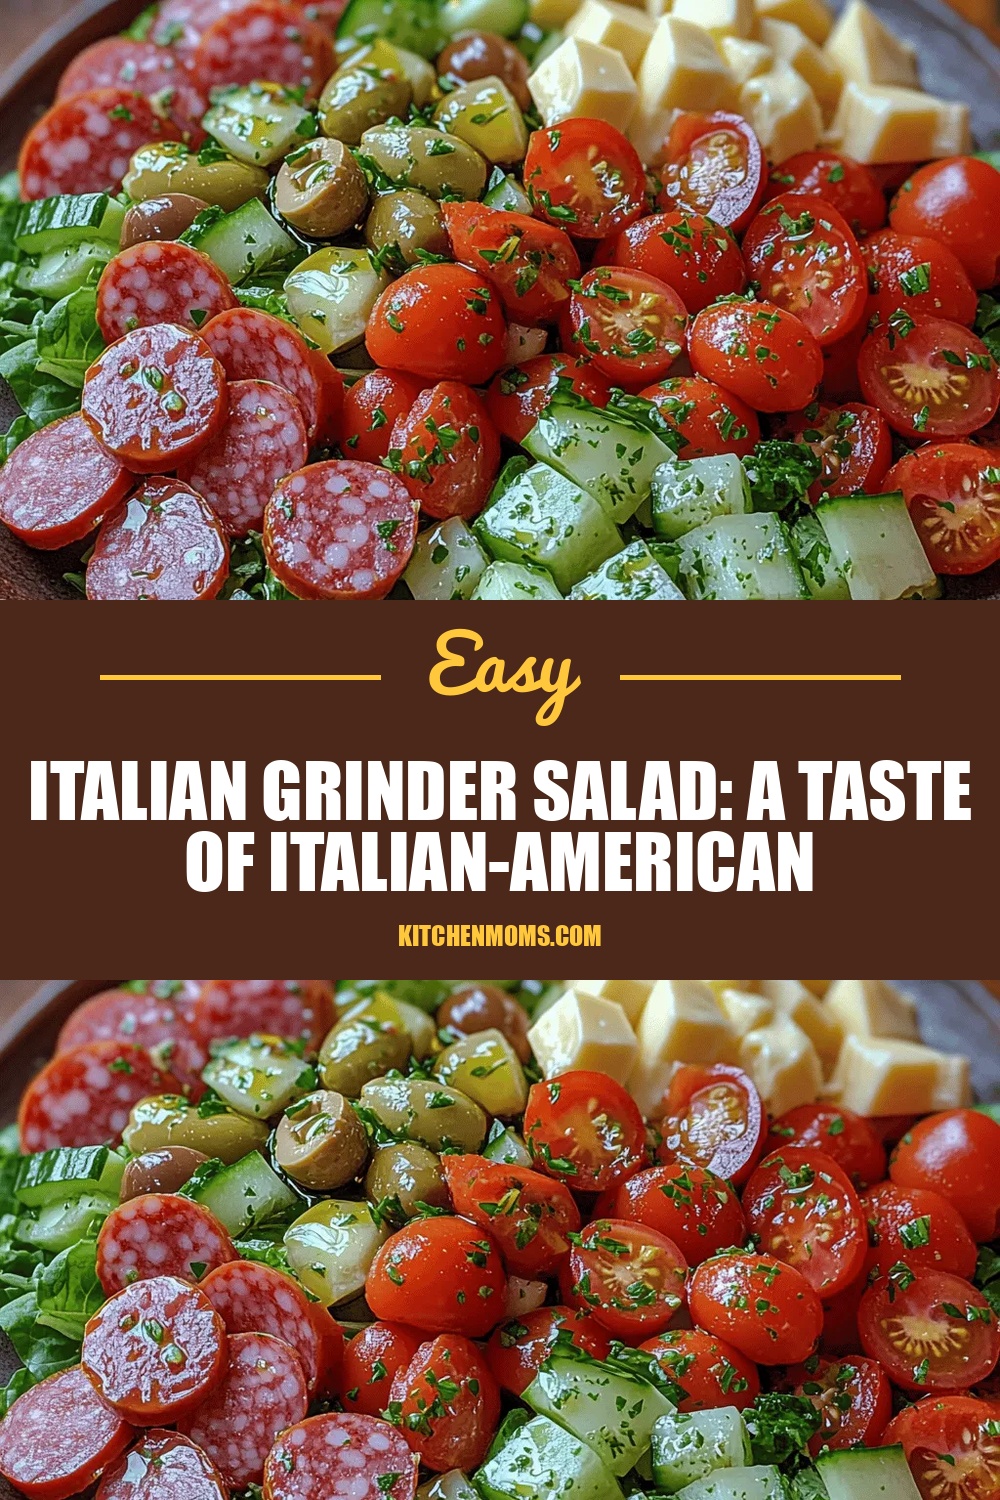
Italian Grinder Salad: A Taste of Italian-American Tradition
Delicious Italian Grinder Salad: A Taste of Italian-American Tradition

Lucy
I cook these recipes at home before they ever land here — simple ingredients, clear steps.