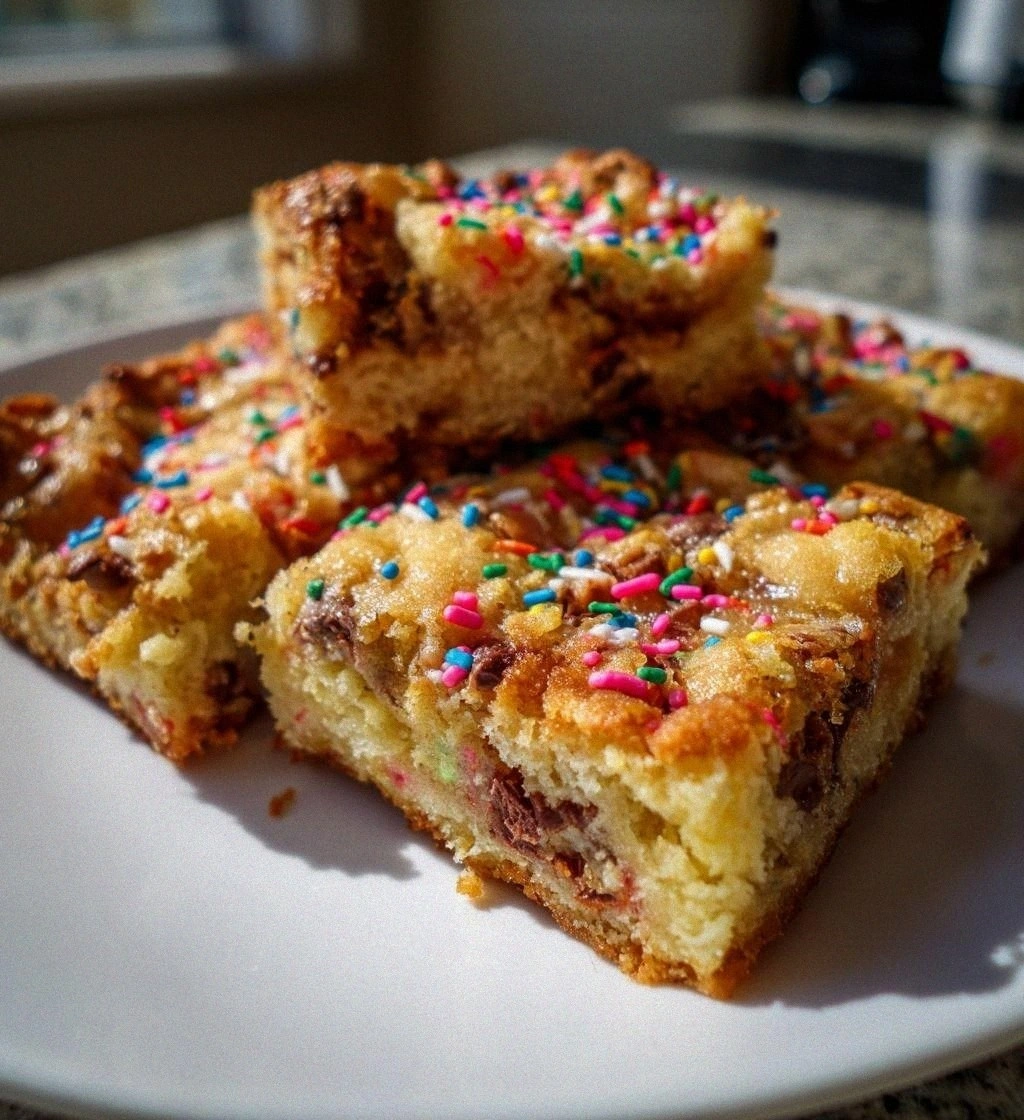
Mother’s Day Sweets Ideas: 7 Irresistible Treats to Love
 Save
Save
The first time I tried to bake something special for Mother’s Day, the kitchen smelled like a warm hug. I remember the soft clink of the measuring cups, the gentle hum of the oven, and the way the sunlight filtered through the curtains, turning the flour‑dusty countertops into a golden stage. As I lifted the lid of the pan, a cloud of sweet vanilla and melted chocolate rose up, wrapping the whole house in a perfume that made my mom’s eyes glisten. That moment taught me that desserts aren’t just food; they’re love letters written in butter, sugar, and a dash of nostalgia.
Fast forward a few years, and I’ve refined that original experiment into a collection of seven treats that scream “I love you” without saying a word. Each bite is designed to bring a smile, a memory, and a little burst of joy that lasts far beyond the last crumb. From soft, melt‑in‑your‑mouth cookies to airy, buttery bars, these sweets are built on a foundation of simple, high‑quality ingredients that any home cook can master. The best part? They’re versatile enough to adapt to your family’s favorite flavors, yet reliable enough that you’ll never have to worry about a flat, bland result.
But wait – there’s a secret trick hidden in step four that transforms the texture from ordinary to unforgettable. Have you ever wondered why the same recipe can turn out crisp one day and chewy the next? The answer lies in a tiny detail that most people overlook, and I’m about to spill the beans. Trust me, once you master this, you’ll never look at a cookie the same way again.
Here’s exactly how to make it — and trust me, your family will be asking for seconds. Grab your apron, preheat that oven, and let’s dive into a world where every sprinkle, every chocolate chip, and every swirl of vanilla is a celebration of the amazing women who raised us. Ready? Let’s get started.
🌟 Why This Recipe Works
- Flavor Depth: The combination of butter, vanilla, and chocolate chips creates layers of richness that develop as the sweets bake, delivering a deep, lingering sweetness that feels both comforting and luxurious.
- Texture Harmony: The balance of flour and butter yields a tender crumb that’s crisp around the edges yet soft in the center, giving you that perfect bite‑contrast that keeps you reaching for more.
- Ease of Execution: With only seven core ingredients and straightforward steps, even a beginner can achieve professional‑grade results without feeling overwhelmed.
- Time Efficiency: From prep to plate, the entire process takes under an hour, making it ideal for a busy Mother’s Day morning when you still want to enjoy a relaxed breakfast together.
- Versatility: The base recipe serves as a canvas for endless variations – think seasonal fruits, nuts, or flavored extracts – so you can tailor it to your mom’s favorite flavors.
- Ingredient Quality: By emphasizing unsalted butter, real vanilla extract, and high‑quality chocolate chips, the recipe maximizes flavor without relying on artificial enhancers.
- Crowd‑Pleasing Factor: The bright pop of sprinkles adds a visual celebration that makes the treats look as festive as they taste, guaranteeing smiles from kids to grandparents.
🥗 Ingredients Breakdown
The Foundation
1 cup all‑purpose flour: This is the backbone of our sweet creation. Sifted flour introduces air into the batter, ensuring a light, airy crumb. If you’re aiming for a gluten‑free version, a 1‑to‑1 substitution with a blend of rice flour and tapioca starch works beautifully, though the texture will be slightly denser. Selecting a high‑quality, unbleached flour adds a subtle nutty undertone that you can taste even after the sugar has melted away.
The Sweeteners & Fats
1/2 cup sugar: Granulated sugar provides the perfect crystalline crunch that caramelizes just enough to give a golden crust. If you prefer a deeper flavor, swap half of the granulated sugar for brown sugar – the molasses will lend a warm, almost caramel‑like note. 1/2 cup butter: Unsalted butter, softened to room temperature, is essential for a smooth, cohesive dough. The butter’s fat coats the flour proteins, limiting gluten formation and resulting in a tender bite. For a dairy‑free twist, use a high‑fat coconut oil, but keep in mind it will add a faint coconut aroma that can be delightful if your mom loves tropical flavors.
The Bindings & Aromatics
2 large eggs: Eggs act as the glue that holds everything together while also adding richness and lift. Bring them to room temperature before cracking; this prevents a sudden temperature shock that could cause the batter to seize. 1 tsp vanilla extract: Pure vanilla extract is a game‑changer. Its aromatic compounds mingle with the butter and sugar, creating a fragrant base that feels both nostalgic and sophisticated. If you want to experiment, try a splash of almond extract for a subtle nutty twist, but keep it to half the amount to avoid overpowering the chocolate.
The Secret Weapons
1/2 cup chocolate chips: Semi‑sweet or milk chocolate chips melt into glossy pockets of indulgence. The choice between the two depends on how sweet you want the final product; semi‑sweet offers a balanced bitterness, while milk chocolate leans toward a sweeter, creamier profile. 1/4 cup sprinkles: Sprinkles are the visual fireworks that turn an ordinary treat into a celebration. Choose colors that match your Mother’s Day theme – pastel pinks, soft yellows, or even metallic gold for an extra touch of elegance. You can also substitute with toasted coconut flakes for a tropical vibe.
With your ingredients prepped and ready, let's get cooking. Here’s where the fun really begins…
🍳 Step-by-Step Instructions
🔐 Expert Tips for Perfect Results
The Taste Test Trick
Before you bake the entire batch, scoop a tiny piece of raw dough onto a plate and pop it into the microwave for 8‑10 seconds. This quick test reveals whether the sweetness level is just right and if the vanilla is prominent enough. I once discovered my vanilla was a bit weak, so I added a splash more before the final mix, and the difference was night and day.
Why Resting Time Matters More Than You Think
Letting the dough rest for 15‑20 minutes in the refrigerator before shaping allows the flour to fully hydrate and the butter to firm up slightly. This results in a more defined edge and a tender crumb. I used to skip this step and ended up with cookies that spread too thin; after adding the rest, they held their shape beautifully.
The Seasoning Secret Pros Won’t Tell You
A pinch of sea salt sprinkled on top just before baking amplifies the chocolate flavor and balances the sweetness. It’s a tiny detail that professional bakers swear by, and it transforms an ordinary sweet into a sophisticated treat. Try it and notice how the flavors pop.
The Perfect Baking Sheet Choice
Heavy‑duty aluminum or a dark non‑stick sheet conducts heat more evenly, giving you a consistent golden edge. Light-colored sheets can cause uneven browning, especially if your oven has hot spots. I keep a spare dark sheet in the pantry for special occasions like Mother’s Day.
Cooling Is Not Optional
Allow the cookies to cool on a wire rack for at least 10 minutes; this prevents them from becoming soggy on the bottom. The air circulation helps the interior set while preserving the crisp edge. Skipping this step is the fastest way to end up with a mushy disappointment.
🌈 Delicious Variations to Try
One of my favorite things about this recipe is how versatile it is. Here are some twists I've tried and loved:
Citrus Zest Delight
Add the zest of one lemon or orange to the batter for a bright, fragrant lift that pairs wonderfully with the chocolate chips. The citrus cuts through the richness, making each bite feel lighter and more refreshing.
Nutty Crunch Fusion
Stir in ¼ cup of toasted chopped almonds or hazelnuts for a delightful crunch. The nuts add a buttery depth that complements the sprinkles and gives the cookies a sophisticated texture.
Berry Burst Surprise
Fold in a handful of dried cranberries or freeze‑dried raspberries. The tangy fruit pieces create pockets of tartness that balance the sweet chocolate, making the treats feel more complex.
Coffee Lover’s Dream
Replace half of the vanilla extract with a teaspoon of espresso powder dissolved in a tablespoon of hot water. The subtle coffee note deepens the chocolate flavor, perfect for moms who love a caffeine kick.
Holiday Spice Twist
Add a pinch of ground cinnamon, nutmeg, and a dash of clove to the dry ingredients. This warm spice blend turns the sweets into a cozy, holiday‑ready treat that’s perfect for any season.
📦 Storage & Reheating Tips
Refrigerator Storage
Place the cooled sweets in an airtight container lined with parchment paper to keep them from sticking together. Stored in the fridge, they stay fresh for up to five days, retaining their soft interior and crisp edges.
Freezing Instructions
For longer‑term storage, arrange the treats on a baking sheet and freeze them individually for 2 hours. Then transfer them to a zip‑top freezer bag. They’ll keep for up to three months, and you can thaw them at room temperature for 30 minutes before serving.
Reheating Methods
To revive the softness, microwave a single cookie for 10‑12 seconds, or warm a handful in a preheated oven at 300°F (150°C) for 5 minutes. The trick to reheating without drying it out? Place a small piece of parchment under the sweets; the steam it traps keeps the interior moist while the exterior crisps up.
❓ Frequently Asked Questions
Can I substitute the all‑purpose flour with a gluten‑free blend?
What if I don’t have sprinkles on hand?
How do I prevent the cookies from spreading too much?
Can I add a frosting or glaze on top?
Is it okay to use salted butter?
How long will the leftovers stay fresh at room temperature?
Can I double the recipe for a larger gathering?
What’s the best way to transport these sweets for a Mother’s Day brunch?
Using a cookie scoop or a tablespoon, drop rounded mounds onto the prepared baking sheet, spacing them about 2 inches apart. As the batter spreads, you’ll notice the edges beginning to flatten – that’s the sign they’re ready for the oven.
Bake for 12‑15 minutes, or until the edges turn a light golden brown and the tops look set but still slightly soft in the center. The aroma will fill the kitchen with a buttery‑vanilla scent that’s impossible to resist. Remove from the oven and let the cookies rest on the sheet for 2 minutes before transferring to a wire rack; this allows them to finish cooking from residual heat without becoming too crisp.
Once cooled, arrange the treats on a decorative platter, drizzle a thin ribbon of melted chocolate if you like, and sprinkle the remaining sprinkles for that final flourish. The result is a batch of glossy, fragrant sweets that look as delightful as they taste.
Similar Recipes
 Desserts
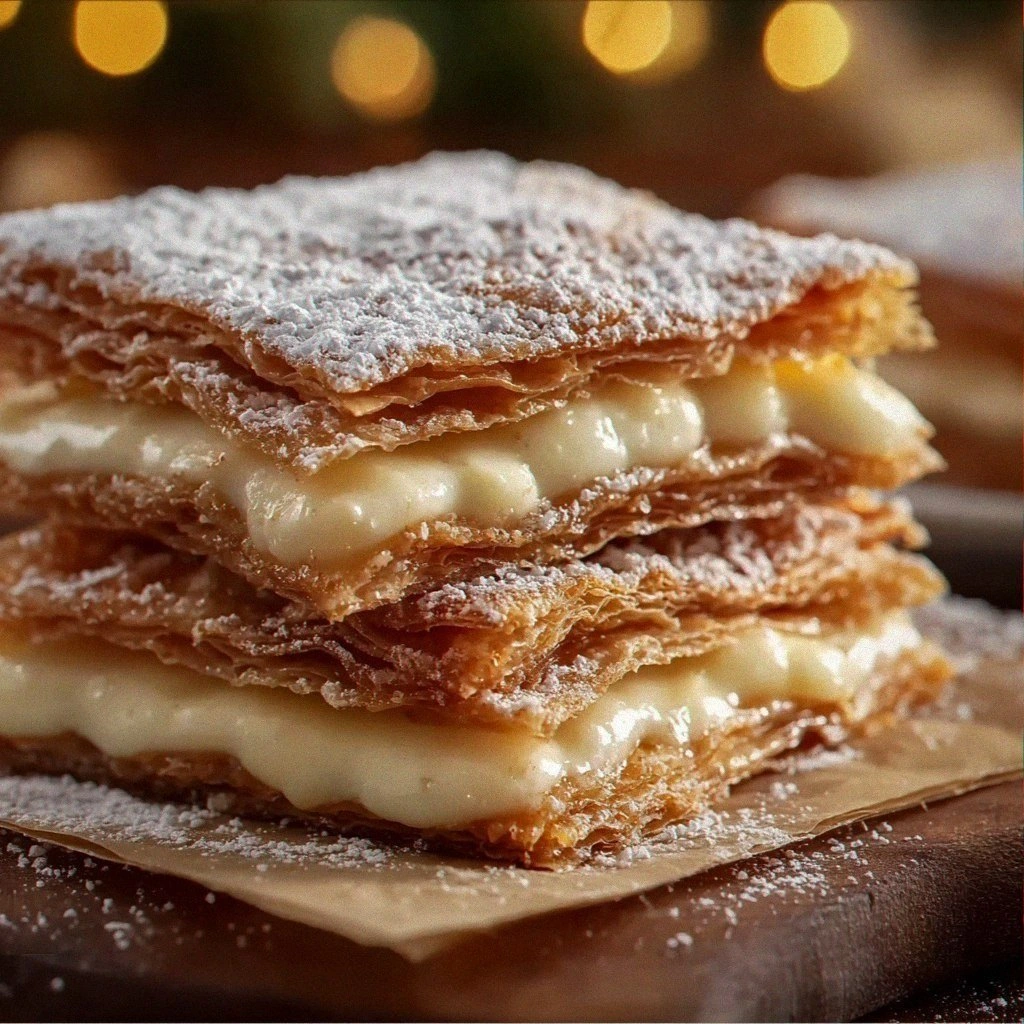
Churro Cracker Candy
Learn how to make delicious Churro Cracker Candy. Easy recipe with step-by-step instructions.
 Desserts
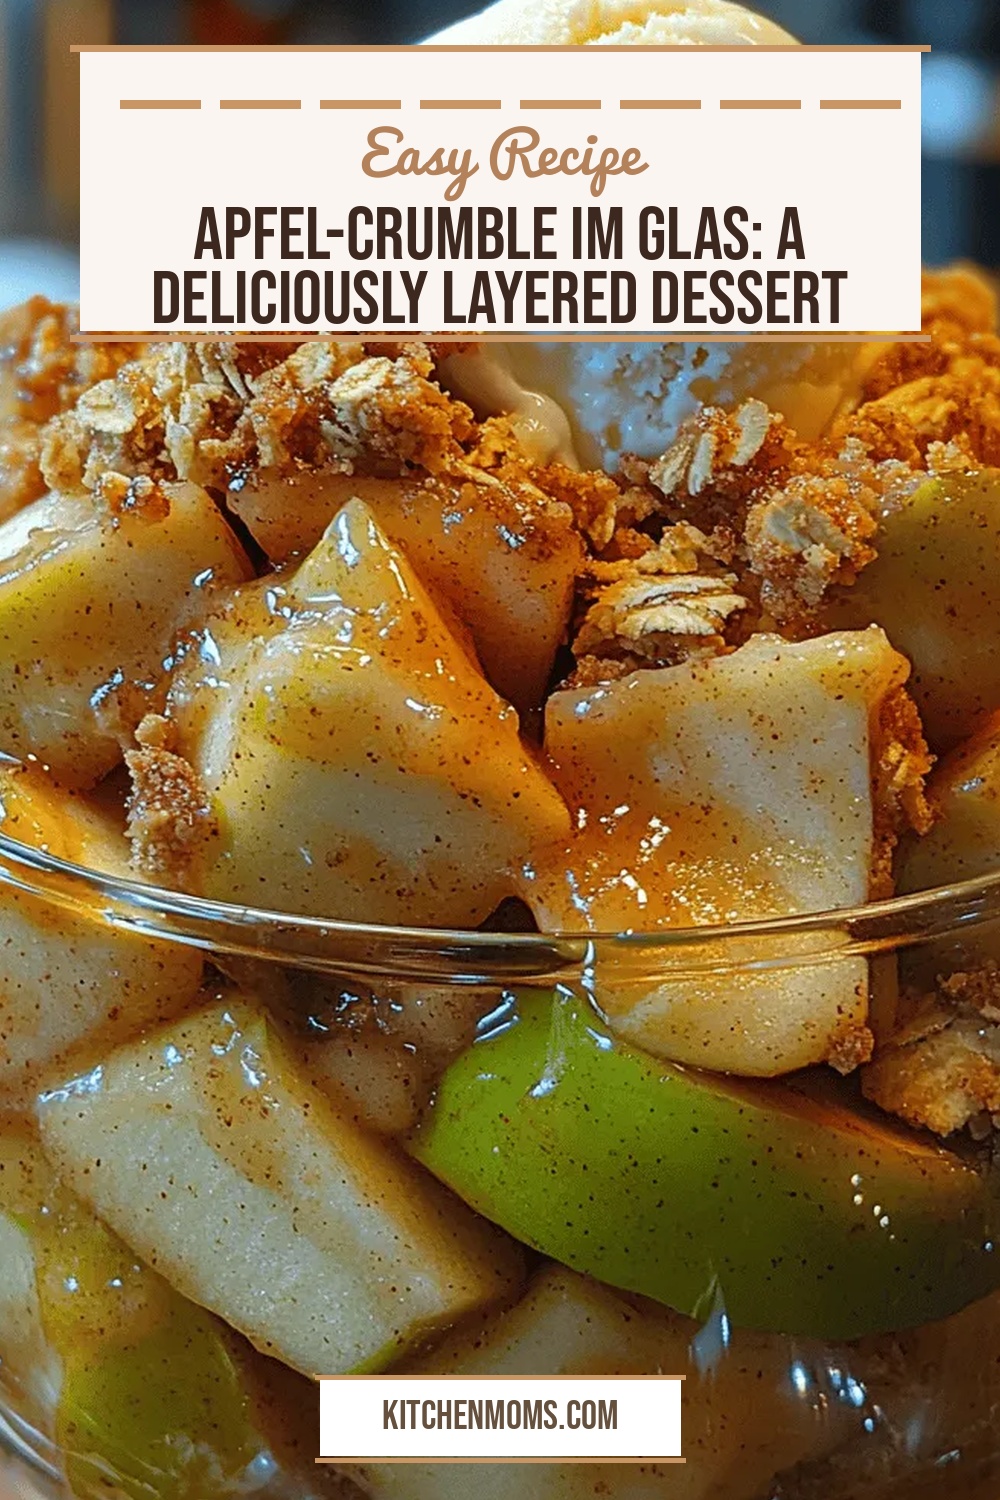
Apfel-Crumble im Glas: A Deliciously Layered Dessert Recipe
Delicious Apfel-Crumble im Glas: A Deliciously Layered Dessert Recipe
 Desserts
Mini Baked Apple Pies Recipe: A Delightful Twist on a Classic Dessert
Delicious Mini Baked Apple Pies Recipe: A Delightful Twist on a Classic Dessert
 Desserts
Creamy Delight Cheesecake Cookies: A Sweet Transformation from Cheesecake to Cookie
Delicious Creamy Delight Cheesecake Cookies: A Sweet Transformation from Cheesecake to Cookie
 Desserts
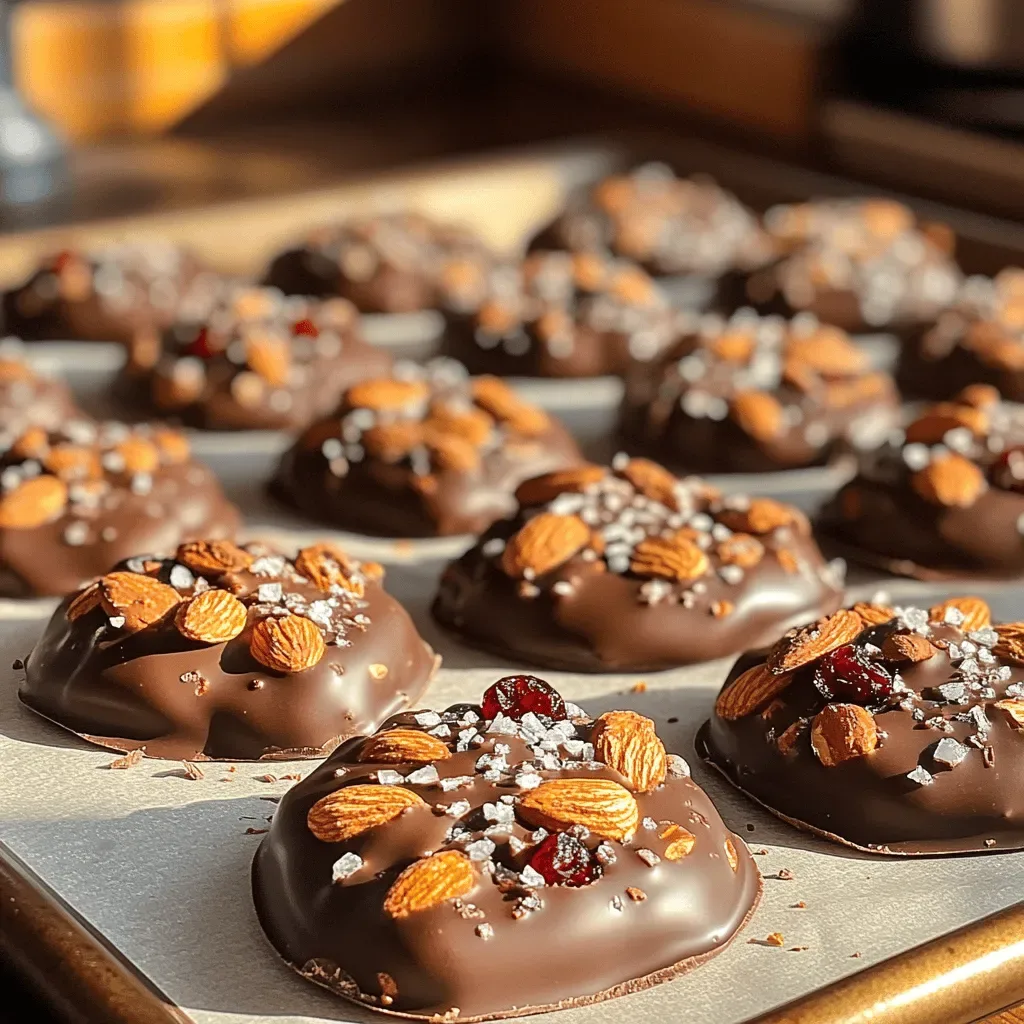
Sweet Chocolate Almond Clusters Recipe: Delve Into the Details
Delicious Sweet Chocolate Almond Clusters Recipe: Delve Into the Details
 Desserts
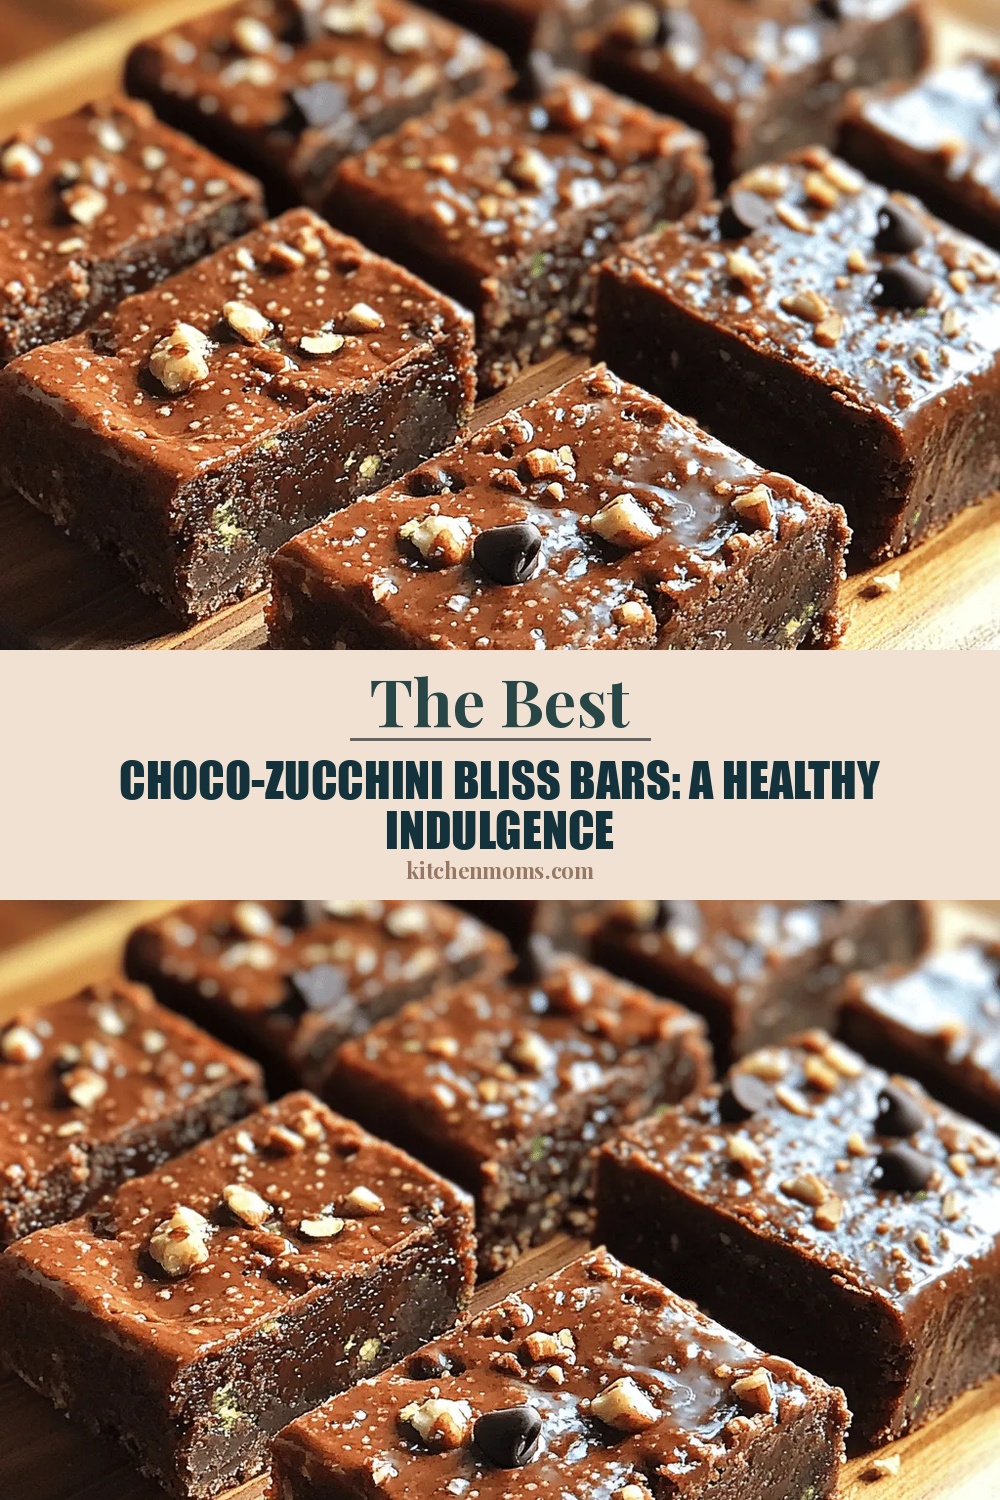
Choco-Zucchini Bliss Bars: A Healthy Indulgence
Delicious Choco-Zucchini Bliss Bars: A Healthy Indulgence
 Desserts
Strawberry Peach Galette Recipe
Delicious Strawberry Peach Galette Recipe
 Desserts
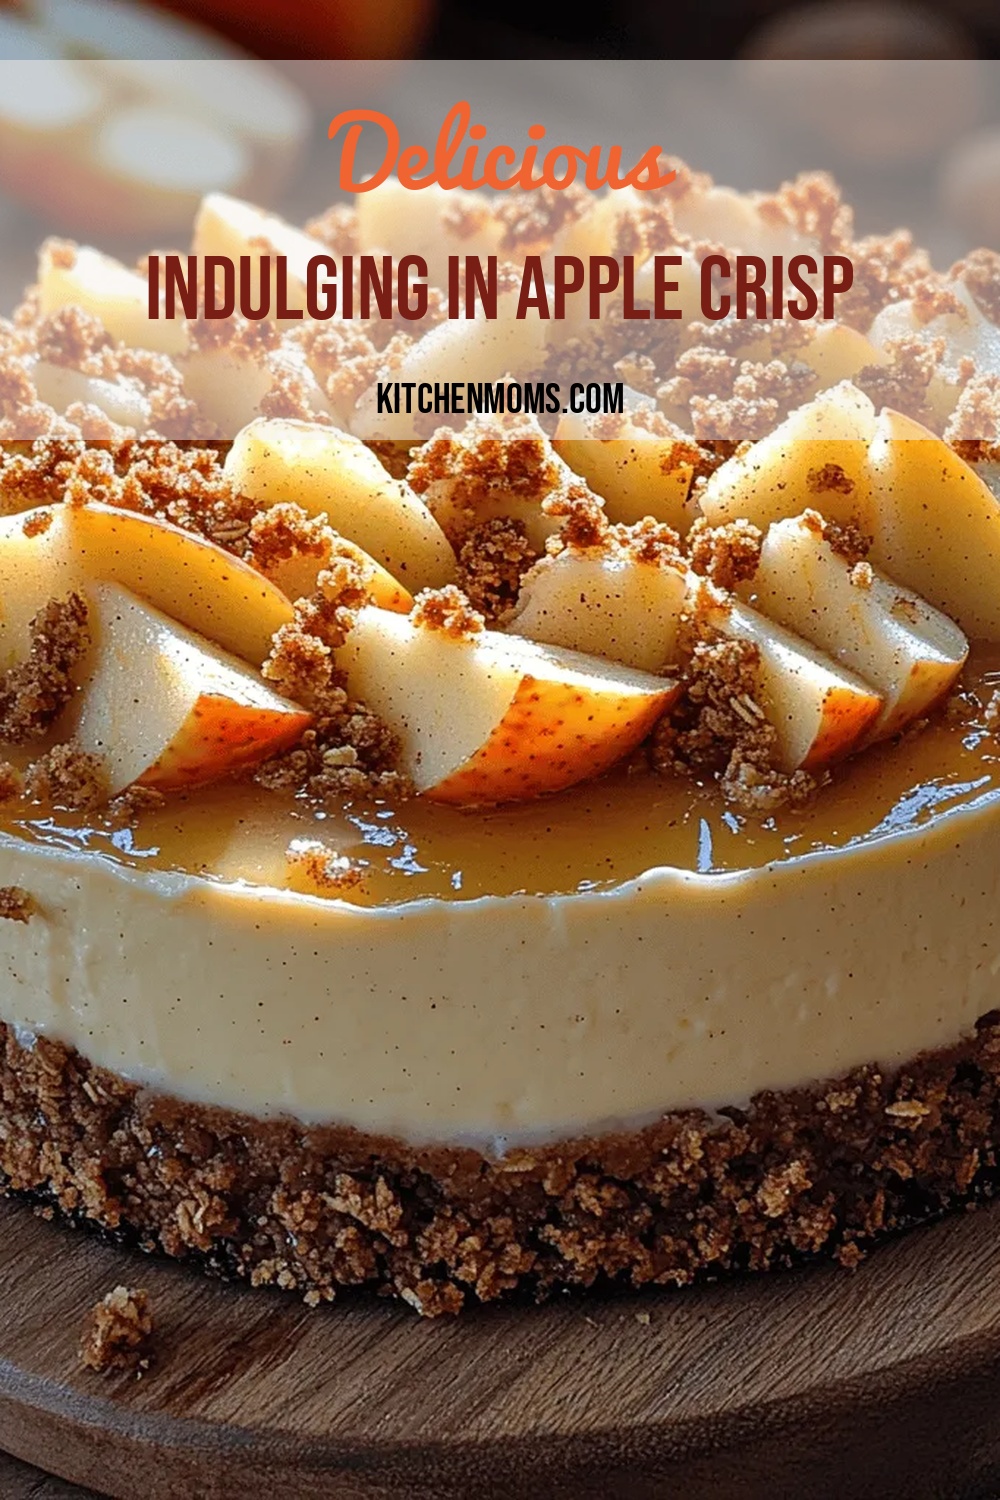
Indulging in Apple Crisp Cheesecake: A Delicious Fusion of Flavors
Delicious Indulging in Apple Crisp Cheesecake: A Delicious Fusion of Flavors

Lucy
I cook these recipes at home before they ever land here — simple ingredients, clear steps.