Mushroom Magic Bombs: A Flavorful Delight
 Save
Save
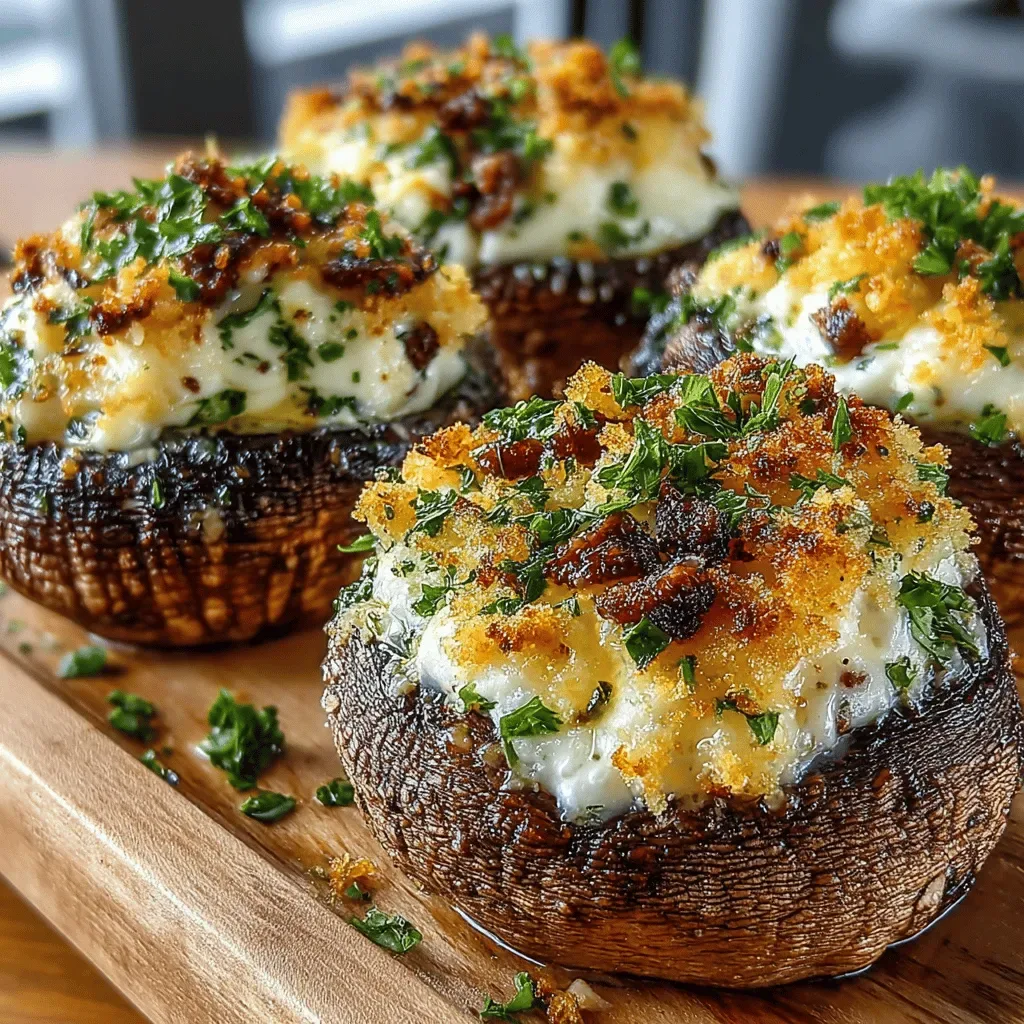
Imagine biting into a golden‑crusted mushroom cap that bursts with a creamy, herb‑infused filling—welcome to Mushroom Magic Bombs: A Flavorful Delight. These bite‑size wonders bring the comfort of a warm appetizer with the elegance of a gourmet bite, making them perfect for any gathering.
What sets these bombs apart is the harmony between earthy mushrooms and a luscious mixture of cheese, herbs, and a hint of citrus. The quick sear locks in moisture while a brief bake creates a crisp, caramelized top that contrasts beautifully with the silky interior.
Everyone from picky eaters to seasoned foodies will adore them, whether served at a casual game night, a sophisticated cocktail party, or as a hearty snack during a movie marathon. Their handheld size makes them easy to share and impossible to resist.
The cooking process is straightforward: clean and prep the mushroom caps, whisk together a savory filling, stuff the caps, give them a quick pan‑sear, then finish in the oven. In under 45 minutes you’ll have a crowd‑pleasing appetizer that looks as magical as it tastes.
Why You'll Love This Recipe
Irresistible Texture: A crunchy, golden crust gives way to a silky, herb‑laden center, delivering a satisfying contrast in every bite that keeps guests reaching for more.
Simple Ingredients: The recipe relies on pantry staples—mushrooms, cheese, and fresh herbs—so you won’t need a specialty shop trip to create a gourmet‑level snack.
Fast & Flexible: From prep to plate in under an hour, the method adapts to any kitchen skill level while allowing endless flavor tweaks.
Perfect for Sharing: Their bite‑size shape makes them ideal for parties, potlucks, or a casual family snack—no knives required, just pure finger‑food fun.
Tips & Tricks
Perfecting the Recipe
Dry the caps. Pat the mushroom caps completely dry after cleaning. Moisture prevents browning and can make the filling soggy.
Don’t over‑fill. Fill each cap just to the rim; too much filling can spill during baking, creating a mess.
Use a hot pan. Ensure the butter is shimmering before adding the caps. A hot surface creates a quick crust that seals in flavor.
Rest before serving. A short 2‑minute rest after baking lets the cheese settle, making the bombs easier to handle.
Flavor Enhancements
Add a splash of fresh lemon juice just before serving for a bright pop. Sprinkle a pinch of smoked paprika on top before baking for a subtle smoky depth. For extra richness, swirl in a teaspoon of truffle oil after the bombs come out of the oven.
Common Mistakes to Avoid
Avoid using overly large mushrooms; they can become floppy and won’t hold the filling well. Also, don’t skip the searing step—without it, the caps stay pale and lose that satisfying crunch.
Pro Tips
Grate cheese fresh. Freshly grated Parmesan melts more smoothly than pre‑shredded, giving a silkier filling.
Use a kitchen torch. After baking, lightly torch the tops for an extra caramelized finish without additional oven time.
Prep ahead. Assemble the bombs up to 2 hours before cooking; keep them covered in the fridge and they’ll retain their shape.
Choose firm mushrooms. Look for caps that are firm to the touch and free of bruises for the best texture.
Variations
Ingredient Swaps
Replace the button mushrooms with portobello caps for a larger, meatier bite, or try shiitake for a deeper umami flavor. Swap Parmesan for feta or goat cheese to introduce tanginess. For a vegan spin, use cashew cream and nutritional yeast in place of dairy.
Dietary Adjustments
For gluten‑free diners, ensure the breadcrumbs are certified gluten‑free or substitute with almond meal. To keep it dairy‑free, use a plant‑based cream cheese and omit the butter, replacing it with olive oil. Low‑carb fans can skip the breadcrumbs and add a sprinkle of grated Pecorino instead.
Serving Suggestions
Serve the bombs on a rustic wooden board alongside a chilled glass of Sauvignon Blanc. Pair with a simple arugula salad dressed in lemon vinaigrette for contrast. For a heartier spread, add a side of garlic‑roasted potatoes or a creamy polenta dip.
Storage Info
Leftover Storage
Allow any leftovers to cool to room temperature, then place the bombs in an airtight container. Refrigerate for up to 3 days. For longer preservation, wrap each bomb in plastic wrap, then freeze in a zip‑top bag for up to 2 months. This prevents freezer burn and keeps the texture intact.
Reheating Instructions
Reheat frozen or refrigerated bombs in a preheated 350°F oven for 10‑12 minutes, covered with foil to avoid drying out. Remove the foil for the final 2 minutes to restore the crisp top. A quick microwave blast (30‑45 seconds) works in a pinch, but the oven method retains the best texture.
Frequently Asked Questions
Can I make these mushrooms ahead of time?
What if I don’t have white wine for the sauce?
How do I keep the mushrooms from getting soggy?
What side dishes work best with these bombs?
Mushroom Magic Bombs bring together earthy mushrooms, a creamy herb‑filled center, and a buttery glaze that dazzles the palate—all in under an hour. By following the step‑by‑step guide, mastering the sear, and using the tips provided, you’ll achieve consistent, restaurant‑quality results. Feel free to experiment with cheeses, herbs, or even a splash of spice to make the recipe truly yours. Gather your friends, plate these beauties, and enjoy the burst of flavor in every bite!
Mushroom Magic Bombs: A Flavorful Delight
Delicious Mushroom Magic Bombs: A Flavorful Delight
Ingredients
Main Ingredients
- 12 large button mushrooms, stems removed
- 1 cup cream cheese, softened
- ½ cup grated Parmesan cheese
- ¼ cup panko breadcrumbs
Filling & Aromatics
- 2 cloves garlic, minced
- 1 tablespoon fresh parsley, chopped
- 1 teaspoon lemon zest
Sauce & Seasonings
- 2 tablespoons unsalted butter
- ¼ cup dry white wine (optional)
- Salt and freshly ground black pepper, to taste
Instructions
Making the Filling
- Combine dairy. In a medium bowl, whisk together 1 cup cream cheese and ½ cup grated Parmesan until smooth. This creates a cohesive base that will melt evenly inside the mushroom.
- Incorporate aromatics. Add 2 cloves garlic, minced, 1 tablespoon fresh parsley, and 1 teaspoon lemon zest to the cheese mixture. Stir until the herbs are evenly distributed, releasing their fragrant oils.
- Add texture. Fold in ¼ cup panko breadcrumbs gently. The breadcrumbs absorb a bit of moisture, preventing the filling from becoming too runny while contributing a subtle crunch after baking.
- Season. Finish the mixture with a generous pinch of salt and freshly ground black pepper. Taste and adjust; the filling should be flavorful but not overly salty, as the Parmesan already contributes saltiness.
Similar Recipes
 Appetizers
Crunchy Ramen Noodle Chicken Salad: A Fresh Take on a Classic Dish
Delicious Crunchy Ramen Noodle Chicken Salad: A Fresh Take on a Classic Dish
 Appetizers
Creamy Crockpot Cheesy Scalloped Potatoes: Tips, Techniques, and Serving Suggestions
Delicious Creamy Crockpot Cheesy Scalloped Potatoes: Tips, Techniques, and Serving Suggestions
 Appetizers
Irresistible Chocolate Chip Waffle Cookies : The Ultimate Fun & Easy Waffle Treat
Learn how to make delicious Irresistible Chocolate Chip Waffle Cookies : The Ultimate Fun & Easy…
 Appetizers
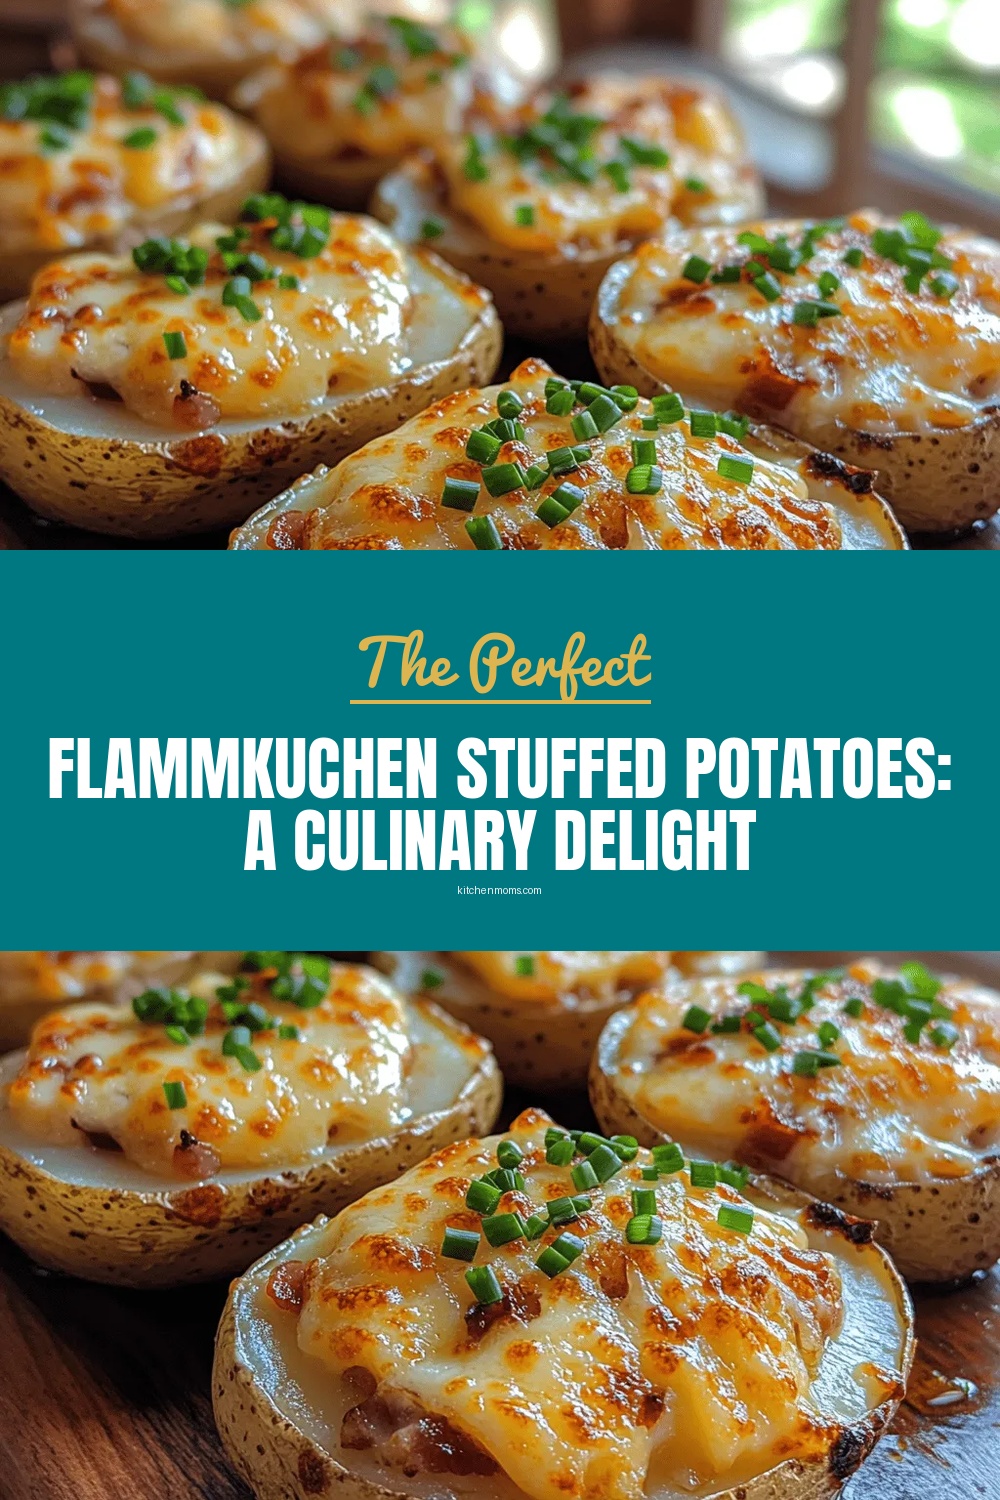
Flammkuchen Stuffed Potatoes: A Culinary Delight
Delicious Flammkuchen Stuffed Potatoes: A Culinary Delight
 Appetizers
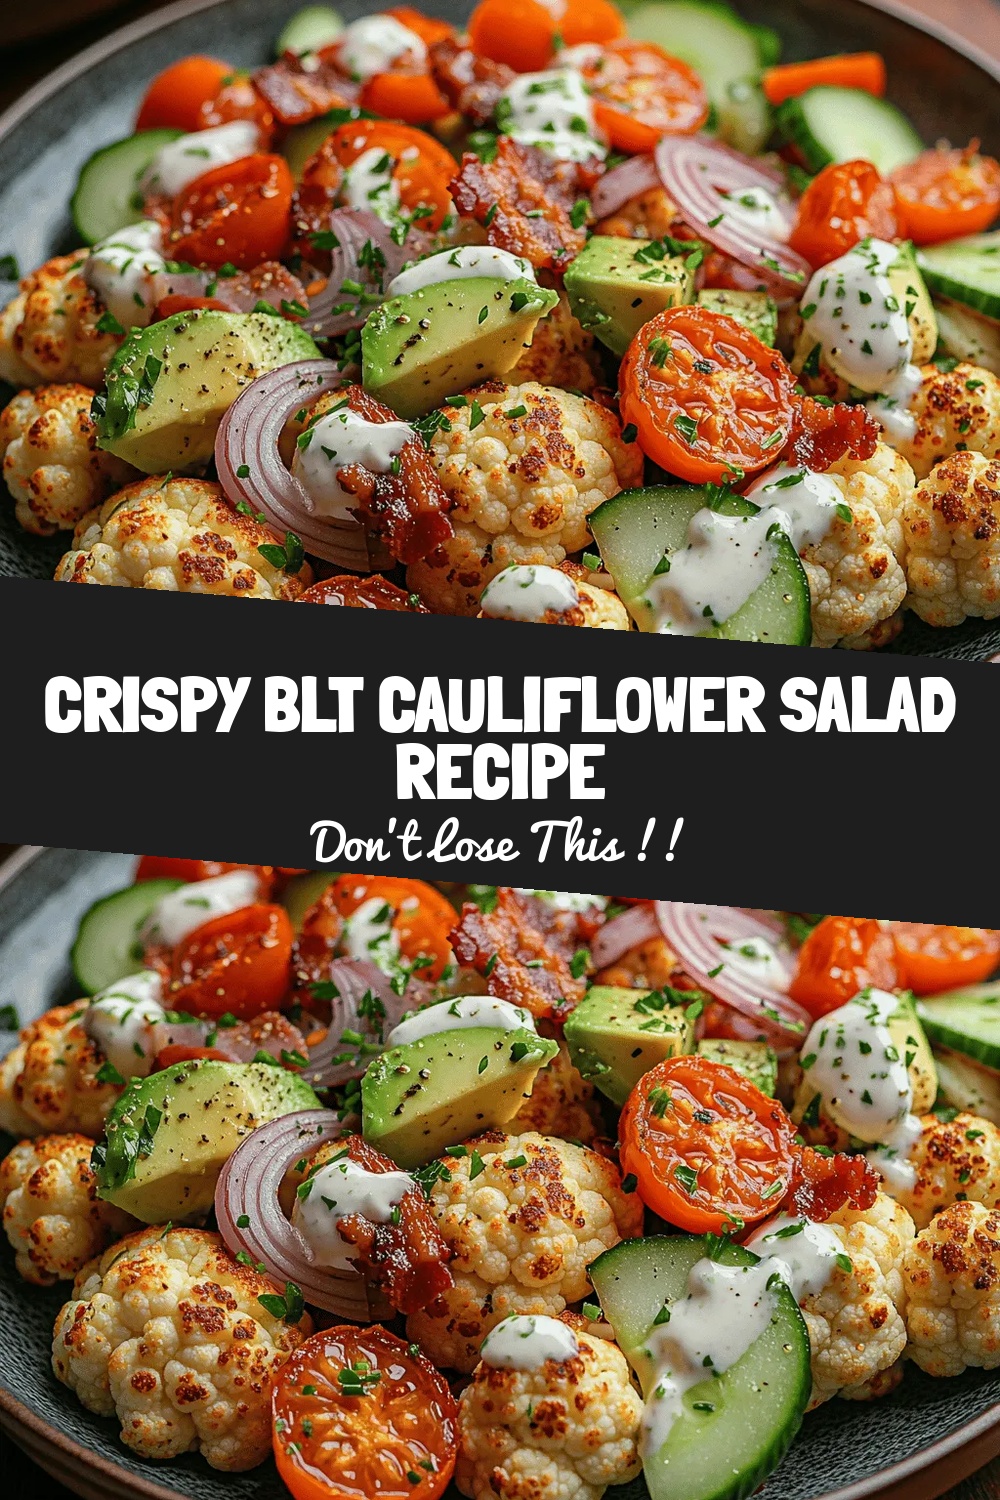
Crispy BLT Cauliflower Salad Recipe
Delicious Crispy BLT Cauliflower Salad Recipe
 Appetizers
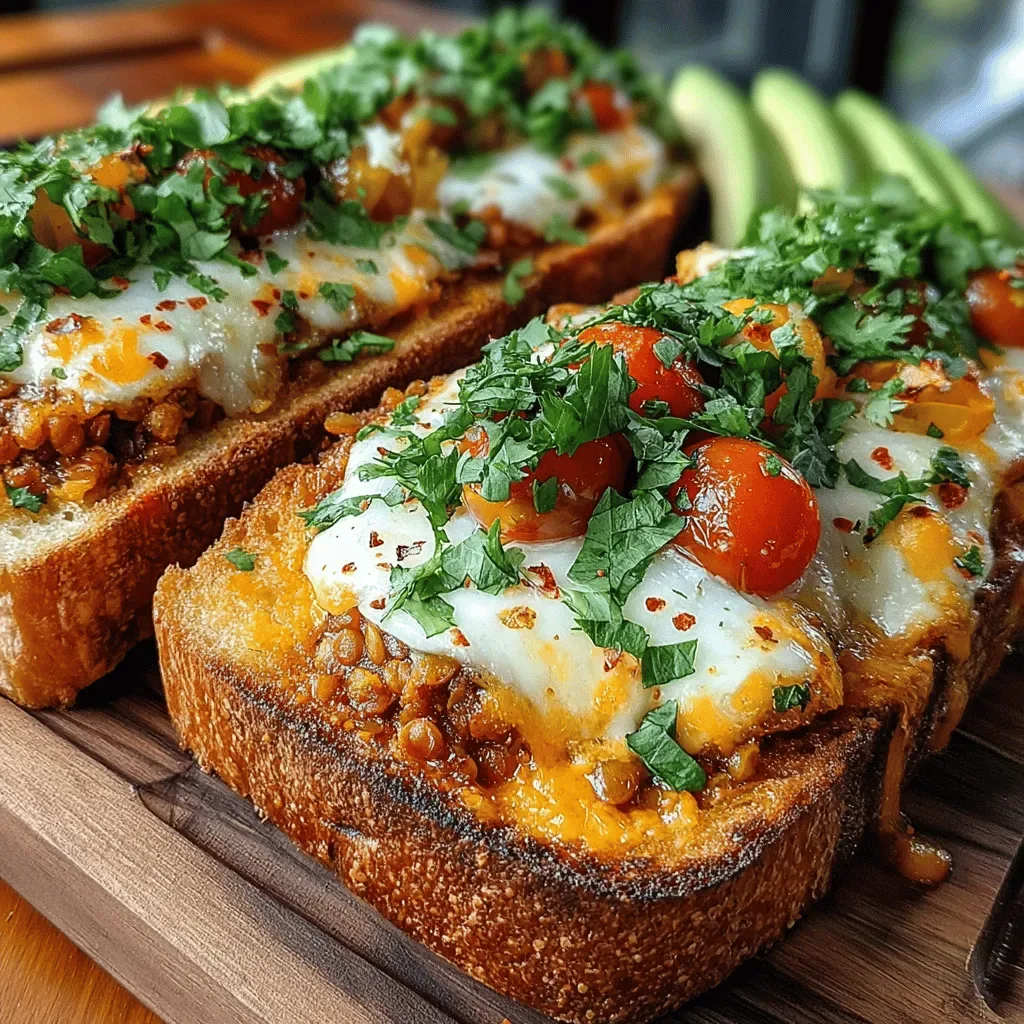
Spiced Lentil and Tomato Flatbread Melts
Delicious Spiced Lentil and Tomato Flatbread Melts
 Appetizers
Garlic Herb Potato Salad: A Fresh Take on a Classic Dish
Delicious Garlic Herb Potato Salad: A Fresh Take on a Classic Dish
 Appetizers
Air Fryer Chicken Taco Bites: A Deliciously Quick Meal
Delicious Air Fryer Chicken Taco Bites: A Deliciously Quick Meal

Lucy
I cook these recipes at home before they ever land here — simple ingredients, clear steps.