Oven-Baked Buffalo Chicken Dip: Easy Recipe & Tips
 Save
Save
It was a chilly Saturday night in early November, the kind of evening where the wind whistles through the cracks in the windows and the house smells faintly of pine from the fresh wreath on the front door. I was hunched over the stove, stirring a pot of soup, when my teenage son burst into the kitchen with a frantic grin and shouted, “Mom, the game’s on! We need something to snack on!” The thought of a warm, cheesy dip that could be scooped up with crunchy celery or buttery tortilla chips instantly lit up my imagination. I remembered the first time I tried a buffalo chicken dip at a friend’s house—how the fiery sauce danced with cool ranch, and the cheese stretched like a golden waterfall. That memory sparked an idea, and I decided then and there to create my own version that could be baked right in the oven for that perfect, bubbly crust.
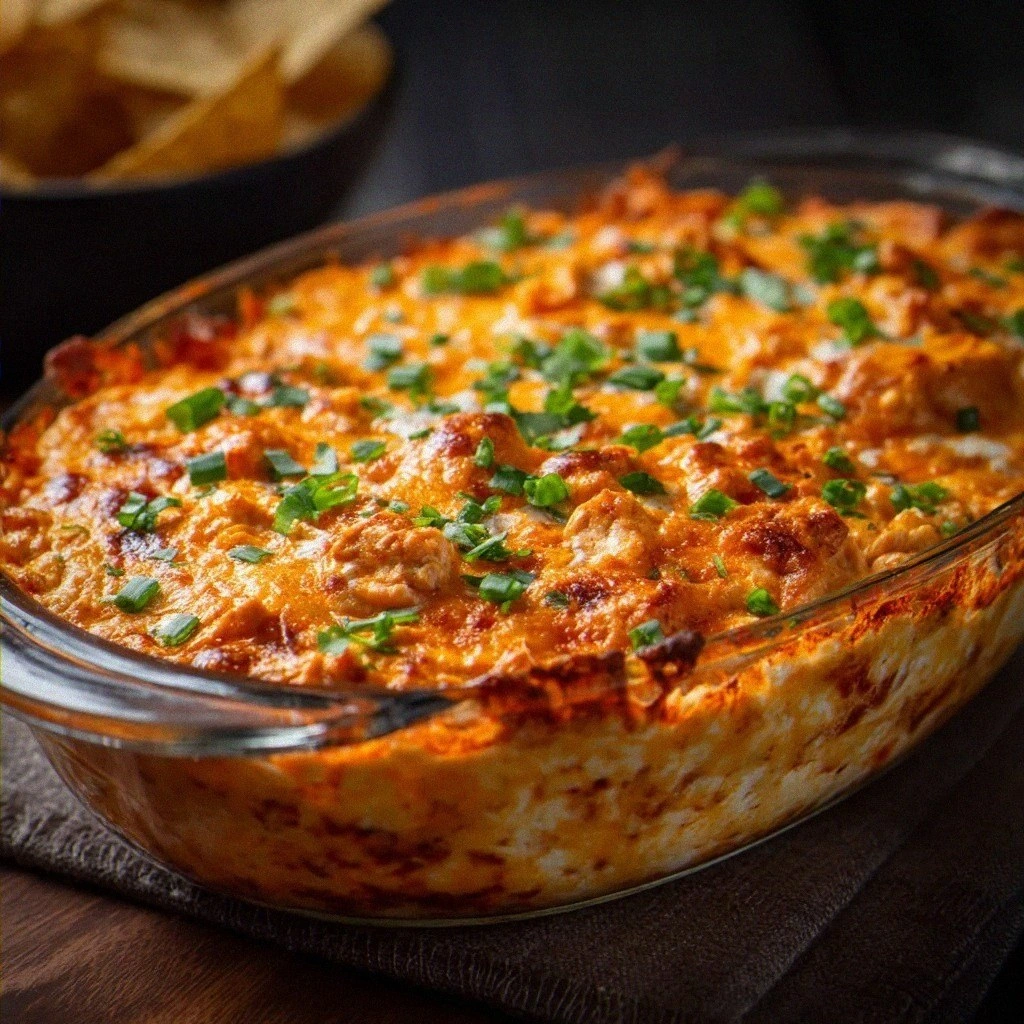
The moment you lift the lid off the baking dish, a cloud of fragrant steam rushes toward you, carrying the tangy heat of buffalo sauce mingled with the buttery richness of melted cheddar. The aroma is a siren call that makes everyone in the house pause whatever they’re doing and gather around the kitchen island, eyes wide with anticipation. As the dip settles into a glossy, golden top, you can hear the faint crackle of cheese bubbling at the edges—a sound that promises a crunchy, cheesy edge and a creamy, dreamy center. When you dip your first chip, the sauce coats it with a velvety texture that’s both spicy and soothing, and you instantly know you’ve hit a flavor jackpot.
What makes this recipe truly special is its simplicity paired with a depth of flavor that feels like it took hours of careful layering, yet it only needs about 45 minutes from start to finish. I’ve refined it over countless family gatherings, tweaking the balance of heat and creaminess until it hit that perfect sweet spot where even the most heat-averse guests can’t resist a second bite. And there’s a secret trick hidden in step four that takes this dip from good to unforgettable—trust me, you’ll want to try it the very next time you serve it. But wait, before we dive into that, let’s explore why this recipe works so well and how each ingredient plays a starring role.
Here’s exactly how to make it — and trust me, your family will be asking for seconds, your friends will be begging for the recipe, and you’ll be the hero of every game day, tailgate, or casual get‑together. Ready to get started? Let’s roll up those sleeves, preheat the oven, and bring a little Buffalo‑style magic to your table.
🌟 Why This Recipe Works
- Flavor Depth: The combination of buffalo sauce and ranch dressing creates a dynamic contrast—sharp heat meets cool, herbaceous creaminess—that keeps every bite exciting. This balance ensures the dip never becomes one‑dimensional, making it appealing to a wide range of palates.
- Texture Harmony: Cream cheese provides a silky base while shredded cheddar adds a stretchy, gooey layer that turns golden and slightly crisp on top. The result is a dip that’s both velvety and satisfyingly crunchy at the edges.
- Ease of Preparation: Most of the ingredients are pantry staples or quick‑grab items, and the steps are straightforward enough for even a kitchen novice. You’ll spend less time chopping and more time enjoying the aroma filling your home.
- Time Efficiency: With a total cook time under an hour, this dip fits perfectly into busy weeknight schedules or last‑minute party planning, yet it still feels like a special treat.
- Versatility: Serve it with chips, crackers, fresh veggies, or even toasted baguette slices. The dip can also be transformed into a stuffed chicken breast or a baked potato topping, proving its adaptability.
- Nutrition Boost: Using shredded chicken adds lean protein, while the dairy components contribute calcium and a satisfying richness. You can even swap in Greek yogurt for a lighter version without sacrificing flavor.
- Ingredient Quality: Freshly shredded chicken and high‑quality buffalo sauce elevate the dish from a simple snack to a gourmet experience. The green onions add a pop of color and a subtle oniony bite that brightens the overall profile.
- Crowd‑Pleasing Factor: The familiar flavors of buffalo wings combined with the comfort of a cheese dip make this a guaranteed hit at sports gatherings, potlucks, or any casual get‑together.
🥗 Ingredients Breakdown
The Foundation: Chicken & Cream Cheese
First, the shredded cooked chicken is the protein backbone of this dip, providing a hearty bite that keeps the dip from feeling overly indulgent. I always use rotisserie chicken because it’s moist, flavorful, and already seasoned—perfect for saving time without compromising taste. If you prefer a leaner option, poached chicken breasts work beautifully, but be sure to shred them while still warm for optimal texture. The cream cheese adds a luscious, buttery smoothness that binds everything together, creating that signature creamy mouthfeel. When the cream cheese softens at room temperature before mixing, it blends more seamlessly, preventing any grainy pockets.
Aromatics & Spices: Buffalo Sauce & Ranch Dressing
Buffalo sauce is the star of the show, delivering that iconic tangy heat that makes the dip instantly recognizable. I love using a sauce that balances vinegar, butter, and cayenne for a well‑rounded heat profile—nothing too overpowering, but enough to make you feel that familiar wing kick. Ranch dressing, on the other hand, brings a cool, herbaceous counterpoint that mellows the spice and adds a creamy herb flavor. If you’re a fan of blue cheese, you can swap half of the ranch for a blue‑cheese dressing for a richer, more pungent experience.
The Secret Weapons: Cheddar & Green Onions
Sharp cheddar cheese provides that beautiful melt and a subtle sharpness that cuts through the richness of the cream cheese. I opt for a medium‑aged cheddar because it melts nicely while still offering a distinct flavor—avoid pre‑shredded varieties that contain anti‑caking agents, which can affect melt quality. Green onions add a fresh, slightly pungent bite and a splash of bright green that makes the dip look as good as it tastes. For a deeper onion flavor, you could use scallions or even a small amount of finely diced shallots.
Finishing Touches: Optional Enhancements
While the core ingredients create a solid foundation, a few optional additions can elevate the dip to new heights. A pinch of garlic powder adds a warm, aromatic depth, while a dash of Worcestershire sauce can introduce umami richness. For those who love a little crunch, sprinkle toasted breadcrumbs or crushed pork rinds on top before baking. And if you’re feeling adventurous, a drizzle of honey after baking creates a sweet‑heat contrast that’s absolutely addictive.
With your ingredients prepped and ready, let's get cooking. Here's where the fun really begins…
🍳 Step-by-Step Instructions
🔐 Expert Tips for Perfect Results
The Taste Test Trick
Before you bake, always give the mixture a quick taste. This is the moment to adjust the heat level—add a dash more buffalo sauce if you like it fiery, or a spoonful more ranch if you prefer a milder profile. Trust me, a small tweak now prevents a big regret later when the dip is already bubbling in the oven.
Why Resting Time Matters More Than You Think
Allowing the dip to sit for a few minutes after baking isn’t just about cooling; it lets the cheese and sauces bind together, creating a silkier texture. I once served it straight from the oven, and the center was a bit runny—waiting just five minutes transformed it into a perfect, scoop‑able consistency.
The Seasoning Secret Pros Won’t Tell You
A pinch of kosher salt added at the mixing stage can amplify all the flavors without making the dip salty. Professionals often keep a small bowl of sea salt on hand for this exact purpose, and it’s a subtle game‑changer that elevates the overall taste profile.
Cheese Selection Matters
Using freshly shredded cheddar (instead of pre‑shredded) ensures a smoother melt and avoids the anti‑caking agents that can make the dip gritty. I’ve experimented with a blend of Monterey Jack and sharp cheddar for extra depth, and the result was a richer, more complex flavor that still retained that classic stretch.
The Crunch Factor
If you love a little crunch, sprinkle a thin layer of crushed pork rinds or toasted breadcrumbs on top just before the final 2 minutes of baking. This creates a delightful contrast between the creamy interior and a crispy crown, adding texture that keeps every bite interesting.
🌈 Delicious Variations to Try
One of my favorite things about this recipe is how versatile it is. Here are some twists I've tried and loved:
BBQ Chicken Dip
Swap the buffalo sauce for an equal amount of smoky BBQ sauce and add a tablespoon of honey. The result is a sweet‑smoky dip that pairs beautifully with pretzel bites and brings a Southern flair to your gathering.
Spicy Jalapeño Popper Dip
Fold in finely diced jalapeños and a handful of crushed pork rinds into the mixture, then top with extra cheddar and a drizzle of cream cheese before baking. This variation delivers a punch of heat and a crunchy topping that mimics the beloved popper snack.
Mediterranean Twist
Replace the buffalo sauce with sun‑dried tomato pesto and stir in a quarter cup of crumbled feta cheese. The dip takes on a tangy, herbaceous character that’s perfect for serving with pita chips or sliced cucumbers.
Cheesy Bacon Ranch
Add cooked, crumbled bacon and increase the ranch dressing by two tablespoons. The smoky bacon amplifies the savory depth, while the extra ranch creates a creamier texture that’s downright addictive.
Vegan Buffalo Dip
Swap the chicken for shredded jackfruit, use vegan cream cheese, and choose a plant‑based cheddar alternative. The buffalo sauce and ranch (made with vegan mayo) keep the flavor authentic, making this a crowd‑pleasing option for guests with dietary restrictions.
📦 Storage & Reheating Tips
Refrigerator Storage
Transfer any leftovers to an airtight container and store them in the refrigerator for up to three days. The dip retains its flavor, but the cheese may firm up slightly—simply let it sit at room temperature for 10 minutes before reheating to restore its creamy texture.
Freezing Instructions
For longer‑term storage, portion the dip into freezer‑safe containers and freeze for up to two months. When you’re ready to enjoy it, thaw overnight in the refrigerator, then reheat in a preheated oven at 350°F (175°C) until it’s hot and bubbly, adding a splash of milk or extra ranch if it looks a bit dry.
Reheating Methods
The best way to reheat without drying it out is to cover the dish with foil and bake at 300°F (150°C) for 15‑20 minutes, then remove the foil for the last five minutes to restore the golden crust. If you’re in a hurry, a microwave works fine—heat in 30‑second intervals, stirring between each, until the dip is evenly heated.
❓ Frequently Asked Questions
Can I use rotisserie chicken instead of cooking my own?
What level of spiciness does this dip have?
Can I make this dip ahead of time?
Is there a gluten‑free option?
Can I add extra vegetables?
What’s the best cheese for melting?
How do I prevent the dip from becoming too runny?
Can I use a different hot sauce instead of buffalo?
Remove the dip from the oven and let it rest for 5‑10 minutes. This resting period allows the flavors to meld and the dip to set slightly, making it easier to serve. The steam that escapes during this time carries the intoxicating scent of buffalo, ranch, and melted cheese throughout your kitchen, drawing everyone to the table.
Serve the dip warm, accompanied by sturdy tortilla chips, crisp celery sticks, carrot rounds, or even toasted baguette slices. Encourage your guests to dip, swirl, and savor each bite, and watch as they return for more. The best part? You can store leftovers in an airtight container and reheat them later without losing that glorious texture.
Notes
- Preheat the oven to 375°F (190°C) and lightly grease a 9‑inch baking dish.
- Combine shredded chicken and cream cheese in a large bowl, mixing until smooth.
- Stir in buffalo sauce and ranch dressing, adjusting heat to taste.
- Fold in shredded cheddar cheese, reserving a quarter cup for topping, and add green onions.
- Transfer the mixture to the prepared dish, sprinkle remaining cheddar and green onions on top.
- Bake for 20‑25 minutes, or until bubbling and golden brown; broil 2‑3 minutes for extra crispness.
- Remove from oven and let rest 5‑10 minutes before serving.
- Serve warm with chips, celery, carrots, or toasted bread.
Similar Recipes
 Appetizers
Crunchy Spiced Roasted Chickpeas: The Delight of a Healthy Snack
Delicious Crunchy Spiced Roasted Chickpeas: The Delight of a Healthy Snack
 Appetizers
Crispy Air Fryer Veggie Quesadilla Triangles: A Delicious and Healthy Snack
Delicious Crispy Air Fryer Veggie Quesadilla Triangles: A Delicious and Healthy Snack
 Appetizers
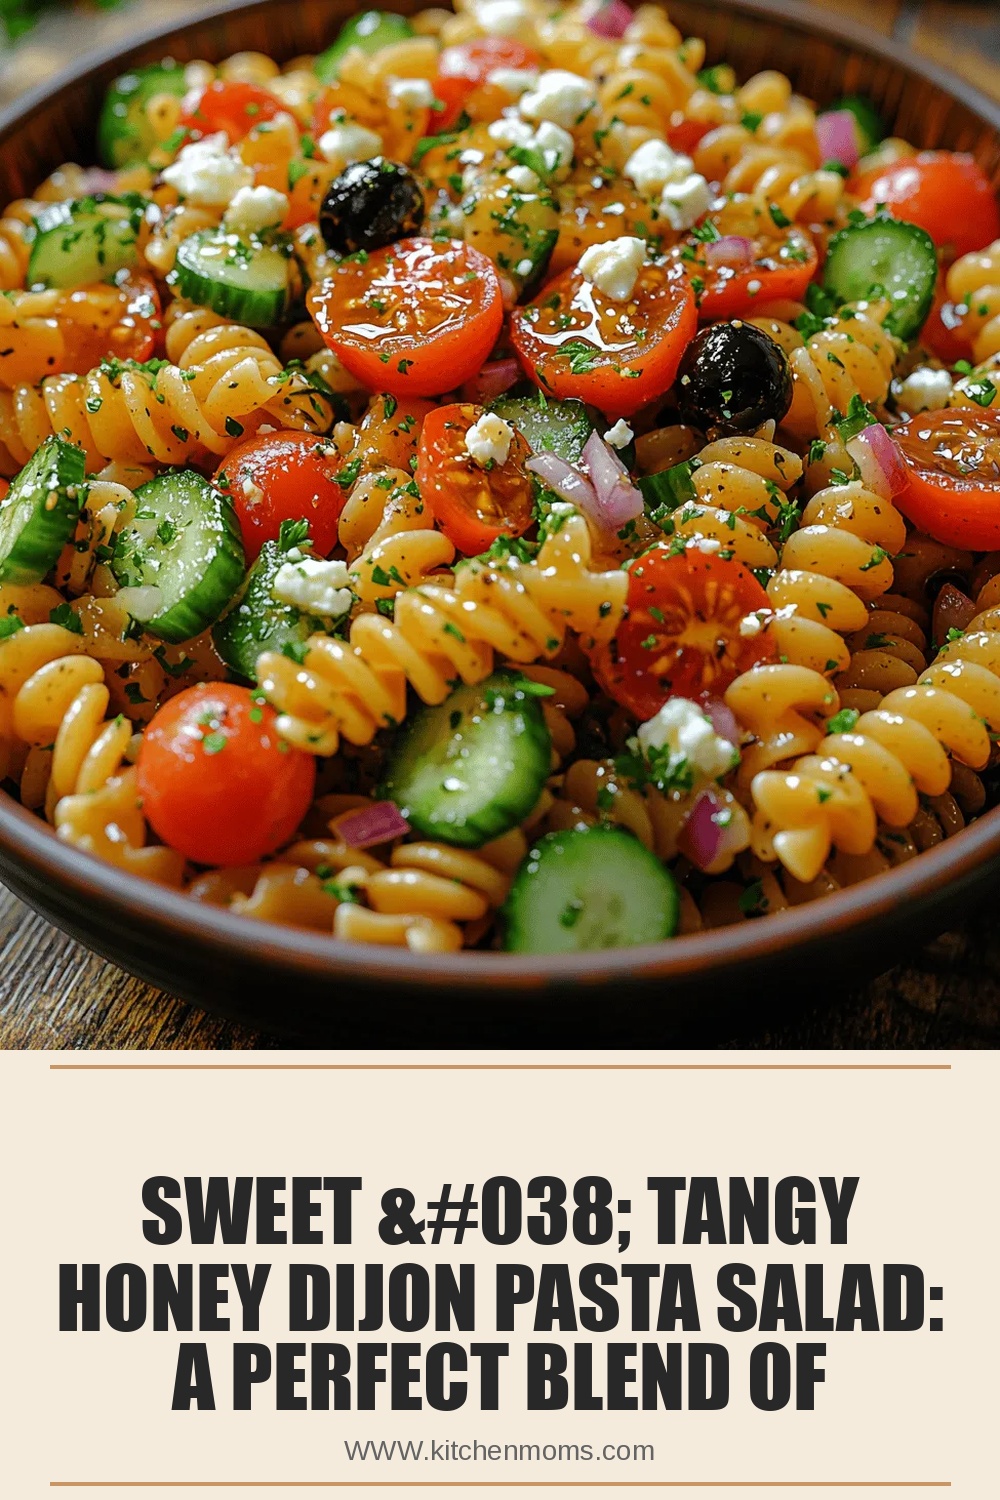
Sweet & Tangy Honey Dijon Pasta Salad: A Perfect Blend of Flavors
Delicious Sweet & Tangy Honey Dijon Pasta Salad: A Perfect Blend of Flavors
 Appetizers
BBQ Chicken Sweet Potato Bites: A Delicious and Nutritious Twist on Comfort Food
Delicious BBQ Chicken Sweet Potato Bites: A Delicious and Nutritious Twist on Comfort Food
 Appetizers
Mini Chicken Alfredo Flatbread Pizzas: A Culinary Delight
Delicious Mini Chicken Alfredo Flatbread Pizzas: A Culinary Delight
 Appetizers
Creamy Garlic-Paprika Shrimp Skillet
Learn how to make delicious Creamy Garlic-Paprika Shrimp Skillet. Easy recipe with step-by-step instructions.
 Appetizers
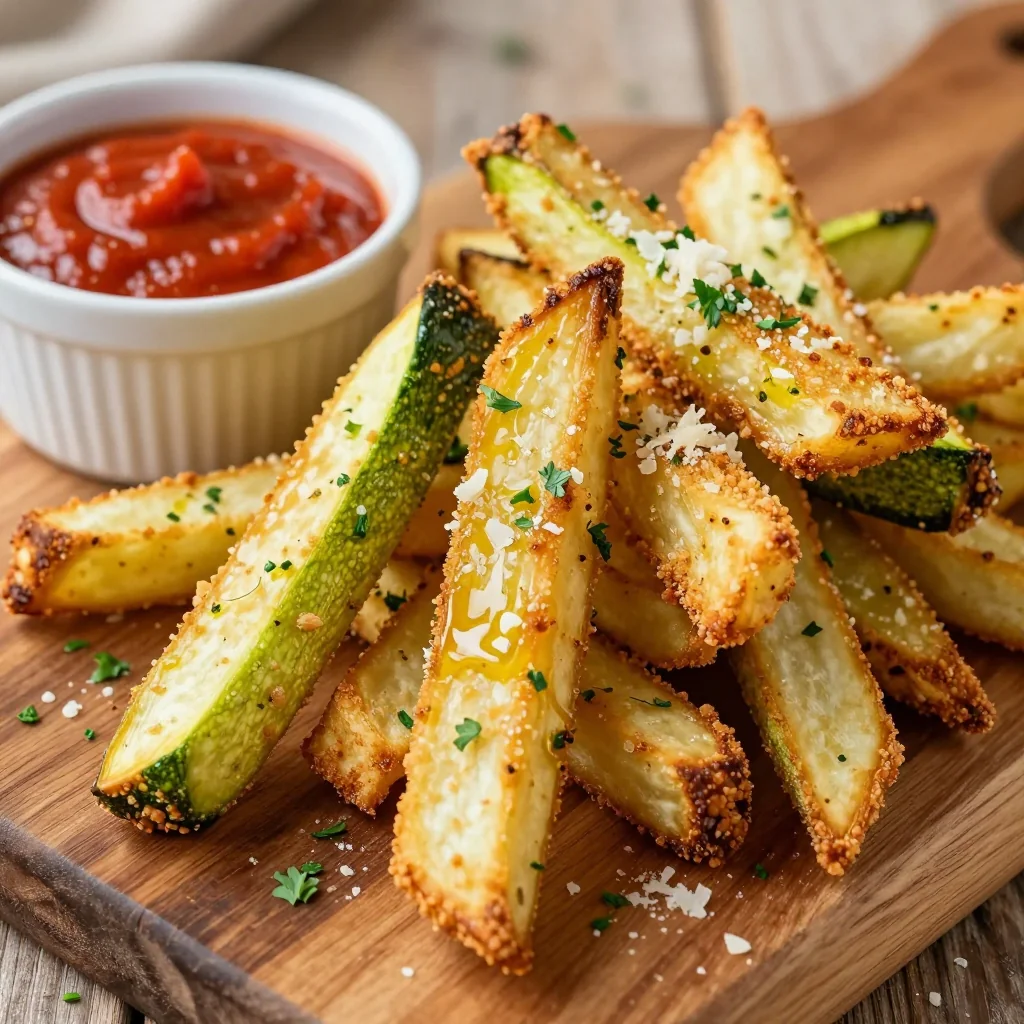
Crispy Baked Zucchini Fries for a Healthy Game Day Snack
Learn how to make delicious Crispy Baked Zucchini Fries for a Healthy Game Day Snack. Easy…
 Appetizers
Chilly Southwest Chicken Pasta Salad Recipe
Delicious Chilly Southwest Chicken Pasta Salad Recipe

Lucy
I cook these recipes at home before they ever land here — simple ingredients, clear steps.