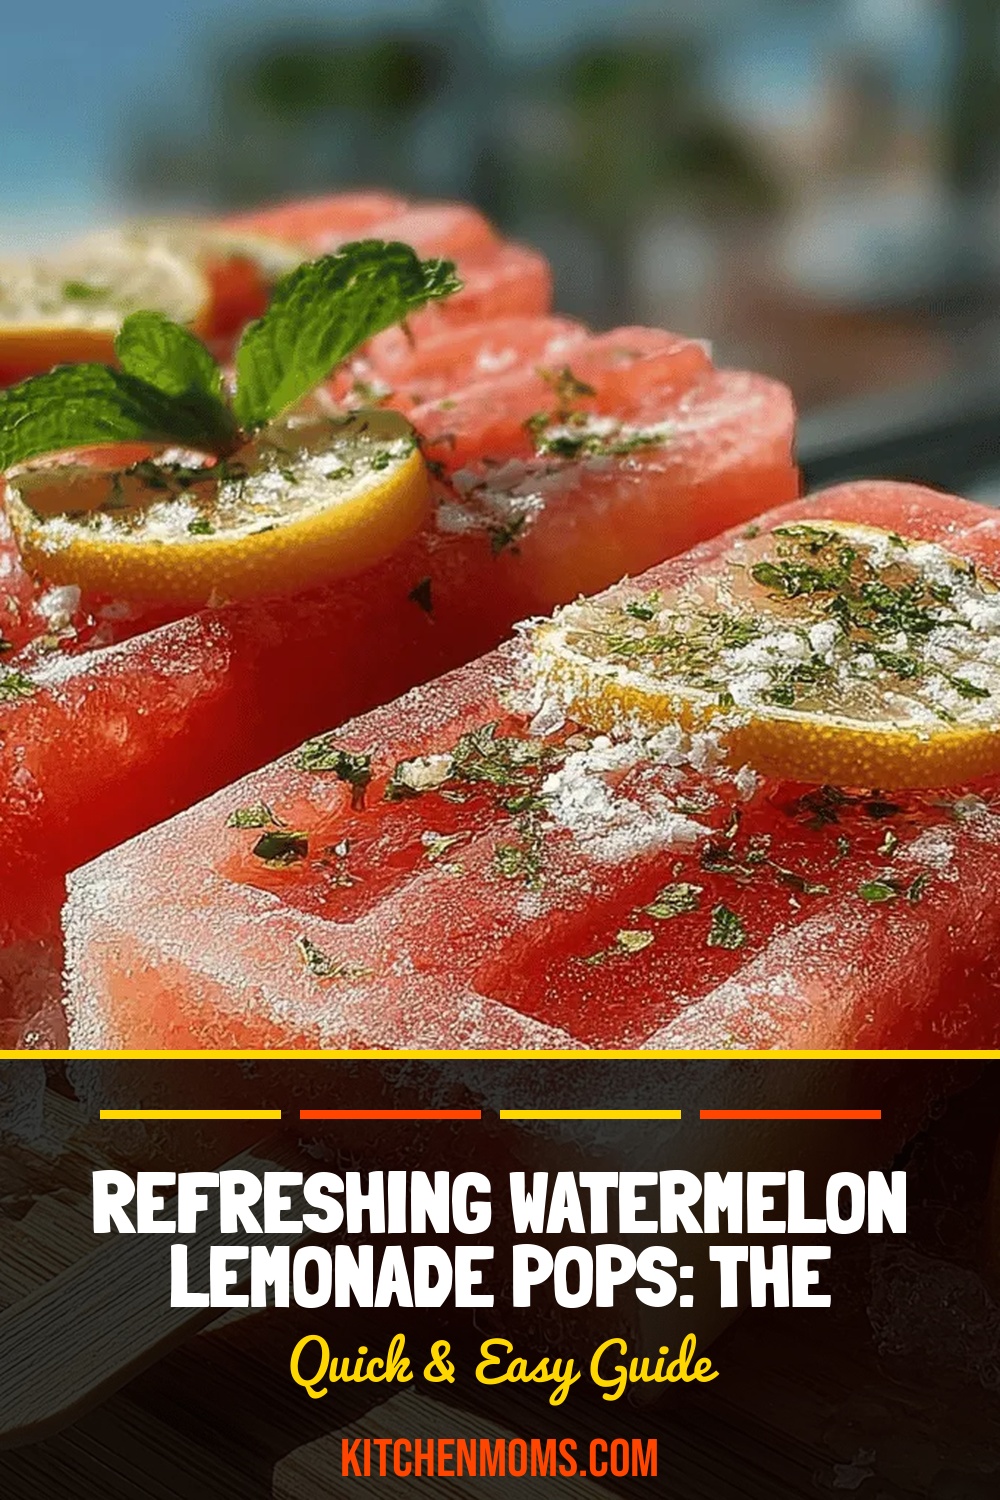
Refreshing Watermelon Lemonade Pops: The Ultimate Guide to a Summer Treat
 Save
Save
Imagine the first bite of a sun‑kissed summer day—sweet, tangy, and icy all at once. Refreshing Watermelon Lemonade Pops capture that moment in a handheld treat that melts in your mouth while keeping you cool.
What makes these pops truly special is the marriage of two classic summer flavors: juicy watermelon and bright lemonade. The natural sugars of the fruit are balanced by a light hint of honey, creating a harmonious sweet‑sour profile without any artificial additives.
This treat is perfect for kids at a backyard birthday, friends gathering around a pool, or anyone craving a guilt‑free dessert after a hot day. Serve them at picnics, barbecues, or as a refreshing after‑dinner palate cleanser.
The process is delightfully simple: blend, sweeten, pour into molds, and freeze. No baking, no complicated techniques—just a few minutes of prep and a few hours of chilling, and you’ll have a vibrant, palate‑pleasing pop ready to enjoy.
Why You'll Love This Recipe
Bright & Refreshing: The natural citrus zing of lemon cuts through the watermelon’s sweetness, delivering a palate‑cleansing burst that feels like a cool breeze on a sweltering afternoon.
Kid‑Friendly Fun: Pops are inherently playful, and the vivid pink‑orange hue draws children in, making healthy snacking feel like an exciting treat rather than a chore.
Minimal Ingredients: With just a handful of pantry staples and fresh fruit, you can create a gourmet‑level dessert without hunting for exotic components or spending hours in the kitchen.
Customizable Sweetness: Adjust the amount of sugar or honey to suit your taste or dietary needs, allowing you to control the final level of sweetness with ease.
Tips & Tricks
Perfecting the Recipe
Use Ripe Watermelon: The sweeter the fruit, the less additional sugar you’ll need. Look for a deep pink interior and a hollow sound when tapped.
Strain Thoroughly: Removing pulp guarantees a smooth, melt‑in‑your‑mouth texture and prevents icy specks from forming during freezing.
Cold Ingredients: Chill the lemon juice and water before mixing; cooler liquids freeze faster and reduce the risk of a grainy finish.
Leave Space for Expansion: Over‑filling leads to cracked pops when they expand; the ¼‑inch headspace solves this problem.
Flavor Enhancements
Add a handful of fresh basil leaves to the blender for an herbaceous twist, or swirl in a tablespoon of raspberry puree for a berry‑accented version. A pinch of pink Himalayan salt on the surface before freezing adds a subtle mineral depth that heightens the fruit’s natural sweetness.
Common Mistakes to Avoid
Avoid using overly sweetened watermelon, as it can make the pops cloying. Also, never skip the pre‑freeze step; without it the sticks may shift, causing uneven pops. Finally, resist the urge to stack heavy items on top of the molds while they’re freezing—this can cause deformation.
Pro Tips
Flash Freeze on a Baking Sheet: Place the filled molds on a flat tray and flash freeze for 30 minutes before moving them to the freezer; this speeds up the process.
Store in a Zip‑Lock Bag: Once frozen, slide the entire mold into a large zip‑lock bag to protect against freezer burn and absorb any odors.
Use a Silicone Brush: For a glossy finish, lightly brush the tops with melted honey right before the final freeze.
Serve Slightly Softened: Let pops sit at room temperature for 2‑3 minutes before serving; this makes them easier to bite into while retaining chill.
Variations
Ingredient Swaps
Swap watermelon for cantaloupe or honeydew for a different melon flavor, or replace lemon juice with lime for a tropical twist. Coconut water can replace plain water, adding a subtle nutty note. For extra indulgence, swirl in a tablespoon of Greek yogurt before freezing.
Dietary Adjustments
Use agave nectar or a zero‑calorie sweetener instead of sugar and honey for a low‑calorie version. To keep it vegan, ensure the sweetener is plant‑based and omit honey. All ingredients are naturally gluten‑free, making the pops suitable for celiac diets.
Serving Suggestions
Serve the pops alongside a fresh fruit salad, or pair them with a chilled cucumber‑mint water for an ultra‑refreshing brunch. For a festive touch, drizzle a thin ribbon of white chocolate over the tops just before serving.
Storage Info
Leftover Storage
Allow any remaining pops to thaw just enough to release them from the molds, then place them in an airtight freezer‑safe container or zip‑lock bag. Store in the freezer for up to 3 months; the sealed environment prevents freezer burn and preserves the bright flavor.
Reheating Instructions
While these pops are meant to be enjoyed frozen, you can let them soften for 2‑3 minutes at room temperature before serving for a smoother bite. If you prefer a semi‑frozen slush, blend a pop with a splash of lemonade in a blender for a quick summer cocktail.
Frequently Asked Questions
Can I make these pops ahead of time?
What if I don’t have a blender?
How can I make the pops less sweet?
This guide walks you through every step of creating Refreshing Watermelon Lemonade Pops—from selecting the ripest fruit to mastering the freeze. By following the detailed instructions, tips, and variations, you’ll end up with a vibrant, cooling treat that can be customized to any palate or dietary need. Feel free to experiment with flavors, garnish, or sweeteners—your summer dessert is only limited by imagination. Grab a stick, take a bite, and let the sunshine melt away!
Refreshing Watermelon Lemonade Pops: The Ultimate Guide to a Summer Treat
Delicious Refreshing Watermelon Lemonade Pops: The Ultimate Guide to a Summer Treat
Ingredients
Main Ingredients
- 4 cups cubed seedless watermelon
- 1 cup freshly squeezed lemon juice (about 4‑5 lemons)
Sweetening & Flavor Boost
- 1/2 cup water
- 1/4 cup granulated sugar (adjust to taste)
- 2 tablespoons honey (optional)
- 1/2 teaspoon sea salt
- 1/4 teaspoon vanilla extract (optional)
Equipment & Garnish
- 8‑inch silicone popsicle molds
- Wooden popsicle sticks
- Fresh mint leaves (for garnish)
- Lemon zest (optional)
Instructions
Freezing Process
- Initial Freeze. Transfer the filled molds to the freezer and let them sit undisturbed for 1‑2 hours. This “pre‑freeze” helps the mixture set around the stick, preventing it from shifting when you later move the molds.
- Full Freeze. After the initial set, keep the molds in the freezer for an additional 2‑4 hours, or until the pops are completely solid. You’ll know they’re ready when the surface is frosty and the sticks can be lifted without bending.
- Release & Serve. To unmold, run the bottom of each silicone mold under warm tap water for 5‑10 seconds. Gently flex the mold; the pop should glide out cleanly onto a plate. Serve immediately, or store in an airtight container for later enjoyment.
Similar Recipes
 Desserts
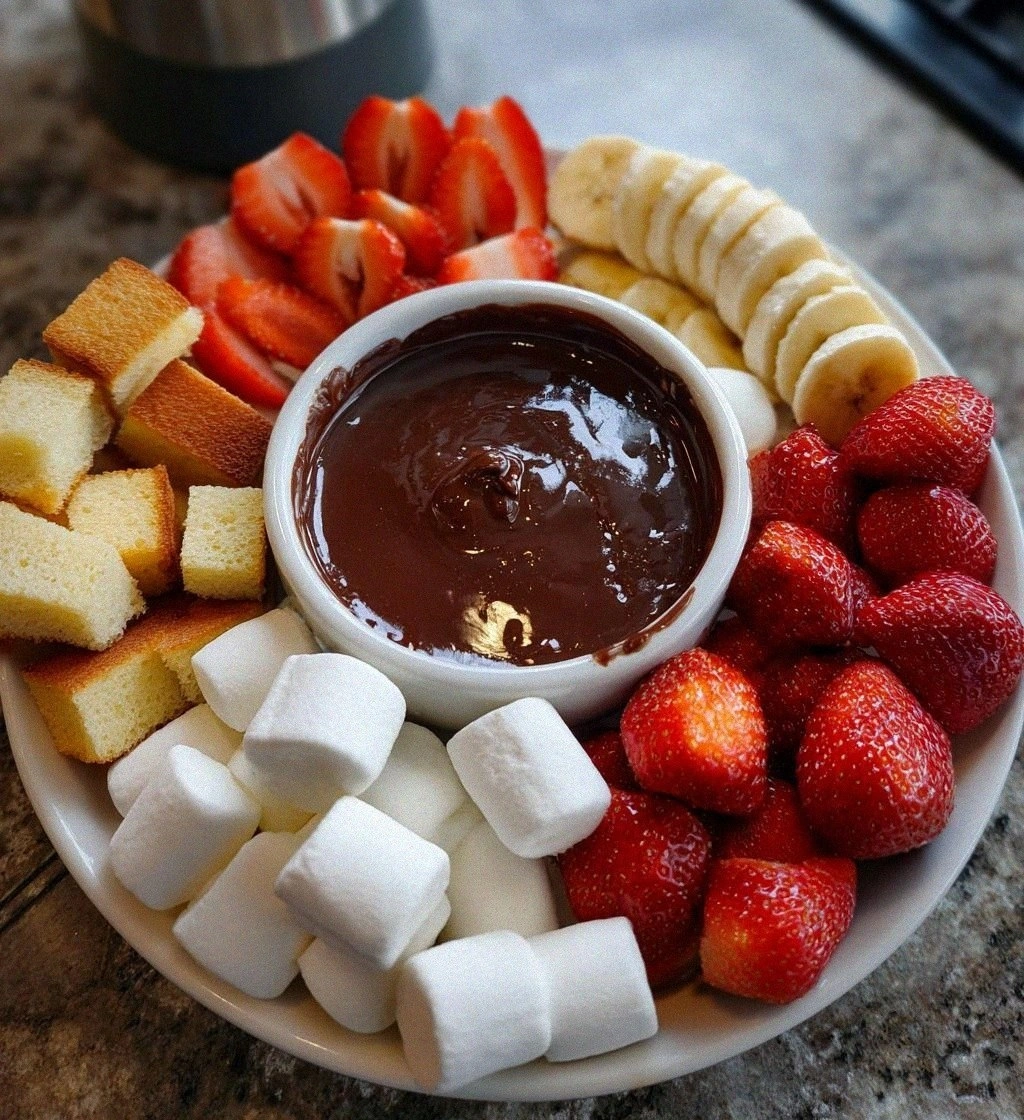
Chocolate Fondue Valentine’s Day: 5 Sweet Moments to Cherish
Learn how to make delicious Chocolate Fondue Valentine’s Day: 5 Sweet Moments to Cherish. Easy recipe…
 Desserts
Warm Apple & Cranberry Bread Pudding
Delicious Warm Apple & Cranberry Bread Pudding
 Desserts
Irresistible Orange Creamsicle Cake
Learn how to make delicious Irresistible Orange Creamsicle Cake. Easy recipe with step-by-step instructions.
 Desserts
Oreo Peanut Butter Cup Cheesecake: A Decadent Delight for Dessert Lovers
Delicious Oreo Peanut Butter Cup Cheesecake: A Decadent Delight for Dessert Lovers
 Desserts
Sticky Pear and Ginger Cake for Cozy Nights at Home
Learn how to make delicious Sticky Pear and Ginger Cake for Cozy Nights at Home. Easy…
 Desserts
Mini Baked Apple Pies Recipe: A Delightful Twist on a Classic Dessert
Delicious Mini Baked Apple Pies Recipe: A Delightful Twist on a Classic Dessert
 Desserts
Cozy Buttery Pumpkin Spice Caramel Popcorn
Delicious Cozy Buttery Pumpkin Spice Caramel Popcorn
 Desserts
Grandma’s Secret Apple Pie Recipe
Delicious Grandma’s Secret Apple Pie Recipe

Lucy
I cook these recipes at home before they ever land here — simple ingredients, clear steps.