Roasted Garlic Bliss Spread: Perfecting the Recipe
 Save
Save
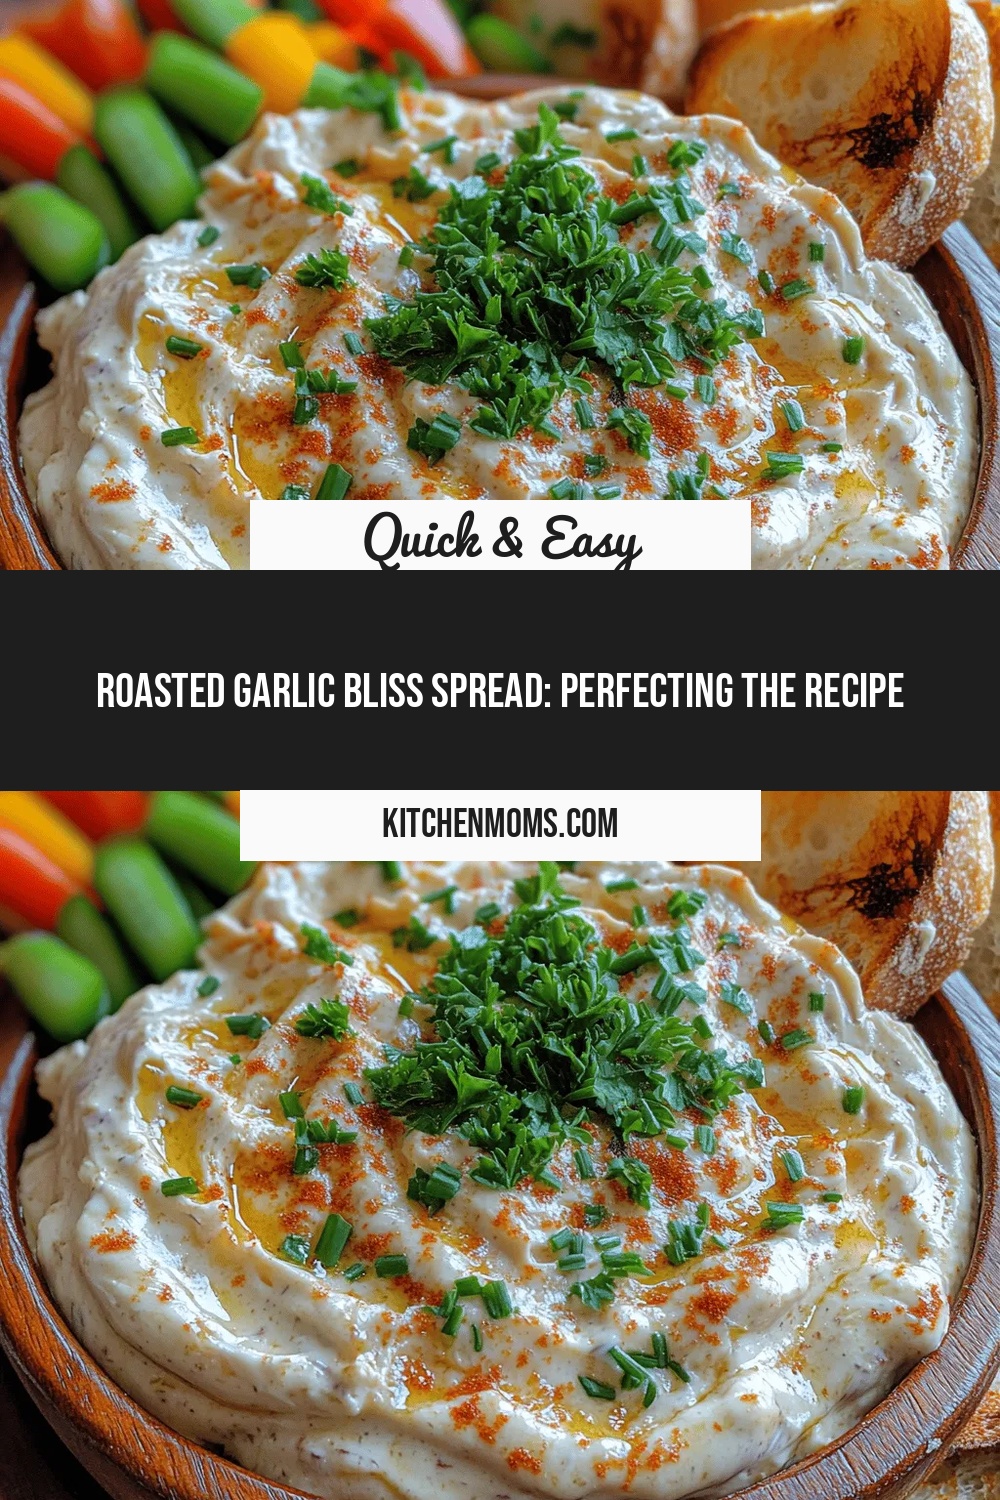
Imagine the aroma of caramelized garlic drifting through your kitchen while a silky, golden spread bubbles on a fresh slice of toasted sourdough. That’s the magic of the Roasted Garlic Bliss Spread, a breakfast‑and‑brunch staple that turns ordinary mornings into unforgettable feasts.
What makes this spread truly special is the slow‑roasted garlic, which develops a mellow sweetness that pairs perfectly with creamy butter and a hint of lemon. The result is a balanced, velvety spread that’s both rich and bright, without ever feeling heavy.
This dish will delight garlic lovers, brunch enthusiasts, and anyone who craves a comforting yet sophisticated start to the day. Serve it at weekend brunches, lazy Sunday breakfasts, or even as an elegant appetizer for a daytime gathering.
The process is straightforward: roast whole garlic heads until caramelized, blend them into softened butter with a splash of lemon and herbs, then finish with a quick warm‑through. The entire recipe takes under an hour, yet the flavor depth feels like it’s been simmering for days.
Why You'll Love This Recipe
Deep, Sweet Garlic Flavor: Slow roasting transforms sharp garlic into a mellow, caramel‑sweet base that infuses every bite with complex, comforting notes.
Effortless Prep: With only a handful of ingredients and a single blending step, you can create a gourmet‑level spread in under 45 minutes.
Versatile Serving Options: Perfect on toast, bagels, crackers, or as a topping for scrambled eggs—this spread adapts to any breakfast or brunch setting.
Make‑Ahead Friendly: The spread stores beautifully, allowing you to prep it the night before and simply warm it when you’re ready to serve.
Tips & Tricks
Perfecting the Recipe
Uniform Garlic Slices: Trim each head to the same height so they roast evenly, preventing under‑cooked or burnt cloves.
Room‑Temp Butter: Softening butter before mixing ensures a smooth emulsion; cold butter will leave lumps.
Don’t Over‑mix: Blend just until creamy; over‑mixing can incorporate too much air, making the spread airy instead of velvety.
Flavor Enhancements
Add a teaspoon of finely grated zest for an extra citrus pop, or stir in a dash of truffle oil for an indulgent umami lift. A pinch of cayenne will give a subtle heat that awakens the palate without overwhelming the garlic’s sweetness.
Common Mistakes to Avoid
Skipping the cooling period after roasting can cause steam to separate the butter, resulting in a watery spread. Also, avoid using pre‑minced garlic; it never develops the deep caramel notes that whole roasted cloves provide.
Pro Tips
Finish with a Drizzle: A light drizzle of high‑quality olive oil just before serving adds a glossy sheen and a fresh finish.
Use a Food Processor: For an ultra‑smooth texture, pulse the roasted garlic and butter in a food processor for 10‑15 seconds.
Batch Ahead: Double the recipe, freeze in ice‑cube trays, then transfer to a zip‑top bag; thaw a cube for a quick, single‑serve portion.
Variations
Ingredient Swaps
Replace the butter with a plant‑based alternative like cashew cream for a dairy‑free version, or swap olive oil for toasted sesame oil to give an Asian twist. For a richer profile, stir in a tablespoon of cream cheese after blending.
Dietary Adjustments
To keep it keto‑friendly, omit any added sugars and ensure the optional Parmesan is full‑fat. For vegans, use a high‑fat coconut butter and skip the cheese; the roasted garlic still delivers depth and the lemon juice preserves brightness.
Serving Suggestions
Spread generously on toasted English muffins, swirl into scrambled eggs for a garlicky finish, or serve alongside a charcuterie board with cured meats, olives, and crusty baguette slices for a brunch‑worthy appetizer.
Storage Info
Leftover Storage
Transfer any leftover spread to an airtight container and refrigerate within two hours of cooking. It will keep fresh for 4‑5 days. For longer storage, portion into freezer‑safe bags, flatten to remove air, and freeze for up to three months; label with the date for easy reference.
Reheating Instructions
To revive the spread, gently warm it in a 300°F (150°C) oven for 10‑12 minutes, loosely covered with foil to prevent drying. Alternatively, stir the chilled spread into a hot skillet over low heat, adding a splash of milk or broth to restore its silky texture.
Frequently Asked Questions
Can I make this spread ahead of time?
What if I don’t have a foil‑wrapped roasting method?
Which breads pair best with this spread?
This Roasted Garlic Bliss Spread delivers a luxurious, garlicky indulgence that’s surprisingly easy to create. By roasting the garlic to caramelized perfection and blending it with butter, lemon, and fresh herbs, you achieve a spread that elevates any breakfast or brunch table. Feel free to experiment with the suggested swaps or add‑ins, and enjoy the bright, comforting flavors with your favorite toast, eggs, or crackers. Happy spreading!
Roasted Garlic Bliss Spread: Perfecting the Recipe
Delicious Roasted Garlic Bliss Spread: Perfecting the Recipe
Ingredients
Main Ingredients
- 2 large heads of garlic
- ½ cup (1 stick) unsalted butter, softened
Flavor Base
- 1 tablespoon extra‑virgin olive oil
- 1 teaspoon fresh lemon juice
Seasonings & Optional Add‑Ins
- ½ teaspoon sea salt (adjust to taste)
- ¼ teaspoon freshly ground black pepper
- 1 tablespoon finely chopped fresh parsley
- Optional: 2 tablespoons grated Parmesan cheese
- Optional: ¼ teaspoon smoked paprika
Instructions
Blending & Finishing
- Cool Slightly. Allow the roasted garlic to rest for 5 minutes; this prevents excess steam from making the spread watery and preserves the caramelized flavor.
- Combine Ingredients. Transfer the softened butter to a mixing bowl, then add the squeezed garlic, lemon juice, and seasonings. The butter should melt just enough to blend but remain thick.
- Blend Thoroughly. Using a hand mixer on low speed, beat the mixture for 1‑2 minutes until smooth. Scrape the sides to ensure no garlic pockets remain, achieving a uniform, glossy spread.
- Adjust Seasoning. Taste the spread and add a pinch more salt, pepper, or lemon juice if needed. The flavor should balance sweet, buttery, and bright notes.
- Chill & Serve. Transfer the spread to a serving bowl, cover, and refrigerate for at least 10 minutes to let the flavors meld. Serve warm or at room temperature on toasted bread, bagels, or alongside eggs.
Similar Recipes
 Appetizers
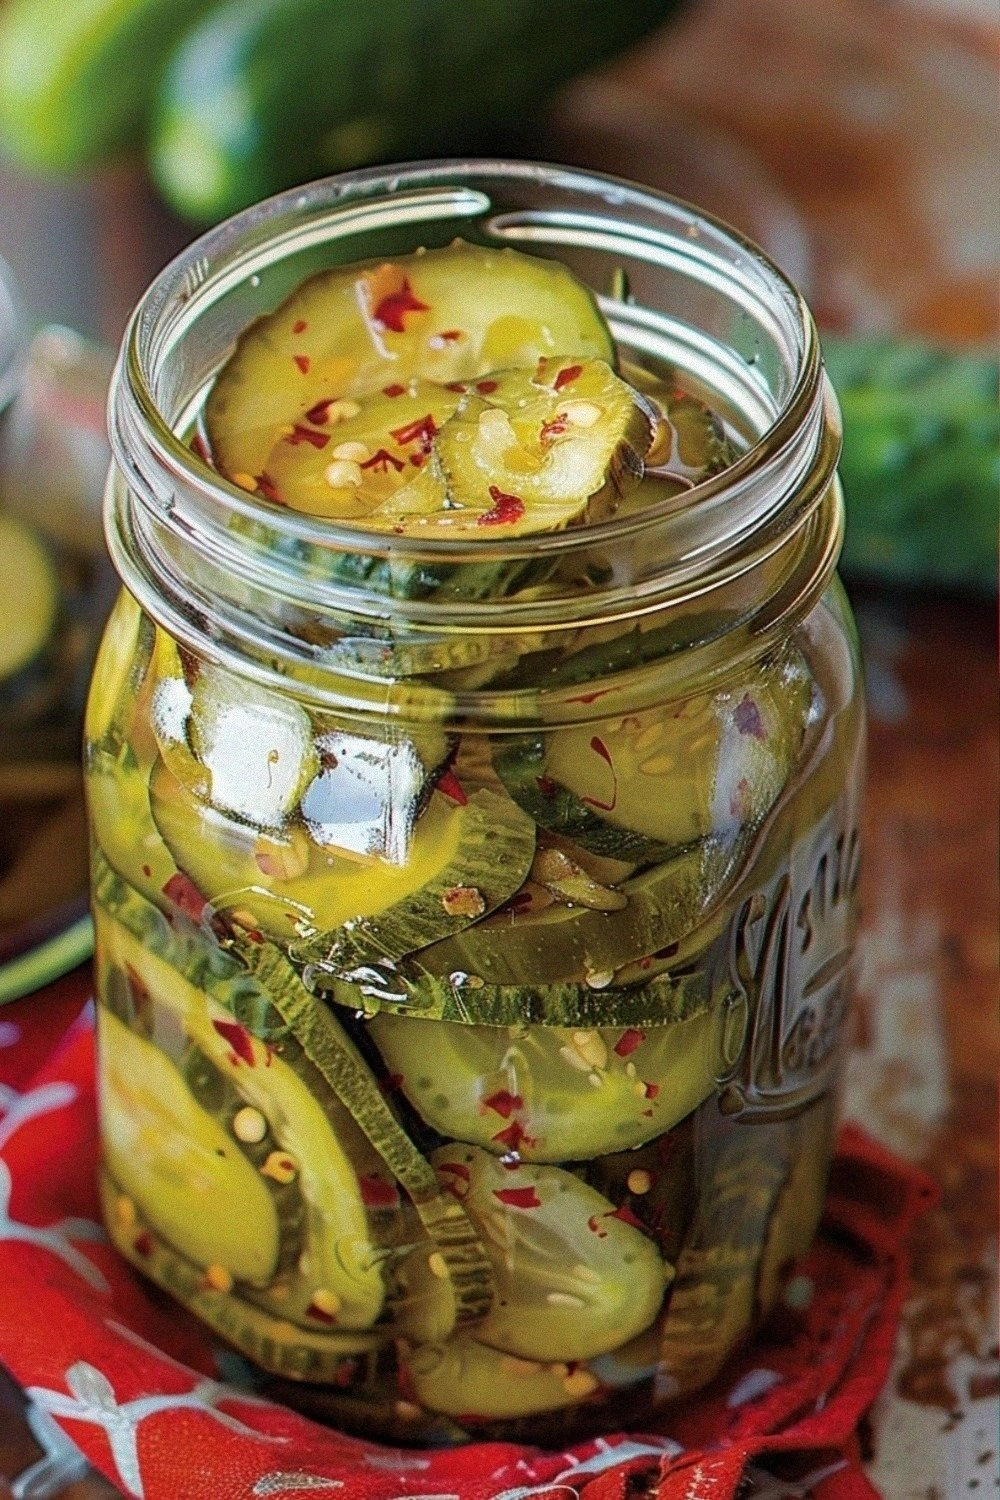
The Best Homemade Bread and Butter Pickles
Learn how to make delicious The Best Homemade Bread and Butter Pickles. Easy recipe with step-by-step…
 Appetizers
Mini Air Fryer Pizza Calzones Recipe
Delicious Mini Air Fryer Pizza Calzones Recipe
 Appetizers
warm cranberry and orange compote perfect for christmas brunch
Learn how to make delicious warm cranberry and orange compote perfect for christmas brunch. Easy recipe…
 Appetizers
Delightful BLT Salad Recipe for Summer Bliss
Learn how to make delicious Delightful BLT Salad Recipe for Summer Bliss. Easy recipe with step-by-step…
 Appetizers
Crispy BBQ Cauliflower Bites
Delicious Crispy BBQ Cauliflower Bites
 Appetizers
Savory Zucchini Fritters: A Delicious Recipe for Any Occasion
Delicious Savory Zucchini Fritters: A Delicious Recipe for Any Occasion
 Appetizers
light citrus and kale salad with orange vinaigrette for new year reset
Learn how to make delicious light citrus and kale salad with orange vinaigrette for new year…
 Appetizers
Mini Chicken Parmesan Lettuce Wraps
Delicious Mini Chicken Parmesan Lettuce Wraps

Lucy
I cook these recipes at home before they ever land here — simple ingredients, clear steps.