Spooky Deviled Eggs Recipe for Perfect Halloween Parties
 Save
Save
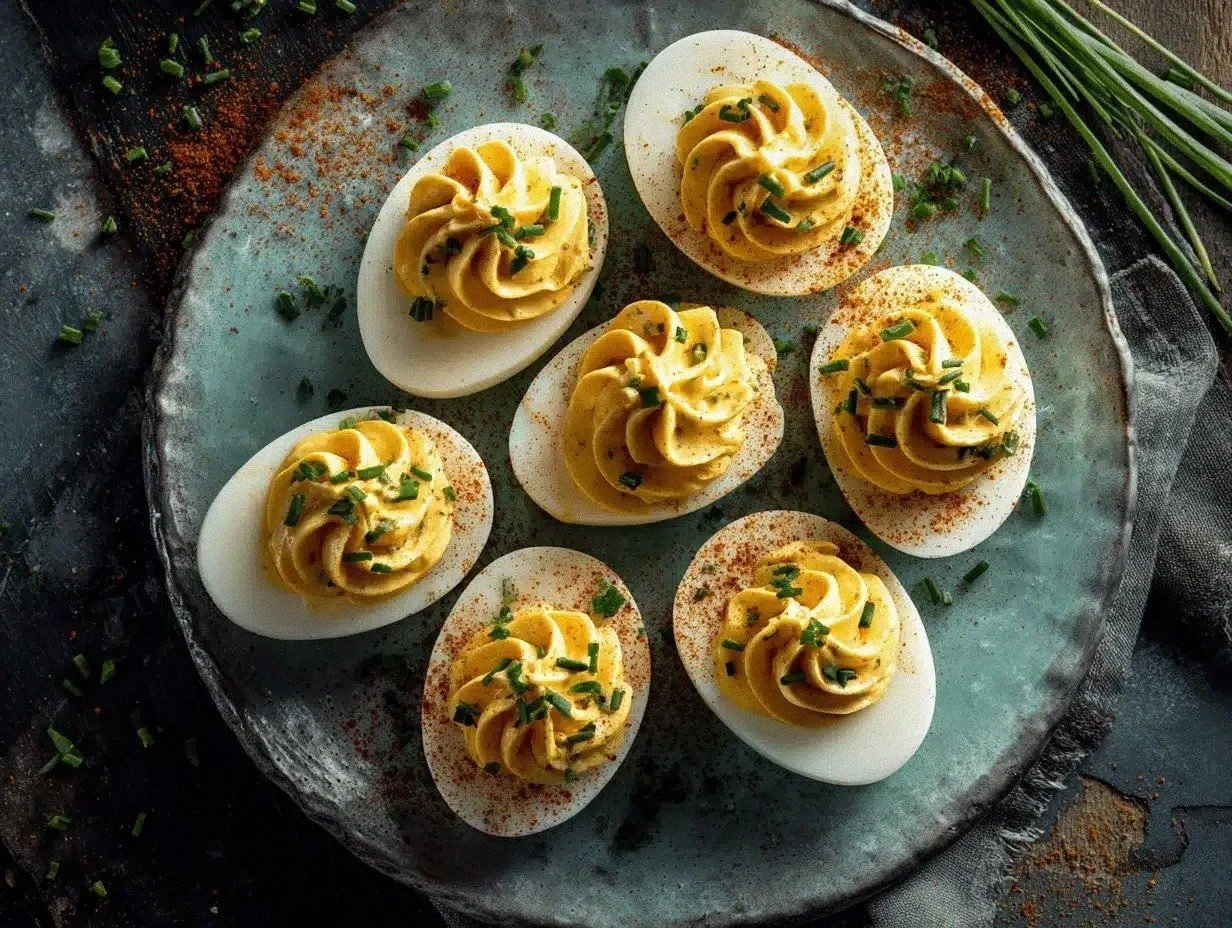
It was a crisp October evening, the kind where the wind whistles through the bare branches and the scent of fallen leaves drifts into the kitchen. I remember pulling a tray of freshly boiled eggs from the pot, the steam rising like tiny ghosts that vanished as soon as they touched the cool air. The kitchen lights flickered just enough to cast playful shadows on the countertops, and I could already hear the distant laughter of kids dressed as witches and vampires outside. That night, I decided to turn a humble classic—deviled eggs—into a spooky centerpiece that would make any Halloween party feel like a haunted banquet. The result? A chillingly green filling, eerie “eyeballs” of black olives, and veins of crimson that looked like they were drawn by a mad scientist.
What makes this recipe stand out isn’t just the visual drama; it’s the way each bite balances creamy richness with a tangy snap, all while keeping the texture silky and the flavors perfectly harmonious. When you slice open one of these little ghouls, the bright green yolk filling glistens, and the first bite releases a whisper of mustard, a kiss of vinegar, and the comforting hug of mayonnaise. The subtle heat from a dash of hot sauce adds just enough bite to keep your taste buds on their toes, while the black olive “eyeballs” give a satisfying pop that makes you smile—if you can keep the grin from turning into a scream of delight. Imagine the look on your guests’ faces when they see these eerie treats perched on a platter, each one looking like it was plucked straight from a cauldron.
But the magic doesn’t stop at the plating. There’s a secret technique hidden in step four that transforms the filling from ordinary to otherworldly, and a little ingredient most home cooks overlook that gives the eggs an extra layer of depth. I’ll let you in on that later, because I don’t want to spoil the surprise before you’ve had a chance to try it yourself. Trust me, once you master this little trick, you’ll never settle for bland deviled eggs again. And the best part? This recipe is forgiving enough for beginners yet sophisticated enough to impress even the most discerning foodie.
So, are you ready to conjure up a batch of Spooky Deviled Eggs that will haunt your party in the best possible way? Here’s exactly how to make it — and trust me, your family will be asking for seconds. Grab your apron, turn on some eerie tunes, and let’s dive into the witch’s cauldron of flavor.
🌟 Why This Recipe Works
- Flavor Depth: The combination of Dijon mustard and white vinegar creates a bright, tangy backbone that cuts through the richness of the mayo, ensuring each bite is balanced and never cloying.
- Texture Harmony: By mashing the yolks just enough to keep a tiny crumbly texture, you retain a pleasant mouthfeel that feels both creamy and slightly rustic, mimicking the classic deviled egg experience.
- Ease of Preparation: The recipe relies on pantry staples and a straightforward method, so you can whip up a batch in under an hour, even with a full house of trick‑or‑treaters waiting.
- Time Efficiency: Hard‑boiling the eggs and letting them chill while you prep the filling maximizes your workflow, turning what could be a stressful task into a relaxed kitchen ritual.
- Versatility: The base filling can be tweaked with different spices, herbs, or even smoked paprika, allowing you to customize the flavor profile for any palate or theme.
- Nutrition Boost: Using a modest amount of mayo and adding a dash of mustard keeps the calorie count reasonable while still delivering a satisfying richness.
- Ingredient Quality: Fresh, high‑quality eggs and real Dijon mustard elevate the dish, proving that even simple recipes shine when you respect the basics.
- Crowd‑Pleasing Factor: The spooky visual presentation combined with familiar flavors makes these eggs a hit with both kids and adults, turning a side dish into the star of the party.
🥗 Ingredients Breakdown
The Foundation: Eggs & Mayo
Large eggs are the canvas of this dish, and their quality determines the final texture. I always opt for farm‑fresh eggs because their yolks are richer and more vibrant, which translates into a silkier filling. Hard‑boiling them just right—bringing them to a rolling boil, then letting them sit off‑heat for nine minutes—ensures the whites stay firm while the yolks stay bright yellow before you turn them ghostly green. Mayonnaise is the creamy glue that holds everything together; choose a good‑quality mayo with real egg yolks for a richer mouthfeel. If you’re watching calories, a light mayo works too, but expect a slightly thinner texture.
Aromatics & Spices: Mustard, Vinegar, & Paprika
Dijon mustard brings a sharp, slightly floral heat that cuts through the richness, while white vinegar adds a clean acidity that brightens the overall flavor profile. Together, they create a tangy backdrop that prevents the filling from feeling heavy. Paprika, especially smoked paprika, adds an earthy smokiness and a subtle reddish hue that contrasts beautifully with the green filling, giving you that “blood‑spattered” effect if you sprinkle a little extra on top. Remember, a pinch of freshly ground black pepper can elevate the spice level without overwhelming the other flavors.
The Secret Weapons: Food Coloring & Hot Sauce
Green food coloring is the visual hero of this recipe, turning an ordinary yolk mixture into something that looks like it belongs in a witch’s cauldron. Use a gel‑based coloring for a more intense shade with less liquid, preserving the creamy texture. Red food coloring or a dash of hot sauce serves a dual purpose: it creates those eerie “veins” that snake across the yolk surface, and it adds a subtle heat that surprises the palate. If you’re sensitive to spice, start with a few drops of hot sauce and taste before adding more.
Finishing Touches: Olives & Garnishes
Black olives sliced into rings become the perfect “eyeballs” that sit atop each deviled egg, offering a salty pop that balances the creamy filling. For an extra spooky effect, you can carve tiny pupils using a toothpick. If you want to get really theatrical, a sprinkle of crushed tortilla chips or toasted pumpkin seeds adds a crunchy texture that mimics bone fragments. These finishing touches are not just decorative—they bring additional layers of flavor and contrast that keep every bite interesting.
With your ingredients prepped and ready, let's get cooking. Here's where the fun really begins, and I promise you’ll discover a few tricks that turn an ordinary appetizer into a Halloween legend.
🍳 Step-by-Step Instructions
🔐 Expert Tips for Perfect Results
The Taste Test Trick
Before you pipe the filling back into the egg whites, always taste a spoonful. Adjust the seasoning with a pinch more salt, a dash of extra mustard, or a splash of vinegar if the flavor feels flat. Trust me, this tiny step makes the difference between “good” and “wow‑worthy.”
Why Resting Time Matters More Than You Think
Allowing the eggs to rest in the refrigerator for at least half an hour lets the flavors marry and the green hue settle. I once served them straight out of the fridge, and the colors were a bit pale—after the rest, they turned a deep, enchanting emerald that looked straight out of a spell book.
The Seasoning Secret Pros Won’t Tell You
A pinch of finely grated nutmeg hidden in the filling adds an almost imperceptible warmth that enhances the mustard’s bite. It’s a subtle whisper that most people miss, but once you notice it, you’ll never go back to a plain deviled egg again.
The Presentation Playbook
Use a dark, matte platter to make the green filling pop, and add edible decorations like thin slices of radish for “blood droplets” or a drizzle of balsamic reduction for a glossy finish. The contrast of colors not only looks stunning but also adds layers of flavor that surprise your guests.
Handling the Olives Like a Pro
If you want perfectly round olive “eyeballs,” use a small cookie cutter or a melon baller to shape them. Press a tiny dot of red food coloring or a dab of sriracha in the center to mimic a pupil, and you’ll have an eye‑catching detail that’s both tasty and terrifying.
Storing the Unfinished Batch
If you’ve prepared the filling ahead of time, keep it in an airtight container with a thin layer of plastic wrap pressed directly onto the surface to prevent a skin from forming. This preserves the vibrant green color and keeps the texture silky, ready for piping when you’re ready to assemble.
🌈 Delicious Variations to Try
One of my favorite things about this recipe is how versatile it is. Here are some twists I've tried and loved:
Ghoul‑Green Avocado Mash
Swap half of the mayonnaise for ripe avocado and add a splash of lime juice. The avocado not only deepens the green color but also adds a buttery richness that pairs beautifully with the tangy mustard.
Spooky Sriracha Inferno
Replace the hot sauce with a teaspoon of sriracha and a pinch of smoked paprika. This gives the “veins” a bright red hue and a fiery kick that will make even the bravest guests gasp.
Pumpkin Spice Surprise
Add a pinch of pumpkin pie spice and a drizzle of maple syrup to the filling for a sweet‑savory hybrid. The warm spices echo the autumn season, making these eggs a perfect autumnal appetizer.
Cheesy Monster Melt
Stir in a quarter cup of shredded sharp cheddar or Gruyère into the yolk mixture, then top each egg with a tiny sprinkle of extra cheese and broil for 30 seconds. The melted cheese adds a gooey texture that feels like a monster’s slime.
Herb‑Infused Forest
Finely chop fresh chives, parsley, and dill, and fold them into the filling. The herbaceous notes add freshness and a speckled green appearance that mimics forest foliage.
📦 Storage & Reheating Tips
Refrigerator Storage
Store assembled deviled eggs in a shallow, airtight container lined with a damp paper towel to keep them from drying out. They’ll stay fresh for up to three days, though the best flavor is within the first 24 hours. If you need to keep them longer, keep the filling separate and assemble just before serving.
Freezing Instructions
While the egg whites don’t freeze well, the yolk filling can be frozen in a zip‑top bag for up to two months. Thaw it in the refrigerator overnight, give it a quick whisk, and then pipe it back into freshly boiled egg whites for a brand‑new batch.
Reheating Methods
If you need to warm the deviled eggs (perhaps for a warm appetizer station), place the platter in a low oven—about 150°F (65°C)—for ten minutes. The trick to reheating without drying them out? Add a splash of milk or a drizzle of olive oil over the tops before warming, which helps retain moisture and adds a subtle sheen.
❓ Frequently Asked Questions
Can I make these deviled eggs ahead of time?
What if I don’t have black olives for the “eyeballs”?
How do I avoid the green ring around the yolk?
Can I use Greek yogurt instead of mayonnaise?
What’s the best way to pipe the filling?
Can I add cheese to the filling?
How long can I keep the deviled eggs in the fridge?
Is there a vegan version of this recipe?
Refrigerate the assembled deviled eggs for at least 30 minutes before serving. This chilling step allows the flavors to meld, the colors to set, and the texture to firm up, ensuring each bite is perfectly balanced. While you wait, consider arranging the eggs on a platter lined with faux cobwebs, orange pumpkins, or a bed of shredded lettuce for added visual drama.
Finally, bring the platter to the table, dim the lights, and watch as your guests reach for these eerie delights. The moment they bite into the creamy, green filling, hear the soft crunch of the olive “eyeball,” and feel the gentle heat from the hidden hot sauce, you’ll know you’ve nailed the perfect Halloween treat. And the best part? These deviled eggs can be made ahead of time, giving you more freedom to enjoy the party yourself.
Similar Recipes
 Appetizers
Zero Carb Yogurt Bread
Learn how to make delicious Zero Carb Yogurt Bread. Easy recipe with step-by-step instructions.
 Appetizers
Pasta al Limone: An Amazing Ultimate Italian Classic Recipe
Learn how to make delicious Pasta al Limone: An Amazing Ultimate Italian Classic Recipe. Easy recipe…
 Appetizers
Savory Herb-Infused Roasted Balsamic Vinaigrette
Delicious Savory Herb-Infused Roasted Balsamic Vinaigrette
 Appetizers
20 krokante oud en brood hapjes die iedereen verslindt
Learn how to make delicious 20 krokante oud en brood hapjes die iedereen verslindt. Easy recipe…
 Appetizers
Crispy Breaded Halloumi Fingers Recipe
Delicious Crispy Breaded Halloumi Fingers Recipe
 Appetizers
Crispy Chicken Quesadilla Wedges: A Culinary Delight
Delicious Crispy Chicken Quesadilla Wedges: A Culinary Delight
 Appetizers
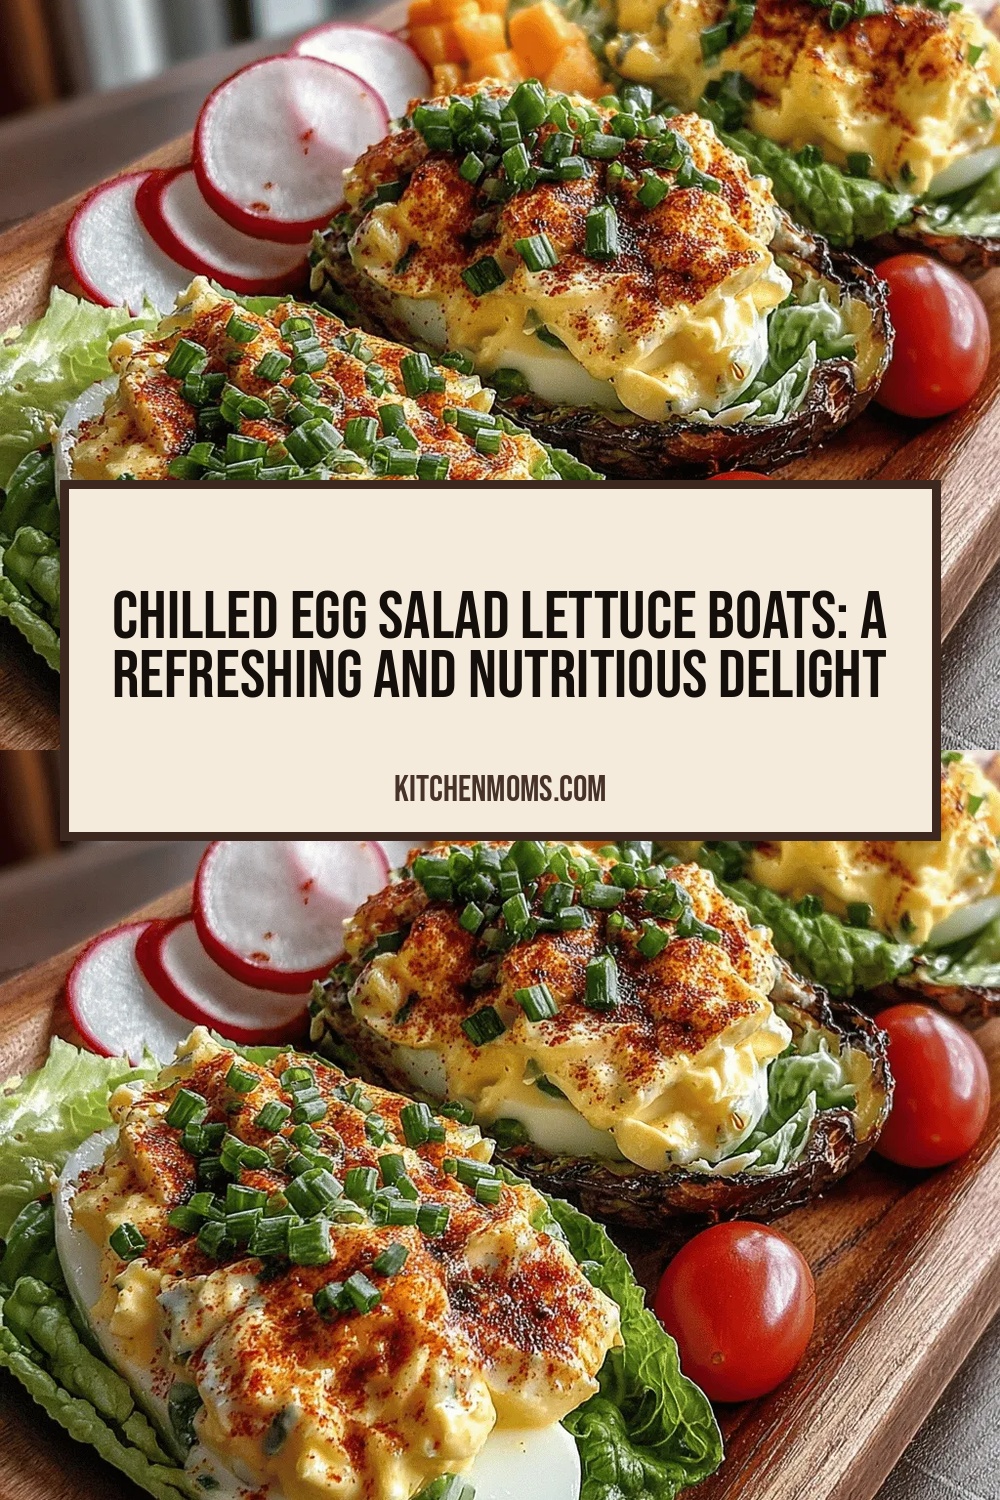
Chilled Egg Salad Lettuce Boats: A Refreshing and Nutritious Delight
Delicious Chilled Egg Salad Lettuce Boats: A Refreshing and Nutritious Delight
 Appetizers
Fire-Kissed Watermelon Steaks: A Refreshing Culinary Delight
Delicious Fire-Kissed Watermelon Steaks: A Refreshing Culinary Delight

Lucy
I cook these recipes at home before they ever land here — simple ingredients, clear steps.