Creamsicle Orange Cookies: A Nostalgic Treat with a Citrus Twist
 Save
Save
Imagine the first bite of a classic creamsicle—sweet orange zest wrapped in a smooth, buttery vanilla cloud. Now picture that nostalgic flavor transformed into a soft, chewy cookie that melts on the tongue. That’s the magic of Creamsicle Orange Cookies, a treat that brings summer sunshine to any season.
What sets these cookies apart is the delicate balance of bright citrus and creamy vanilla, achieved with freshly grated orange zest, real orange juice, and a splash of vanilla extract. A light dusting of powdered sugar adds a subtle sparkle that mimics the iconic orange‑cream swirl.
Anyone who loves a retro flavor with a modern twist will adore these cookies—kids, grandparents, and anyone craving a sweet‑tart snack. They’re perfect for afternoon tea, a potluck dessert, or a whimsical addition to a birthday cake table.
The recipe is straightforward: combine dry and wet ingredients, fold in the orange zest, scoop onto a sheet pan, bake until golden, and finish with a silky vanilla glaze. In under forty minutes you’ll have a batch of nostalgic cookies that taste like a summer memory.
Why You'll Love This Recipe
Bright Citrus Punch: Fresh orange zest and juice give each bite a lively, tangy pop that awakens the palate without overwhelming sweetness.
Soft, Chewy Texture: The combination of butter, brown sugar, and a touch of cream creates a tender crumb that stays moist long after baking.
Simple Ingredients: All components are pantry‑friendly—no exotic items—making the recipe accessible for any home baker.
Versatile Presentation: Dust with powdered sugar, drizzle with glaze, or sandwich with frosting for endless serving ideas.
Tips & Tricks
Perfecting the Recipe
Use Fresh Zest. Grate the orange right before mixing; fresh zest provides essential oils that frozen zest loses, giving a brighter flavor.
Don’t Over‑Mix. Once the flour is added, mix only until incorporated. Over‑mixing creates a denser cookie.
Chill the Dough. A brief chill solidifies the butter, preventing excessive spread and yielding a thicker, chewier texture.
Watch the Edges. Remove cookies when the edges turn golden; the centers will stay soft and won’t dry out.
Flavor Enhancements
Add a pinch of almond extract for a nutty undertone, or stir in ½ cup white chocolate chips for extra decadence. For a more pronounced orange punch, replace half the orange juice with a splash of orange liqueur (e.g., Grand Marnier). Finish with a light dusting of flaky sea salt to balance the sweetness.
Common Mistakes to Avoid
Skipping the cooling step before glazing causes the glaze to run off, leaving a soggy surface. Also, using cold butter straight from the fridge results in a crumbly dough that won’t hold together. Finally, over‑baking turns the chewy interior into a crisp cookie, losing the signature soft bite.
Pro Tips
Scale Ingredients. For consistent results, weigh flour (120 g) and butter (227 g) rather than relying on volume measurements.
Use a Light Hand on the Glaze. Drizzle sparingly; too much glaze can overwhelm the delicate cookie texture.
Store in a Single Layer. Keep cookies in an airtight container without stacking for the first 24 hours to preserve their soft tops.
Experiment with Citrus. Swap half the orange zest for lemon or lime for a bright, tangy variation that still feels like a creamsicle.
Variations
Ingredient Swaps
Replace butter with coconut oil for a subtle tropical note, or use almond flour for a gluten‑free version (increase the baking soda to ¾ tsp). Swap brown sugar for coconut sugar to add a caramel‑like depth, and experiment with blood orange juice for a richer, ruby hue.
Dietary Adjustments
For vegans, use a plant‑based butter and replace the eggs with ¼ cup unsweetened applesauce or a flax‑egg (1 tbsp ground flax + 3 tbsp water). Gluten‑free bakers can substitute a 1‑to‑1 gluten‑free flour blend, ensuring the blend contains xanthan gum for structure.
Serving Suggestions
Pair the cookies with a scoop of vanilla bean ice cream for an indulgent sundae, or serve alongside a citrus‑infused tea. Stack two cookies with a thin layer of orange‑cream cheese frosting for a mini “cream‑sicle” sandwich. They also make a charming addition to holiday cookie platters, especially when dusted with red sugar crystals.
Storage Info
Leftover Storage
Allow the cookies to reach room temperature, then place them in an airtight container with a piece of parchment between layers. Stored in the refrigerator, they stay fresh for up to 5 days. For longer keeping, freeze in a single‑layer tray, then transfer to a zip‑top bag; they freeze well for 2–3 months.
Reheating Instructions
To revive freshness, preheat the oven to 300°F (150°C), spread cookies on a baking sheet, and warm for 5–7 minutes. This restores softness without drying them out. In a pinch, microwave a single cookie for 10‑15 seconds, but the oven method yields the best texture.
Frequently Asked Questions
Can I make these cookies ahead of time?
What if I don’t have fresh oranges?
How do I keep the cookies soft and not crunchy?
Can I add a frosting instead of a glaze?
These Creamsicle Orange Cookies capture the joy of a classic frozen treat while offering the comfort of a homemade bake. By following the detailed steps, using fresh citrus, and applying the pro tips, you’ll create a batch that’s both nostalgic and impressively refined. Feel free to experiment with swaps, glazes, or frosting to make the recipe truly yours. Enjoy every buttery, zesty bite and share the sunshine with friends and family!
Creamsicle Orange Cookies: A Nostalgic Treat with a Citrus Twist
Delicious Creamsicle Orange Cookies: A Nostalgic Treat with a Citrus Twist
Ingredients
Dry Ingredients
- 2 ½ cups all‑purpose flour
- ½ teaspoon baking soda
- ¼ teaspoon salt
Wet Ingredients
- 1 cup unsalted butter, softened
- ¾ cup packed light brown sugar
- ¼ cup granulated sugar
- 2 large eggs, room temperature
- 2 teaspoons vanilla extract
- ¼ cup freshly squeezed orange juice
- 2 tablespoons orange zest (about 1 orange)
Glaze (Optional)
- 1 cup powdered sugar
- 1 tablespoon orange juice
- ½ teaspoon vanilla extract
Instructions
Incorporating Wet Flavors
- Blend Eggs & Extract. Add the eggs one at a time, beating well after each addition, then stir in vanilla extract, orange juice, and orange zest. The zest should be finely grated to release its oils, giving the dough a fragrant orange backbone.
- Combine Wet and Dry. Reduce the mixer speed to low and gradually add the flour mixture, scraping the sides as needed. Stop mixing once the dough just comes together; over‑mixing would develop gluten and make the cookies tough.
- Chill (Optional but Recommended). Cover the dough with plastic wrap and refrigerate for 15–20 minutes. Chilling firms the butter, making the dough easier to scoop and helping the cookies retain their shape during baking.
Baking the Cookies
- Preheat Oven & Prepare Sheet. Heat the oven to 350°F (175°C). Line a baking sheet with parchment paper or a silicone mat to prevent sticking and promote even browning.
- Scoop Uniform Portions. Using a cookie scoop (≈ 2 tablespoons) or a rounded spoon, drop dough onto the sheet, spacing each mound about 2 inches apart. The dough will spread slightly, so give it room.
- Bake Until Golden. Bake for 10–12 minutes, or until the edges are lightly golden while the centers remain soft. The cookies will continue to set as they cool, so avoid over‑baking.
- Cool on a Rack. Transfer the baked cookies to a wire rack and let them cool completely before glazing. This prevents the glaze from melting on a warm surface.
Similar Recipes
 Desserts
Rainbow Delight Zucchini Cookies: A Comprehensive Guide
Delicious Rainbow Delight Zucchini Cookies: A Comprehensive Guide
 Desserts
Heavenly Chocolate Chip Delights: The Ultimate Cookie Recipe
Delicious Heavenly Chocolate Chip Delights: The Ultimate Cookie Recipe
 Desserts
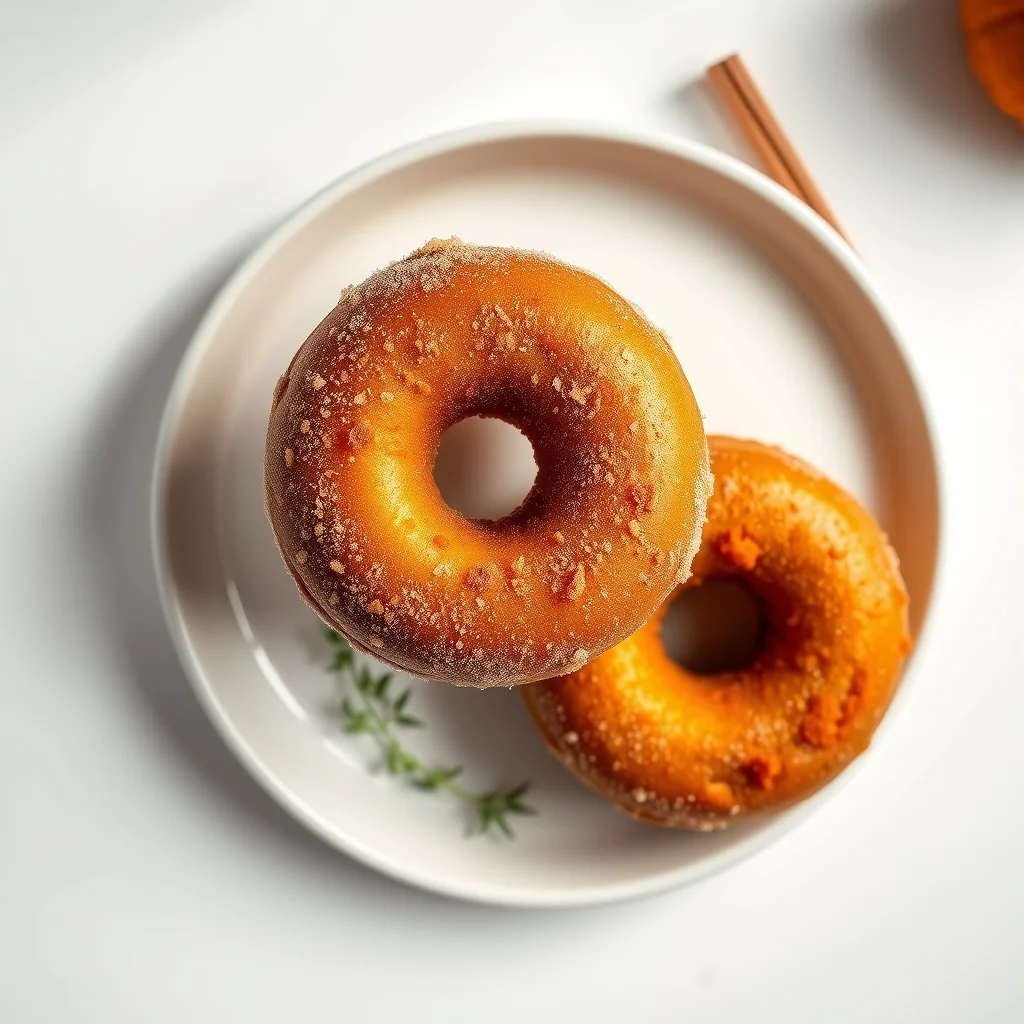
Irresistible Pumpkin Spiced Doughnuts
Delicious Irresistible Pumpkin Spiced Doughnuts
 Desserts
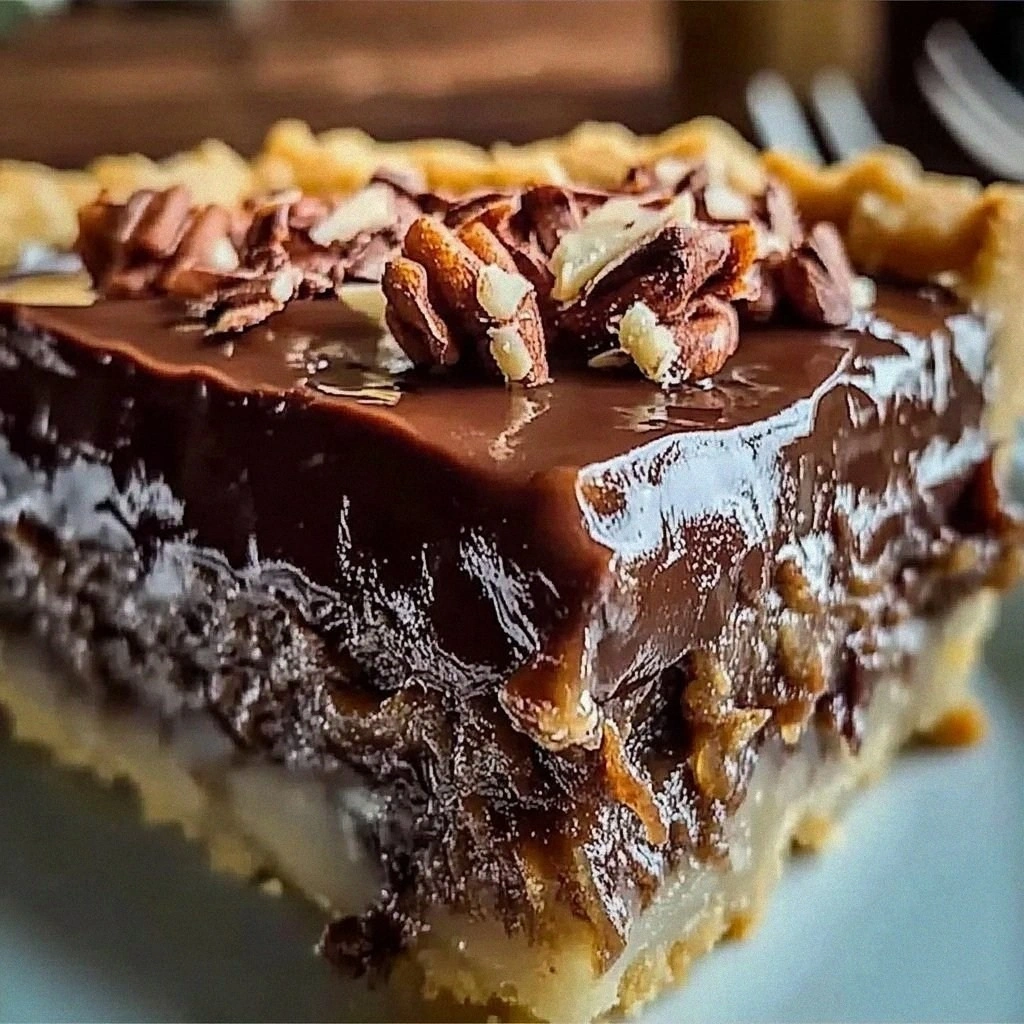
Irresistible German Chocolate Pie
Learn how to make delicious Irresistible German Chocolate Pie. Easy recipe with step-by-step instructions.
 Desserts
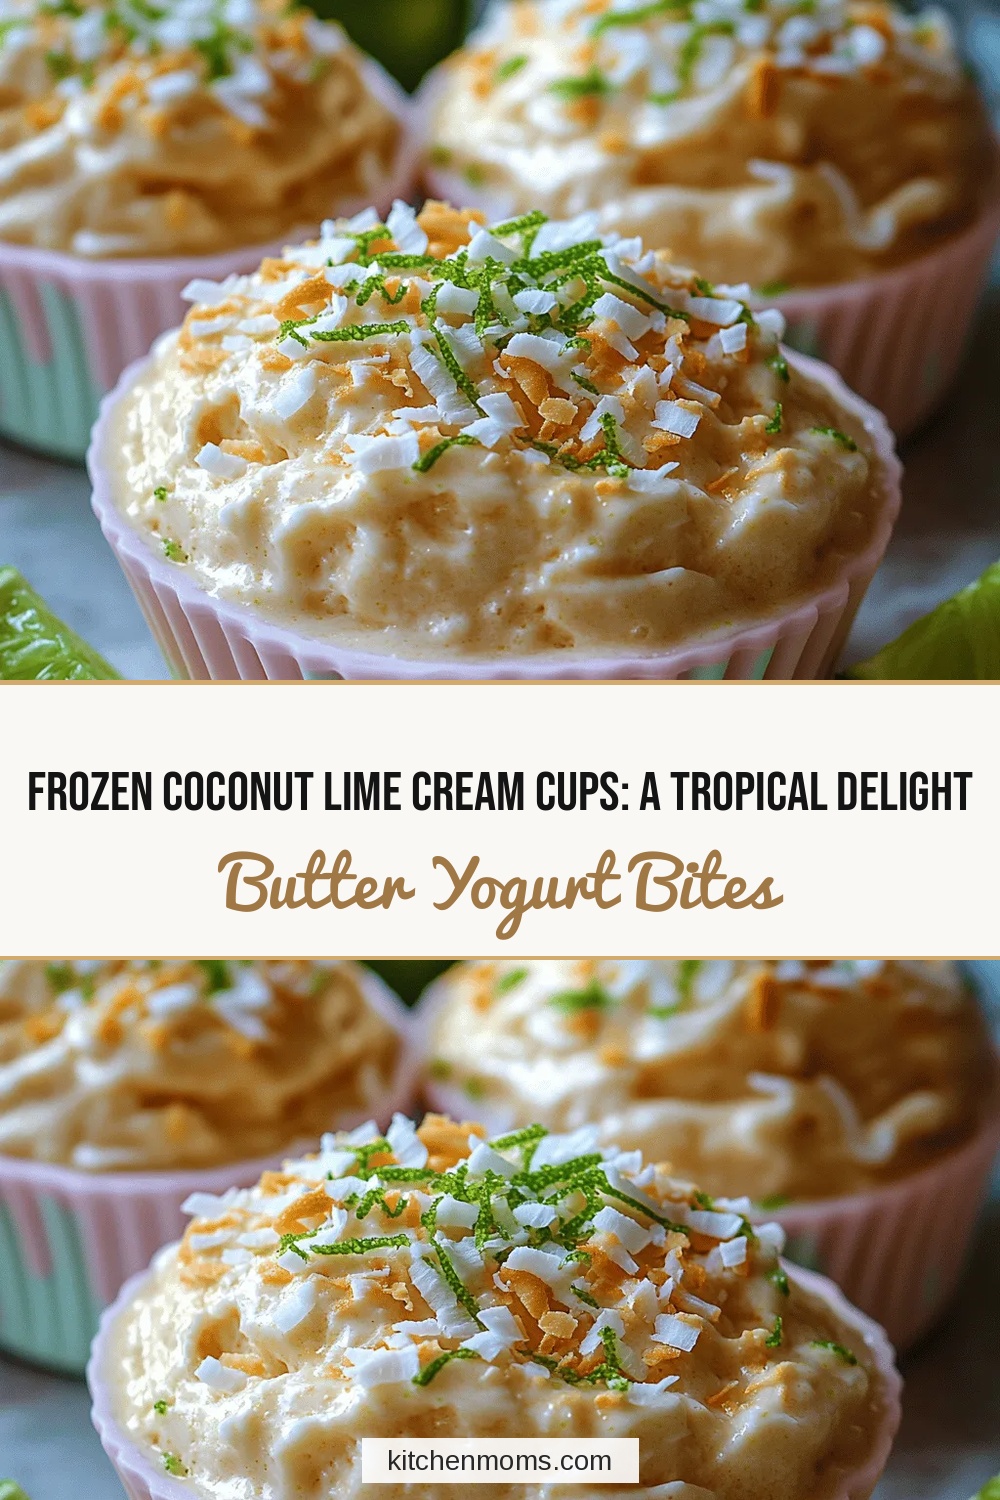
Frozen Coconut Lime Cream Cups: A Tropical Delight
Delicious Frozen Coconut Lime Cream Cups: A Tropical Delight
 Desserts
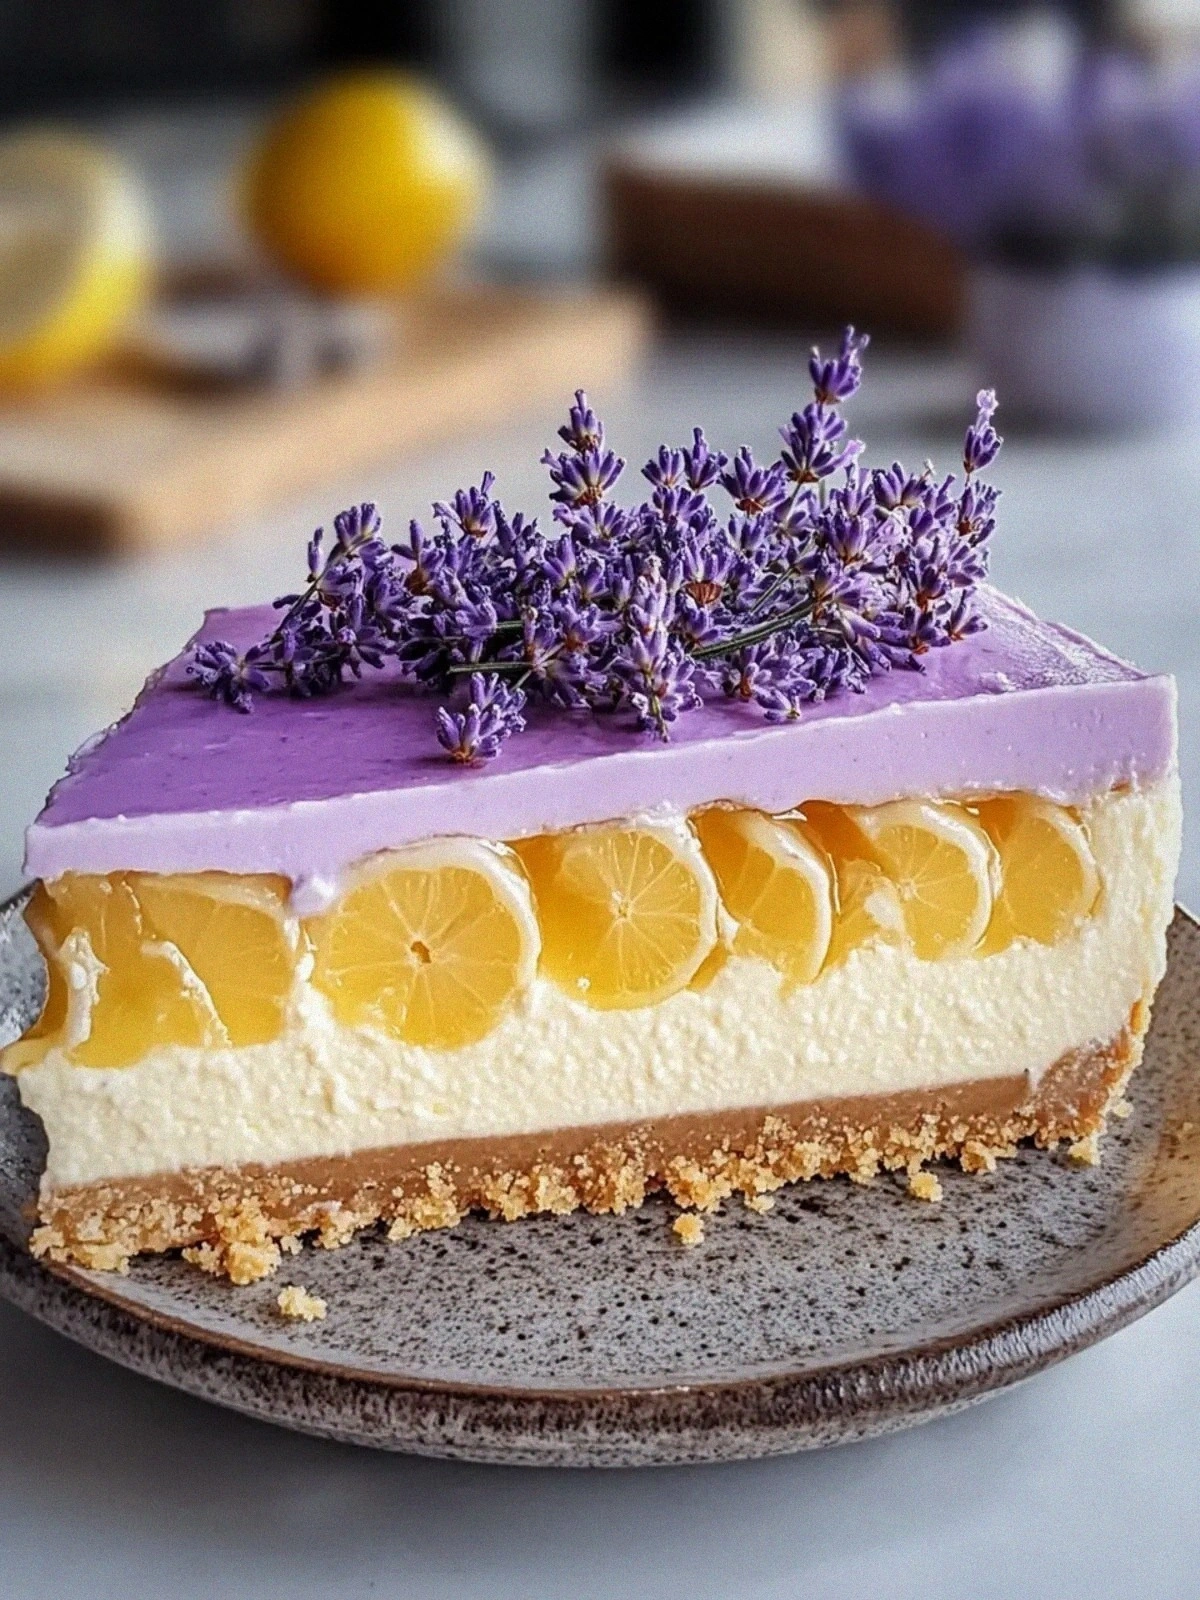
Lemon Lavender Cheesecake That’s Effortlessly Elegant and Vegan
Learn how to make delicious Lemon Lavender Cheesecake That’s Effortlessly Elegant and Vegan. Easy recipe with…
 Desserts
Decadent Chocolate Lava Cake Recipe: Indulge in Gooey Goodness
Delicious Decadent Chocolate Lava Cake Recipe: Indulge in Gooey Goodness
 Desserts
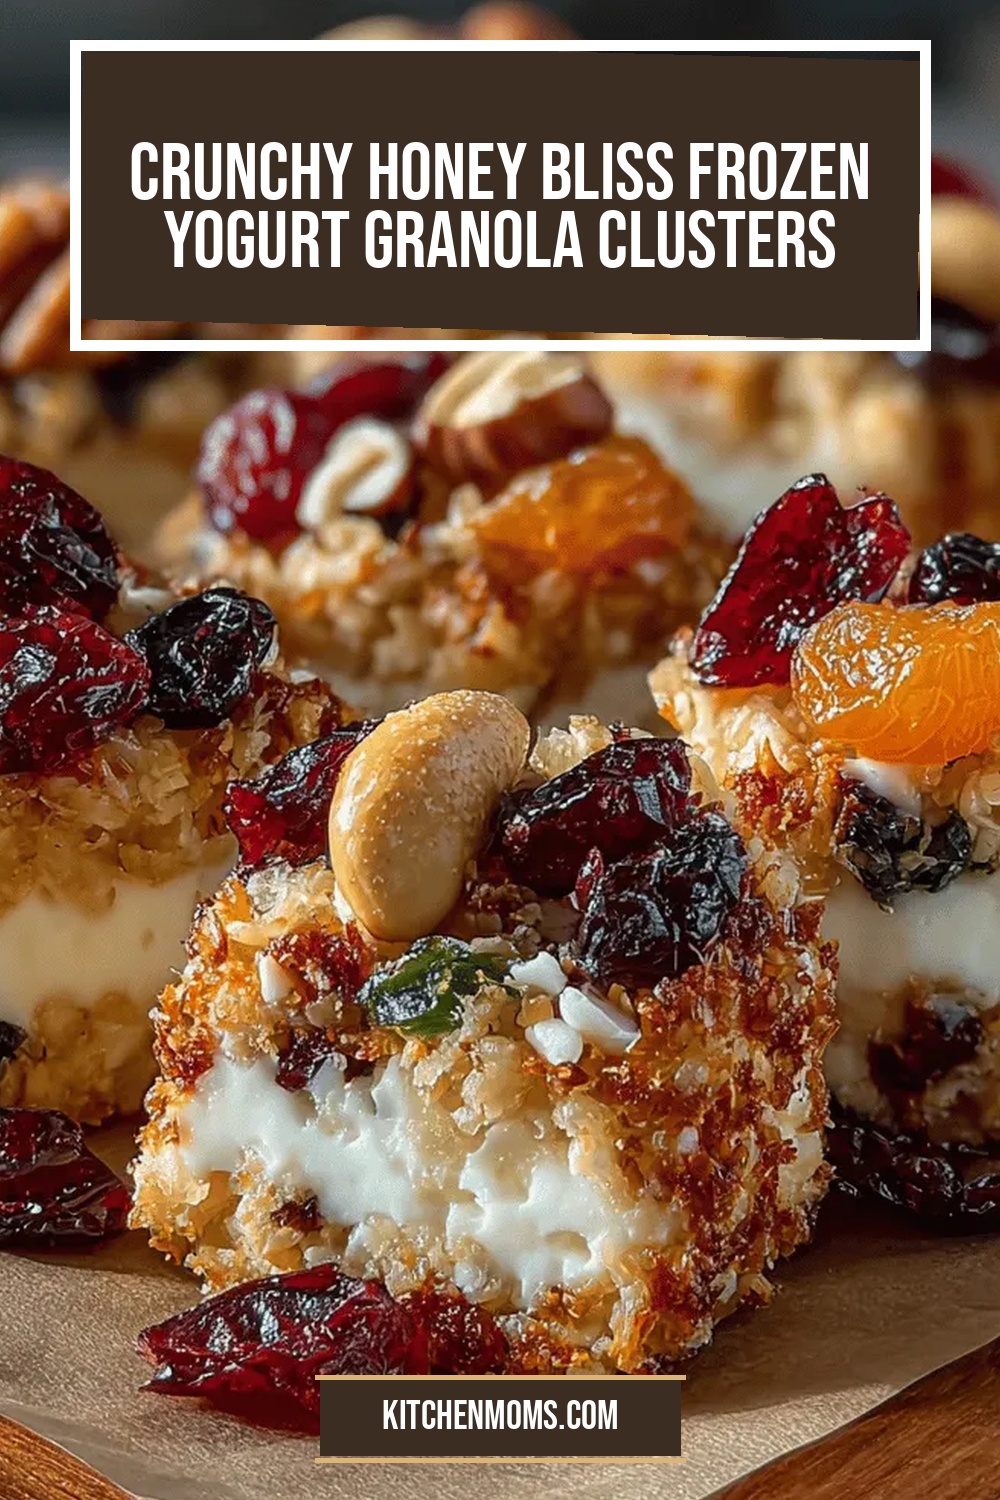
Crunchy Honey Bliss Frozen Yogurt Granola Clusters
Delicious Crunchy Honey Bliss Frozen Yogurt Granola Clusters

Lucy
I cook these recipes at home before they ever land here — simple ingredients, clear steps.