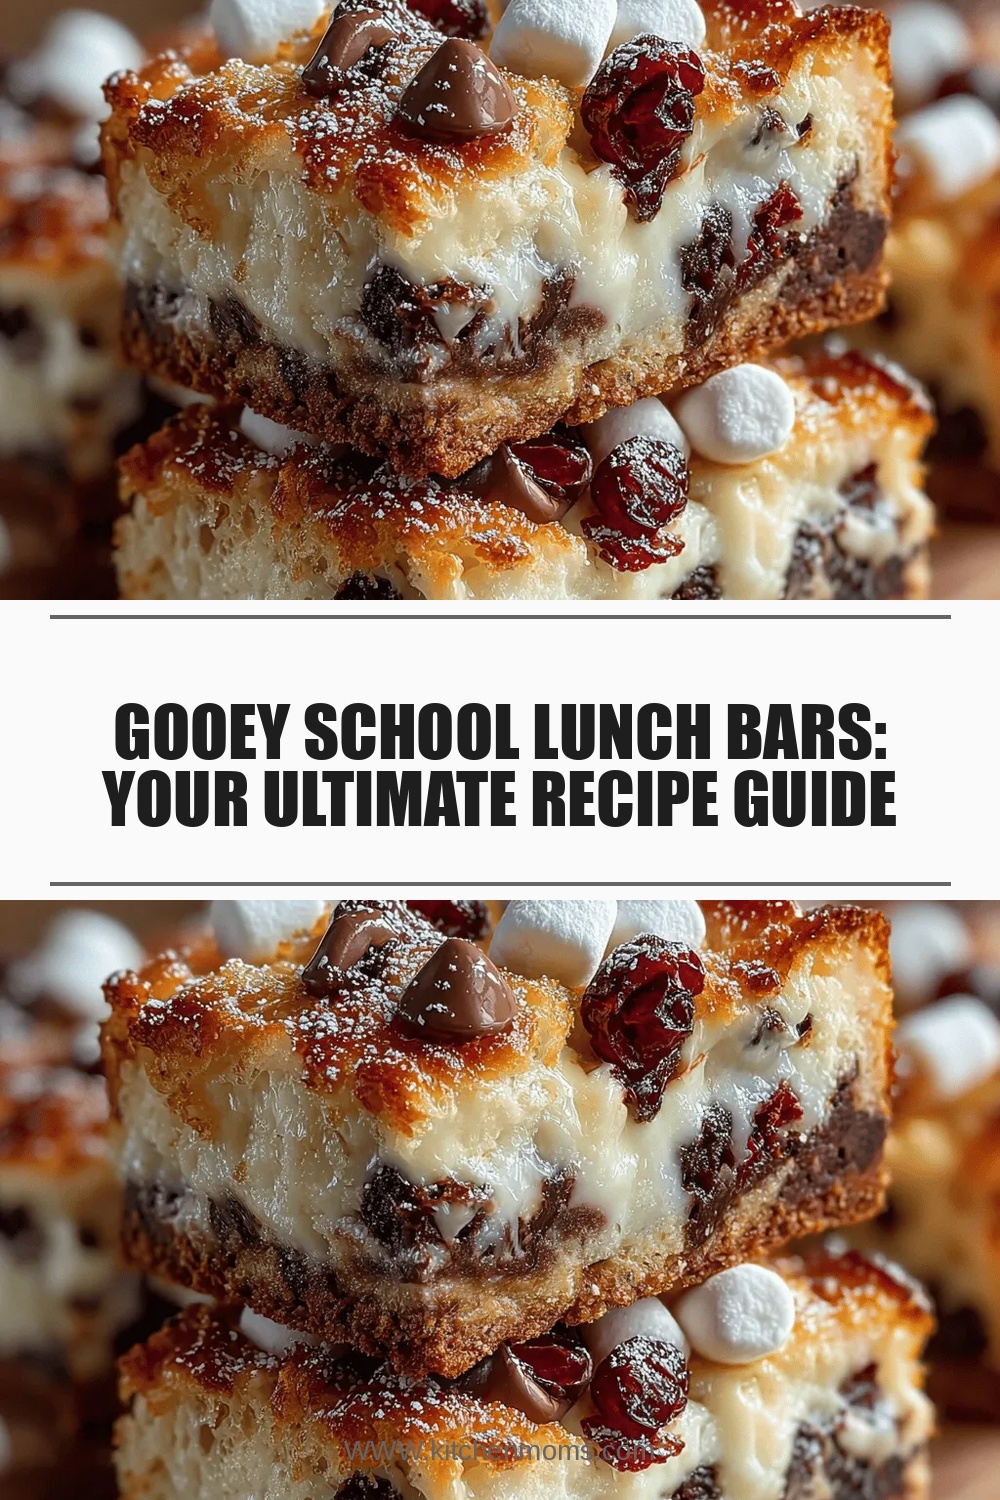
Gooey School Lunch Bars: Your Ultimate Recipe Guide
 Save
Save
Imagine a snack that feels like a warm hug on a hectic school morning—gooey, sweet, and perfectly portable. Gooey School Lunch Bars deliver that comforting bite while staying simple enough for busy parents to whip up in under half an hour.
What makes these bars stand out is the balance of chewy oats, creamy peanut butter, and a melt‑in‑your‑mouth chocolate swirl that stays soft even after a day in the lunchbox.
Kids love the handheld fun, teachers appreciate the no‑mess option, and anyone looking for a quick energy boost will reach for them during a mid‑day slump.
The process is straightforward: blend dry ingredients, stir in a luscious wet mixture, press into a pan, and bake until golden. A quick cool, a slice, and you’ve got a snack that stays gooey for hours.
Why You'll Love This Recipe
Kid‑Approved Flavor: The sweet‑salty combo of honey, peanut butter, and chocolate chips creates a taste kids can’t resist, making lunchbox battles a thing of the past.
Hands‑Free Convenience: No utensils required—just pull a bar out of the pack and go, perfect for busy mornings and after‑school snacks.
Nutritious Energy Boost: Whole‑grain oats and natural nut butter supply lasting carbs and protein, keeping little stomachs satisfied until dinner.
Customizable Core: Swap dried fruit, nuts, or seeds to match dietary preferences or pantry supplies, making each batch uniquely yours.
Tips & Tricks
Perfecting the Recipe
Measure Wet Ingredients Warm. Warm honey and peanut butter blend more easily, preventing lumps that could cause dry spots.
Press Firmly. A tightly packed base ensures the bars hold together after cooling, avoiding crumbly edges.
Use Parchment Paper. It eliminates sticking and makes removal and slicing effortless.
Flavor Enhancements
Add a pinch of cinnamon or a splash of almond extract to the wet mix for a subtle spice note. Toss in a handful of toasted pumpkin seeds for extra crunch, or drizzle a thin layer of caramel sauce after baking for an indulgent twist.
Common Mistakes to Avoid
Skipping the cooling period leads to crumbly bars that fall apart when sliced. Also, avoid over‑baking; the interior should stay soft, not dry. Finally, don’t forget to press the mixture evenly—uneven pressure creates uneven texture.
Pro Tips
Freeze for Later. After cooling, wrap individual bars in wax paper and freeze. They thaw quickly for a ready‑made snack.
Layer Flavors. Sprinkle a thin layer of crushed pretzels between the oat base and chocolate chips for a sweet‑salty crunch.
Use a Kitchen Scale. For consistent results, weigh oats and peanut butter rather than relying on volume measurements.
Adjust Sweetness. If your kids prefer less sugar, reduce honey by a tablespoon and add a dash of maple syrup for a milder flavor.
Variations
Ingredient Swaps
Replace peanut butter with almond or cashew butter for a different nutty profile. Swap dried cranberries for chopped apricots, raisins, or even banana chips. For a dairy‑free chocolate touch, use dairy‑free mini chips or chopped dark chocolate.
Dietary Adjustments
Make the bars gluten‑free by using certified gluten‑free oats. For a vegan version, substitute honey with maple syrup or agave nectar and ensure the chocolate chips are dairy‑free. Keto‑friendly fans can replace oats with shredded coconut and use a low‑carb sweetener like erythritol.
Serving Suggestions
Pair a bar with a side of Greek yogurt and fresh berries for a balanced snack. For school lunches, include a small container of apple slices or carrot sticks. A drizzle of extra honey or a sprinkle of sea salt just before serving adds an extra flavor pop.
Storage Info
Leftover Storage
Allow the bars to cool completely, then transfer them to an airtight container. Store in the refrigerator for up to 5 days. For longer keeping, wrap each bar in parchment and freeze in a zip‑top bag; they’ll stay fresh for up to 3 months.
Reheating Instructions
If you prefer a warm snack, microwave a single bar on medium power for 15‑20 seconds, or place a few bars in a 300°F (150°C) oven for 5‑7 minutes. This revives the gooey texture without drying them out. Add a drizzle of extra honey after reheating for extra shine.
Frequently Asked Questions
Can I make these bars ahead of time?
What if I’m allergic to peanuts?
How long will the bars stay gooey after baking?
This guide gives you everything needed to master Gooey School Lunch Bars—from ingredient choices to storage hacks. The recipe is adaptable, nutritious, and irresistibly tasty, making it a reliable go‑to for busy families. Feel free to experiment with swaps and toppings; the best part of cooking is making it your own. Pack a few bars, head out, and enjoy a snack that’s both comforting and energizing!
Gooey School Lunch Bars: Your Ultimate Recipe Guide
Delicious Gooey School Lunch Bars: Your Ultimate Recipe Guide
Ingredients
Dry Base
- 2 cups rolled oats
- ½ cup shredded coconut (optional)
- ¼ cup chopped almonds
Wet Mix
- ½ cup creamy peanut butter
- ⅓ cup honey
- 1 teaspoon vanilla extract
Add‑Ins & Topping
- ⅓ cup dried cranberries
- ⅓ cup mini chocolate chips
- ¼ teaspoon sea salt (optional)
Instructions
Bringing It All Together
- Combine Wet and Dry. Pour the warm peanut‑honey blend over the dry oat mixture. Stir with a spatula until every oat piece is lightly coated. This coating prevents the bars from drying out and creates that signature chewiness.
- Fold in Add‑Ins. Gently fold the dried cranberries, mini chocolate chips, and sea salt into the batter. The chocolate chips will stay semi‑melted, providing pockets of gooey decadence.
- Press into Pan. Line an 8‑inch square baking pan with parchment paper. Transfer the mixture and, using a piece of parchment or the back of a spoon, press firmly and evenly. A compact base is essential for bars that hold together when sliced.
- Bake. Place the pan in a preheated 350°F (175°C) oven for 18‑20 minutes. The edges should turn a light golden brown while the center remains soft. Over‑baking will make the bars crumbly rather than gooey.
- Cool & Slice. Allow the pan to cool on a wire rack for at least 15 minutes. This resting period lets the bars set, making clean cuts possible. Use a sharp knife, wiping it between cuts for neat squares.
Similar Recipes
 Desserts
Pumpkin Spice Cookie Bombs
Discover the perfect fall indulgence with our Pumpkin Spice Cookie Bombs – soft, buttery cookies packed…
 Desserts
Easy White Chocolate Peppermint Pretzel Crisps Recipe – Festive Treat
Learn how to make delicious Easy White Chocolate Peppermint Pretzel Crisps Recipe - Festive Treat. Easy…
 Desserts
Honeyed Delight: Frozen Yogurt Granola Sandwiches
Delicious Honeyed Delight: Frozen Yogurt Granola Sandwiches
 Desserts
Choco-Zucchini Delight: A Rich and Wholesome Recipe
Delicious Choco-Zucchini Delight: A Rich and Wholesome Recipe
 Desserts
Pumpkin Better Than Sex Cake: The Ultimate Fall Indulgence
Learn how to make delicious Pumpkin Better Than Sex Cake: The Ultimate Fall Indulgence. Easy recipe…
 Desserts
Oreo Overload Brownies Recipe: Indulge in a Decadent Chocolate Experience
Delicious Oreo Overload Brownies Recipe: Indulge in a Decadent Chocolate Experience
 Desserts
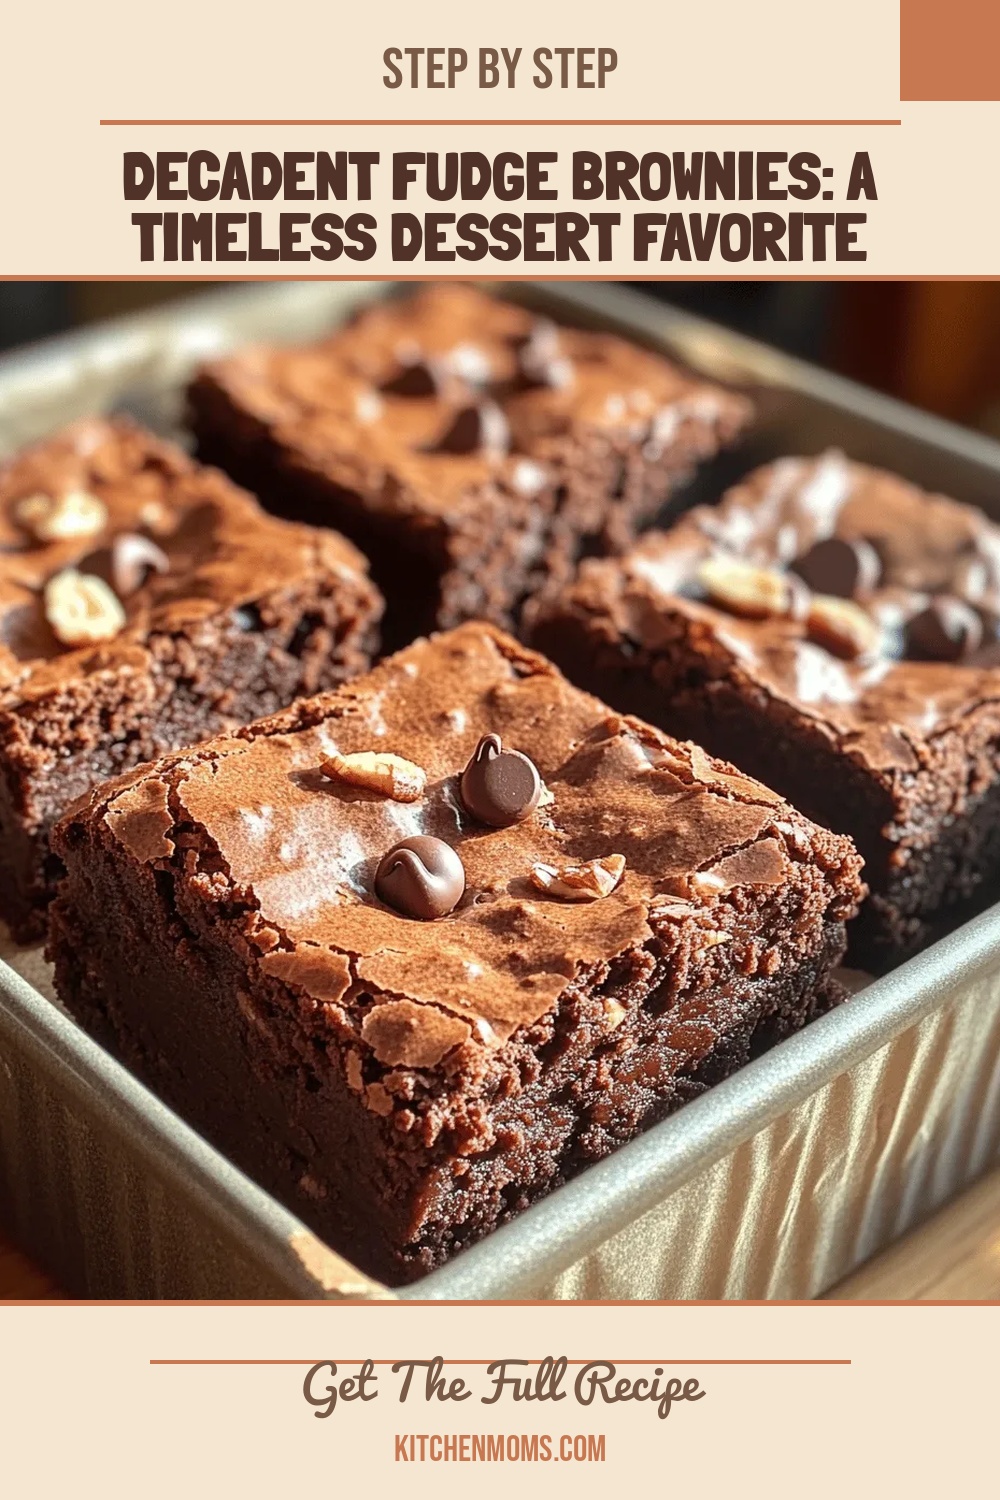
Decadent Fudge Brownies: A Timeless Dessert Favorite
Delicious Decadent Fudge Brownies: A Timeless Dessert Favorite
 Desserts
Spicy & Sweet Chewy Molasses Cookies: A Festive Treat
Delicious Spicy & Sweet Chewy Molasses Cookies: A Festive Treat

Lucy
I cook these recipes at home before they ever land here — simple ingredients, clear steps.