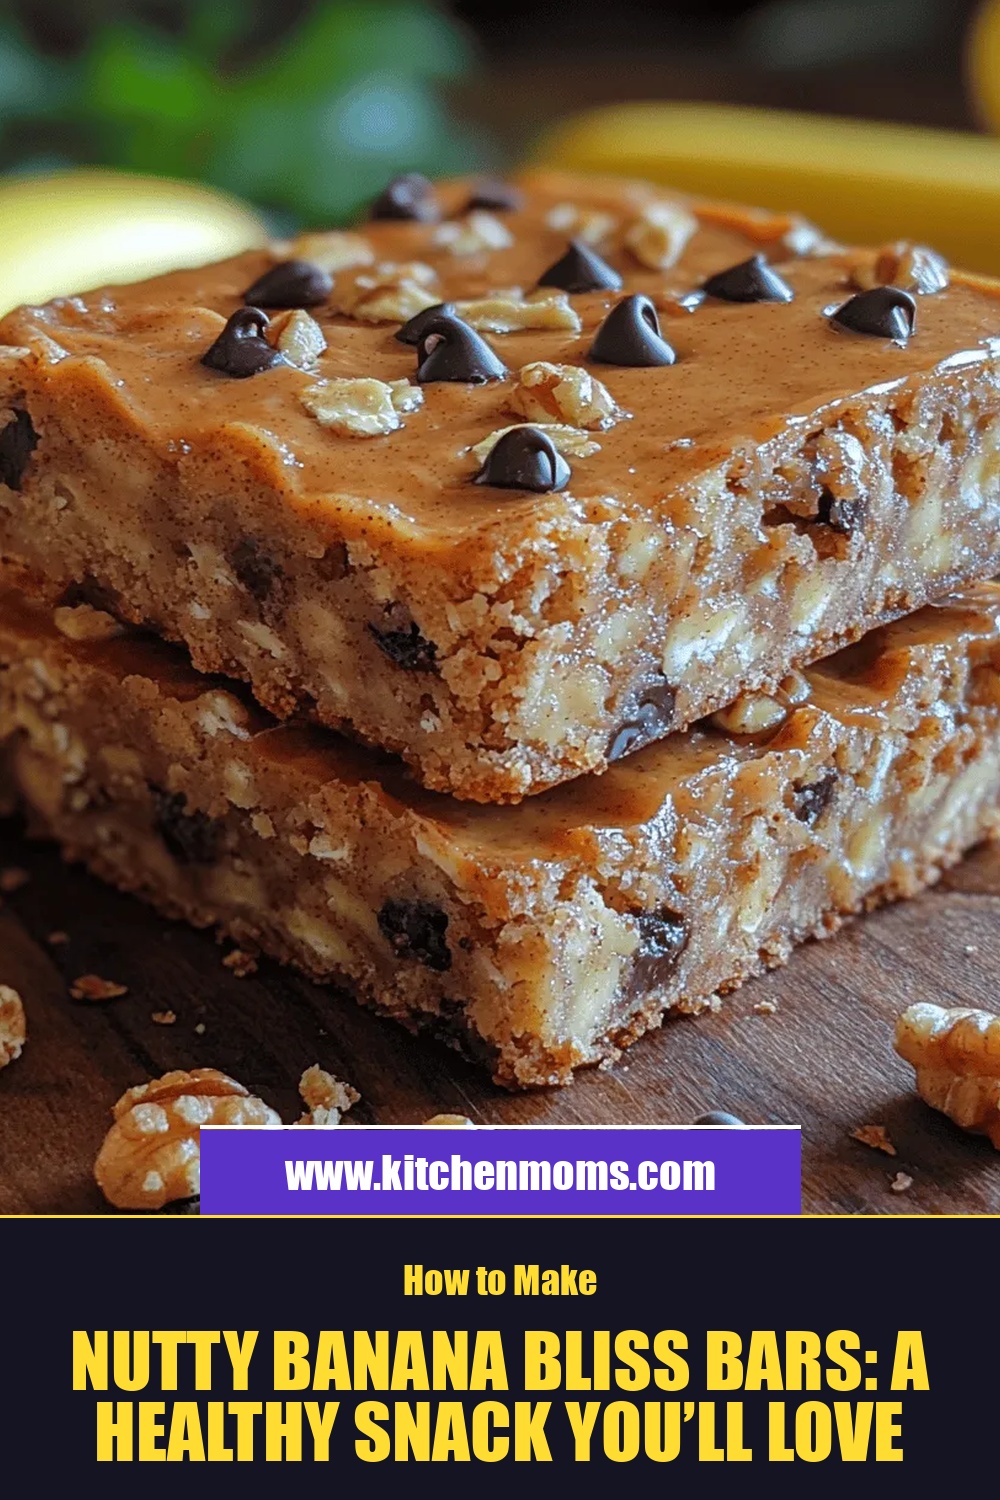
Nutty Banana Bliss Bars: A Healthy Snack You’ll Love
 Save
Save
Imagine a snack that feels indulgent yet fuels your body with wholesome goodness. Nutty Banana Bliss Bars deliver that perfect balance of sweet, crunchy, and creamy in every bite, making them an instant crowd‑pleaser.
What sets these bars apart is the marriage of ripe bananas, toasted nuts, and a light oat‑based crust that stays soft without any added refined sugar. The subtle drizzle of honey‑maple glaze adds just enough shine and flavor to elevate the snack.
Kids, athletes, and busy professionals alike will love reaching for these bars at a mid‑morning break, after a workout, or as a quick dessert. They’re also ideal for lunchboxes, picnics, or a wholesome after‑school treat.
The process is straightforward: mash bananas, toast nuts, blend oats, press the mixture into a pan, bake briefly, and finish with a glossy glaze. In under forty minutes you’ll have a batch of portable, nutritious bars ready to enjoy.
Why You'll Love This Recipe
Natural Sweetness: Ripe bananas provide a gentle, natural sweetness, eliminating the need for excess added sugars while keeping the flavor bright and satisfying.
Crunchy Texture: Toasted almonds and walnuts add a satisfying crunch that contrasts beautifully with the soft, moist bar interior.
Energy Boost: Whole‑grain oats, nuts, and banana deliver complex carbs, healthy fats, and potassium—perfect for sustained energy between meals.
Simple Prep: With only a few steps and minimal equipment, these bars are ideal for beginners and busy households alike.
Tips & Tricks
Perfecting the Recipe
Use Over‑ripe Bananas. The sweeter, softer the banana, the more natural sweetness and moisture you’ll get, reducing the need for extra sweeteners.
Toast Nuts Evenly. Spread nuts in a single layer and stir halfway through baking to avoid burning and to achieve uniform golden color.
Press Firmly. Compact the batter before baking; this prevents crumbly bars and gives a clean cut after cooling.
Cool Before Glazing. Let the bars cool slightly so the glaze sets without running off, creating a glossy finish.
Flavor Enhancements
Add a pinch of cinnamon or ground ginger to the dry mix for warm spice notes. A tablespoon of chia seeds boosts texture and omega‑3 content. For extra brightness, stir in a teaspoon of lemon zest into the glaze just before drizzling.
Common Mistakes to Avoid
Skipping the cooling period leads to a soggy glaze that slides off. Also, avoid over‑mixing the wet and dry ingredients; excessive stirring can make the bars dense rather than light and tender.
Pro Tips
Line with Parchment. This makes removal effortless and keeps the bars from sticking to the pan.
Use a Kitchen Scale. Precise measurements, especially for oats and nuts, ensure consistent texture batch after batch.
Store with a Damp Paper Towel. Placing a lightly damp paper towel over the bars in the container retains moisture without making them soggy.
Freeze for Longevity. Freeze individual bars wrapped in plastic; they thaw quickly in the microwave for a fresh‑out‑of‑the‑fridge snack.
Variations
Ingredient Swaps
Replace almonds with pecans or pistachios for a different crunch profile. Swap walnuts for toasted sunflower seeds to keep the recipe nut‑free. Use brown rice syrup instead of honey for a milder sweetness, or incorporate dried cranberries for a tart contrast.
Dietary Adjustments
For a vegan version, substitute honey with agave nectar or maple syrup. Use gluten‑free rolled oats if you have a gluten sensitivity. To lower carbs, replace oats with almond flour and increase the nut ratio; the bars stay moist thanks to the banana base.
Serving Suggestions
Pair the bars with a dollop of Greek yogurt and fresh berries for a balanced snack. They also work well alongside a cup of herbal tea or a cold almond milk latte. For a party platter, cut the bars into bite‑size squares and drizzle extra glaze on top.
Storage Info
Leftover Storage
Once completely cooled, lift the bars out of the pan using the parchment overhang and place them in an airtight container. Store at room temperature for up to three days, or refrigerate for up to a week. For longer keeping, wrap each bar individually in plastic wrap and freeze for up to three months.
Reheating Instructions
To enjoy a warm snack, preheat the oven to 300°F (150°C), place the bars on a baking sheet, and heat for 8‑10 minutes. This restores softness without drying them out. In a pinch, microwave a single bar for 20‑30 seconds, adding a splash of almond milk if needed.
Frequently Asked Questions
Can I make these bars ahead of time?
What if I don’t have rolled oats?
How sweet are these bars? Can I reduce the glaze?
Can I add protein powder?
This Nutty Banana Bliss Bar recipe delivers a perfect blend of natural sweetness, satisfying crunch, and lasting energy—all with minimal effort. The detailed steps, storage tips, and flexible variations ensure you can adapt the snack to any dietary need or flavor craving. Feel free to experiment with nuts, spices, or sweeteners—making it truly your own. Grab a bar, enjoy the wholesome goodness, and share the bliss with friends and family!
Nutty Banana Bliss Bars: A Healthy Snack You’ll Love
Delicious Nutty Banana Bliss Bars: A Healthy Snack You’ll Love
Ingredients
Base & Crunch
- 1 ½ cups rolled oats
- ½ cup raw almonds, roughly chopped
- ½ cup raw walnuts, roughly chopped
- 2 tablespoons coconut oil, melted
Fruit & Binding
- 3 large ripe bananas, mashed
- ¼ cup unsweetened applesauce
- 1 teaspoon vanilla extract
Glaze
- 2 tablespoons honey
- 1 tablespoon pure maple syrup
- ¼ teaspoon sea salt
Instructions
Baking the Bars
- Press the Batter. Transfer the batter to the prepared pan, spreading it evenly with a spatula. Press firmly to eliminate air pockets; a compact base ensures the bars hold together after cutting.
- Bake. Place the pan in the preheated oven and bake for 18‑20 minutes, or until the edges turn a light golden brown and a toothpick inserted in the center comes out clean. Baking sets the structure without drying the bars.
- Cool Slightly. Remove the pan and let the bars cool in the pan for 10 minutes. This short cooling period allows the glaze to adhere better later on.
Similar Recipes
 Desserts
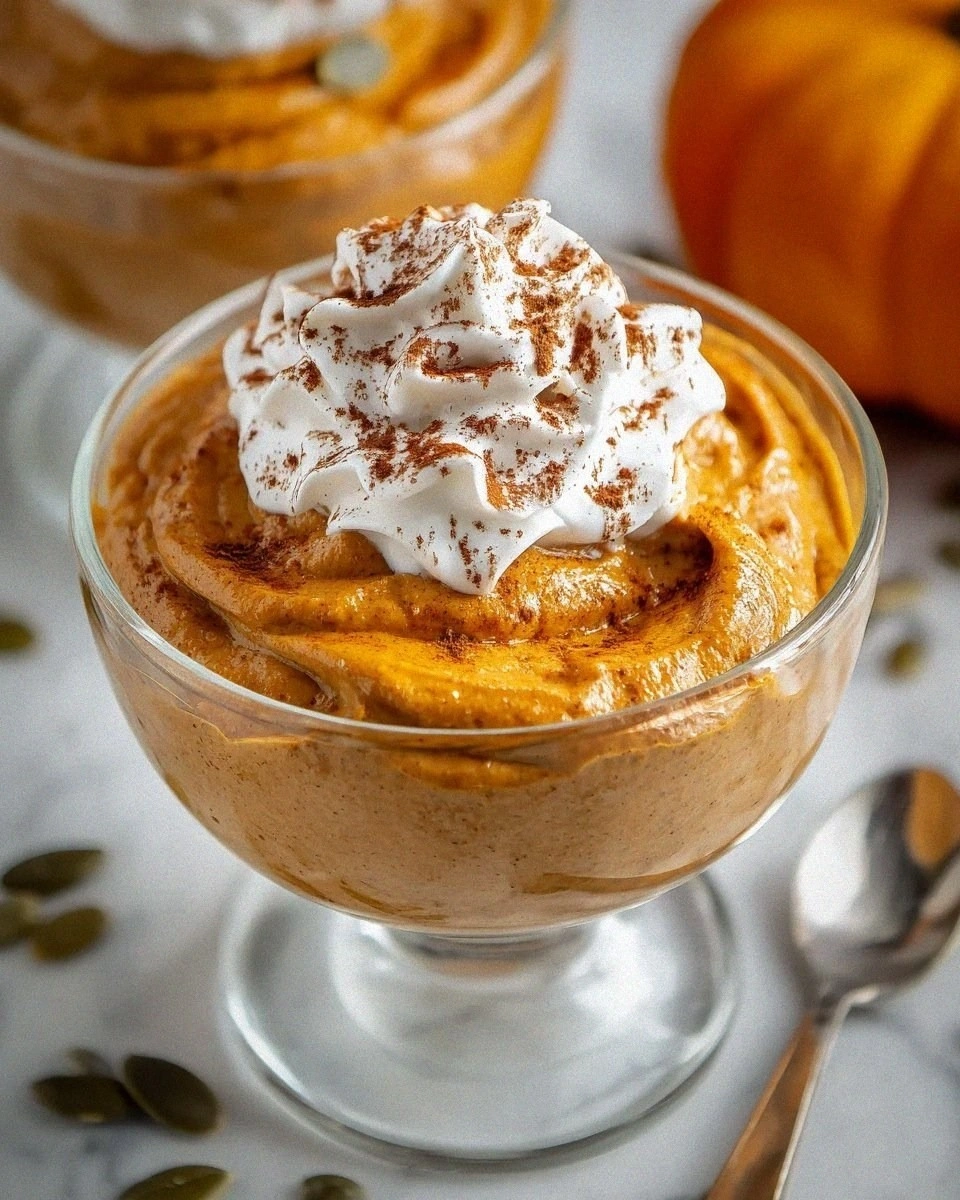
Healthy Pumpkin Mousse
Learn how to make delicious Healthy Pumpkin Mousse. Easy recipe with step-by-step instructions.
 Desserts
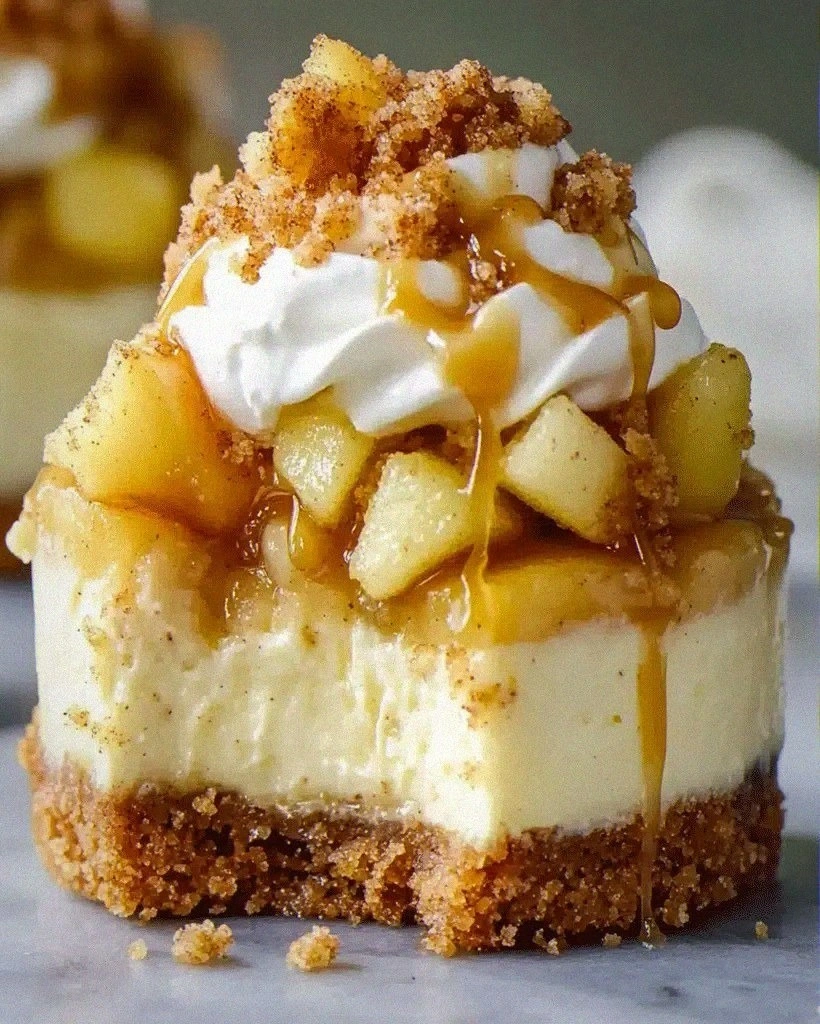
Mini Caramel Apple Cheesecake Bites – Irresistible Treats
Learn how to make delicious Mini Caramel Apple Cheesecake Bites – Irresistible Treats. Easy recipe with…
 Desserts
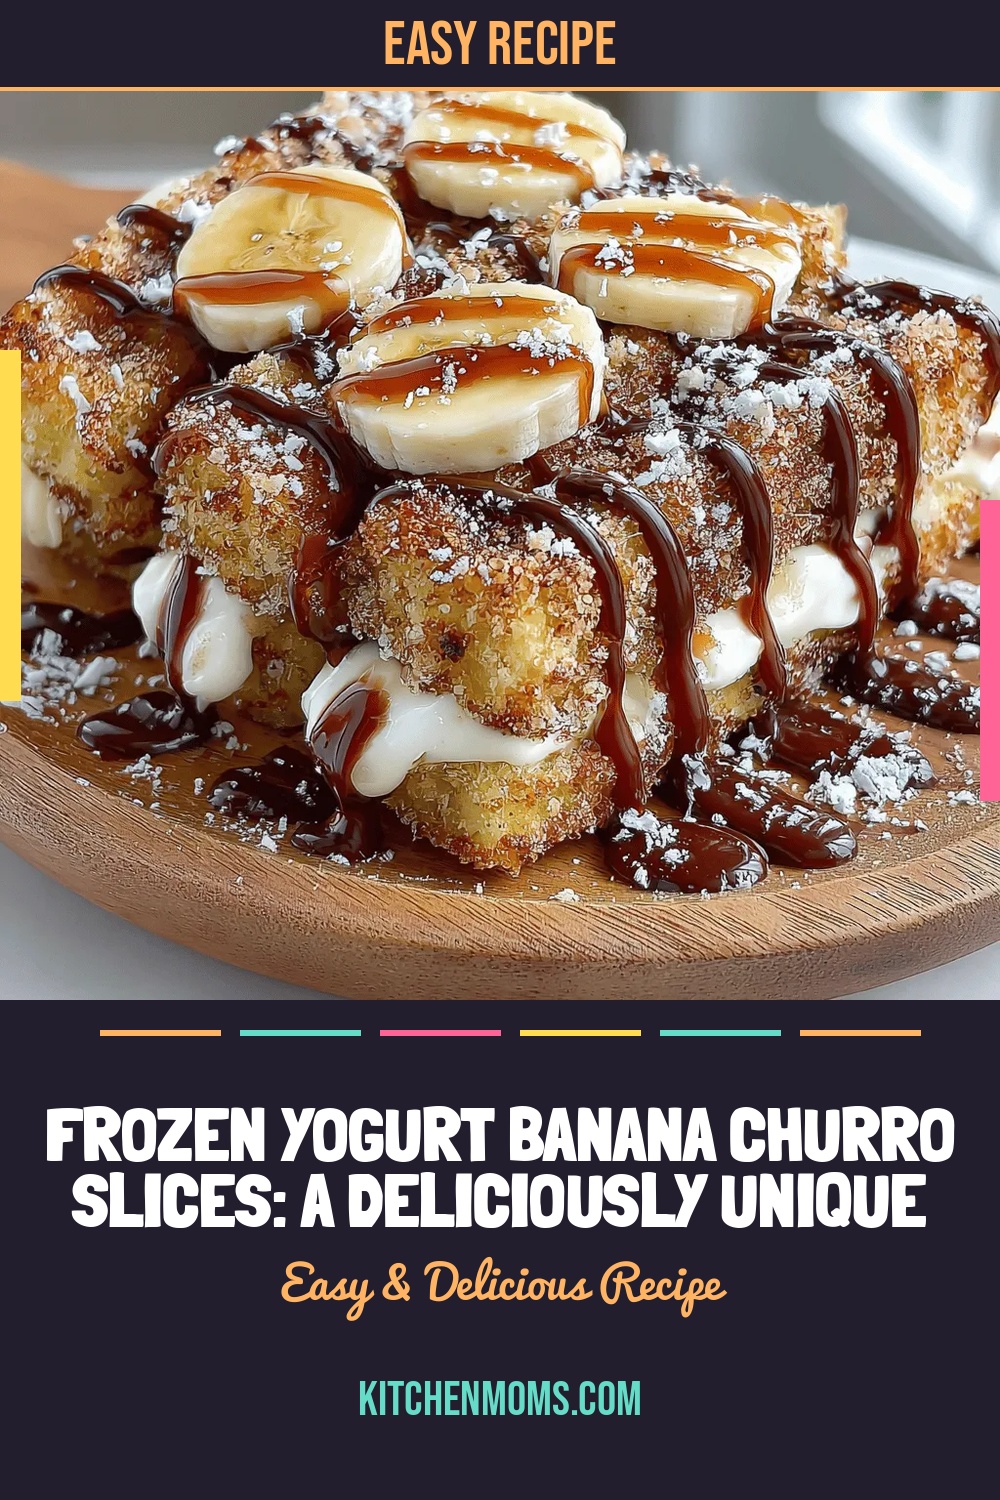
Frozen Yogurt Banana Churro Slices: A Deliciously Unique Treat
Delicious Frozen Yogurt Banana Churro Slices: A Deliciously Unique Treat
 Desserts
Sweet Chocolate Almond Clusters Recipe: Delve Into the Details
Delicious Sweet Chocolate Almond Clusters Recipe: Delve Into the Details
 Desserts
Mixed Berry Crisp
Learn how to make delicious Mixed Berry Crisp. Easy recipe with step-by-step instructions.
 Desserts
Chewy Butterscotch Blondies: A Delicious Dessert Experience
Delicious Chewy Butterscotch Blondies: A Delicious Dessert Experience
 Desserts
Sugar Free Banana Bread: An Amazing Ultimate Recipe
Learn how to make delicious Sugar Free Banana Bread: An Amazing Ultimate Recipe. Easy recipe with…
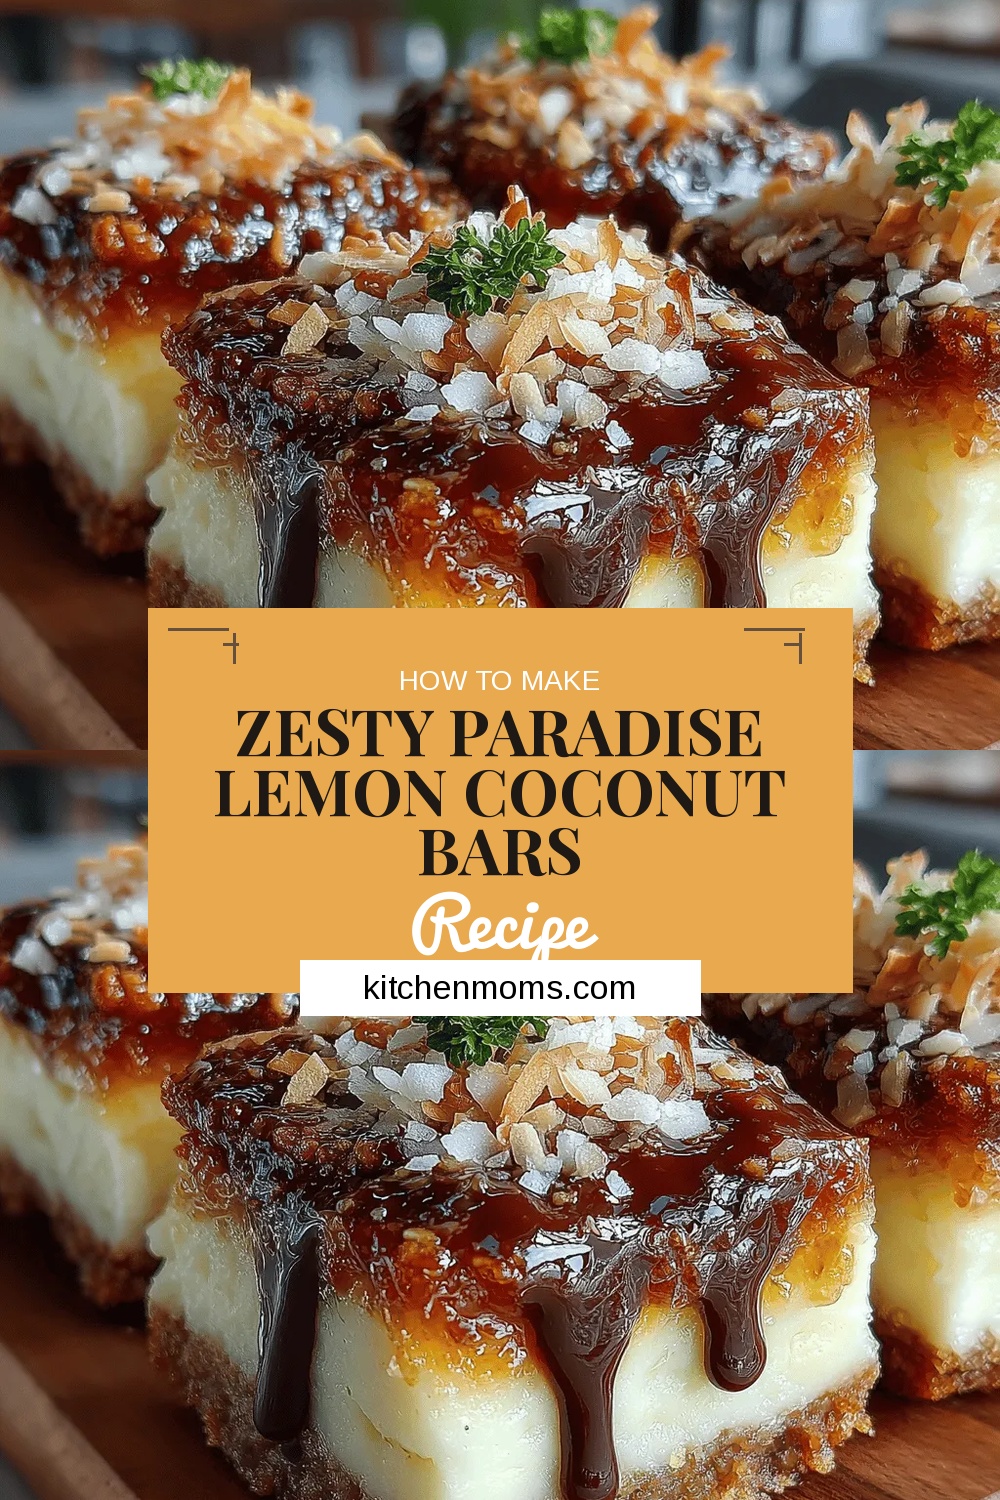 Desserts
Zesty Paradise Lemon Coconut Bars
Delicious Zesty Paradise Lemon Coconut Bars

Lucy
I cook these recipes at home before they ever land here — simple ingredients, clear steps.