Chocolate Pudding Delight Dirt Cake: A Nostalgic Treat for All Ages
 Save
Save
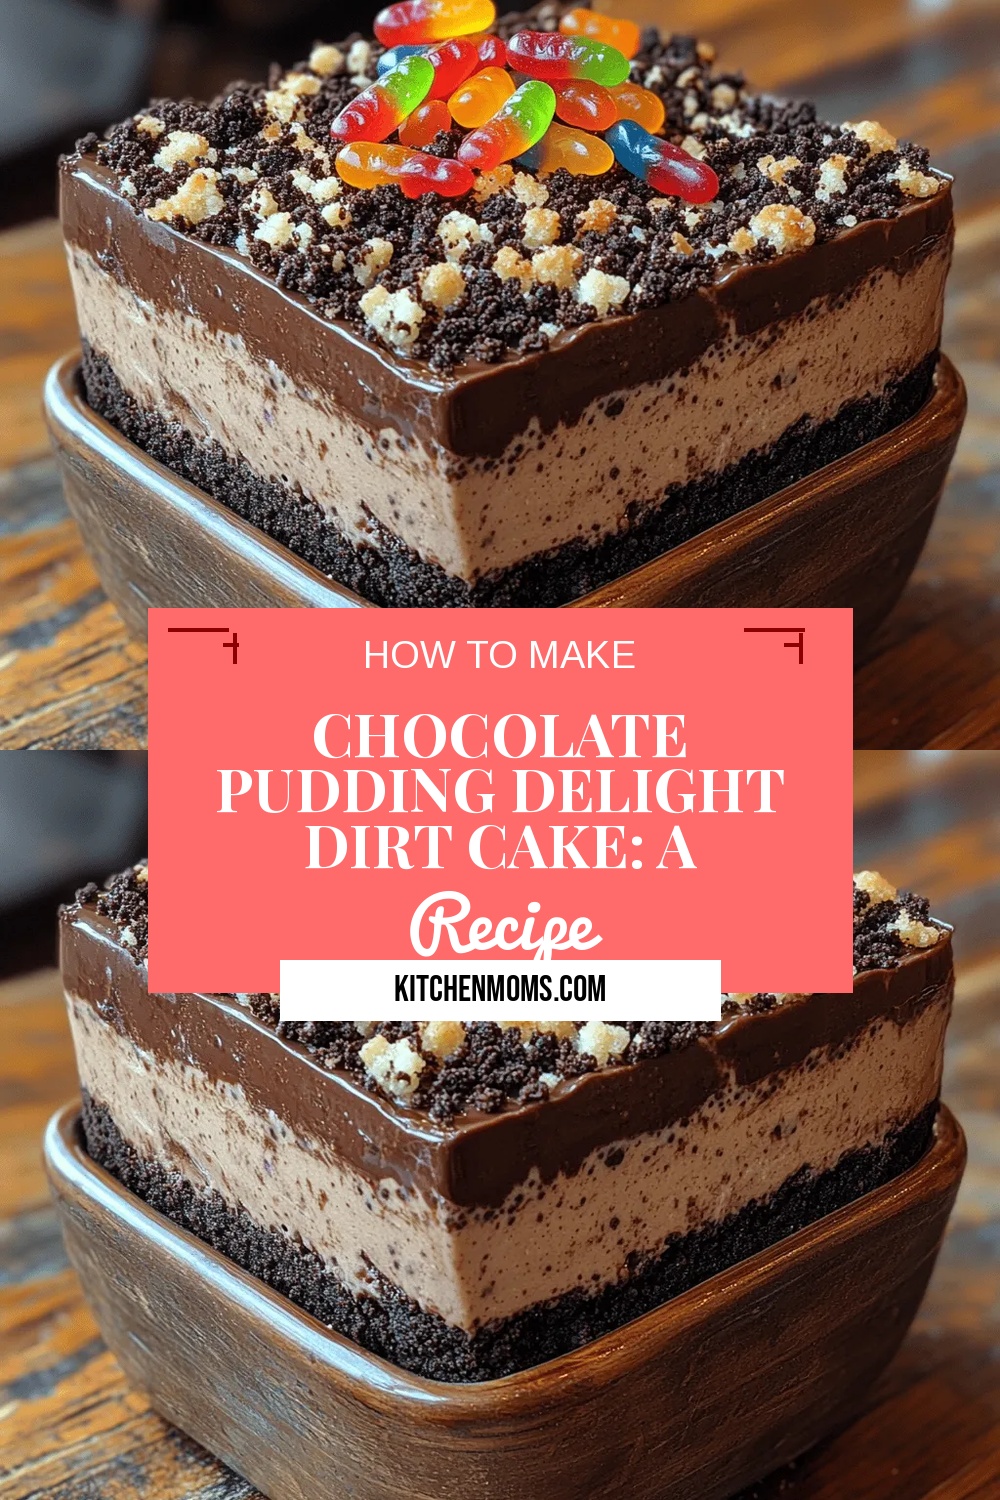
Imagine the nostalgic joy of digging into a classic “dirt cake,” but with a velvety chocolate pudding twist that melts in your mouth. This Chocolate Pudding Delight Dirt Cake captures the playful spirit of childhood parties while delivering a sophisticated, creamy dessert that feels right at home on any grown‑up gathering.
What makes it truly special is the layered combination of a buttery chocolate cookie crust, silky chocolate pudding, and a crunchy “dirt” topping of crushed chocolate cookies and gummy worms—yes, you read that right! The textures contrast beautifully, and the rich cocoa flavor shines through every bite.
This treat is perfect for kids’ birthday celebrations, potluck desserts, or a cozy family night when you crave something sweet yet effortless. Anyone who loves chocolate and a hint of whimsy will adore it, and it works equally well as a make‑ahead dessert for holidays.
The process is straightforward: bake a quick cookie crust, whisk together a stovetop chocolate pudding, layer the components in individual cups or a trifle dish, sprinkle the “dirt,” and chill until set. In under an hour you’ll have a show‑stopping dessert that sparks conversation.
Why You'll Love This Recipe
Kid‑Friendly Fun: The “dirt” topping with gummy worms turns dessert time into a playful activity, making it a hit at birthday parties and family gatherings.
Minimal Equipment: All you need are a few mixing bowls, a baking sheet, and serving glasses—no fancy gadgets or pastry bags required.
Make‑Ahead Friendly: Assemble the cake the night before, chill, and it’ll be ready to serve, freeing up time for other party preparations.
Rich Chocolate Flavor: Using high‑quality cocoa powder and dark chocolate chips creates a deep, satisfying chocolate taste that pleases even the most discerning palates.
Tips & Tricks
Perfecting the Recipe
Use Freshly Crushed Cookies. Pulse cookies in a food processor just before mixing with butter; this keeps the crust crisp and prevents sogginess.
Temper the Pudding. Stir constantly while heating; a steady temperature avoids grainy texture and guarantees a silk‑smooth finish.
Cool Pudding Before Layering. Warm pudding can melt the crust. Allow it to reach room temperature to maintain structural integrity.
Press Crust Firmly. Use the back of a measuring cup to compact the cookie mixture; a solid base supports the weight of the pudding.
Flavor Enhancements
Add a pinch of instant espresso powder to the pudding for an intensified chocolate note. Stir in a tablespoon of hazelnut liqueur for an adult‑friendly twist. Top with a drizzle of caramel sauce just before serving for an extra layer of decadence.
Common Mistakes to Avoid
Avoid over‑baking the crust; it should be lightly golden, not dark, to keep it tender. Also, never skip the plastic‑wrap‑on‑surface step when cooling the pudding—otherwise a skin will form and affect the final texture.
Pro Tips
Make Mini Portions. Use 4‑oz ramekins for individual servings; they look elegant and are perfect for parties.
Freeze for a Frozen Treat. After chilling, freeze individual servings for 30‑40 minutes and serve with a quick drizzle of chocolate sauce for a semi‑frozen dessert.
Use a Fine Mesh Sieve. Sift cocoa powder and cornstarch together to avoid lumps in the pudding.
Garnish Just Before Serving. Add gummy worms only at the last minute; they can become soggy if left too long.
Variations
Ingredient Swaps
Replace chocolate wafer cookies with crushed Oreo or chocolate graham crackers for a different flavor profile. Swap dark chocolate chips for white chocolate chips and add a dash of orange zest for a citrusy twist. For a nutty crunch, fold toasted chopped almonds into the “dirt” layer.
Dietary Adjustments
Use gluten‑free chocolate cookies and cornstarch that’s certified gluten‑free for a safe version. Substitute dairy milk with almond or oat milk and use coconut cream instead of heavy cream for a vegan‑friendly pudding. For a low‑sugar option, replace granulated sugar with a natural sweetener like erythritol.
Serving Suggestions
Serve the dirt cake alongside fresh berries for a bright contrast, or pair with a scoop of vanilla bean ice cream for extra indulgence. For a themed party, drizzle edible gold dust over the “dirt” for a glamorous look. Mini versions work beautifully as dessert shooters at cocktail gatherings.
Storage Info
Leftover Storage
Allow any leftovers to cool completely, then transfer each portion into an airtight container. Store in the refrigerator for up to 4 days. For longer keeping, freeze individual servings in sealed containers for up to 2 months; be sure to label with the date.
Reheating Instructions
Reheat frozen or refrigerated servings in a 300°F (150°C) oven for 10‑12 minutes, covered with foil to retain moisture. If using a microwave, heat on medium power for 30‑45 seconds, stirring gently to avoid overheating the pudding. Add a splash of milk or extra whipped cream after reheating to restore silky texture.
Frequently Asked Questions
Can I make this cake a day ahead?
What if I don’t have gummy worms?
Can I use a different pudding base?
How long can I keep the “dirt” topping crunchy?
This Chocolate Pudding Delight Dirt Cake blends nostalgic charm with sophisticated chocolate flavor, all while staying delightfully easy to prepare. You now have a complete guide—from ingredient selection and precise steps to storage tips and creative variations—so you can tailor the dessert to any occasion. Feel free to experiment with swaps and garnish ideas; the kitchen is your playground. Serve it chilled, watch the smiles appear, and enjoy every crumb of this timeless treat!
Chocolate Pudding Delight Dirt Cake: A Nostalgic Treat for All Ages
Delicious Chocolate Pudding Delight Dirt Cake: A Nostalgic Treat for All Ages
Ingredients
Chocolate Cookie Crust
- 1 ½ cups chocolate wafer cookies, finely crushed
- 3 Tbsp unsalted butter, melted
- 2 Tbsp granulated sugar
Chocolate Pudding
- 2 ½ cups whole milk
- ½ cup granulated sugar
- ¼ cup unsweetened cocoa powder
- 3 Tbsp cornstarch
- ¼ tsp salt
- ½ cup dark chocolate chips
- 1 tsp vanilla extract
Dirt Topping
- 1 cup chocolate sandwich cookies, crushed
- ¼ cup mini chocolate chips (optional)
- ½ cup gummy worms
Whipped Cream (Optional)
- 1 cup heavy whipping cream
- 2 Tbsp powdered sugar
- ½ tsp vanilla extract
Instructions
Making the Chocolate Pudding
- Combine Dry Ingredients. In a saucepan whisk together sugar, cocoa powder, cornstarch, and salt. This dry blend prevents lumps later on and ensures an even chocolate flavor throughout the pudding.
- Gradually Add Milk. Slowly whisk in the whole milk, making sure the mixture stays smooth. The gradual addition helps the starch hydrate uniformly, which is key for a silky texture.
- Cook to Thicken. Place the saucepan over medium heat, stirring constantly. As the mixture reaches a gentle boil, it will thicken noticeably—about 4‑5 minutes. Once thick, remove from heat.
- Incorporate Chocolate and Vanilla. Immediately stir in the dark chocolate chips until melted and fully incorporated. Add vanilla extract for depth. The heat from the pudding will melt the chips smoothly, creating a glossy finish.
- Cool Slightly. Transfer the pudding to a shallow bowl, cover with plastic wrap directly on the surface to prevent a skin from forming, and let it cool to room temperature before layering.
Similar Recipes
 Desserts
Nutty Bliss Almond Butter Bars
Delicious Nutty Bliss Almond Butter Bars
 Desserts
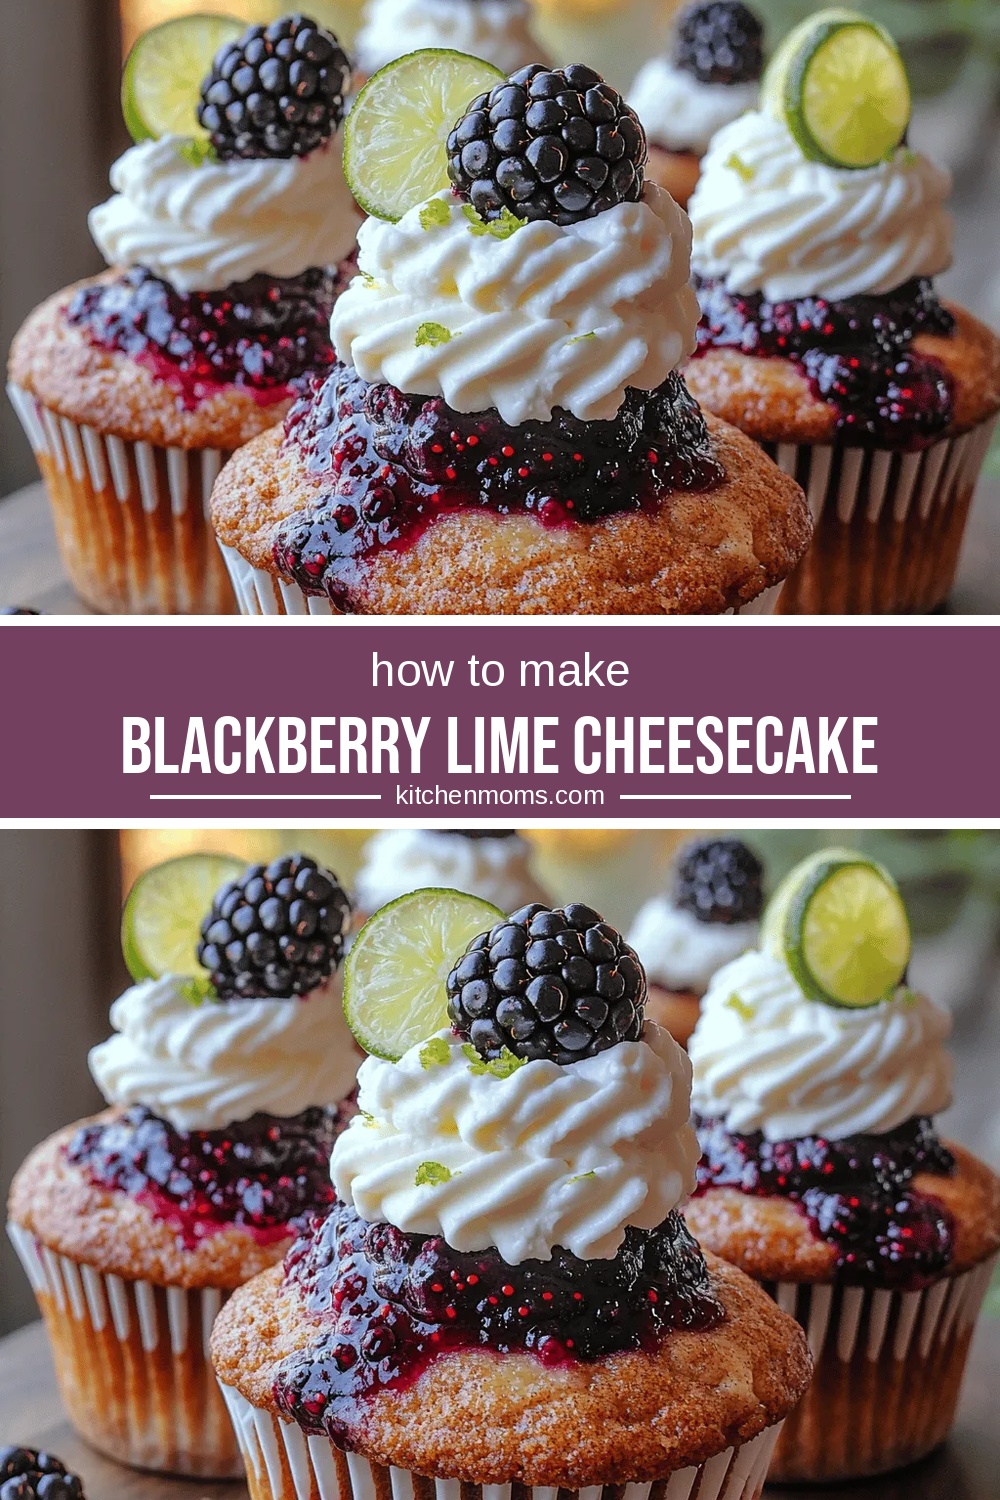
Blackberry Lime Cheesecake Cupcakes: A Delightful Dessert Experience
Delicious Blackberry Lime Cheesecake Cupcakes: A Delightful Dessert Experience
 Desserts
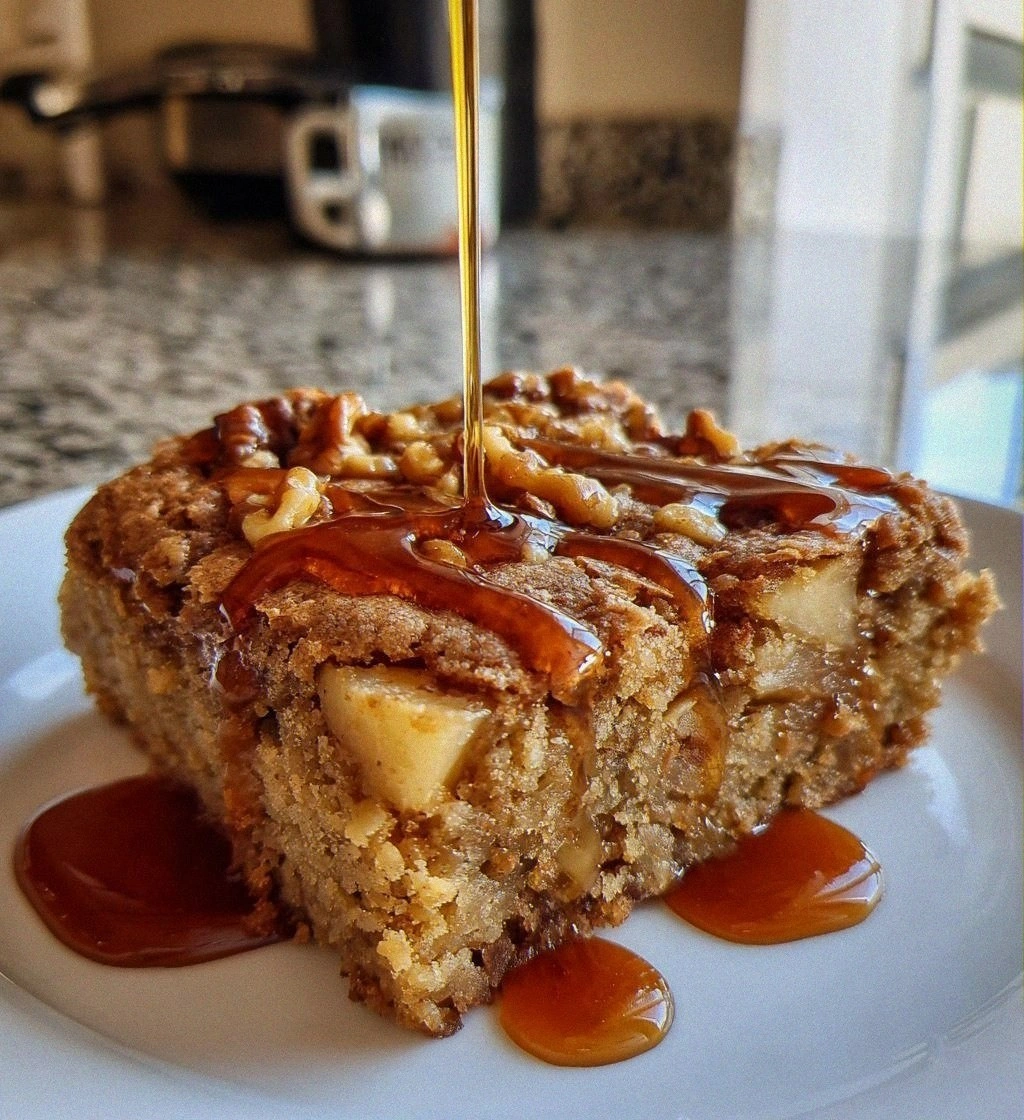
Maple Glazed Apple Blondies
Learn how to make delicious Maple Glazed Apple Blondies. Easy recipe with step-by-step instructions.
 Desserts
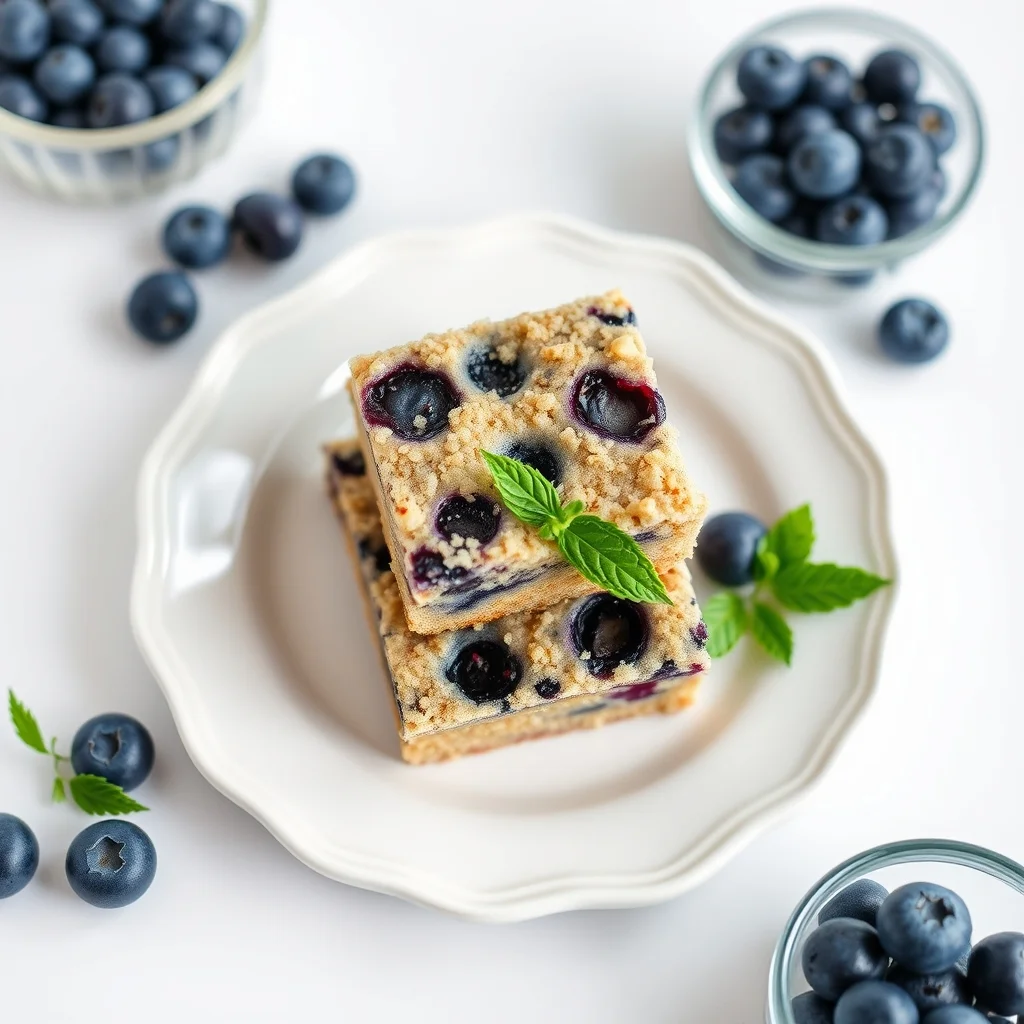
Blueberry Bliss Chia Muffin Bars
Delicious Blueberry Bliss Chia Muffin Bars
 Desserts
Frosty Berry Bliss Yogurt Cups: The Ultimate Healthy Treat
Delicious Frosty Berry Bliss Yogurt Cups: The Ultimate Healthy Treat
 Desserts
Grilled Pineapple Bliss
Delicious Grilled Pineapple Bliss
 Desserts
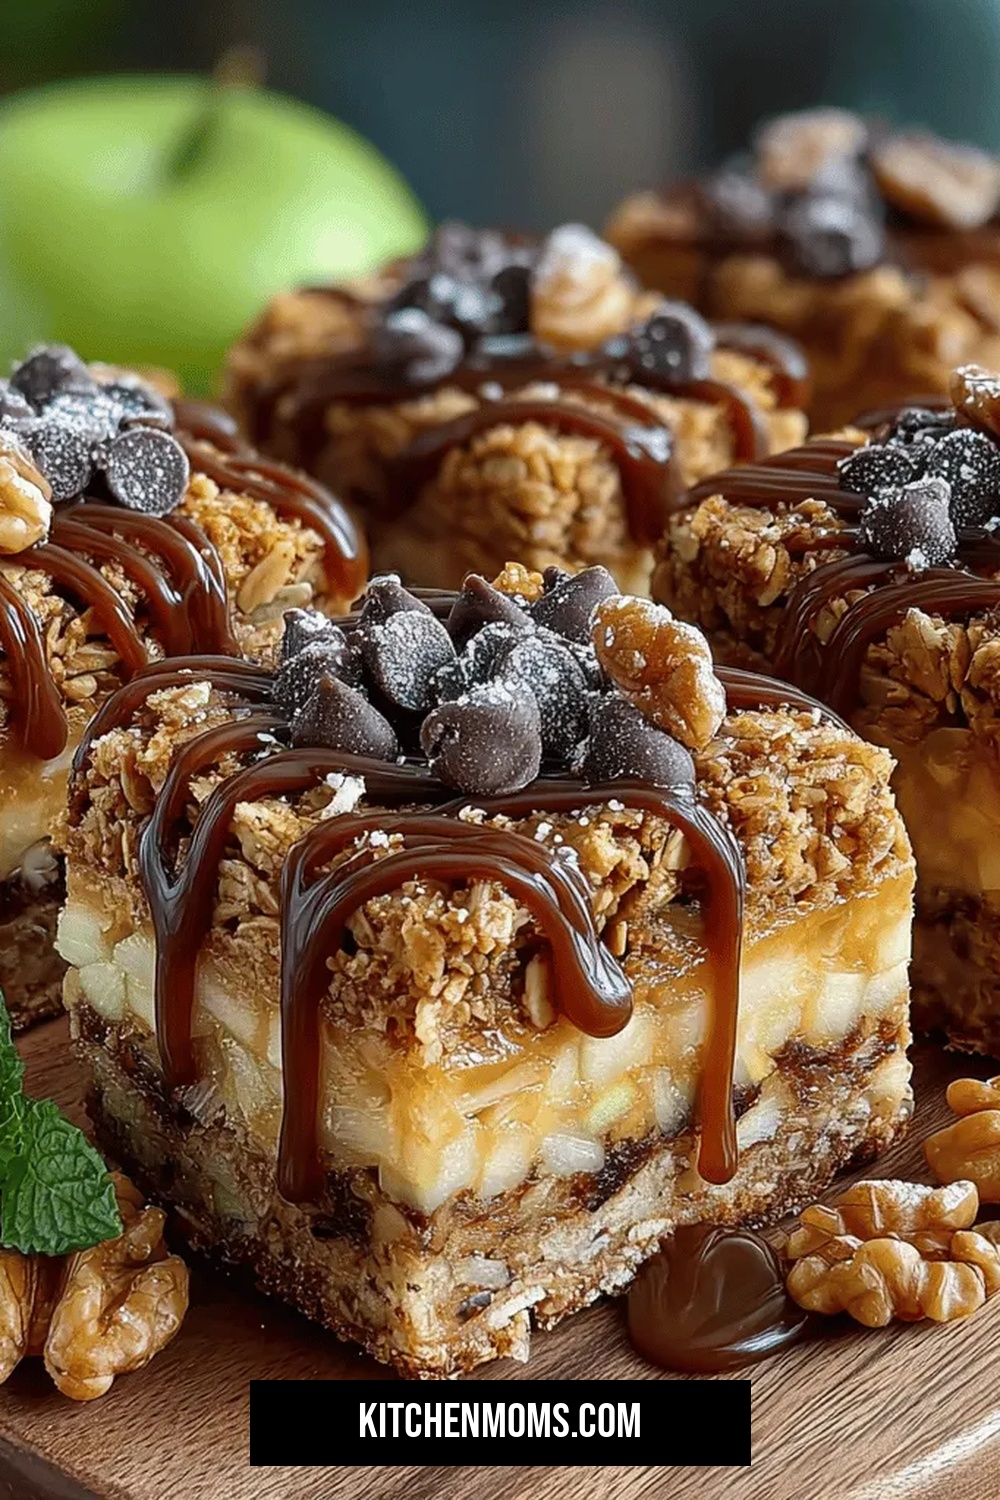
Crispy Apple Cinnamon Granola Snack Bars
Delicious Crispy Apple Cinnamon Granola Snack Bars
 Desserts
No Bake Oreo Peanut Butter Cup Cheesecake Recipe
Delicious No Bake Oreo Peanut Butter Cup Cheesecake Recipe

Lucy
I cook these recipes at home before they ever land here — simple ingredients, clear steps.